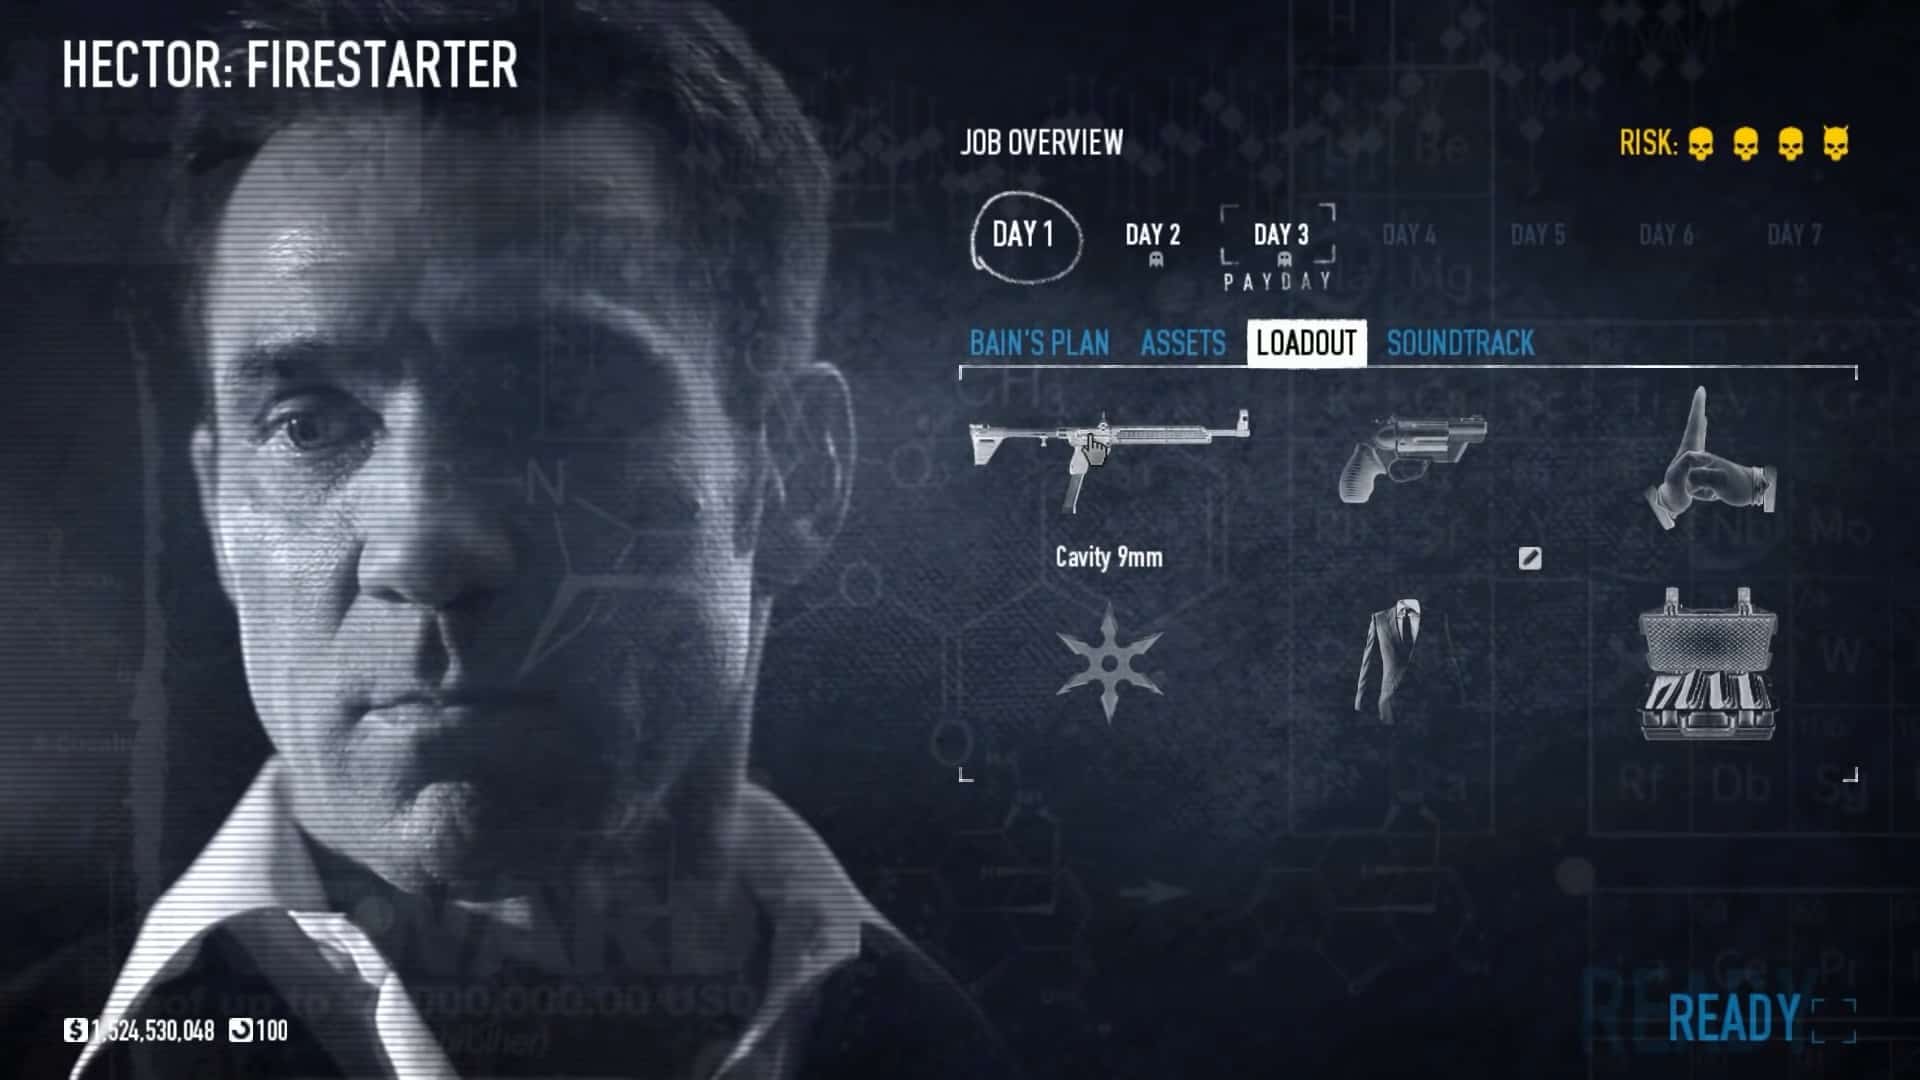
Hector provides the Firestarter heist, which takes place over three days in Payday 2. Your primary objective is to destroy an enemy gang’s income. The first day of the heist includes stealing some arms; the second day involves stealth action and hacking into a computer; and the third day involves breaking into a bank vault.
In this guide, we’ll review how to complete all three days of the Firestarter heist in Payday 2. We’ll cover major tips and tricks, specific paths and routes you should take, and what perks you should come equipped with. We’ll also review the keys’ locations for the Gage SpecOps Pack update.
Firestarter Day 1 (Airport)
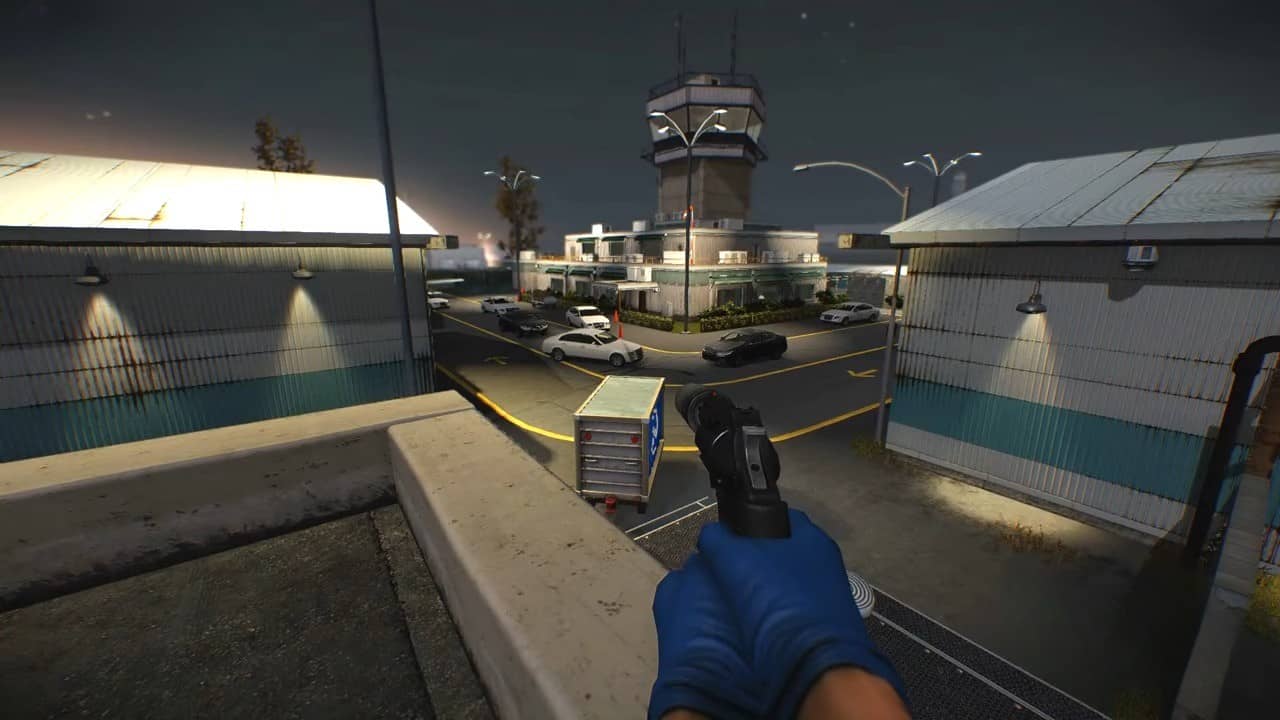
On the first day of the Firestarter heist in Payday 2, you must go to an airport and steal/destroy the arms there. It’s entirely up to you whether you would like to store the weapons to earn some cash or destroy them quicker.
The airport can be accessed in several ways. We advise you to take a stealthier approach if you want to destroy the weapons. If you want to steal them, go in loud. Most of this mission will be spent trying to find the hangar with the weapon.
Before you begin, it is important to note that you will be spotted regardless of how you play. So, while stealth may work for you initially, you will eventually have to take on hordes of hostile guards.
You will be dropped on a street with a clear airport view. Your escorting van will wait for you near your starting position. To get to the airport, you will have to descend a hill.
During this mission, it is relatively easy to avoid being encountered by the guards initially. There will be no civilians in the vicinity and none will have a beeper. Just play stealthily; mostly, use silenced weapons and take out everyone in your path.
But you should keep in mind that the cops will be informed if anyone spots you or notices any dead bodies. Take out as many guards as possible, but let them know once you’re inside the hangar with the weapons.
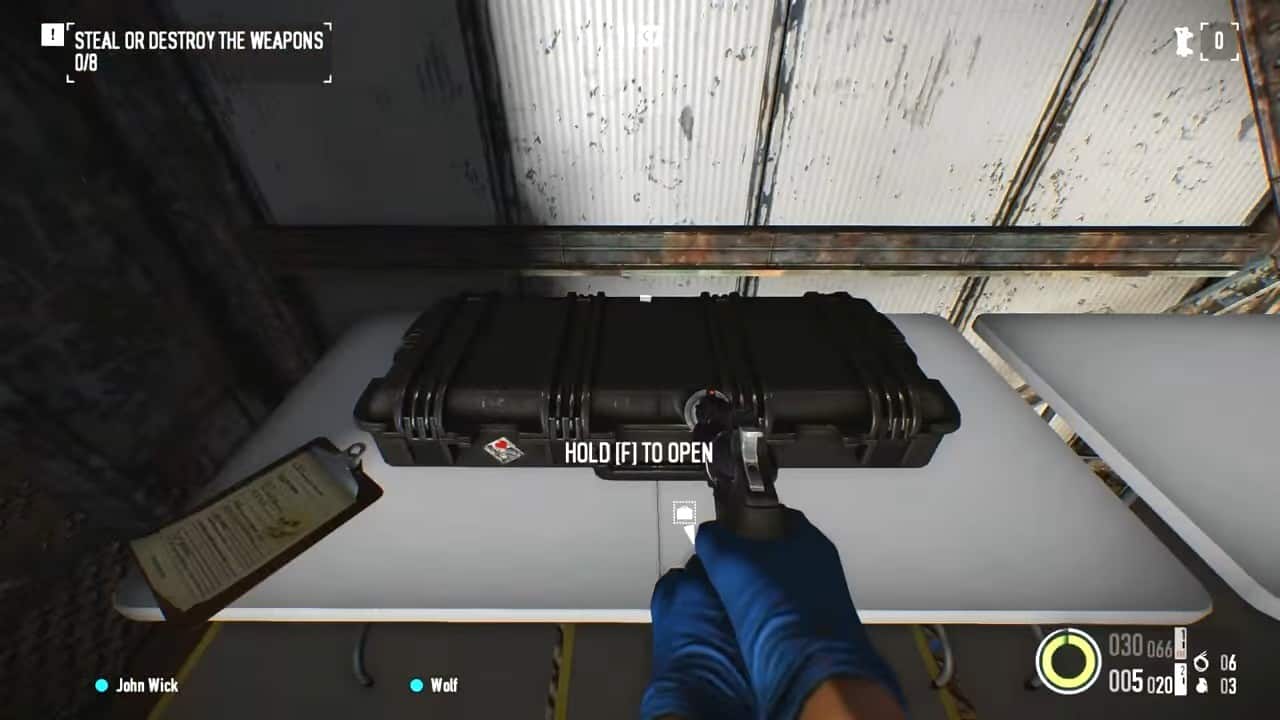
You will look for the guns in long black boxes scattered in either hangar. To get the weapons, you must open the bag first and decide whether to keep or destroy them.
Look for a grey cylinder next to the hangars to destroy the weapons. It spawns randomly so it can be found near either hangars. Once you have found it, shoot it, but keep your distance. Once the fire is ignited, throw the guns into it.
If you plan on stealing the weapons, then playing with a full team is your best bet, as you’ll have to move to and from the location of the weapons and the getaway van several times. The more people you have on your team, the quicker you’ll be done.
Firestarter Day 2 (FBI Server)
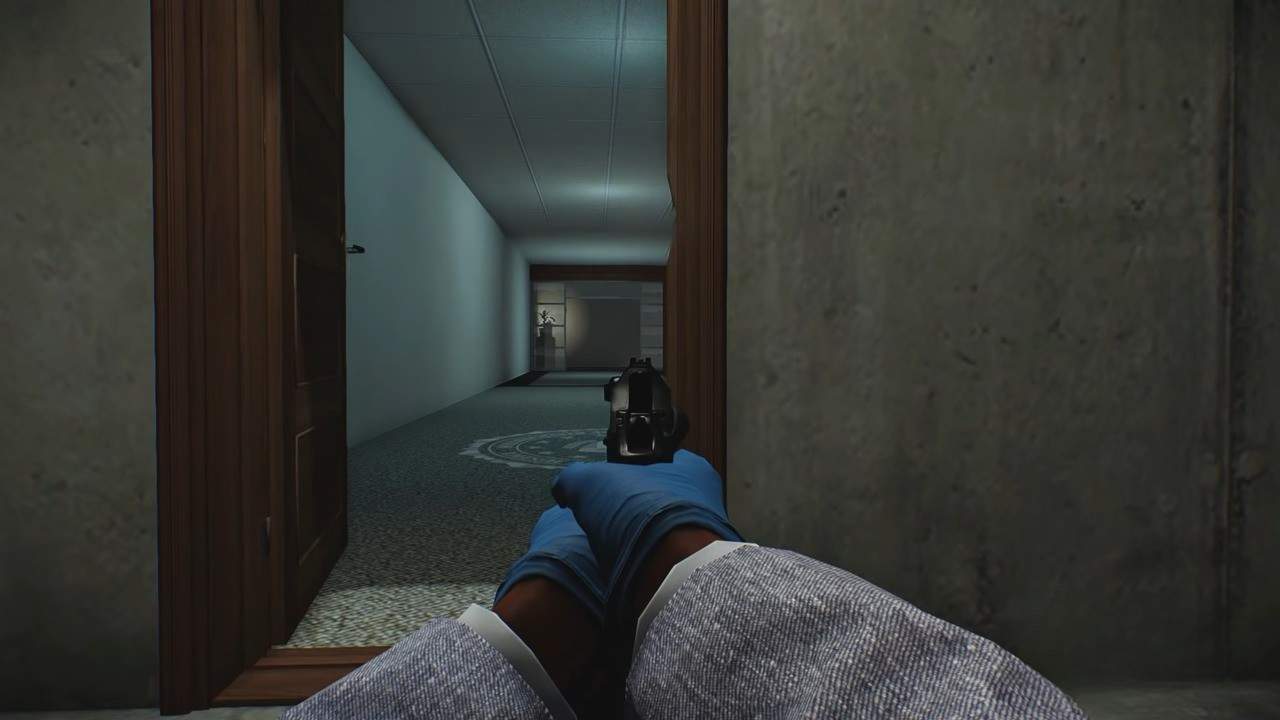
Day two involves stealing a server from the FBI. Unlike Day 1, Day 2 can be completed stealthily and dirty, though the former is much tougher. You’ll start on the outskirts of the FBI compound, where you can approach it one of two ways.
If you want to take the stealthy route, enter the building through the fence on the left side of the entrance. Enter the building and locate the server room. The server room can spawn in one of four locations, three on the second floor.
- The conference area next to the conference room on the second floor
- The conference area across from the operations room on the second floor
- Room in front of the cafeteria on the second floor
- In the main office area, opposite to the evidence room
The placement and pathing of the guards and FBI agents are completely randomized, so you must always be prepared. Take a silenced weapon with you, but only kill guards when necessary. It is always better to avoid them because they have pagers that can expose your location.
Once you’ve found the server room, Bain will ask you to locate a computer to prevent the alarms from going off when you break into the server. Follow his instructions and go to the computer marked on your HUD.
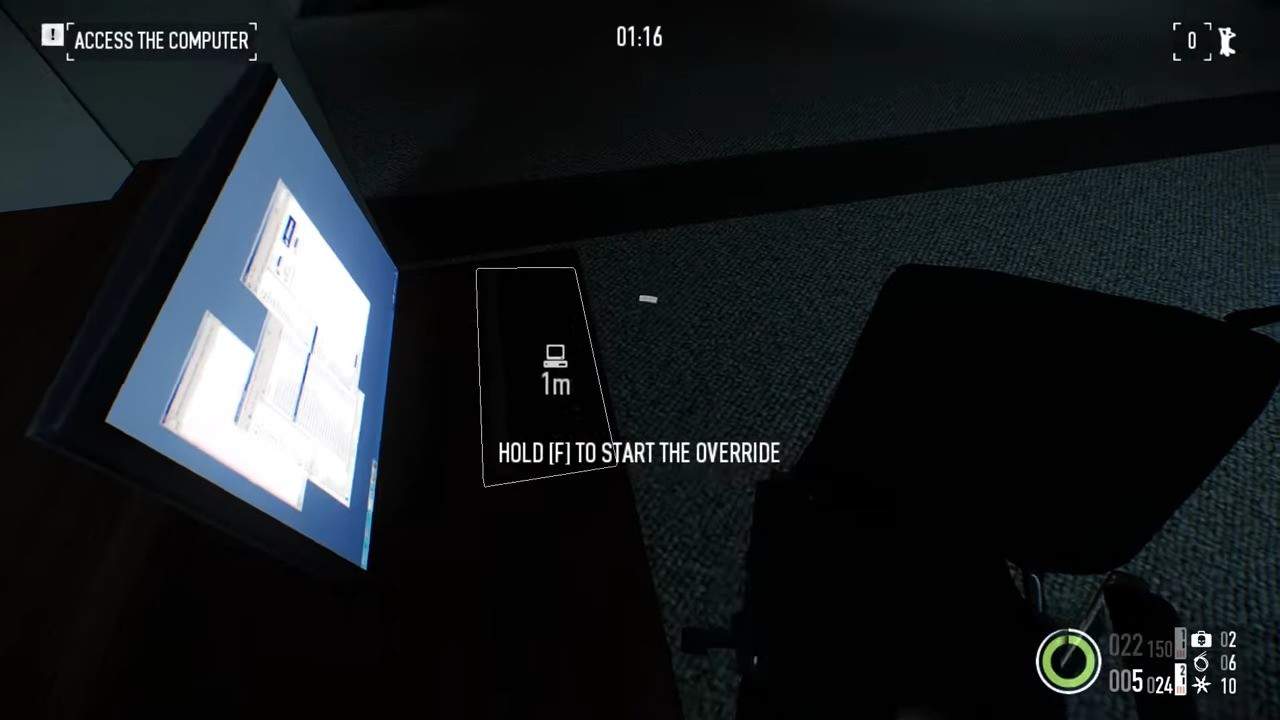
Once you’ve overridden the computer, you must cut two wires. Once again, the locations will be marked on your HUD. While doing all of this, remember to be quiet and wait for the guards to move away if necessary.
Once you’ve completed this step, return to the server room and break the security door. Doing this with a drill may break your stealth, so come equipped with the ECM overdrive perk.
Additionally, you can find a keycard on one of the guards that’ll let you open the door. However, the spawn isn’t guaranteed, and often, killing all the guards can be time-consuming and may break your stealth.
Once you’re inside, put the servers in your bag. Stealth your way back to the getaway van to finish the mission. The servers are quite heavy so make sure you have the Enforcer Perk unlocked.
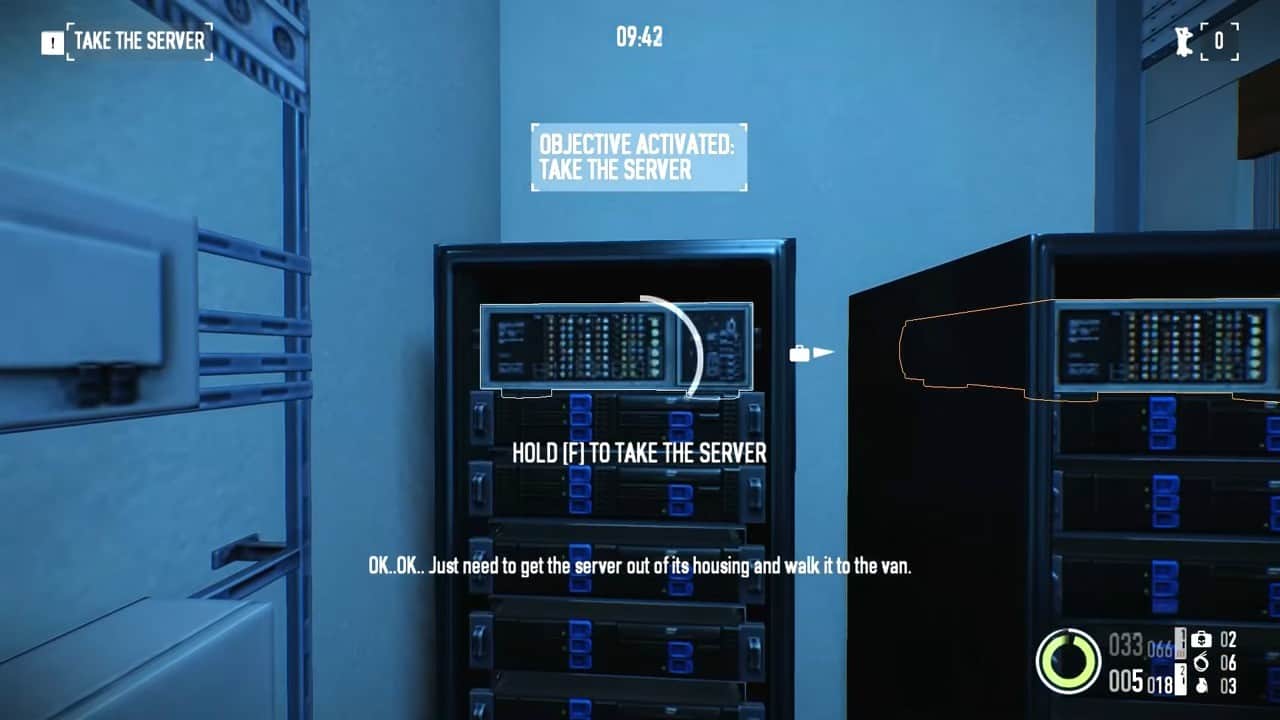
The dirty approach works similarly to the stealth approach; however, you’ll enter through the front door and essentially just pick off any guards or agents that try to attack you.
For this approach, we recommend taking a high-damage, full-auto SMG or AR to take down enemies quickly. Going in dirty will be the faster option.
Firestarter Day 3 (Trustee Bank)
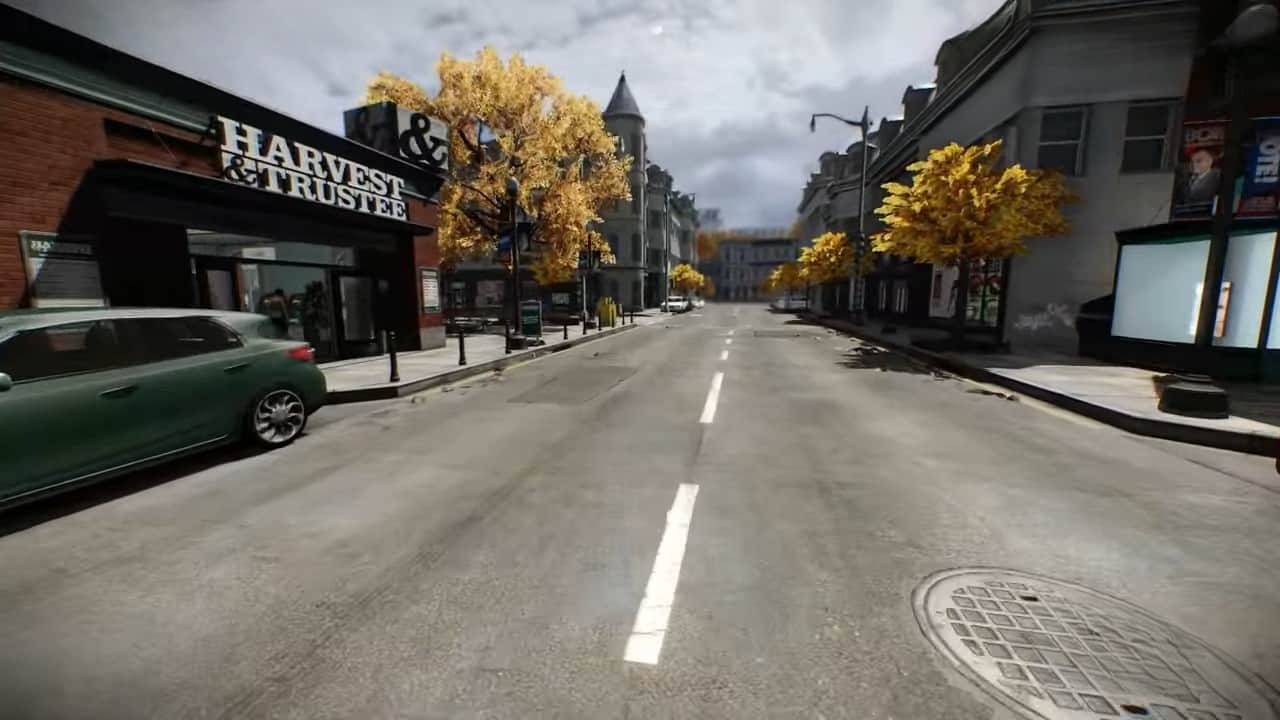
You’ll have to infiltrate a bank for the third and final day. Once again, you can take a stealthy approach or go dirty. This mission works similarly to the bank heist; however, the vault door is guarded with an electric shield, preventing you from immediately going at it with the drill.
For the stealthy approach, you’ll first want to locate the security room to disable the cameras. For this, you’ll need the manager’s keycard. Wait for him to exit the building from the back entrance and take him out to acquire the keycard.
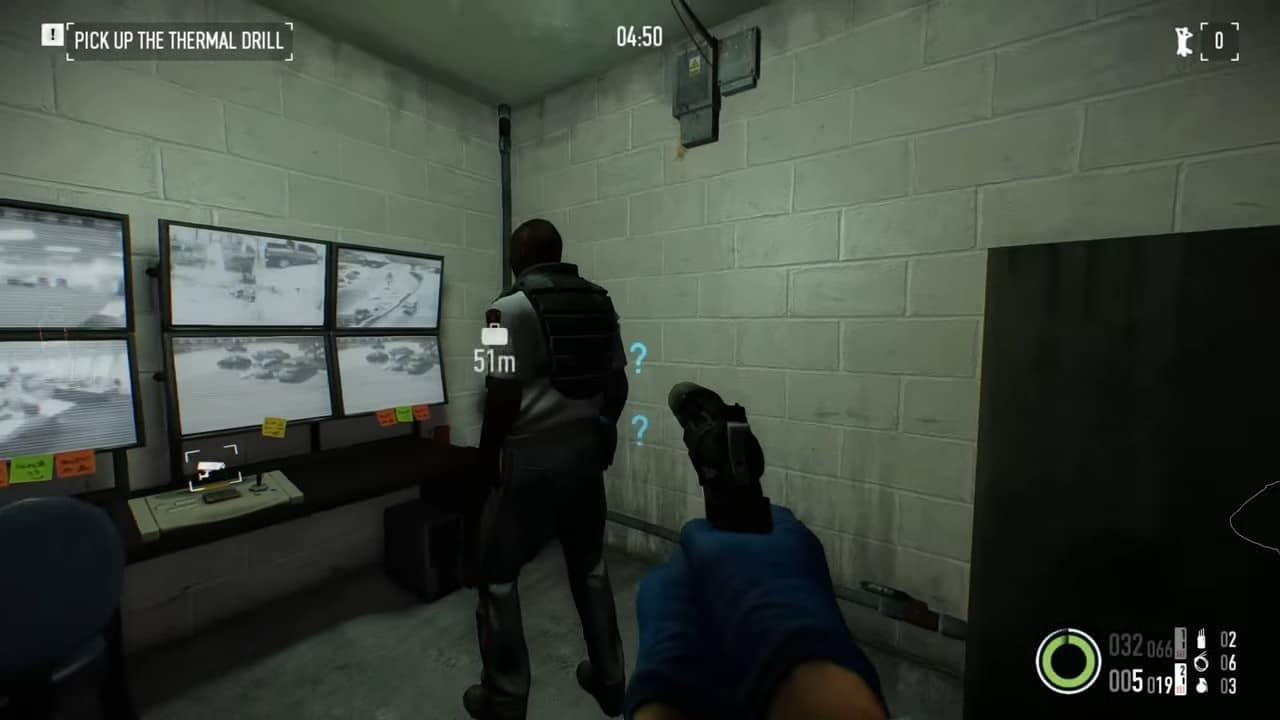
Next, make your way to the security room and insert the keycard in the card reader to open it, take out the guard present there to disable all cameras. Now, you can make your way to the roof. On the roof, you’ll find a white door, there will also be a camera right above it, however, it will be disabled thanks to your earlier handy work. Behind this door is the switch that disables the electric shield on the vault door. Use a drill to open the white door and interact with the switch.
To breach the vault door stealthily, you’ll need to remove the guards in that area’s immediate vicinity. Depending on the enemy’s pathing, this process can take several minutes. You’ll want to take out the guards in a way that does not alert the others. Additionally, you’ll need to bag and dispose of them to avoid detection.
Once you do, pick up the thermal drill, place it near the vault, and then use it to start breaching.
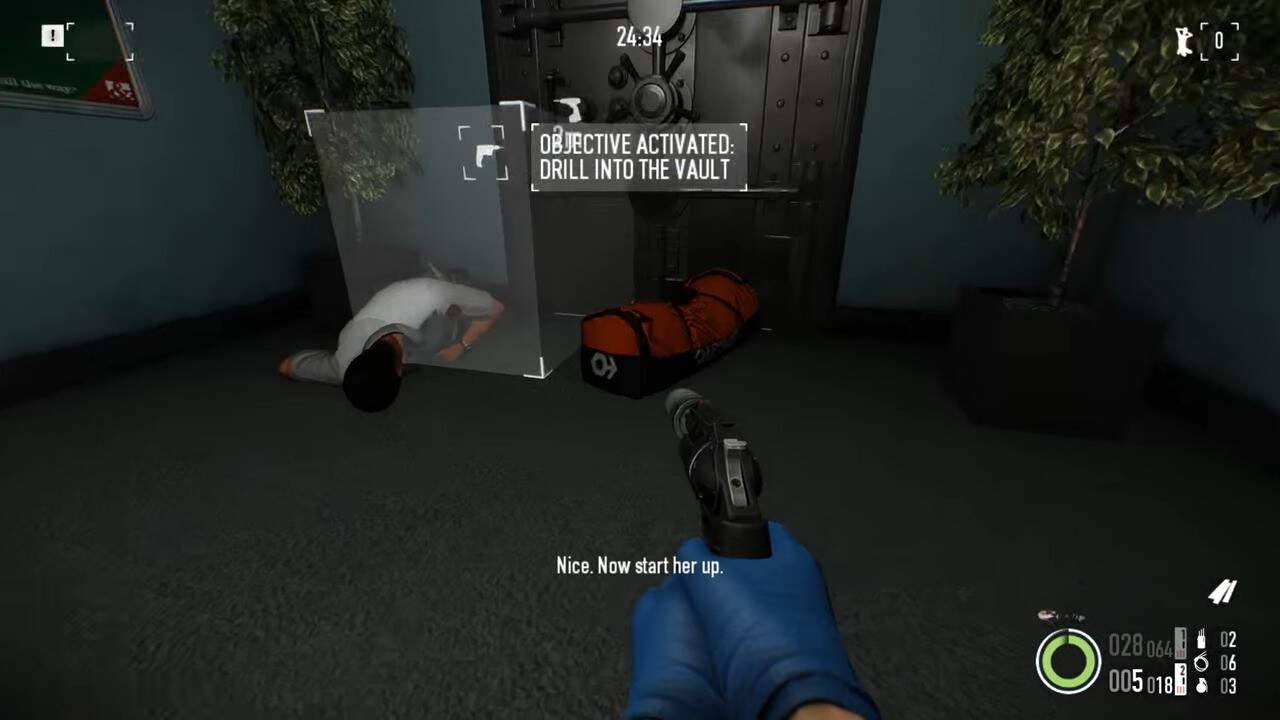
Once inside, place another drill on the locked metal doors (you can lockpick this door, too) to get to the money. Next, activate the camera at the back of the room and set the money on fire. Once the cameras have the desired footage, you can pick them up and make your way to the exit, finishing Day 3 of the Firestarter heist in Payday 2.
For the dirty approach, you can start the heist however you like. To be safe, we recommend disabling the cameras first so you won’t be caught drilling open the door that houses the control for the electric shield.
Additionally, take a high-powered AR or SMG since you’ll have to deal with plenty of guards once you make your presence known.
Firestarter Heist Key Locations
The Gage SpecOps Pack update for Payday 2 added a new side objective to many heists, including Firestarter. Essentially, you have to collect a total of fifteen items across all three days (five keys each on Days 1 and 2 and five cases on Day 3) to unlock a new weapon.
Day 1 – Key 1
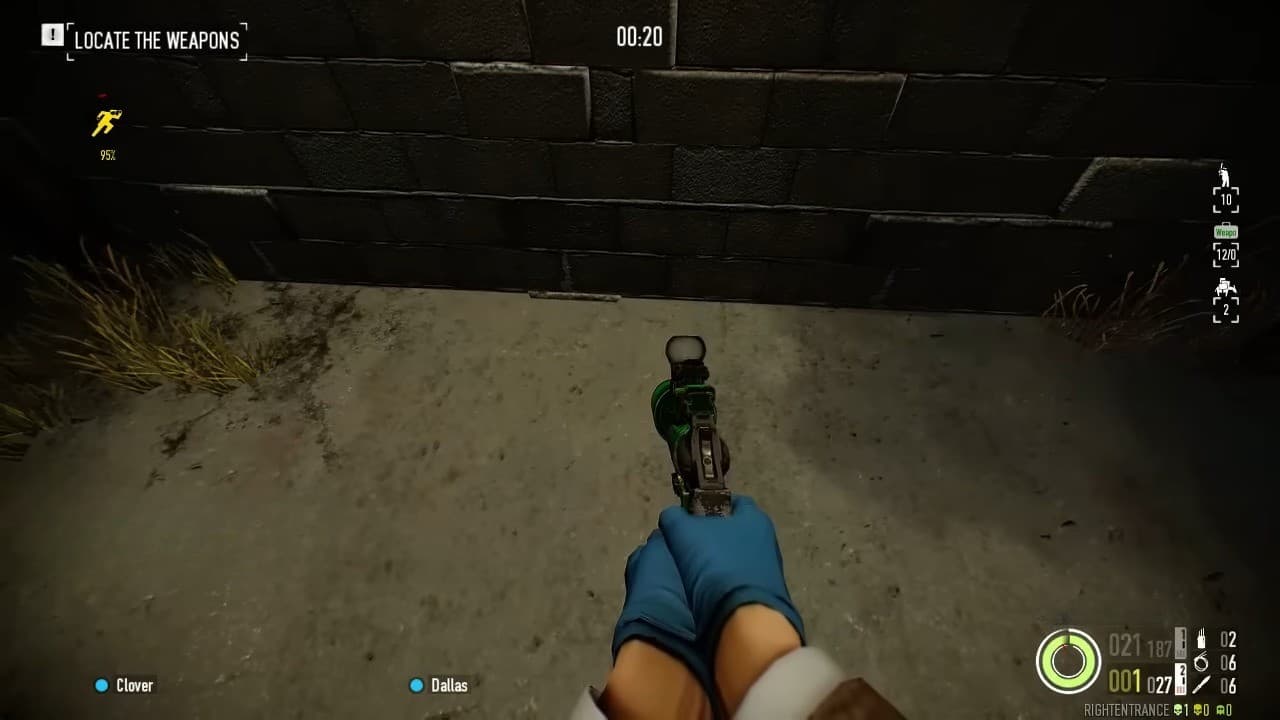
The first key can be found on the side of the bricked building near the right entrance of the Airport. You can access this area by breaking through the fence.
Day 1 – Key 2
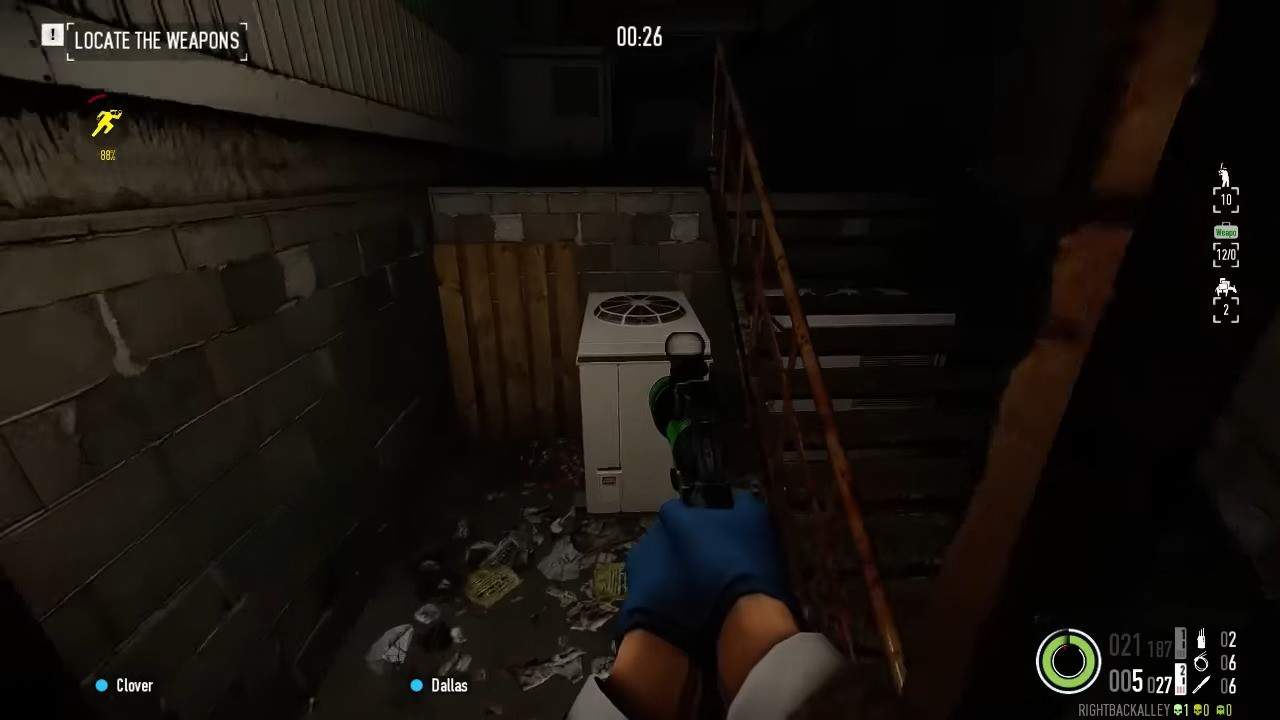
The second key is atop the white vent near the stairs in the right back alley. You can reach this area straight from where you picked up the previous key.
Day 1 – Key 3
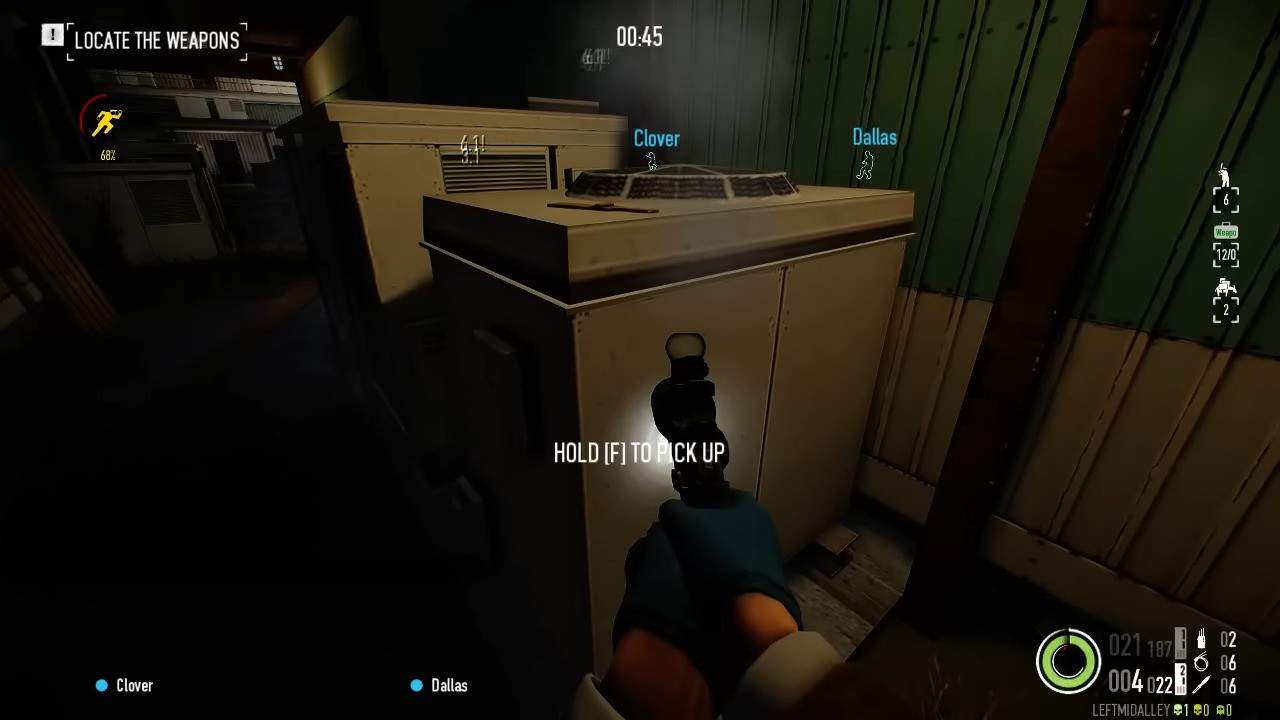
The next key is located in the left alley, between the two hangers on the tarmac. It will be on a white vent.
Day 1 – Key 4
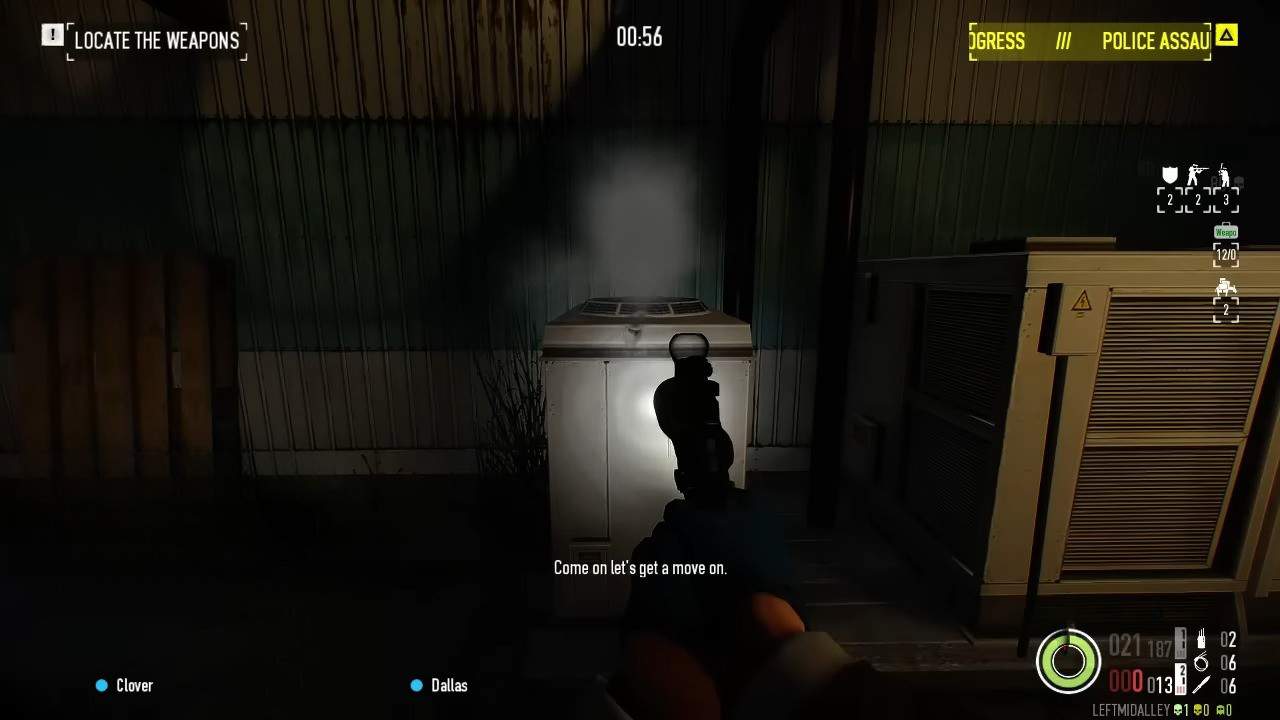
The fourth key is in the same alley, on top of a white vent near the entrance.
Day 1 – Key 5
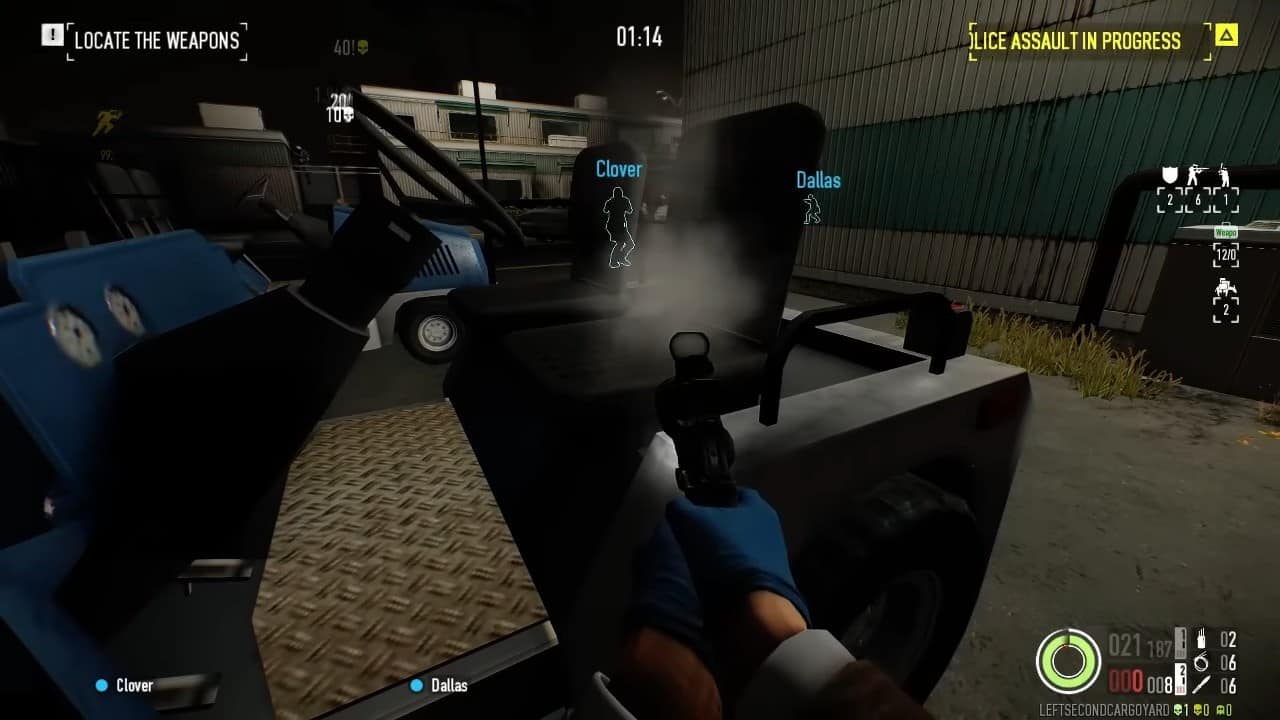
The final key for day one is on the seat of the blue vehicle in the left second cargo yard.
Day 2 – Key 1
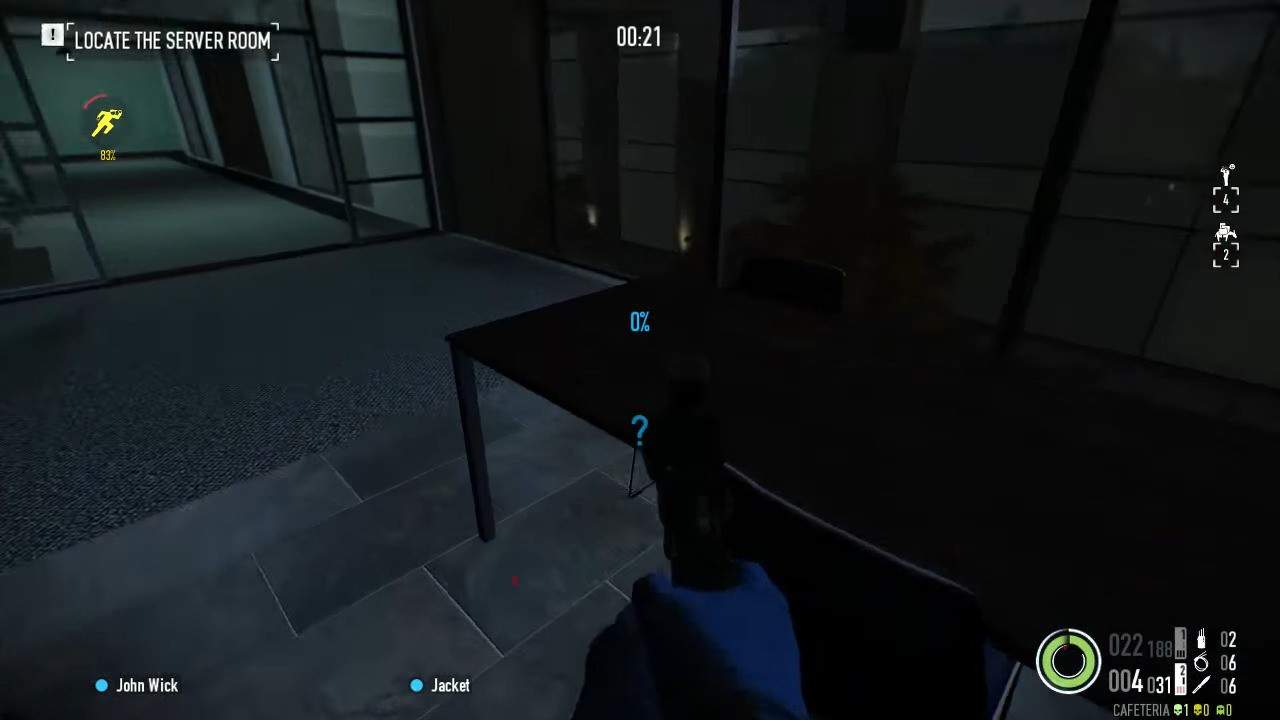
The first key for Day 2 can be found atop a table near the windows in the cafeteria. The cafeteria can be reached by taking the stairs behind the front desk.
Day 2 – Key 2
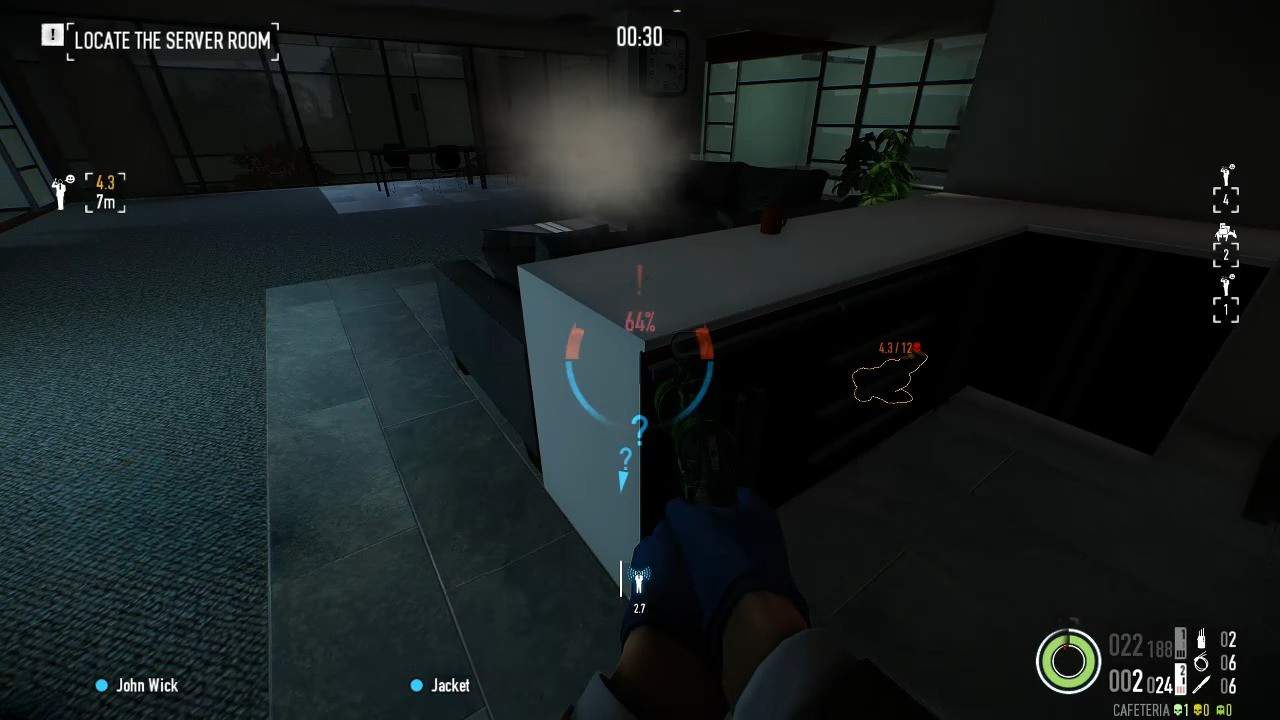
The second key is on the opposite side of the same room as the previous one. It will be on top of the white kitchen counter.
Day 2 – Key 3
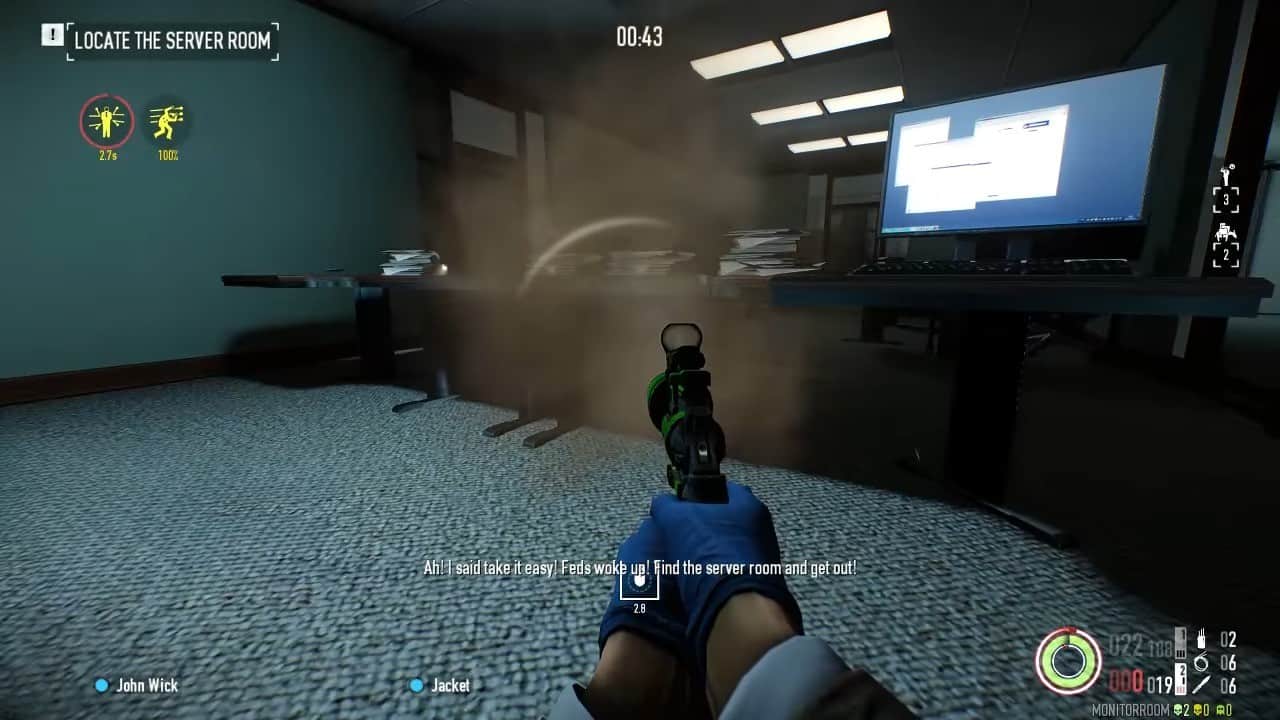
The next key is found on the desk in the monitor room. This room can be found to the north of the cafeteria.
Day 2 – Key 4
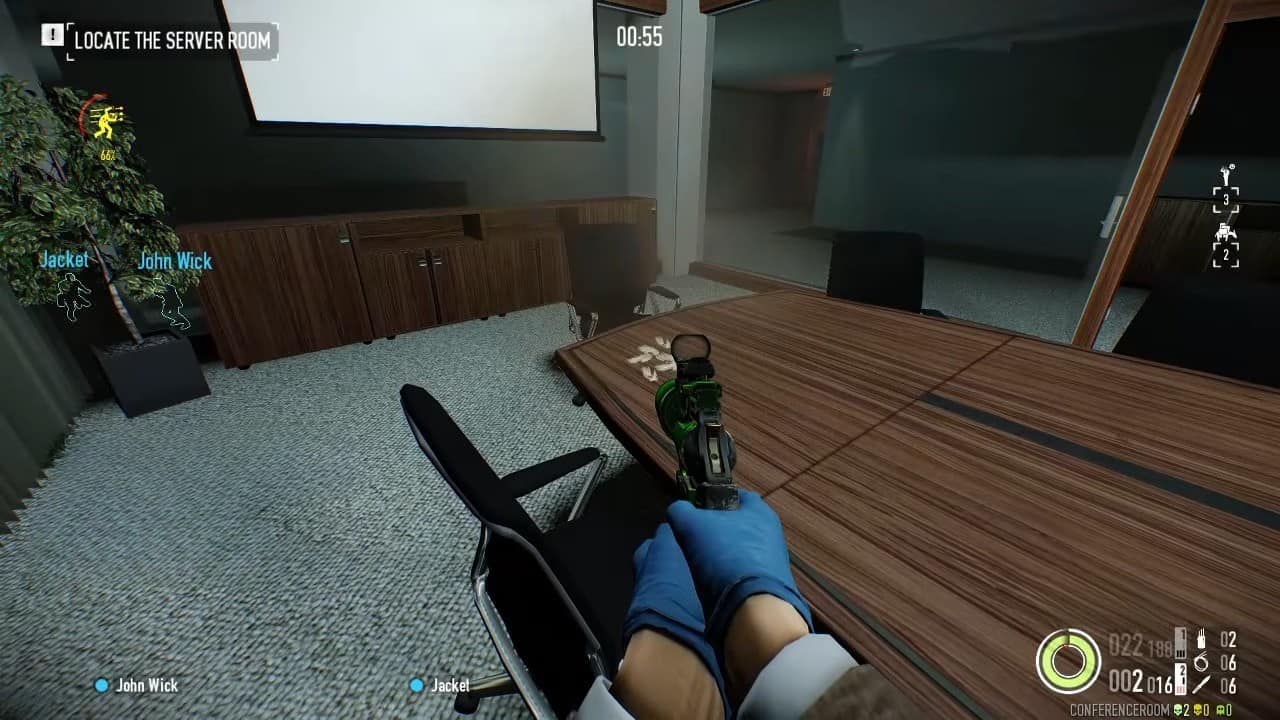
For key number 4, make your way to the conference room. It’ll be near the end of the table closest to the TV in the Firestarter heist in Payday 2.
Day 2 – Key 5
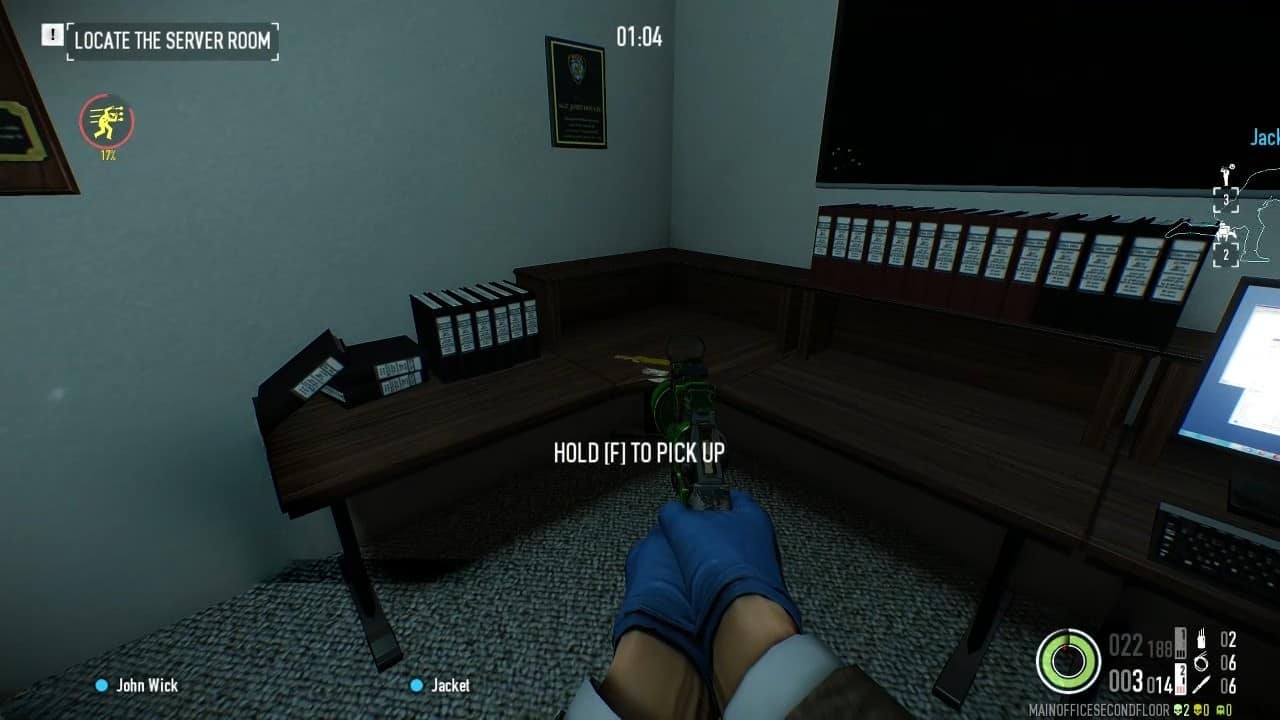
The last key can be found on the same floor as all previous keys. It’ll be on top of the desk in one of the small offices along the hallway. The hallway can be found to the left of the conference room.
Day 3 – Case 1
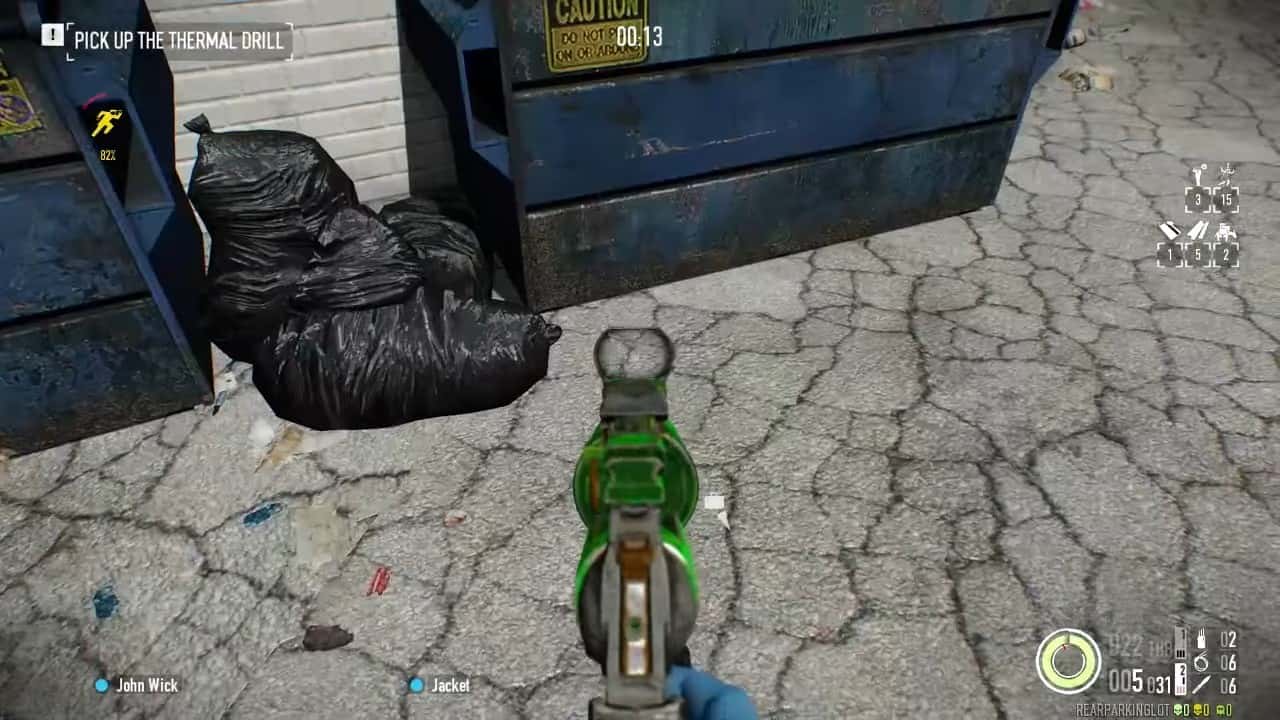
The first briefcase is in front of the dumpsters in the bank’s rear parking lot.
Day 3 – Case 2
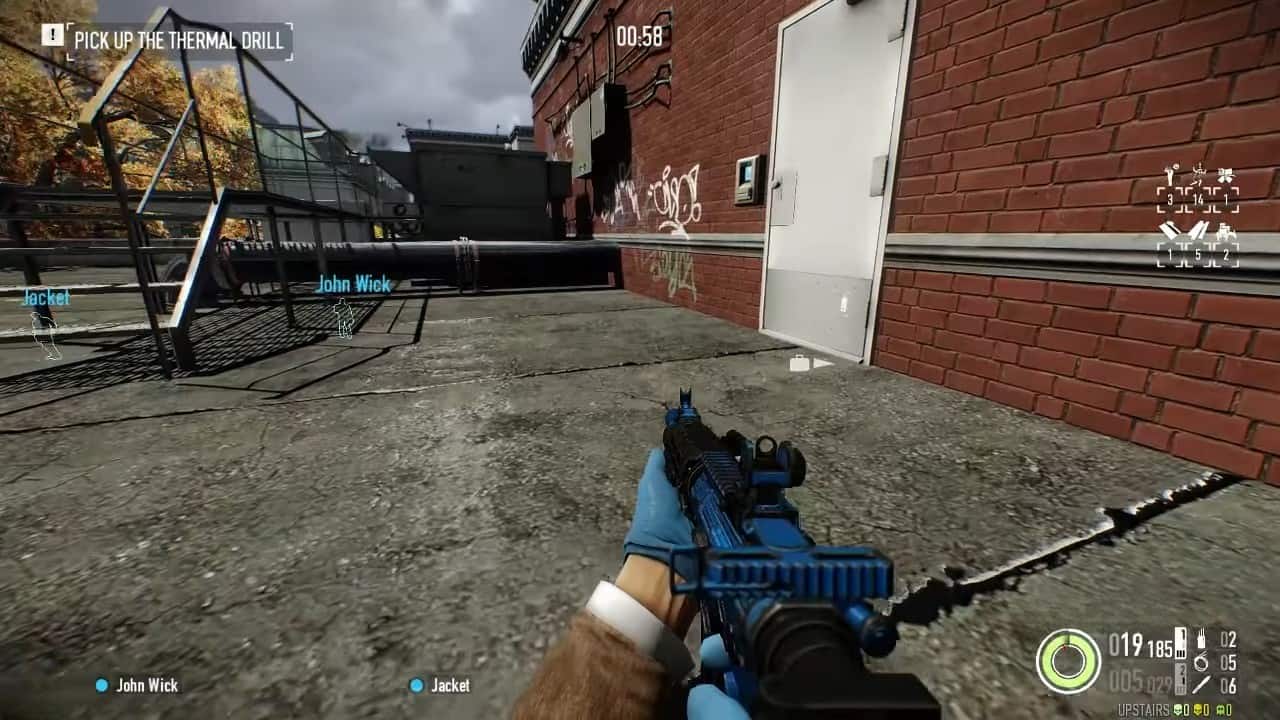
For the second case, you’ll need to go to the roof. The case will be next to the white door, underneath the security camera.
Day 3 – Case 3
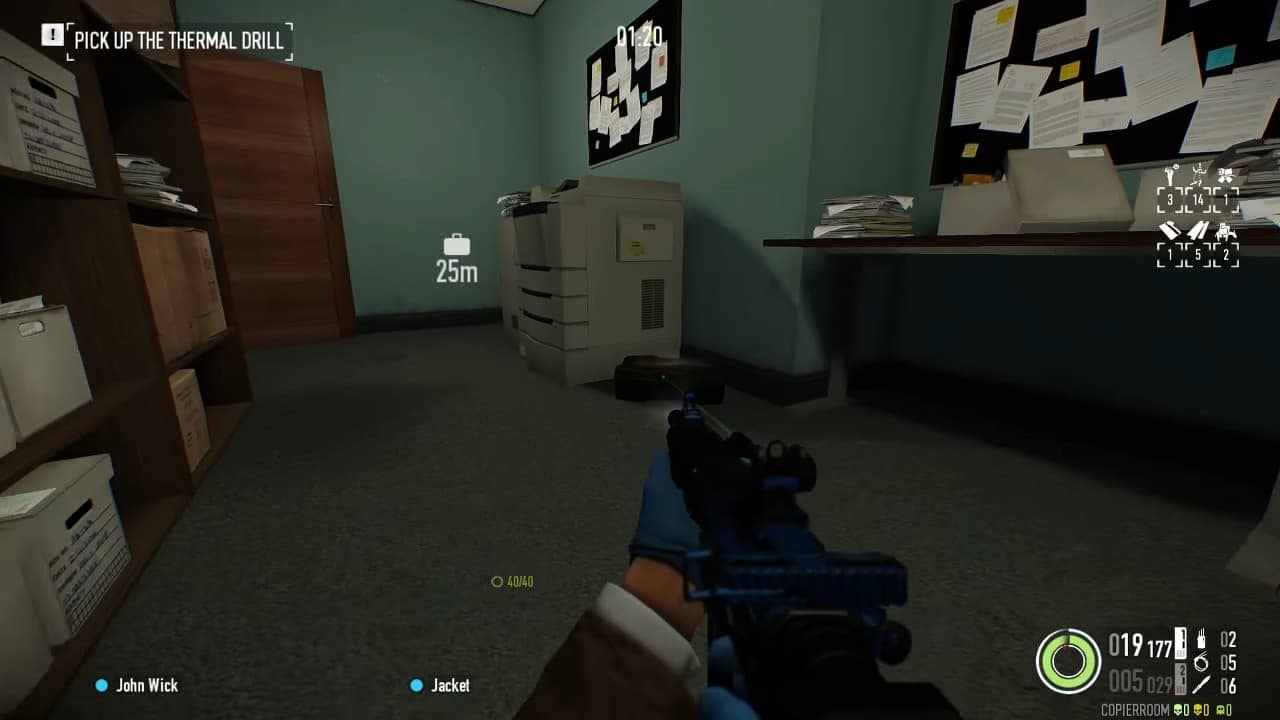
The third case is in the copy room, by the copier. It’s the first room on the right when taking the stairs from the roof.
Day 3 – Case 4
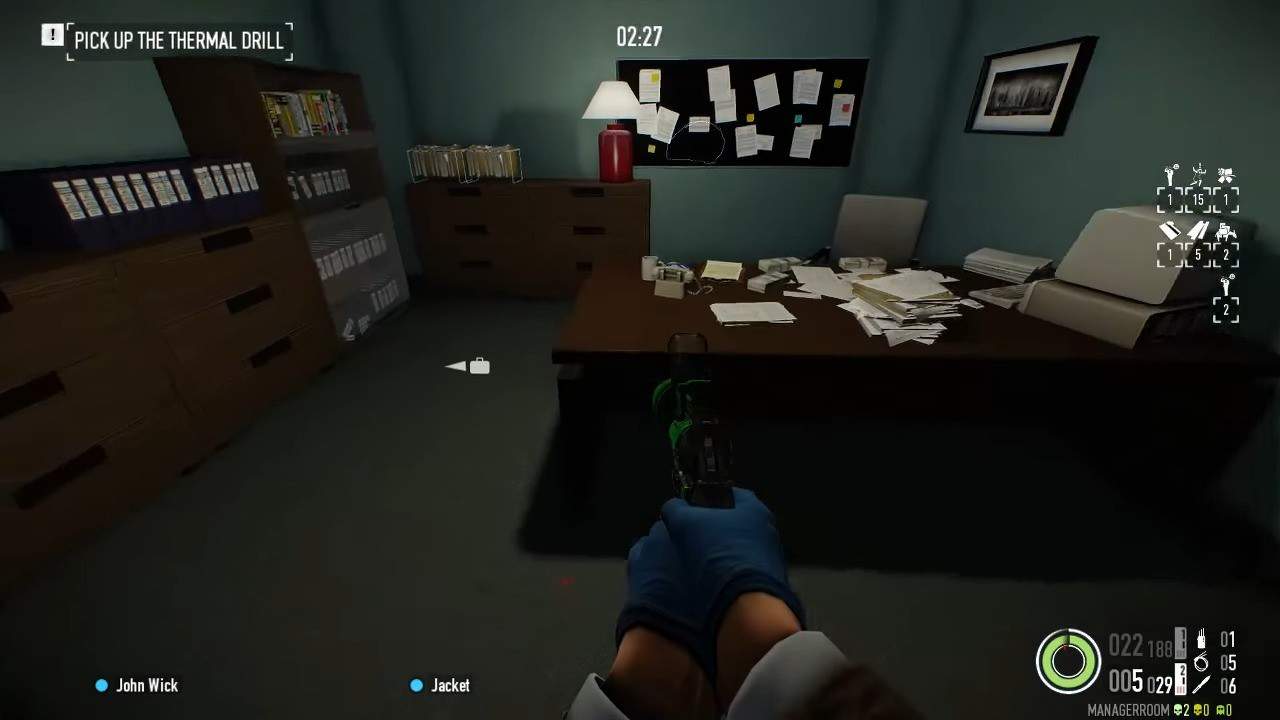
The fourth case is on the desk in the manager’s Room. The roof is located on the south end of the main office area.
Day 3 – Case 5
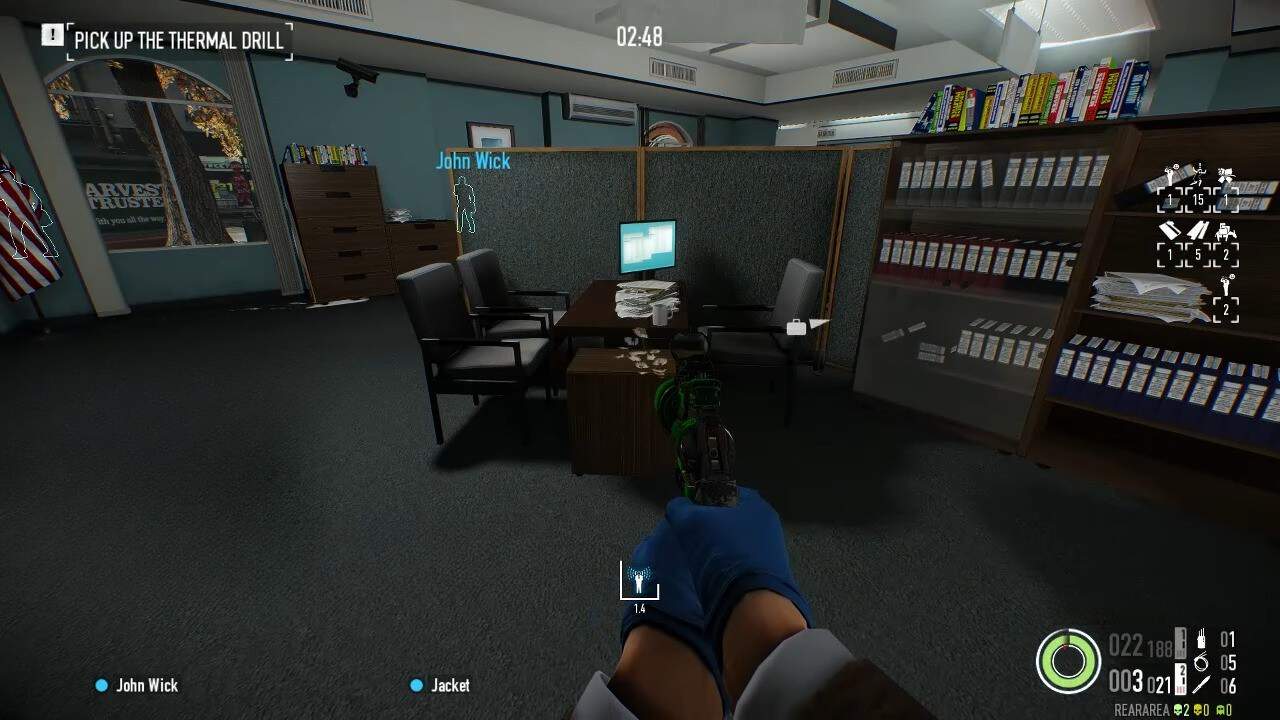
The fifth and final briefcase is in the office area in front of the manager’s room. It will be on a desk by the area divider.
Firestarter Achievements/Trophies
There are several achievements related to the Firestarter heist in Payday 2. Below, we’ve listed all of them and the requirements to unlock them.
