A lot of people have been facing some trouble with the face scan app that has released with NBA 2K20. Below we have summed up a guide which will take you through the steps that will make it easier for you to use the app.
NBA 2K20 Face Scan Guide
Firstly, create an NBA 2K account by tapping the logo. Log in with it and link it to your NBA 2K account. Download and install the MyNBA2K20 app with which you will face scan NBA 2K20.
On the MyNBA2K20 app, you will see a ‘console’ option. Click on it and then proceed with the ‘face scan’ option and the process will begin.
The app suggests you let a friend scan your face using your rear-facing camera. Click ‘Begin Scan’ and get ready.
Align your face with the oval that prompts on the screen. It will ask you to move your face and keep your face in a 30-degree angle so that it can get the angles of your face. Do not move your face instead of your face. Also, stand somewhere where there is ample light.
At the end of the process, the phone would have captured 13 pictures and a voice will come out indicating that the scan is complete.
If you are satisfied with the quality and face angles of your pictures then click on ‘upload images’. If not then repeat the process.
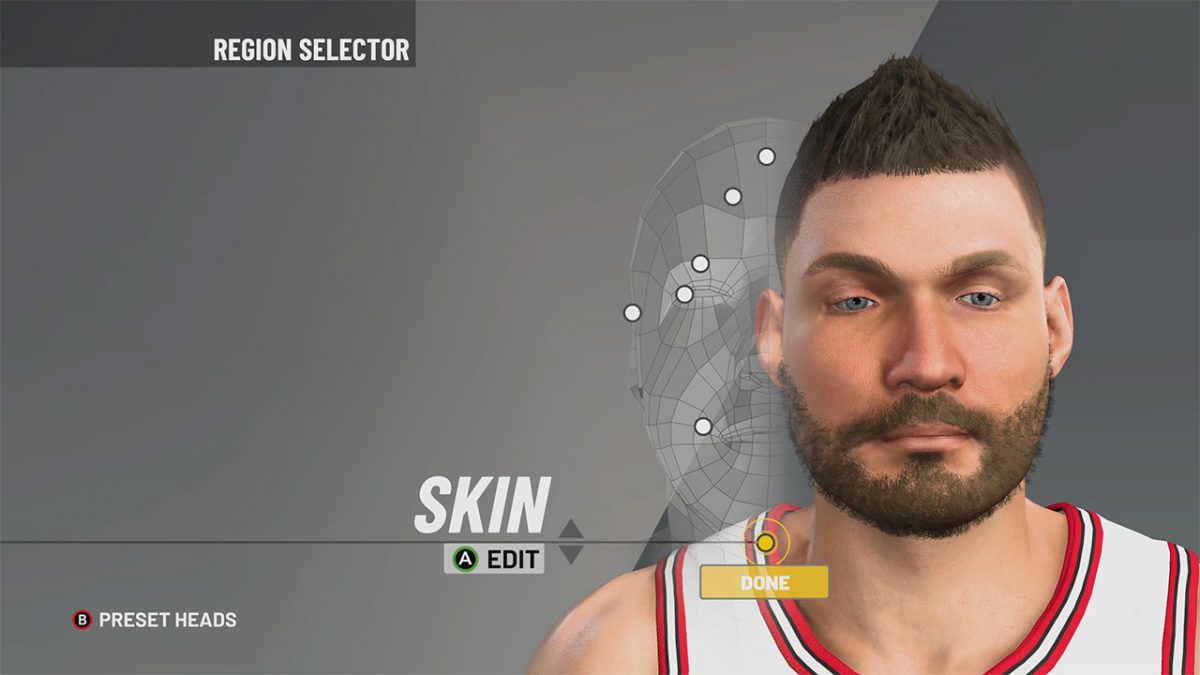
Enter in NBA 2K20 and click on ‘Scan Your Face’ and then on ‘Check for Head Scan Data’. The image starts to upload and will complete at 100%. You can now click on the face scan avatar and edit your face there.
And it is done. This is all you have to do for the face scan and if anything comes up or it shows that it is unable to carry on with the process then you can try to redo the process.