Tactical Combat is the main theme in Marvel’s Midnight Suns. Having different skills to help in combat is a must, so you will have to set out to collect all the Moon seals.
Getting the first and second moon seal will be easier compared to getting the third one which is a little bit tricky. This is because you will have to follow a long and often obscure trail to obtain it. Once you unlock the third Moon Seal you will be granted Power Word: Purify. This will help you by enabling you to enter areas to obtain the fourth seal.
The Fourth seal is broken into three moon seal fragments. So, you will have to collect these moon seal fragments to complete the fourth seal. After that, you will have to place the broken moon seal fragments on an altar. This will then complete the fourth seal.
There are a total of 4 Moon Seals in Midnight Suns. Read this guide to learn about the location of all four Moon Seals and how you can place them at the altar to unlock Words of Power in Marvel Midnight Suns.
First Moon Seal
Find the Statue of Agatha (1/3)
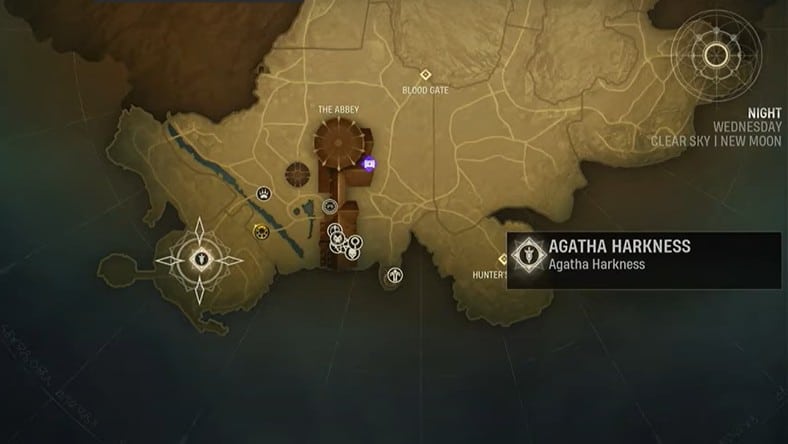
The first step in getting hold of the first moon seal is finding the Statue of Witch Agatha Harkness. Her spirit will guide you to Blood Gate in Midnight Suns.
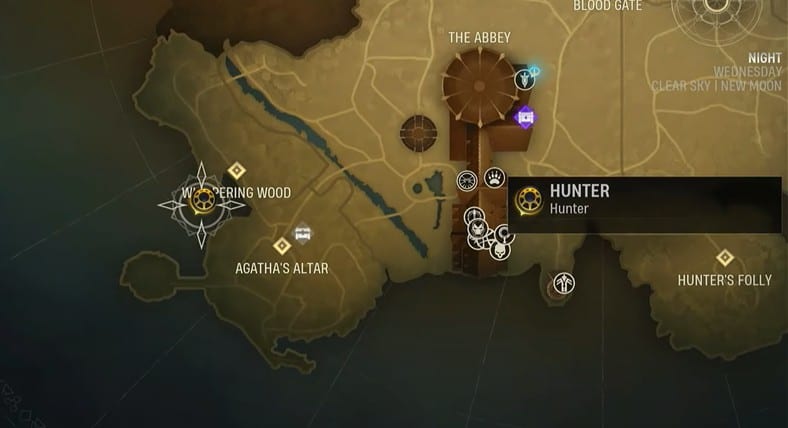
Head forward from where you found the Abbey, and The Statue of Agatha will be right ahead. Inspect the statue by interacting with the inscription on the bottom of the statue.
Go to where Agatha’s Spirit is taking you, which will be the Sealed Blood Gate of the Elder God Oshtur. Once there, start the Trial of Oshtur by interacting with the Blood Gate.
Complete the Trials of Oshtur (2/3)
Two separate trials in the Trials of Oshtur are playable with Demonic Hellhound, Charlie, and Hunter. We are starting with the first Trial, defeating all enemies in front.
The second one involves polishing both cards of the Charlie, which are Heal Card and Bite: Howl card. Doing both trials will finish the Trials of Oshtur.
Place the Seal on the Altar (3/3)
Go back to the Oshtur’s Cavern after completing the Trial of Oshtur. This time, the gates to the Cavern get unlocked. Once inside, head to the end of the Cavern to collect the first Moon Seal in Midnight Suns.
Close to that, there will be Altar. Interacting with it will provide you with the Word of Power needed to open and remove all doors.
Second Moon Seal
Find the Elemental Altar (1/8)
You will get an invitation from Agatha for Elemental Altar at Oshtur’s Cavern after completing the Trial of Oshtur. Agatha will give the invitation telling you to locate the Elemental Rods.
Your next task is to find these Elemental Rods across the Abbey Ground. The location to find each Rod is explained in the steps below.
Find the Fire Rod (2/8)
To find Fire Rod, head inside the Abbey Chapel next to the wall with the Standing Stone Cipher carving. Fire Rod is on the opposite side of the Stone Cipher wall.
Find the Water Rod (3/8)
There is a bridge next to the small pool with a hanging spot in Training Yard. Head under that bridge to find the Water Rod there.
Find the Earth Rod (4/8)
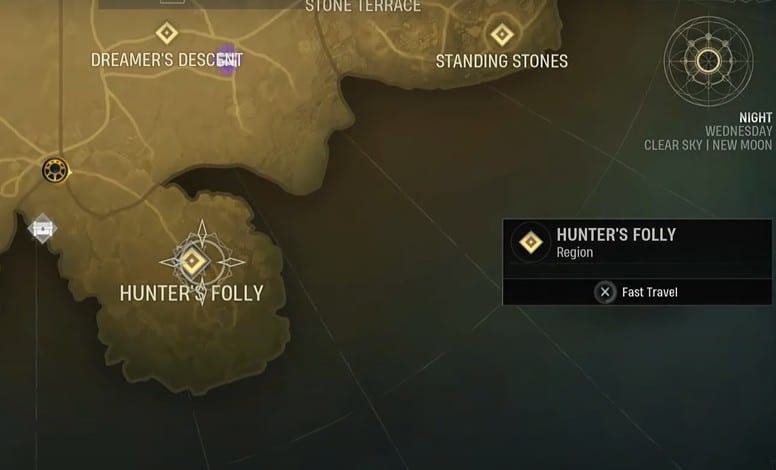
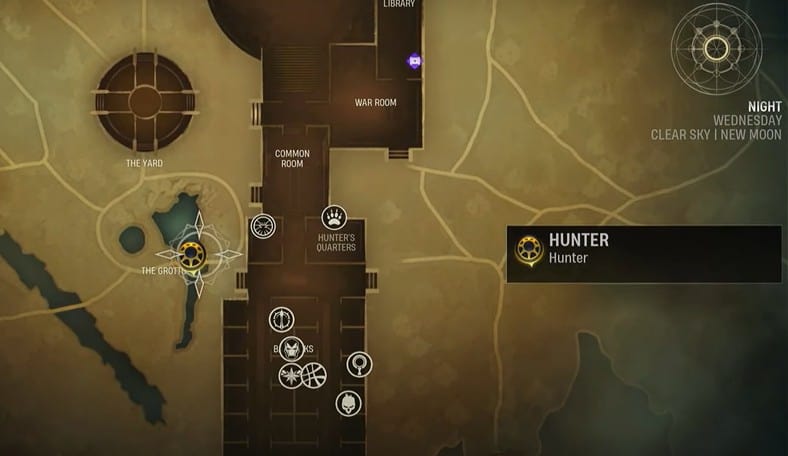
Open the map and head to the Hunter’s Folly location in the tomb of three centuries. Head inside the tomb to find the Earth Rod in the alleyway.
Find the Air Rod (5/8)
Most of us already know the spawn location of the Agatha Cat, Ebony. Close to this location is the Whispering Pines area. As soon as you enter that area, you will find the Air Rod on top of the wooden frame.
Return to the Elemental Altar (6/8)
The four you collected in the previous steps have a designated space in the Altar. Putting them in their respective place is a must to get the Moon Seal. Once you put all four Rods in the right places, you’ll be able to grab the second Moon Seal in Altar.
Complete the Trial of Atum (7/8)
Clearing Trial of Atum is simple as it involves defeating Sixteen different enemies, including Hellbound’s and Demonic Brutes. Use the rocks to induce damage to the enemies, including playing cards. After defeating all the enemies, the Trial of Atum will be cleared.
Place the Second Moon Seal on the Altar (8/8)
The next task after doing the Trial is to place the moon seal on the Altar in Oshtur Cavern. It will reward you with the Reveal, and because of that, you can see Chests, Arcane Keys, secret pathways, and multiple mysteries.
Third Moon Seal
Locate Hiram’s Shaw Church (1/11)
Find Agatha in an old church by traveling to the North end of the Midnight Suns. After getting instructions from Agatha to explore the Church, locate the Magical Ward, which will be at the far end of the Church. After interacting with the Ward, a message will appear on the screen saying, “talk to strange.
Talk to Dr. Strange (2/11)
To get help in opening and unlocking the Ward, talk to Dr. Strange in the Abbeys. Dr. Strange will make time for you to visit the Church to look at the Ward. He will not give us any help in opening the Ward.
Wait (3/11)
Dr. Strange will take a little time to devise a solution to unlock the Ward. After completing the Sneaking Out campaign, wait until Dr. Strange contacts you again.
Dispel the Ward (4/11)
Head back to the Church after getting the information from Dr. Strange to know how to remove the Ward. Inside the Ward is information about a criminal named Hiram Shaw, who hanged Salem Witches.
Search the Church (5/11)
Search the whole Church for clues in the open to get more info on the mystery in the Ward. You will find three pictures from the search of the Church that is the location of three Witch Warrens. Head out of the Church after taking pictures of the locations.
Find the first Witch Warren (6/11)
Collecting Magical Blood Drenched soil from all three Witch Warrens is a must to get the third Moon Seal. After getting a clue from the first image about the location, head to the Standing Stone. There will be a cave called Atum’s Cavern with the witch sign embossed near the wooden plank. This spot on the ground is where the soil sample needs to be collected.
Find the Second Witch Warren (7/11)
There is a path that runs alongside the river near the Training Yard. At the end of the track, you will see another witch sign. Take the soil sample near it.
Find the Third Witch Warren (8/11)
After looking at the image for clues, we can safely say it matches a view from the Dreamer Descent. Head there and travel left from where there is a cave entrance to locate the witch sign. Collect the soil sample near the witch sign.
Locate the Hanging Tree (9/11)
There is a tree near Shaw’s Church where all the murders happened to the Shaw victims. Travel behind that tree and use the Reveal to get the Third Moon Seal.
Complete the Trial of Hyppus (10/11)
The next destination is Everflowing Glade, North of Hiram’s Church, to attempt the Trial of Hyppus. Head to the bridge at the location covered in corrupted roots and find a path to the left side halfway
across. You will find Hyppus Blood Gate at the end of this path, with a character requirement of 12 to enter. Entering Hyppus Gate will, however, start the Trial of Hyppus. The Trial is simple as it involves killing 16 enemies, mainly Shadowbounds, Brutish Guardians, and Dark Legion. The Trial of Hyppus will finish after killing all these enemies.
Place the Moon on the Seal (11/11)
After completing the Trial of Hyppus, place the seal on the Altar in the Oshtur Cavern. Word of Power: Purify will be received that can quickly clear all the magical roots that come along the path.
Fourth Moon Seal
Reach the Garden of Envy (1/8)
The Garden of Envy, located Northwest of the Abbey, will now be accessible after clearing the roots with purify. Get inside the Green House to learn about the Fourth Moon Seal.
As the Fourth moon seal is divided into three fragments, you need to first find these three Moon seal fragments to complete the Fourth Moon seal.
First Moon Seal Fragment (2/8)
Garden of Envy has a big pool in a cavern down its spiral stairway. The first moon seal is stuck to a side wall at the cave’s top entrance.
Second Moon Seal Fragment (3/8)
The Garden of Envy is a vast housing, yet another place, a graveyard. Head towards the end of the graveyard to find a broken wall with stairs leading up. Here you will find the second Moon Seal fragment stuck to a wall at the top.
Third Moon Seal Fragment (4/8)
Head upwards from the location of the second seal to the highest place in the Garden of Envy. Locate the wooden walkway at the top, and the third moon seal is on the wall at the end.
Collect the Mysterious Flower (5/8)
After collecting all the broken Moon Seals, it’s time to repair them with the help of Agatha. For that, she needs a rare reagent from a flower in Agatha’s Cottage that needs collecting.
Unite the Moon Seal Fragment (6/8)
Once the reagent is collected, travel to Agatha in Abbey’s Library. She will help you consolidate all three broken moon seals into one on her Elemental Altar. The next task is to travel to the northernmost point of Midnight Suns to locate the Blood Gate that begins the Trial of Set.
Complete the Trial of Set (7/8)
Clearing Trial of Set is simple as it involves defeating enemies like Shadowbounds, Guardians, and Dark Legion. There is, however, an addition of an enemy called Soulbound that can heal its own HP and its partner’s HP. After defeating all 16 enemies, the Trial of Set will be cleared.
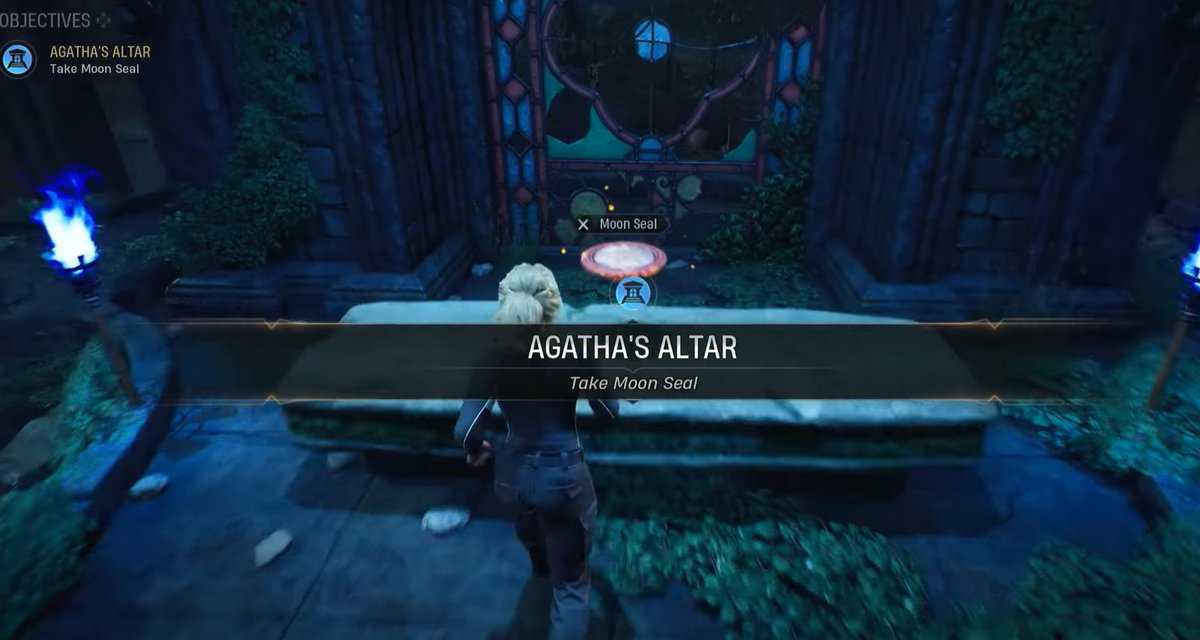
Place the Moon Seal on Altar (8/8)
Take the Moon Seal made by Agatha to the Altar and get Word of Power: Break as a reward. With the help of Break, you’ll break walls and big clear piles of debris.