
An interesting addition to Call of Duty: Infinite Warfare‘s Zombies mode is the brand new map called “Attack of the Radioactive Thing”, which comes with the Absolution map pack.
The interesting thing about this map is that it brings a brand new feature to the zombie mode – a minigame that grants you all the perks. This minigame is called Skullhop and is completely exclusive to the Attack of the Radioactive Thing map.
For players wanting to try this minigame out ASAP, you may want to hold your horses. Unlocking the minigame itself requires a lot of effort. You need to find six skulls scattered across the map to get this game. These skulls aren’t very easy to find, but you’ve got us to help you out.
Where to Find All Skulls in Attack of the Radioactive Thing
To unlock the Skullhop minigame in Attack of the Radioactive Thing, players need to get their hands on six different skulls, acquired by completing several different tasks spanning the entire map.
Some may be easier than others, but it is highly unlikely that you will find all of them without help. Hence, we’ll show you how to get each of these skulls in order.
Skull #1
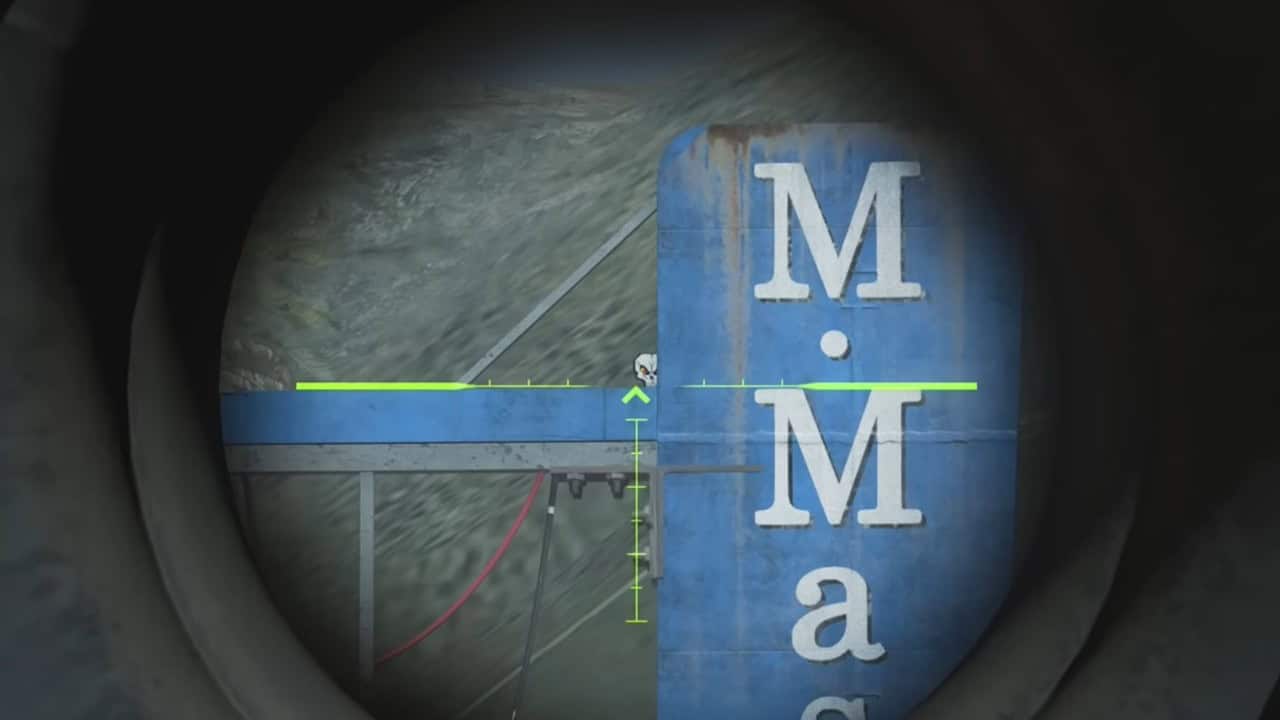
To get your first skull, you will need to find and shoot 5 random skulls located around the map. Their locations are given below. Once you shoot your fifth skull, you will hear a success tone that will inform you that you have successfully received the skull.
Keep in mind that the skulls are 2D drawings and not actual skulls like you would expect. Moreover, some of these are located outside the map and are very difficult to spot, so you need to pay a lot of attention.
- Behind a dumpster near the Power Plant
- On the couch inside the window at the Power Plant
- Next to Mason’s Sign near Tuff Nuff
- On top of a rock in the Ocean
- Under the bus on the Bridge
- Behind the top right balcony of the Motel
- On the barrier in the TV Station
- In the bathroom behind Snack Shack
- On the underside of the shelf in the back of the Market
- In the back-left of the building to the right of Fishing Shop
We advise using a sniper rifle to hunt these skulls because some of them can be quite tricky to shoot.
Although there are 10 locations where the skulls may potentially spawn, it is not necessary that they will spawn in all of them. You only need to find and shoot five of these skulls to complete the objective.
Skull #2

Go to the Gas Station and pick up the yellow pump on the ground. Once you have picked it up, head to the Puddle of Toxic Waste near the Ice Cream shop and place the pump in the middle of the puddle.
You must now wait for it to fill up completely. It will roughly take around 4 minutes to fill up. Once activated, pick it up again and you will hear the success tone, obtaining your second skull.
Skull #3

Now head to the Motel Pool and place the pump in the water. Obtain the gas from beside one of the trucks and then use it to activate the Generator trap next to the pool. You need to kill exactly 16 Zombies with the Generator trap. Once complete, you will hear the success tone and the third skull is all yours.
Skull #4

This is probably one of the trickest skulls to get in Infinite Warfare’s Attack of the Radioactive Thing. First head to the Ice Cream Shop and note the words written on the outside wall. This will be right below the “No Smoking” sign.
Now go to the Playground and Drive-In Theatre Screen, 4 total symbols will spawn at the Swings. Activating the letters at the Swings will change which letters appear on the screen. Using this key, spell out your word found on the wall outside the ice cream shop.
Each combination of symbols will lead to a letter. You have to try making combinations in a trial-and-error fashion, seeing what letters the combinations make.
After obtaining all the letters, you need to spell out the word you got in your game using these symbols to solve the cipher. When you complete it, a success tone will sound and you will have your fourth skull.
Skull #5

Head to the RV Park and activate the ‘Don’t Blink’ piece of paper on a table by meeleing it. Re-obtain the pump from the pool and navigate to each of the 4 Willard Wyler Portraits around the map. Activate each Portrait and place the pump on the ground in front of the portrait.
Now, Melee the pump to release the Demons. You must continue to shoot the demons until the shield disappears. You must repeat this process for all four Portraits. Once you have completed this process for all of them, you will hear the success tone indicating that you have obtained the fifth skull.
If you are too slow and fail this step, you have to pick up the pump back from the pool and repeat the process.
The locations of the 4 Portraits are listed below:
- Beside the dumpster behind the Gas Station
- In the office at the Motel
- In the Ice Cream Shop
- In the office in the Market
Skull #6

To get the final skull, you must obtain the M.A.D. Once you have the M.A.D. equip the plunger to it, head to the Ice Cream Shop, and shoot a charged shot at the Skullhop Machine.
Once done, you will hear the success tone and the final skull will be all yours. All players must activate the Skullhop Machine at the same time to enter the machine and play the minigame. If you manage to fail the original Skullhop game, you must repeat this process.
How to Play the Skullhop Game
In the Skullhop game, the Players must stand on the Platform matching the color on the sides of the Skulls. Entangle the Blocks floating in the air and shoot the Block at the Skulls until all the Skulls are gone.