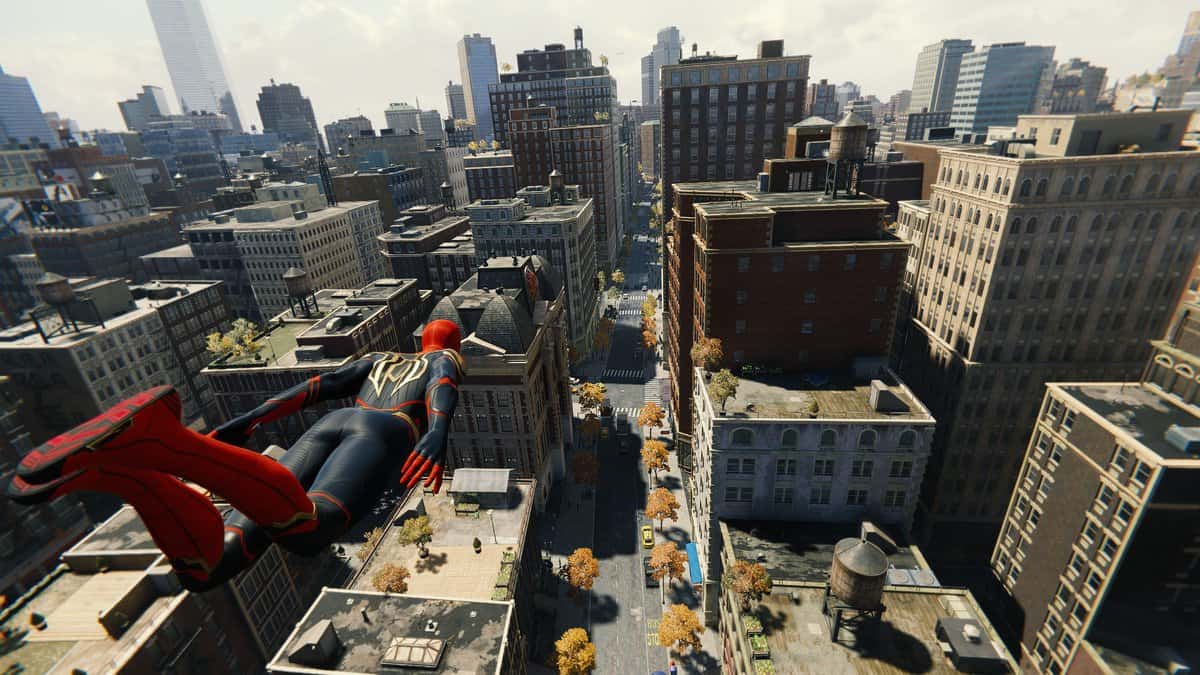
The PC version of Marvel’s Spider-Man Remastered was released a few days ago so we have researched a lot for the best graphics settings. There is a lot of setting to play with that give us a chance to modify the settings according to the actual limits of our PC to deliver smooth gameplay.
Marvel’s Spider-Man Remastered performance is heavily reliant on the performance of the CPU contrary to all the other games that rely on GPU performance mainly. Read this guide to learn about the best setting for Marvel’s Spider-Man Remastered.
Marvel’s Spider-Man Remastered Best Settings
We have given you all the setting that works best in the environments in which we were testing the game therefore the perfect setting for your PC may be a little different, but it will mostly center around the setting given below:
- Texture Quality: Very High
- Texture Filtering: 8X
- Shadow Quality: High
- Ambient Occlusion: SSAO
- Ray Traced Reflections Resolution: High
- Ray Traced Reflections Geometry Quality: High
- Ray Traced Reflections Object Range: 8°
- Hair Quality: Medium
- Depth of field: Low
- Level of Detail: High
- Crowd Density: Low
- Traffic Density: Low
You have now the knowledge of the best settings for Marvel’s Spider-Man Remastered. Navigate below to learn about the effect of change of settings on the overall performance of the game.
Texture Quality
The higher your GPU memory is, the higher you can select the quality of textures. We recommend you select “High Textures” in the settings if your GPU’s total memory is 6GB and “Very High Textures” if your GPU’s total memory is 8GB, but you must lower the setting of Ray Tracing if you want a smoother operation. If your total GPU memory is more than 10GB, then you can select the maximum settings of Texture Quality.
Ambient Occlusion
Marvel’s Spider-Man does offer HBAO+ settings for the Ambient Occlusion but this does not fit the game’s artistic design that relies on the default SSAO delivering a lot more Occlusions than the HBAO+. For best Occlusion performance, we recommend you select SSAO from the settings.
Depth of field
If you have a low-end PC, we recommend you select the low setting for Depth of Field as it runs at 1/8 of your selected resolution, therefore, making the cut scenes smoother and more profound while at the same time making very less sacrifice in terms of resolution.
Although if you have a higher-end PC, you can opt for Medium to High settings for the Depth of Field if you don’t want to sacrifice anything.
Hair Quality
If you are looking for optimized settings of Hair Quality for a mid-range GPU, we recommend you select “Medium” as it will get rid of all the performance lurches that you see in the cutscenes and make the overall experience 30% better than if you would have selected High settings for Hair Quality.
Shadow Quality
The higher the shadow quality is selected, the higher the shadow details are going to be displayed in your gameplay. For example, in the Very High setting, we were able to identify the shadow of wires in the wall that was not visible in the High and Medium settings.
The recommended setting for Shadow Quality is High because you will have a decent shadow effect and at the same time have a 3% compromise on the performance compared to Very High settings.
Level of Detail
You can only feel the difference between very high settings and low settings for Level of Detail if you are walking on foot rather than if you are in the air, you can barely see any difference two modes for Level of Detail.
If you are playing this game on a mid-range PC, we recommend you have High settings for the Level of Detail as it will not hinder any performance aspect of the game and at the same time give you a good Level of Detail.
Crowd and Traffic Density
The results of Medium and High settings for the Crowd and Traffic density are the same as both settings seem to show a good density of civilians even from very far.
If you go down to low settings, you will compromise the number of civilians in less dense areas but gain significant performance improvement therefore it is best to go for Low settings for Crowd and Traffic Density.
Texture Filtration and Quality
For texture filtration, it does not hurt any performance if you go towards the high setting which is 8X therefore it is better to select the 8X setting for the Texture Filtration. The same goes for Texture Quality so it’s best to go towards higher settings of Very High.
Ray Traced Reflections
For the Resolutions settings, we recommend selecting the “High” setting as it will give you 50% more performance gain if you were to select Very High settings. Use the High settings for Geometry settings as it will give you 26% performance gain as compared to Very High settings.
The object range setting is driven by your CPU performance so it’s best to go for 6 settings for Object Range if you have a low-end CPU that will give you a significant 23% performance boost over the highest 10 settings.
