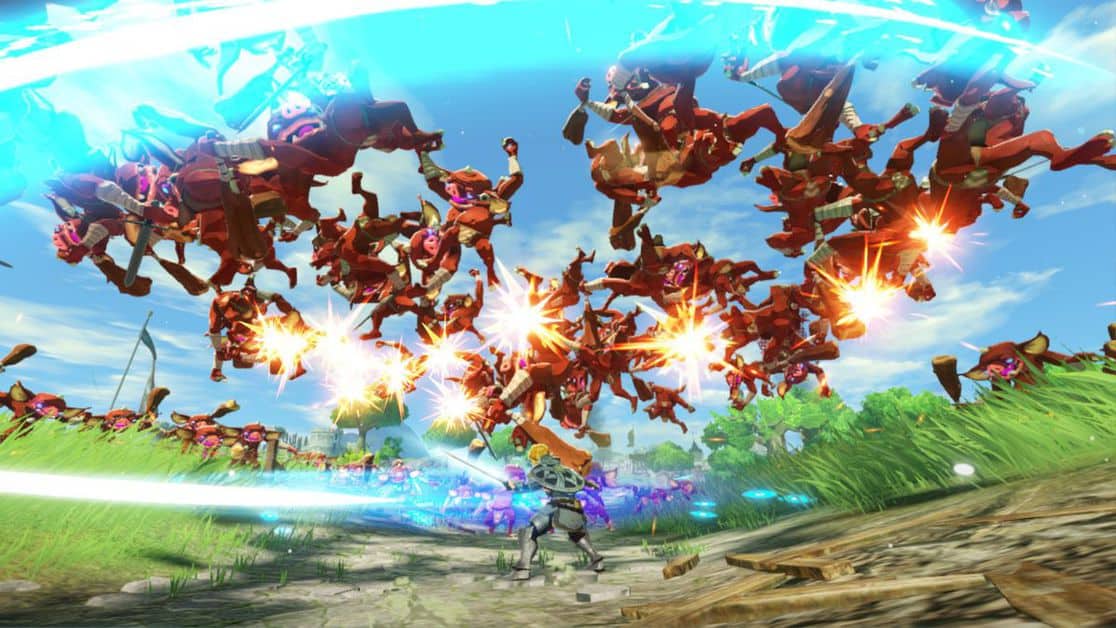
Our Hyrule Warriors Age of Calamity Water and Fire Walkthrough will get you up to speed with all the steps that you need to take in order to ace the Water and Fire Mission in HW Age of Calamity.
Hyrule Warriors Age of Calamity Water and Fire
Water and Fire is the second level of Chapter 5 in Hyrule Warriors Age of Calamity and once you have overcome the Calamity Strikes Mission, you’ll be to have a go at it.
Completing the Water and Fire Mission won’t only grant you access to the characters of Sidon and Yunobo but also to the following quests:
- Sidon’s Waterfall Workshop
- The Zora Researcher
- A Thirst for the Desert
- Blessing of the Rains
- Goron Rations
- The Rock-Hard Grill
- Defend the Goron Hot Springs
- Fighting Fire With…
- Bounty of the Sea
Our Guide below details each and everything that’ll lead you to triumph in this main mission. So, let’s begin!
Rescuing Mipha
The first and foremost objective of this mission is to rescue Mipha. For that, you’ll have to make your way to the waypoint.
Here, there’ll be two Koroks and some enemies. Fight the enemies if you want to, otherwise, just move on and enter the first outpost.
Once inside, eliminate the larger Bokoblin and rescue Mipha. Now, turn right from the junction.
Removing the Malice
Having done that, your next task is to remove malice, the purple calamity substance.
For that, you’ll firstly need to make your way to the enemy outpost towards south (you’ll also find a Korok here).
Once at the outpost, take out the Black Moblin. Now, get to the nearest waypoint and slash your sword on it several times to remove all the malice attached to it.
This will also cause the path to Vah Ruta to open up.
Next, switch over your character who’s currently on his way to the next outpost. Once there, take down the Bokoblin and walk over to the following outpost.
Here, you’ll be met by Black Moblin and Electric Moblin. Fight them off and annihilate the eye.
Now, switch back to the character who had cleared out malice from the main outpost.
Take control of this outpost and then, move on to the next waypoint where an Ice Lynel will ambush you.
Fight this Lynel until he’s defeated, which will result in the eye popping his eye back open. Now, destroy the eye to unveil the path to the Divine Beast.
Once you’ve done that, drop off from the nearby cliff and enter the Divine Beast.
Fighting the Waterblight Ganon
As soon as you’ve gained entry to the Divine Beast, you’ll be put to test through a fight against Waterblight Ganon.
Although it’ll be three on one situation, with Mipha and Sidon by your side, you need to be aware of Waterblight’s most destructive moves if you hope to come out on top of this battle.
- Waterblight Ganon gathers up his energy and perform a water sphere attack that can certainly send you packing!
The signal for this attack will be the appearance of a light circle beneath you.
- Waterblight Ganon will start to glow blue and teleport to another area. Once in the right position, he’ll either attack the ground let off ice shards towards you.
- Once he’s at his half HP, he’ll start swinging his sword in your direction. This swing covers a considerable distance, and if it connects, it can be fatal.
Rescuing Daruk
Once you’ve taken care of Waterblight Ganon, you’ll be able to play as Sidon.
So, first things first, switch over to Sidon and make your way to the first outpost in Death Mountain Territory.
Here, practice with Sidon’s character and get used to it.
Once you’ve gotten ahold of Sidon’s character, pace back to the waypoint to take down the Igneous Talus, standing in front of a lava river.
Defeating the Igneous Talus will prompt Vah Ruta to spray water onto the lava, thereby turning it into a pathway.
Follow this pathway to the very end, where you’ll come face to face with a Fire Lynel. Beat him to progress forward.
(Note: Ice Rod is surprisingly super effective against a Fire Lynel, so be sure to make full use of it.)
Fighting the Fireblight Ganon
Next, you’ll have a faceoff with the Fireblight Ganon. Just like Waterblight Ganon, this fiery beast also has some pretty deadly attacks up his sleeve.
- Fireblight Ganon throws a plethora of fireballs that scatter all around, making it difficult to avoid them.
- Fireblight charges up with fire and lets out a fire blast in your direction. The signal for this attack will be a red ring surrounding him.
- Fireblight Ganon’s fire sword slam and head bash also dish out hefty damage.
Once he’s halfway down, Fireblight Ganon will increase the headbanging. Just use your Ice Rod until this phase passes and soon, you’ll find yourself as the victor of this battle.
More Enemies!
After dealing with the Fireblight Ganon, head back inside the Divine Beast and destroy all the waypoint which are actually acting as Guardians.
Eliminating them all will cause more to appear. First, at the defensive line and then, the southern bridge.
Fight off the enemies on the defensive lines and as far as the enemies on the southern bridge are concerned, use your special attack to destroy that bridge and the bridge next to it.
With the bridges falling apart, the enemies on them will automatically be killed
Finally, head to the final outpost and use your special attack to wipe out whole of the Divine Beast.
That marks the completion of this mission.
