Our Hyrule Warriors: Age of Calamity The Battle of Hyrule Field Walkthrough is here to guide you through the complete level of the battle at the Hyrule Field against the goblin intruders.
Hyrule Warriors Age of Calamity The Battle of Hyrule Field
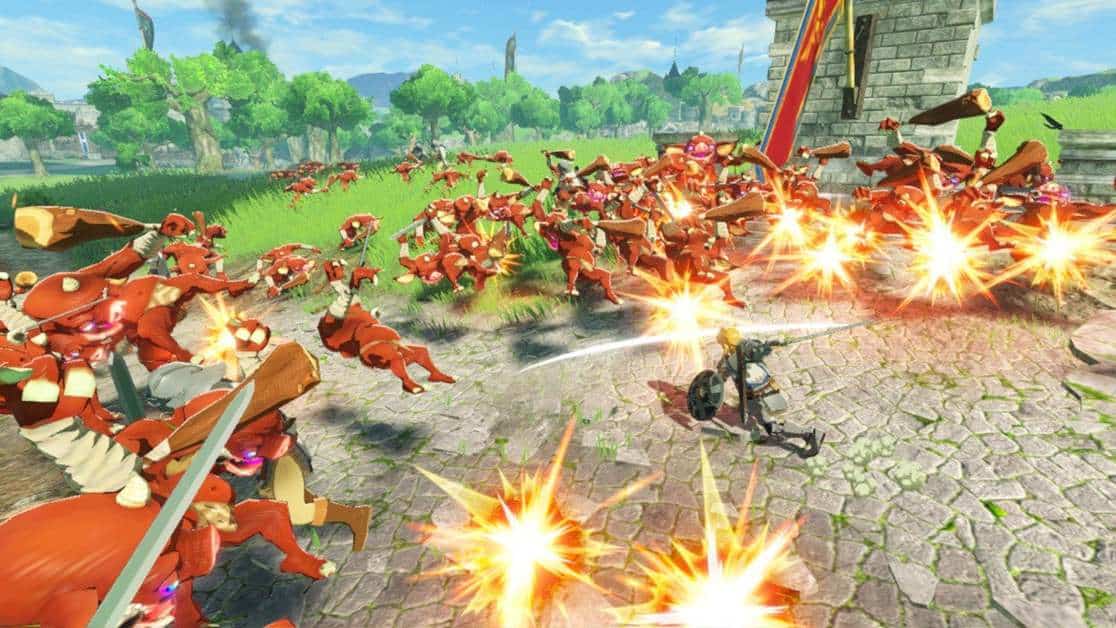
After the back story and the opening cutscene, you’ll gain control of Link in the field in front of the castle.
There isn’t any clear objective to start with, but you have a hoard of Goblins rushing towards the bridge.
You’ll get tutorial popups at this moment to let you learn the battle mechanics in Age of Calamity.
You’ll get to use the basic attack following up with the strong attack along with special attacks and unique actions.
Rush over to Goblin hoard and start beating up the lot. You’ll get plenty of meat to practice your moves and perfect the battle mechanics.
Once you’re done with practice, head over to the left side towards your first objective location.
Defeat the Moblin
At the objective location is a Moblin, which is a mini-boss that you must beat.
Use B to dodge and ZL to guard against the swing attacks; they may come in quick succession, so stay alert. It also uses a dash attack, after which it gives a moment to damage.
If you land a string of attacks, you’ll see that a gauge appears on top of it, which depletes as you keep attacking; this is the weak point meter.
Once the meter breaks, the Moblin is stunned and you get to use the Weak-Point Smash; a devastating attack that instantly kills the Moblin.
First Outpost
After the Moblin is defeated, 3 more objective points will appear on the map.
These are the three outposts that you must capture one by one by defeating the mini-boss at each one.
The first outpost to the left of the Moblin is one for practice, so clear the goblins and defeat the Bokoblin to capture that outpost. Then head southwards toward the first objective outpost.
Repeat the same action at this outpost of capture it and get the first objective checked out.
This will start a cutscene in which Impa will be introduced into the gameplay and get a hold of the Shiekah Slate.
Second Outpost
With the Shiekha Slate, you now have some new moves which you can use by holding the R button and pressing one of the four letter buttons.
Right now, you can use the Remote Bomb and Cryonisis.
Going further south, there’s another enemy station inside a skull cave. It holds a chest guarded by a Mokoblin and a goblin hoard.
This is a nice spot to test your new moves. Clear the area and open the chest to get the treasure.
Keep heading south to go through a stronghold held by a Giant Mokoblin and his goblin underlings. Multiple Remote Bombs can quickly destroy the goblins and stun the Giant Mokoblin.
Keep that direction and head through the market to the second outpost while defeating all the goblin hoards in your path.
The outpost will be captured once you defeat the Giant Mokoblin by the fountain.
Defeat the Fire Wizzrobe
A little later, you’ll get a prompt saying that a Fire Wizzrobe has appeared and immediately get a notification that you can now play as Impa.
Switch over to Impa by hitting the D-Pad down. You’ll find yourself in a field of goblins with the Wizzrobe behind them.
Impa play style focuses on applying symbols on enemies and absorbing them to create her magic attacks. She can make friendly illusions of herself to assist her in battle.
Play around to learn her moves and defeat the Fire Wizzrobe just as you do the other mini-bosses.
Once it’s been defeated, it’ll leave a Fire Rod that you can pick and use to rain fire on enemies by pressing L+Y.
Third Outpost
Now it’s time to head to the third outpost with Impa, as its close by her and defeat all the lizard and the Lizalfos just like the Mokoblins and capture the third outpost to complete the objective.
Open the chests that appear to get the rewards.
Defeat the 3 Moblins
Your final objective for this episode is to defeat the 3 Moblins at the south end of the map.
You must have both your characters move towards the objective location for the battle. Command the character that you are not using to get there.
There is another Fire Wizzrobe on the path that you must defeat in order to make way to the final 3 Moblins.
Get across the bridge and into the field, clear the goblins in your path to get to the Moblins and defeat them one by one to end the mission for good.