The Deluge is one of the longer side quests that players will be picking up in Horizon Forbidden West.
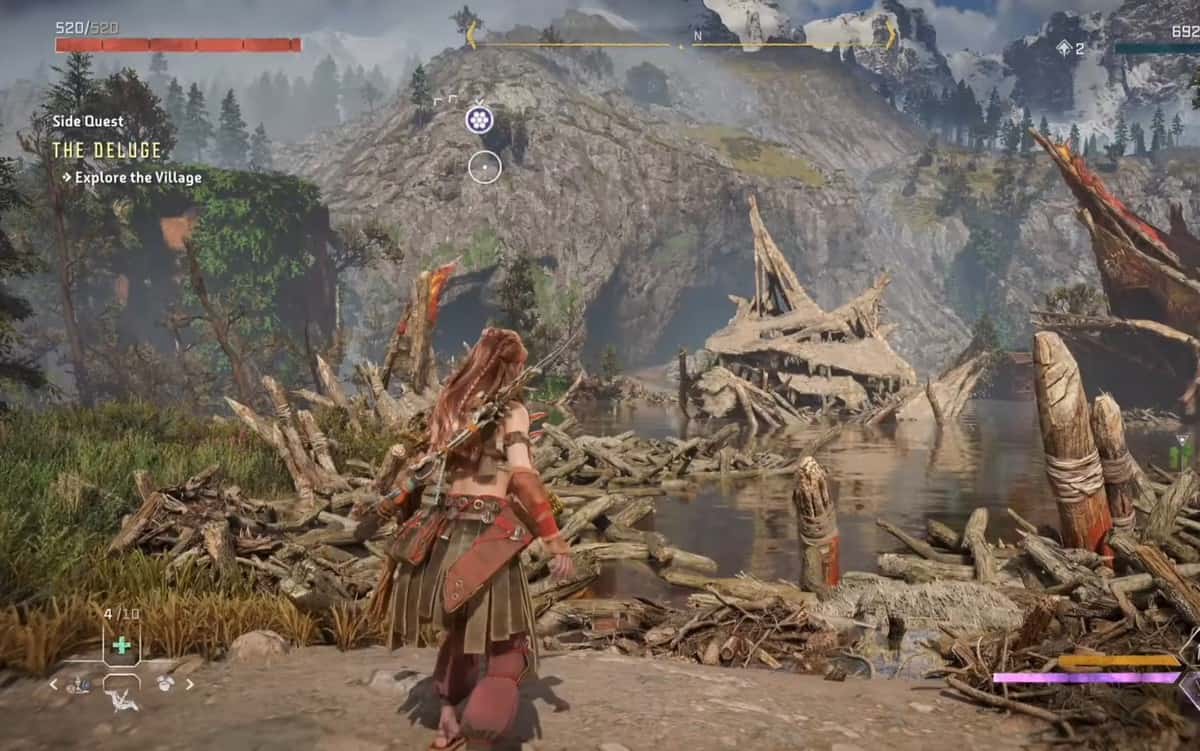
In this one, Aloy will have to make her way to Bleeding Mark in order to rescue survivors of a mudslide that destroyed their village.
The following guide will make sure that players do not lose themselves while tracking down all survivors for the Deluge side quest in Horizon Forbidden West.
How To Unlock The Deluge
You will be able to take on the Deluge side quest when you hit level 15. Speak with Zokkah, the inker’s apprentice, when you are in Scalding Spear. He will muse that Scalding Spear has not received any supplies from Bleeding Mark in the north for a while now. Aloy will naturally offer to look into the matter by traveling to Bleeding Mark.
You will likely come across the Deluge side quest while doing The Broken Sky quest, the main questline. Hence, saving you time by picking up The Deluge while you are completing The Broken Sky.
How To Complete The Deluge
Talk to Nakitta in Bleeding Mark
After the quest has started, the first thing you need to do is head north, towards Bleeding Mark.
Once there, talk to Nakitta and she will tell you that there are more survivors in this submerged city. A notable survivor she asks you to look for is Kentokk.
Head to the Metal Tower
After speaking to Nakitta, head over to the big metal tower that’s present on the western side of the city. Once there, use Focus to find the survivors.
The first set of survivors is stuck under the first tower. Saving the survivors from the first tower is very easy, but the ones in the second tower are much more difficult to save.
For the second tower, you’ll have to get inside. Use Focus to find a tree adjacent to the tower. You can use the tree to get inside the tower.
Once inside, go down to the yellow beam in the water below and pull down the crate above you using Pullcaster, then pull down the beam above the crate.
Use the crate as a platform and then climb up the vertical beam to the next platform. Now, walk onto the yellow beam to the right and pull down the beam in front of you.
Use this beam to get to the ladder. Go up the ladder and bring down the beam ahead and then exit the tower to the left.
Go up to the roof using the ladder to the left and then jump onto the tower ahead.
Go down the ladder in the middle and you’ll find the survivors. Now, look for a vertical beam to climb. Climb up this beam and then jump to the yellow handholds ahead.
Swing your way onto the platform and then bring down the beams in front of you to get to the ladder. Go up the ladder and open the vent using your Pullcaster to save the survivors.
Rescue Survivors from the Grotto
From the tower, head towards the north to reach the Grotto. In this area, you’ll find a watchtower that has people trapped on it.
All you need to do here is defeat the Burrowers and Snapmaws using Shock and Fire damage. Once you’ve done that, the survivors will escape the tower themselves. They will then tell you about some more survivors that are present along the eastern cliffs.
Rescue Survivors from the Eastern Cliffs
Head east from the watchtower to find the cliffs the survivors were talking about. On top of one of the cliffs, you’ll see more survivors. Next to the cliff is a large crane that you can use to rescue them.
Dive into the water adjacent to the crane to find some Firegleam (on the left of the crane). Ignite the Firegleam and the crane will move towards the cliff.
Now, you need to move the arm closer to the survivors. To the right of the crane is a platform. Get up there and then go up the ladder.
Walk onto the beam and pull the metal clamps to free the weight that was pulling the arm down.
After that, climb up the yellow handholds on the crane and then cut the cable spool and the arm will land right next to the survivors, allowing them to escape.
Go back to Nakitta
After freeing the survivors, return to Nakitta. Ask her for more information regarding Kentokk. She’ll tell you that Kentokk used to be her teacher but they stopped seeing eye to eye.
While you’re speaking to Nakitta, a soldier will come and tell her that he saw Kentokk in an area called the Gouge.
Find Kentokk in the Gouge
Head to the north to reach the Gouge and clear the barricade blocking the entrance using Pullcaster. Head inside and rappel down to find Kentokk.
Right next to Kentokk is a grapple point that you can use to get to the wooden beam next to it. Once up there, open up the vent and then grapple your way into it.
Go through the door inside and then turn left. Pull down the crate and use it to climb up. Go left from there and then jump onto the beam to get to the platform.
Jump onto the beams to the right and pull down on the blue metal crosses to create an opening for yourself. Use the grapple point to get to the other side and then turn right.
Use the yellow handholds to get to the tunnel entrance above and then start running along the tracks to the right. Go up to the high beams using the grapple point and then turn left. Take the first right from there to open up the vent.
Drop down from the vent and you’ll find a Firegleam. Ignite the Firegleam to make the water flow into the shaft. Doing so will raise the platform on which Kentokk is resting, bringing him up to the surface to Nakitta. This will complete the Deluge side quest.
This side quest will reward you with 3750 XP, +2 Skill Points and a Tenakth Vindicator Outfit.
The Deluge Side Quest Rewards
This side quest will reward you with 3750 XP, +2 Skill Points, and a Tenakth Vindicator Outfit.