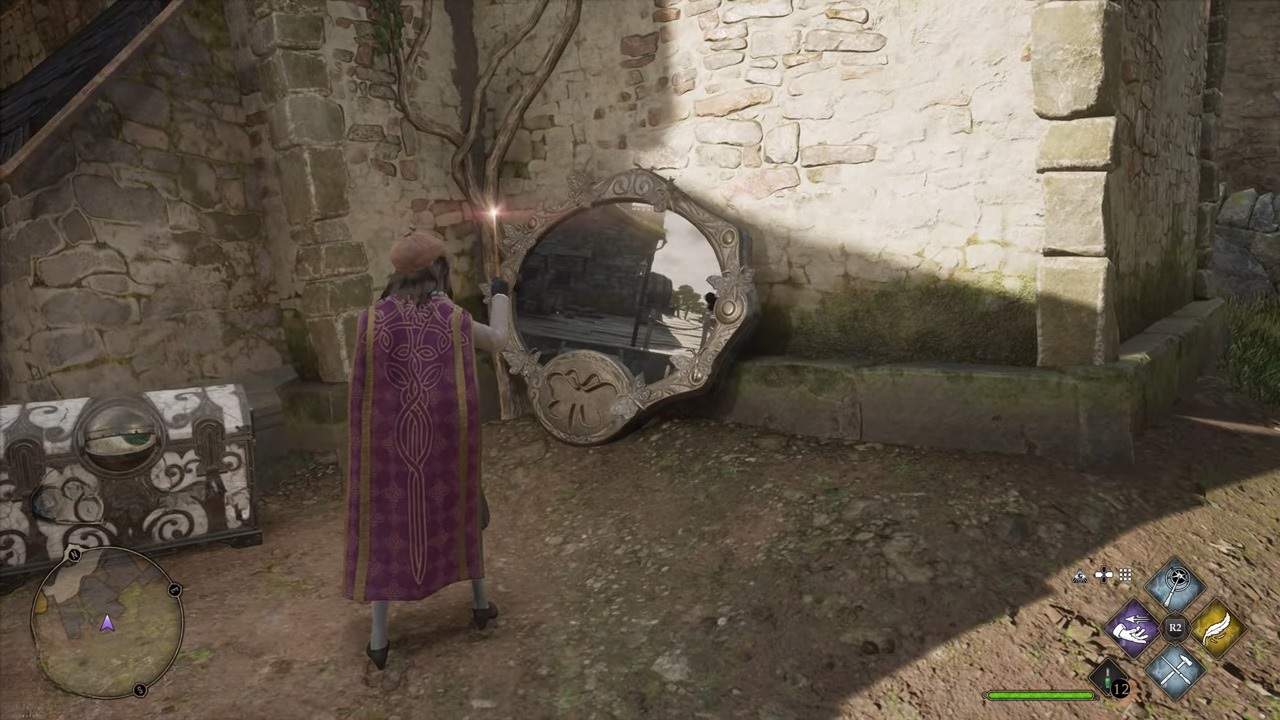
Hogwarts Legacy features a plethora of puzzles dotted in and around Hogwarts. From field guide pages to merlin trials, there is a lot to see and complete. The most peculiar of these collectibles are the Moth Mirror puzzles, which require you to locate and guide moths to paintings found within the game world.
There is a total of 20 Moth Puzzles in Hogwarts Legacy (15 in Hogwarts and 5 in Hogsmeade) Completing each Puzzle rewards you with a field guide page and furthers your progress for the Collectors Edition trophy/achievement.
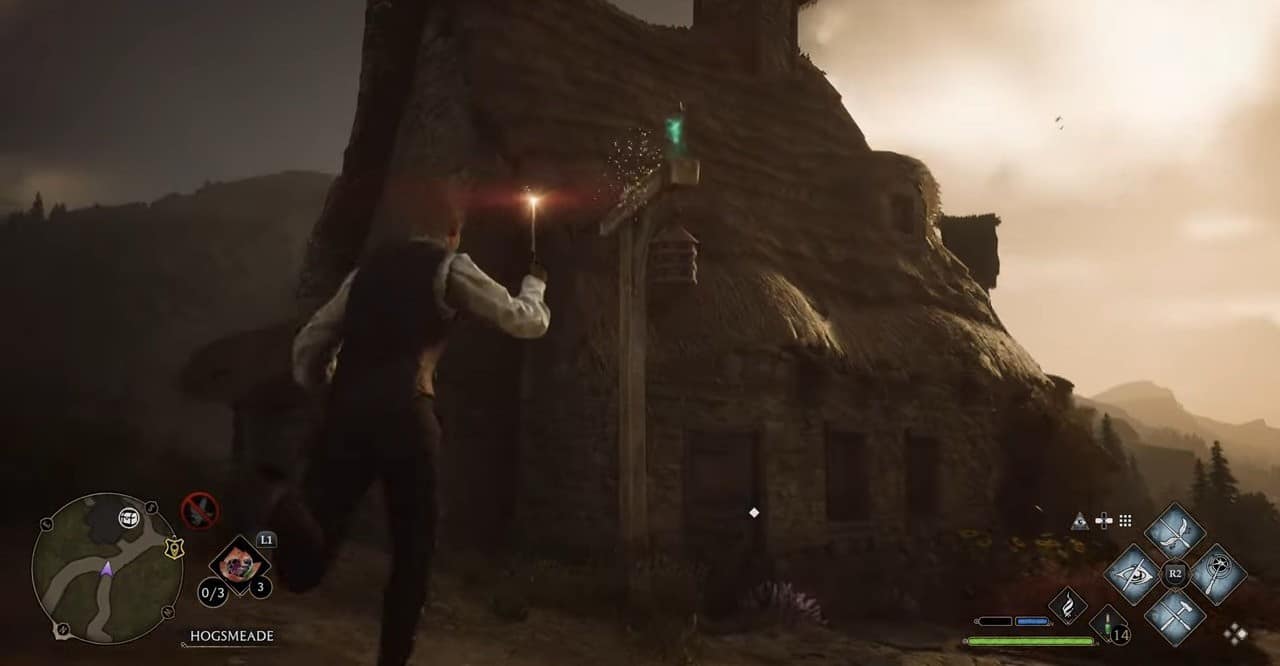
To solve a Moth Puzzle, you simply need to locate a Moth Mirror and use Lumos to activate it. Then you need to find the corresponding Moth and use Lumos once more to guide it back to the Mirror. In this guide we’ll be going over the locations and solutions of all 20 Moth Painting Puzzles in Hogwarts Legacy.
Moth Mirror Puzzle #1 The Library Annex – Central Hall

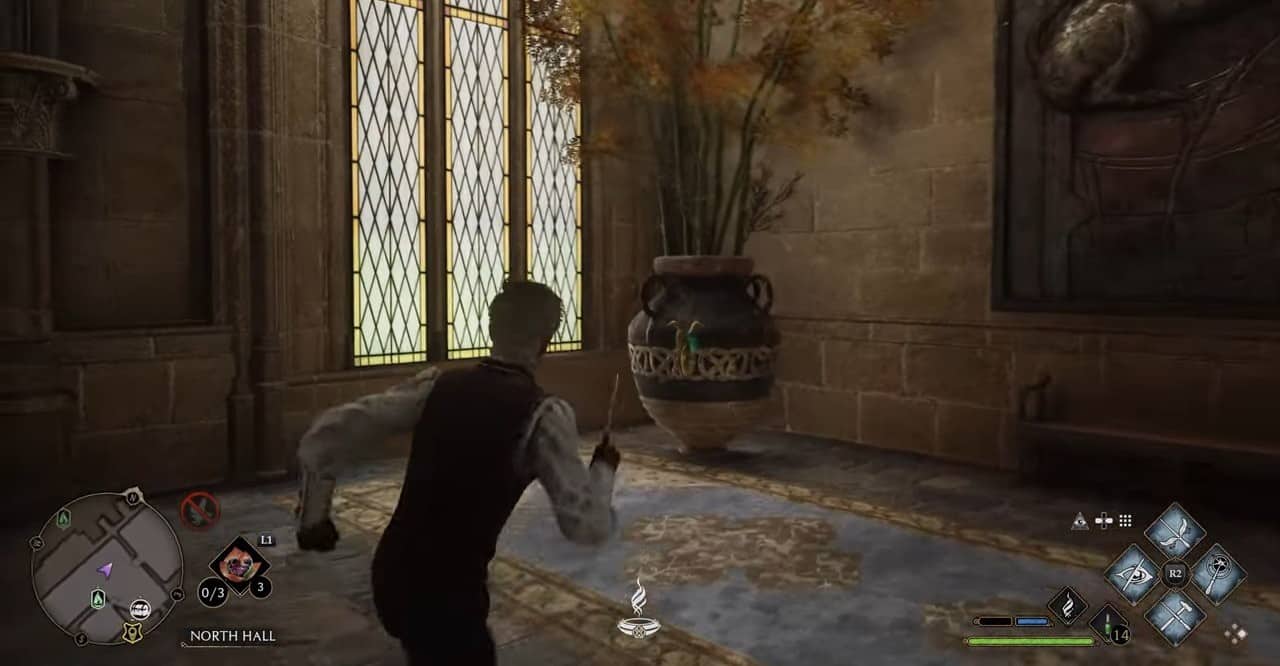
The first moth mirror you find is the one located in The Library Annex. This is because this mirror is featured in a side quest that introduces these Moth Mirrors to the player.
Speak to Lenora to start the quest. Once you start the quest, just head left and look under the staircase to find the moth. Then simply use Lumos Guide it back to the butterfly mirror location to solve the puzzle.
Once the puzzle has been solved, go back to Lenora to finish the quest. From this point on you can solve moth mirrors in any order you wish. Once you solve it you will receive a field guide page.
Moth Mirror Puzzle #2 The South Wing – Hogwarts South Exit
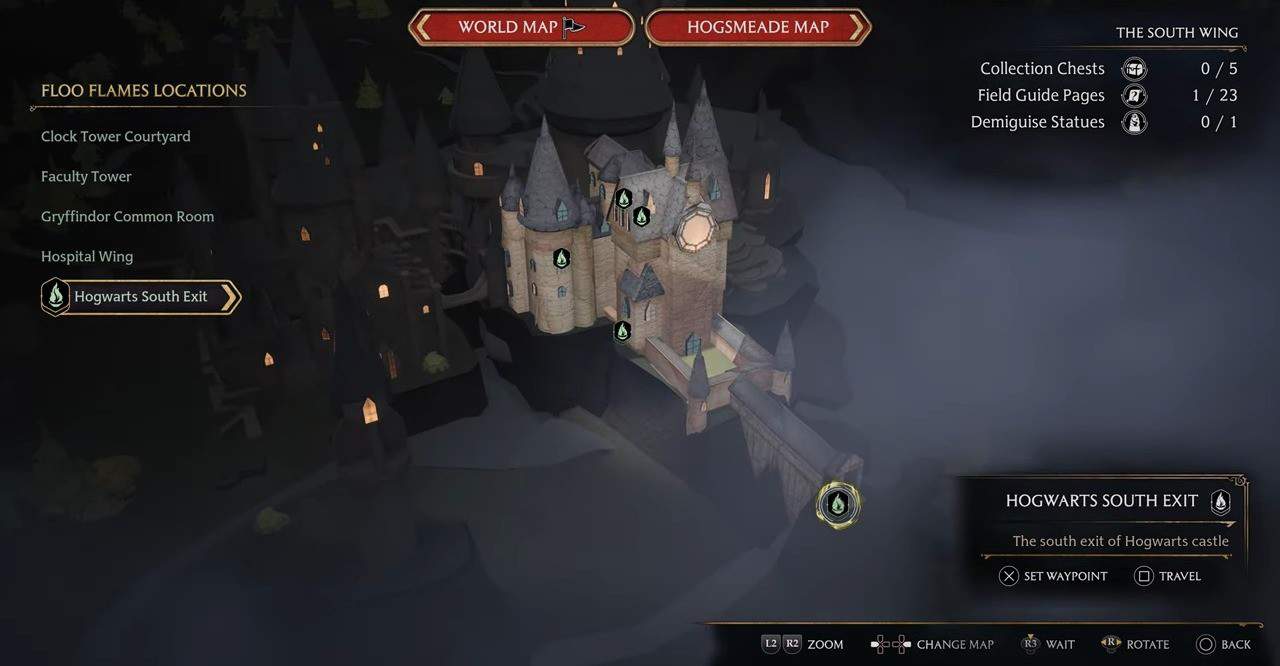
The second Moth Puzzle can be found in The South Wing. Simply travel to the South Exit Foo Flame fast travel point and proceed straight to the clock tower, make an immediate left, where you’ll spot a locked door.
it’s important to note that you’ll need to have Alohamora unlocked before you can attempt this Moth Puzzle. Unlock the door to find the painting then use Lumos to activate it.
Next, simply head out and take a right, then follow the hallway right to the door and you’ll spot the Moth resting on the wall. Use Lumos to guide it back to the painting.
Moth Mirror Puzzle #3 The South Wing – Faculty Tower
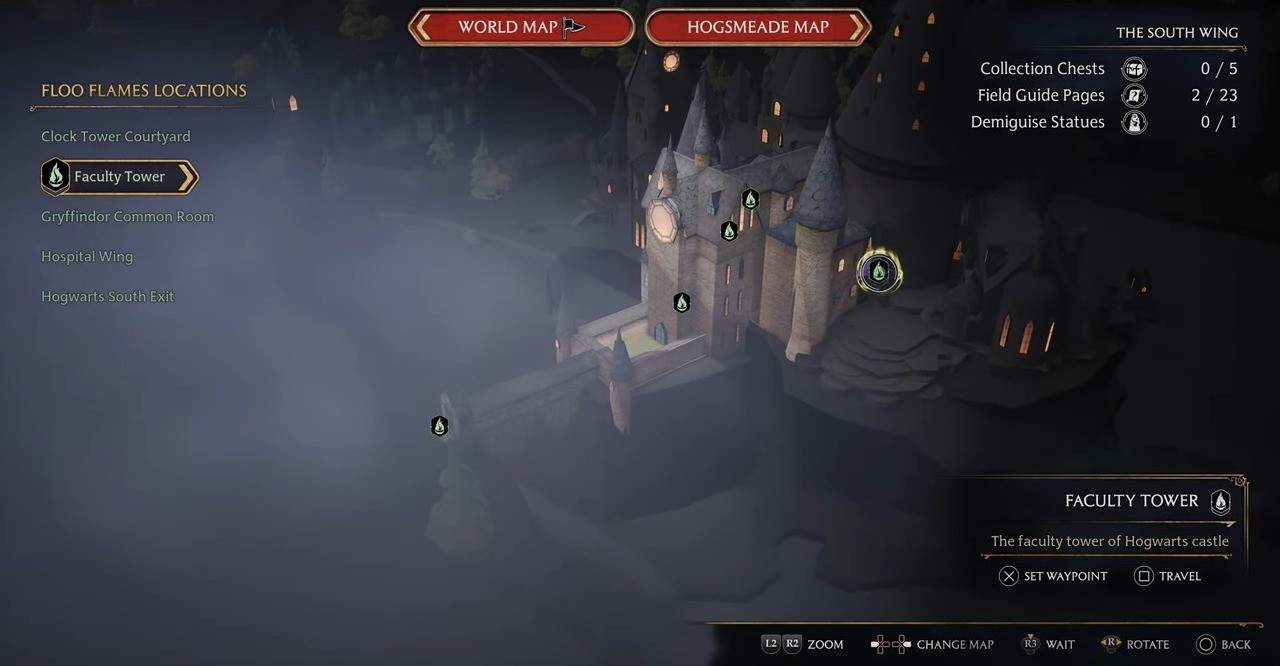
From the fast travel point, simply head straight and follow the path until you reach a painting with a square molding on top of it. Use Accio to unlock the secret room behind it, and discover the Moth painting. Activate it using Lumos.
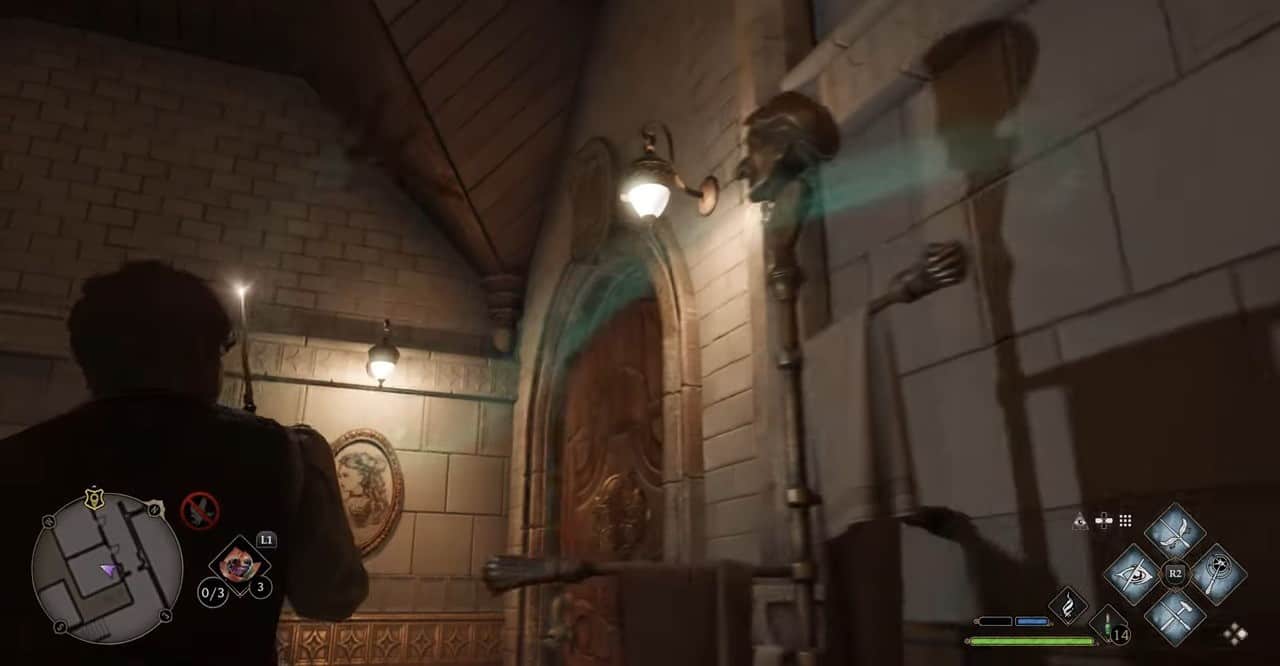
Exit the secret room, use the stairs on your left to head down, and follow the corridor until you reach the bathroom door on the left. Enter it and the Moth will be resting near a coat hanger. Guide it back to the painting using Lumos to finish this puzzle.
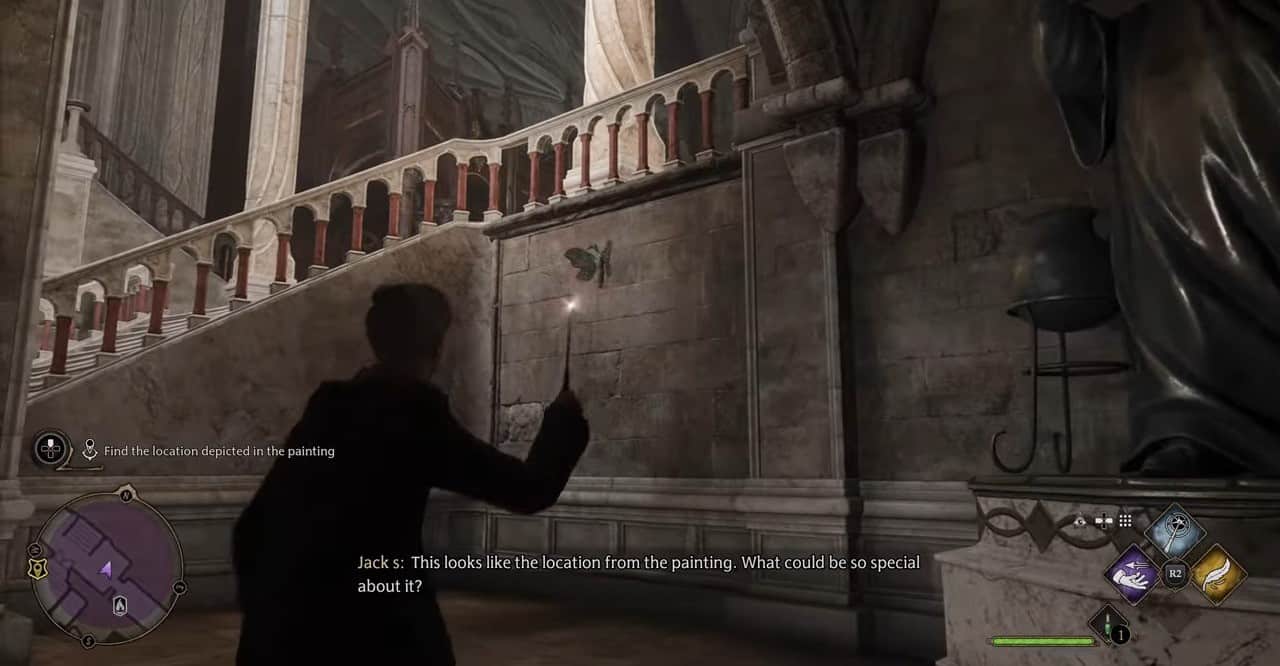
Moth Mirror Puzzle #4 The Grand Staircase – Grand Staircase
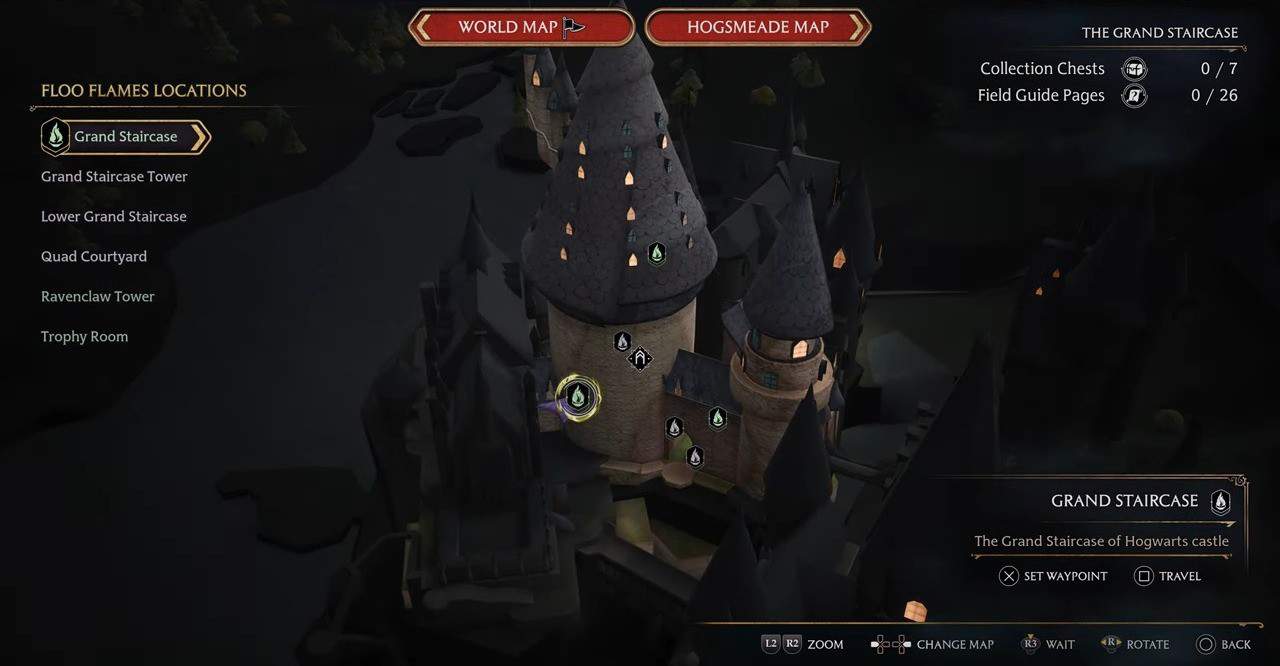
Teleport to the Grand Staircase Floo flame, and enter the first set of doors leading to the Great Hall. The Painting will be present underneath a banner on the right wall before the second set of doors. Use Lumos to activate it.
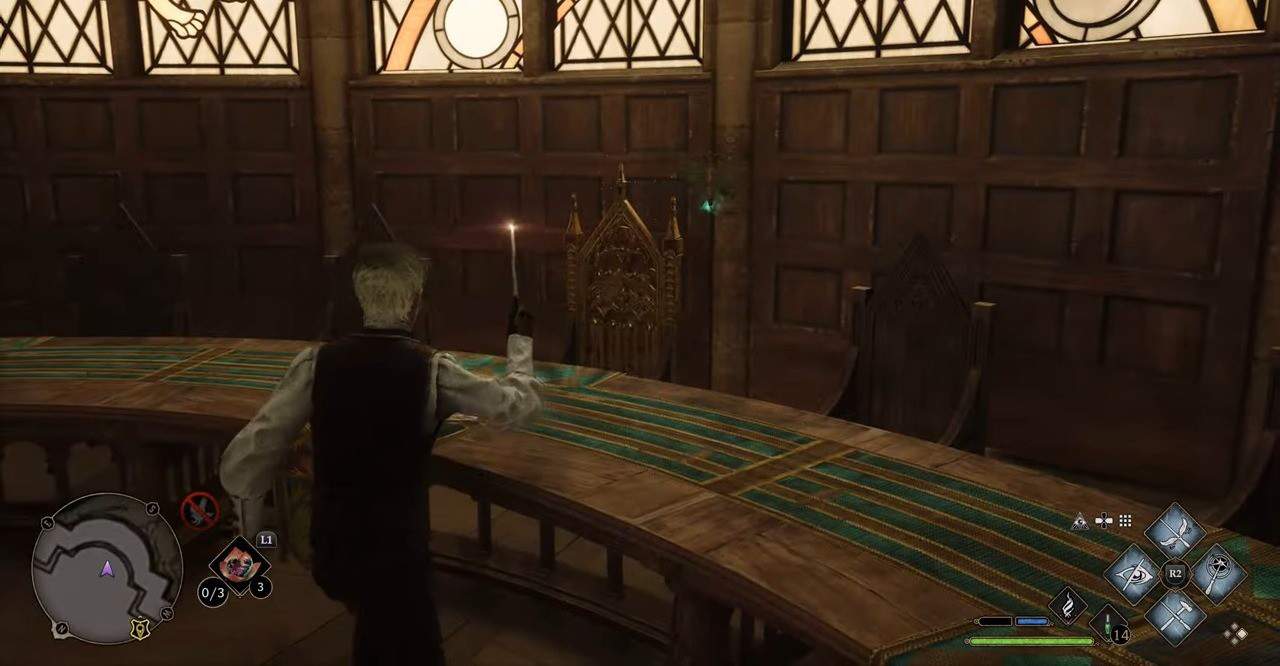
Next, simply use the second set of doors to enter the Great Hall, and make your way to the teacher’s section. The Moth will be present on the Headmaster’s golden chair. Guide it back using Lumos to successfully finish the fourth Moth Puzzle.
Moth Mirror Puzzle #5 The Grand Staircase – Ravenclaw Tower
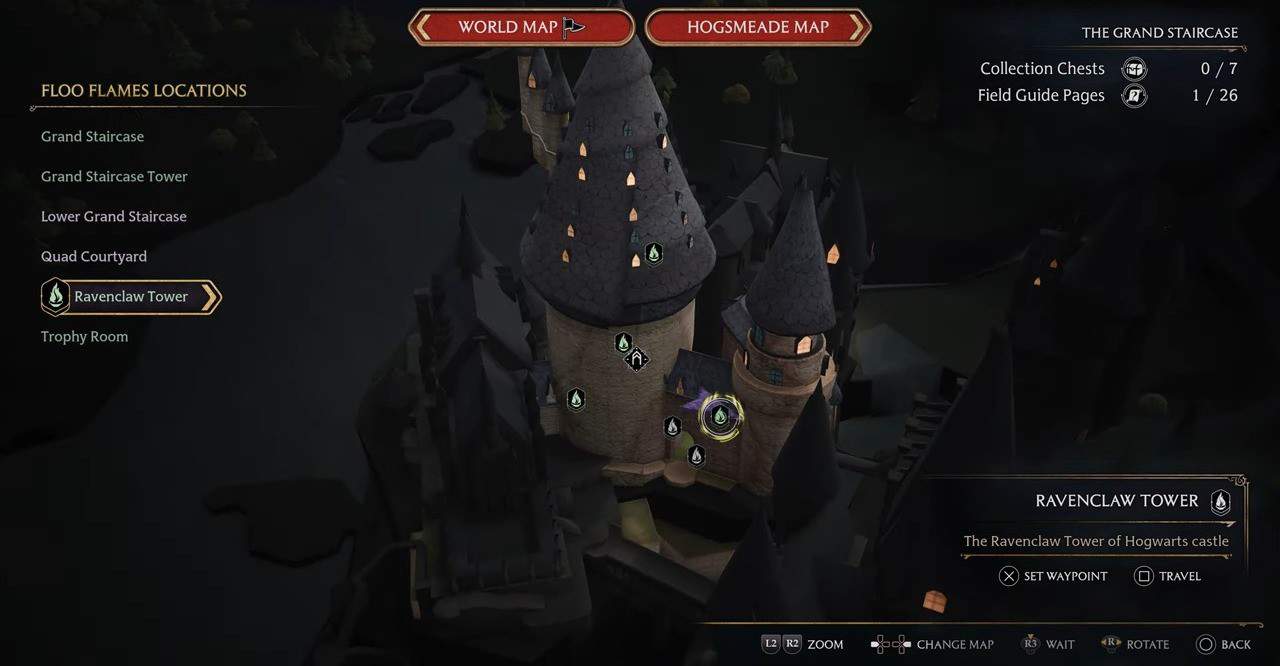
The fifth puzzle is found within the same general area as the previous one. Fast travel to the Ravenclaw tower and continue straight. You’ll come upon a spiral staircase here. The painting will be present at the very bottom of it. Activate it to proceed further.
Head back up the stairs until you spot a stone archway along the stairs on your left. Pass through it then make an immediate right. The moth will be present on the green wall underneath a couple of paintings. Next, guide it back to the Moth Mirror.
Moth Mirror Puzzle #6 The Grand Staircase – Trophy Room
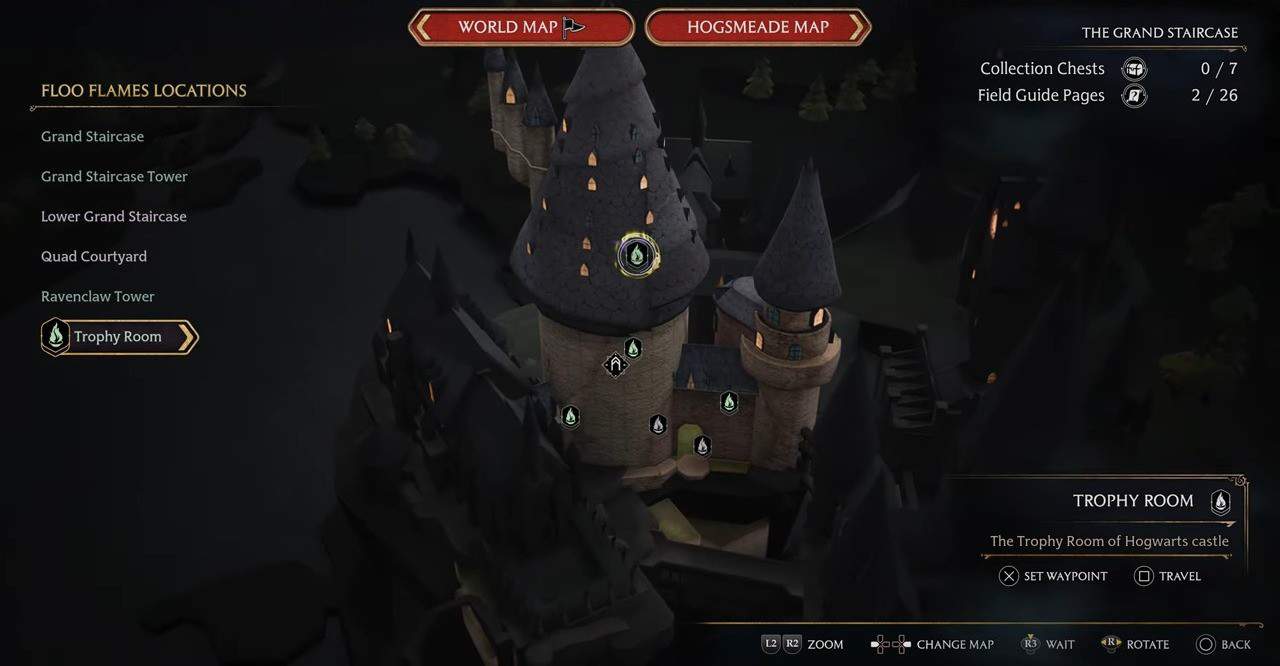
From the Trophy Room fast travel point, take the hallway on the left and follow it until you reach a set of iron gates. Here, you’ll have to use Alohamora once again to unlock to proceed further, so make sure you have this spell unlocked.
Continue following the path and you’ll pass through a set of narrow stairs followed by a spiral staircase. Go up the staircase and take an immediate left to spot the Moth Mirror. Activate it then head back down the stairs.
The moth will be present on a wooden archway on the second set of stairs leading back down to the iron gates (after the spiral staircase). Use Lumos to get it back to the paining to finish this puzzle.
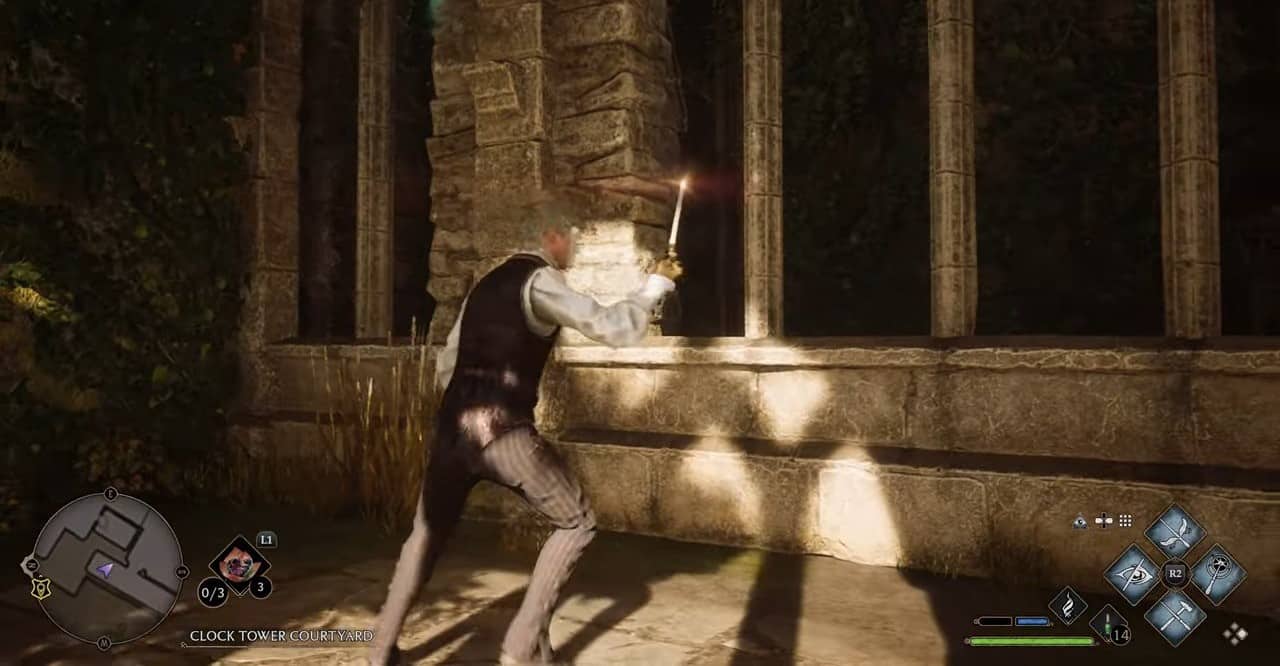
Moth Mirror Puzzle #7 The Astronomy Wing – Transfiguration Courtyard
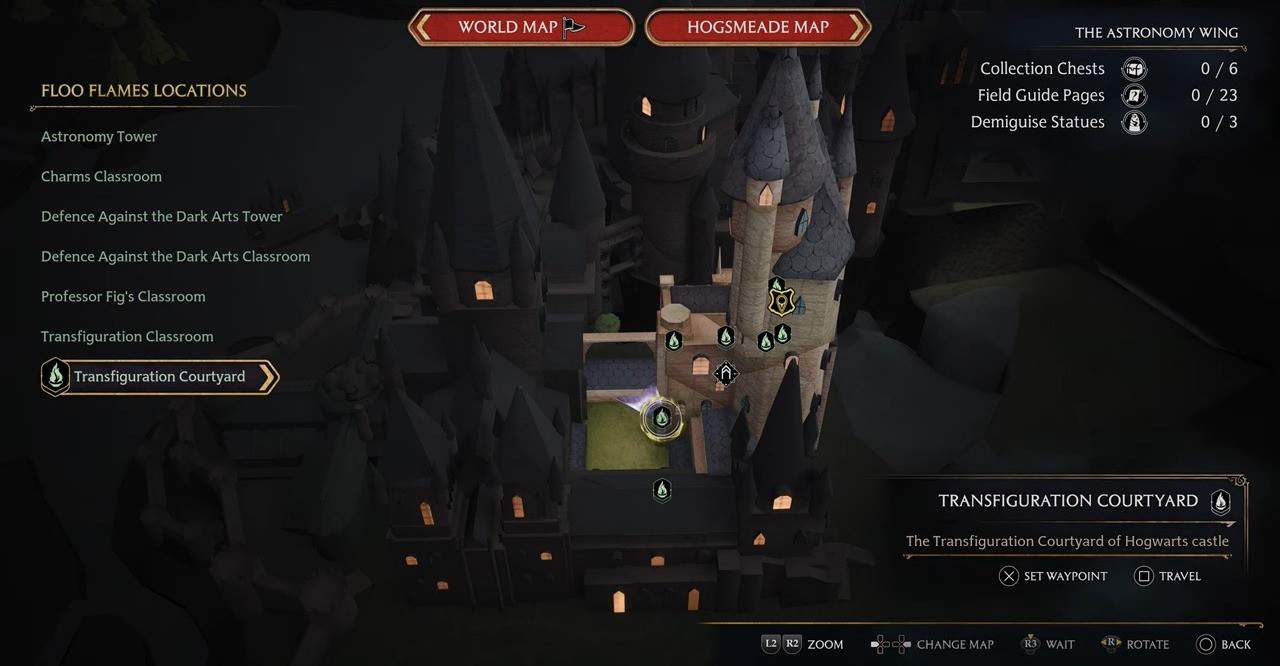
From the Transfiguration Courtyard Floo Flame point, enter the door (Defence Against the Dark Arts Tower) on the right and make your way up two flights of stairs. At the landing of the second set, there’ll be a door on your left, and the moth mirror will be present on the left wall. Activate it using Lumos.
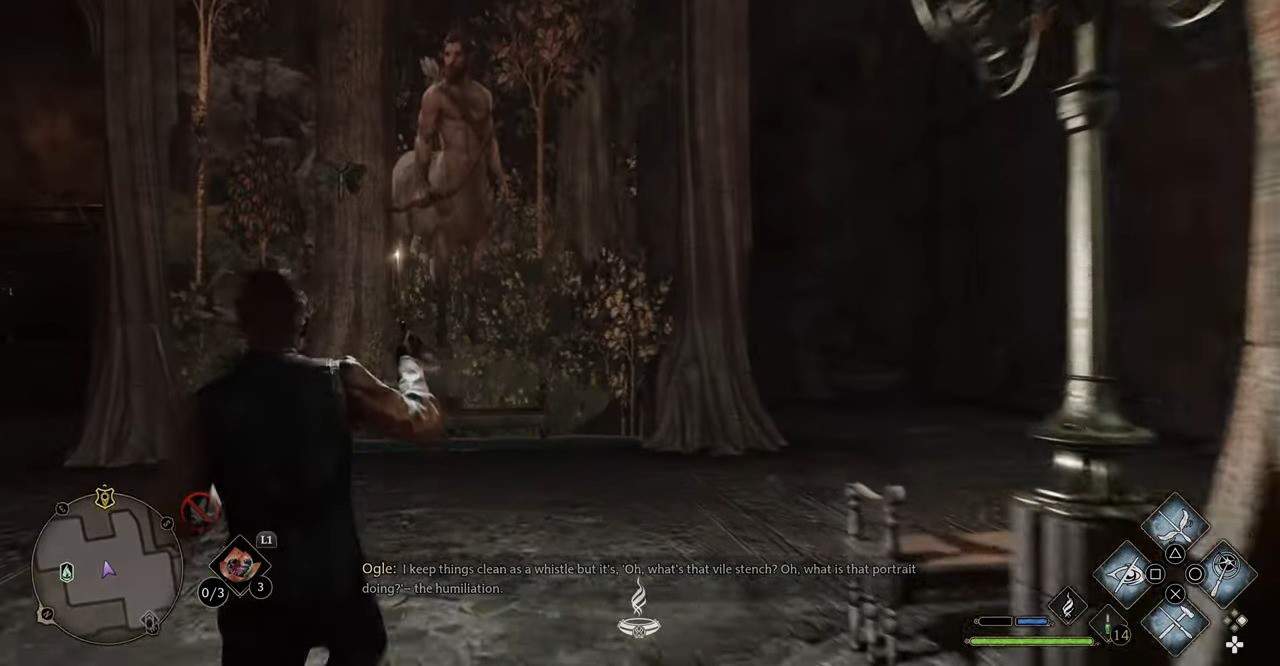
Continue straight and up the stone stairs and you’ll find yourself in a room. The moth will be resting on a Centaur painting. Simply guide it back to the painting to finish this puzzle.
Moth Mirror Puzzle #8 The Astronomy Wing – Defence Against the Dark Arts Classroom
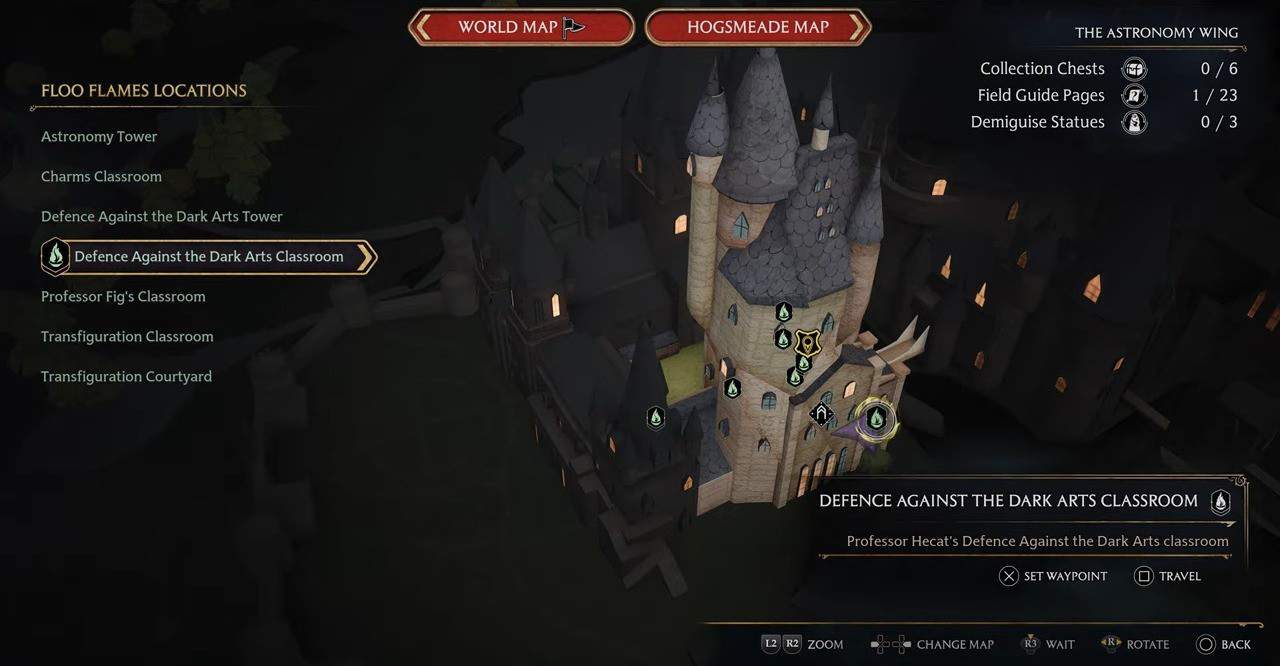
For the eight Moth Puzzle in Hogwarts Legacy, from the Defence Against the Dark Arts Floo Flame, head up the stairs to locate the Moth Mirror. It’ll be present on the eastern wall right by the stairs.
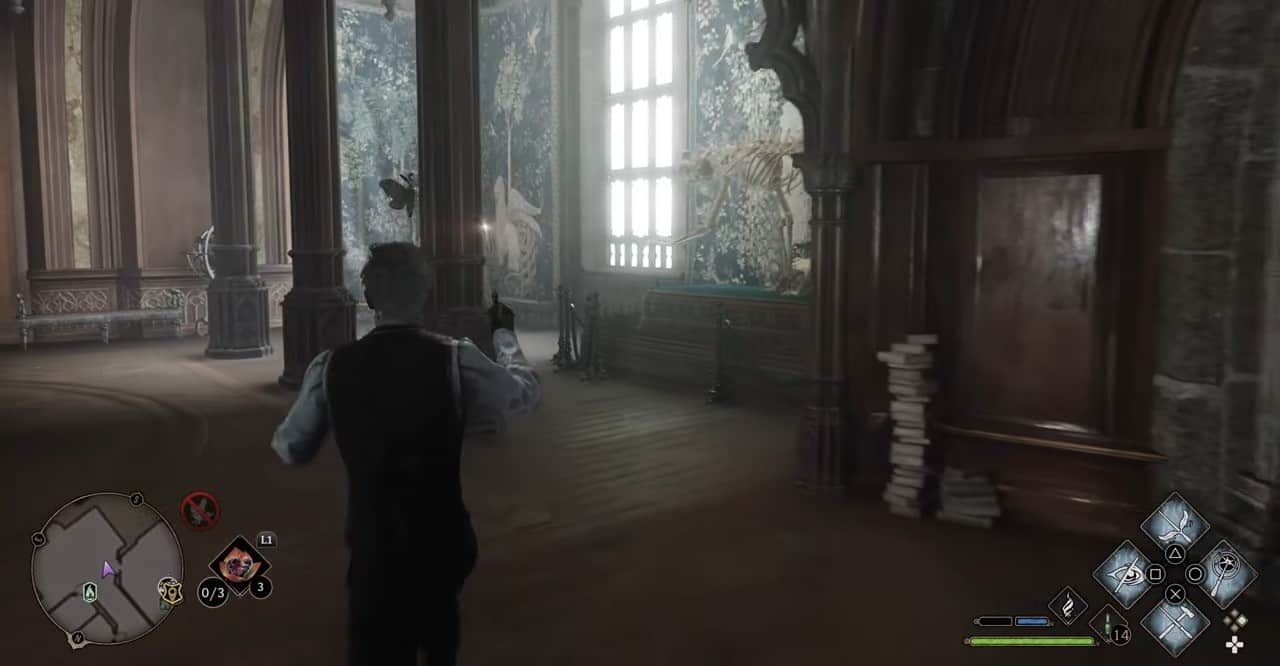
To locate the Moth, follow the corridor on the opposite side of the Moth Painting, once you’re at its end go up two flights of stairs and go through the wooden archway. The Moth will be resting on a pillar in the connecting room. Guide it back using Lumos.
Moth Mirror Puzzle #9 The Astronomy Wing – Astronomy Tower
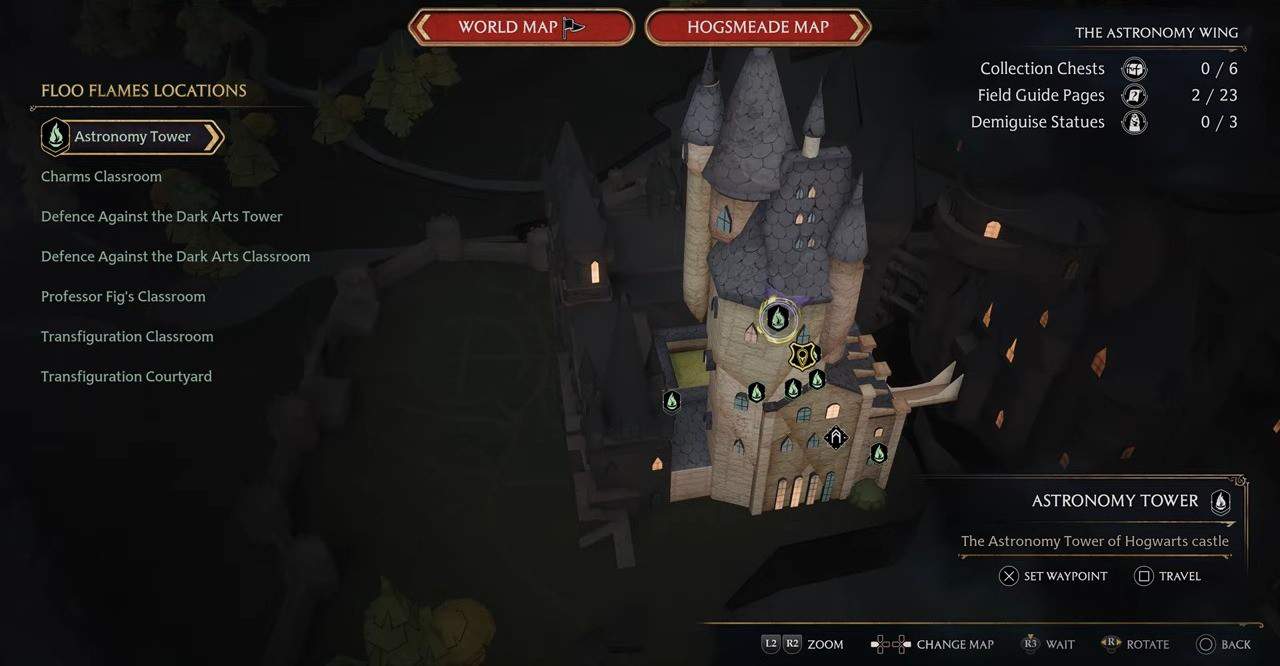
From the Astronomy Tower Floo Flame fast travel point, take the stairs on your left and simply follow the path ahead until you emerge into a large hallway with a white stone spiral stairwar. The Moth Puzzle will be present right at the end of the stairs. Activate it using Lumos.
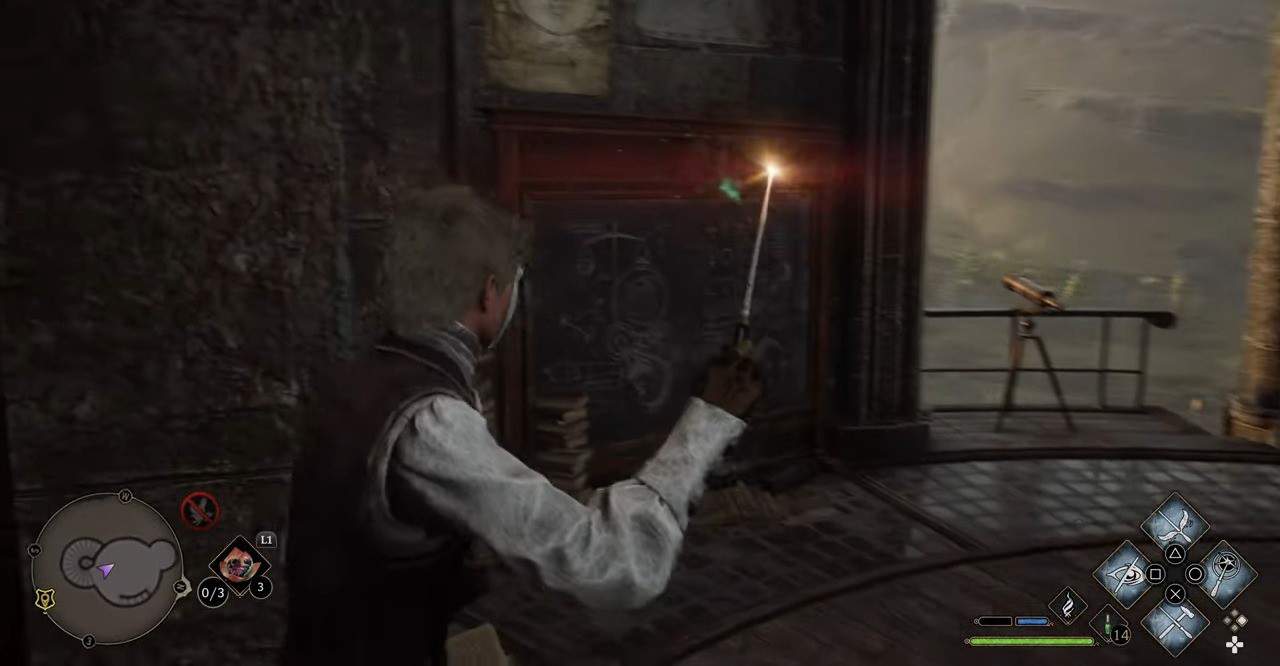
Next, use the white spiral staircase to reach the very top of the Astronomy tower. The Moth will be sitting on a blackboard near the left side of the tower. Guide it back to finish the puzzle.
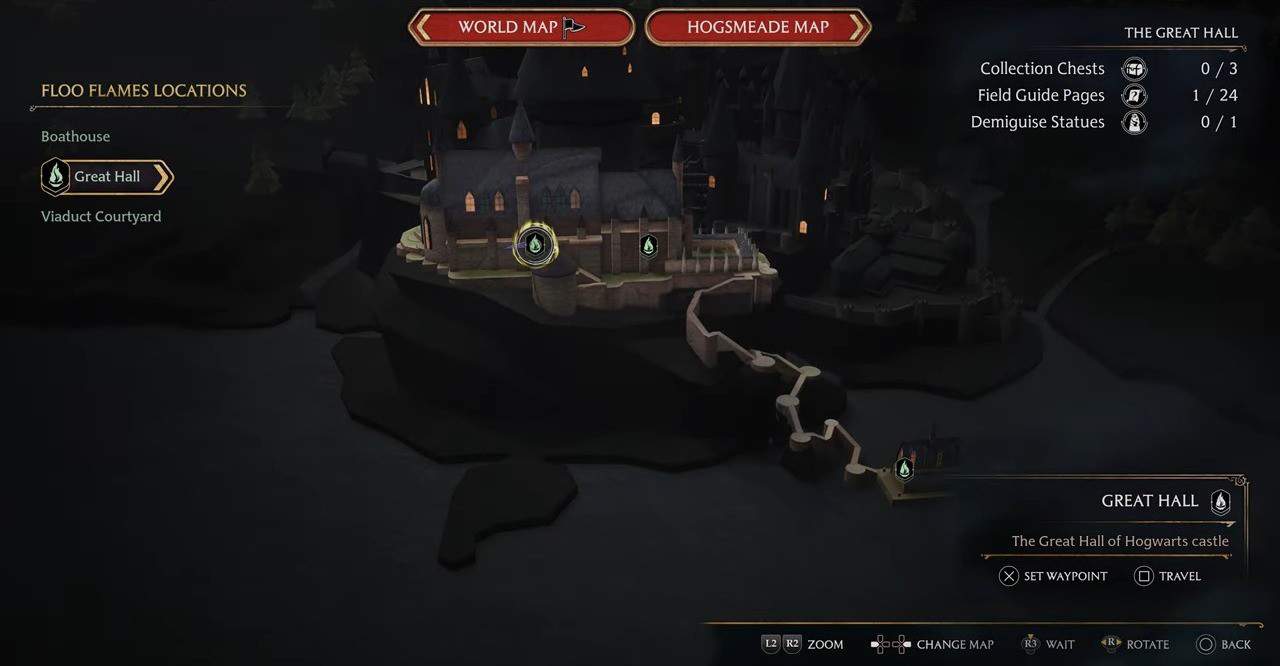
Moth Mirror Puzzle #10 The Great Hall – Viaduct Courtyard
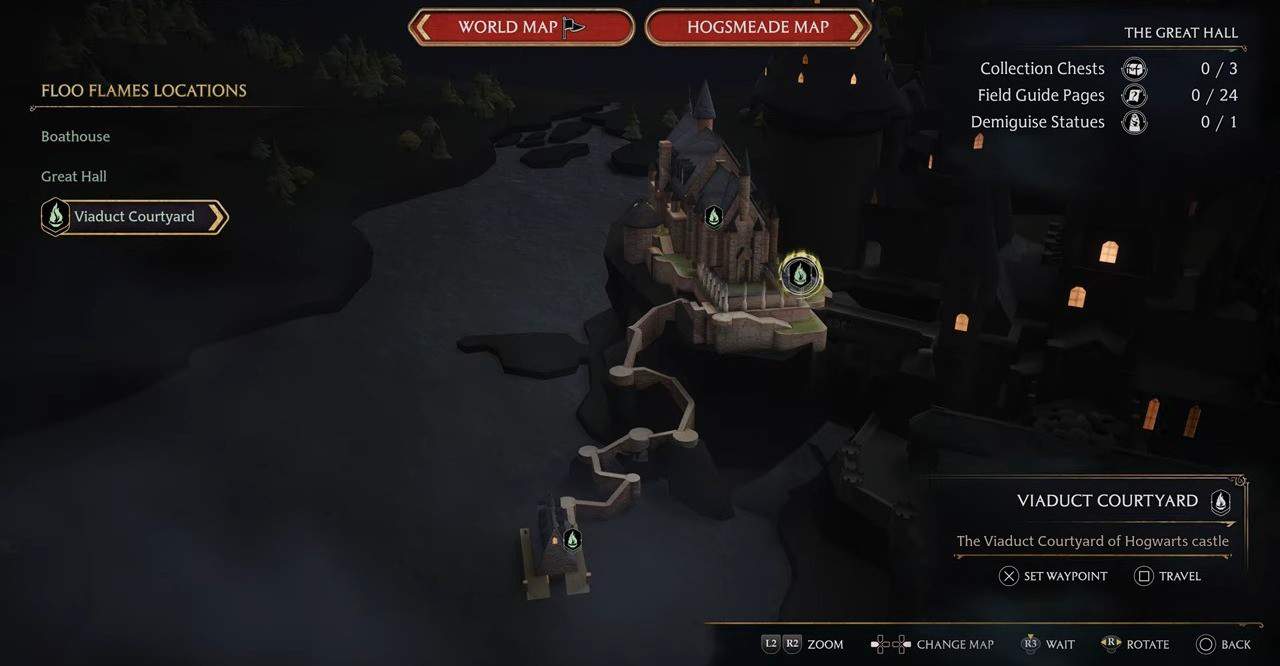
From the Floo Flame point, go down the shallow flight of stairs directly in front of you then follow the path straight ahead, turn the corner towards your right, here you’ll spot another set of shallow stairs. The Moth puzzle is present on the stairs’ landing.
Make your way back to the Floo Flame, this time take the two flights of stairs leading up, then make your way to the corridor right at the end of the stairs (toward your left) the Moth will be resting on the wall next to a statue. Now simply guide it back.
Moth Mirror Puzzle #11 The Great Hall – Great Hall
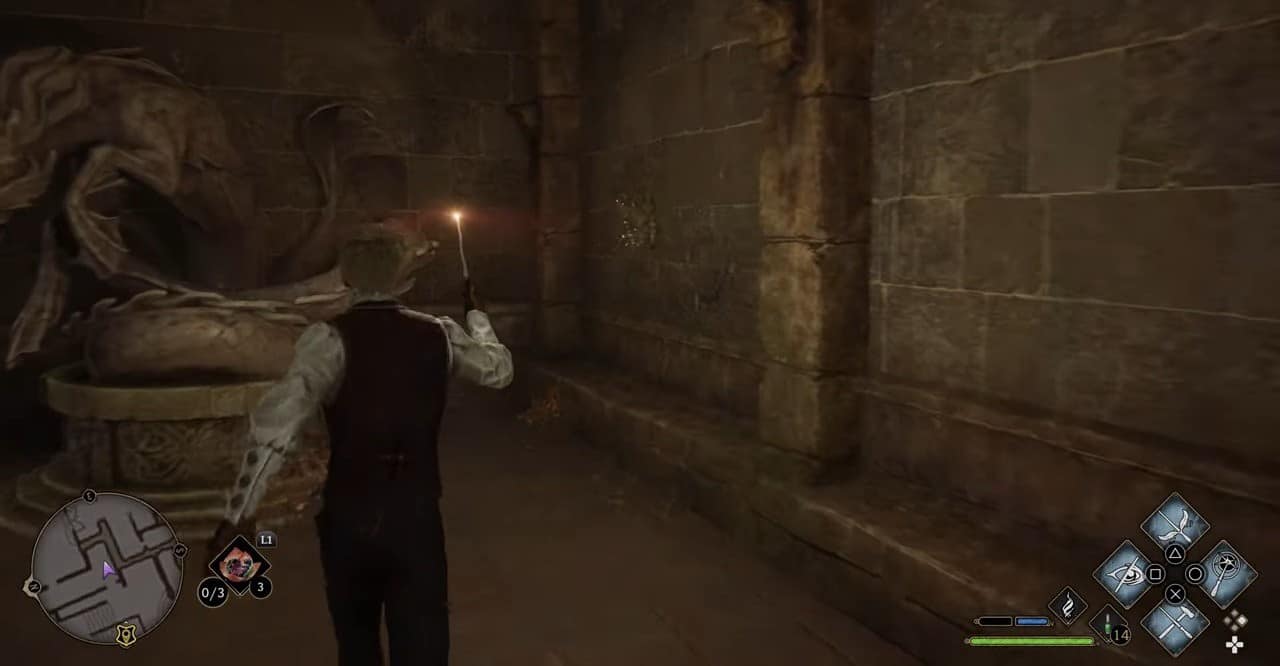
From the Floo Flame point, pass through the three big metallic doors in front of you then take the stairs leading down to the Slytherin Dungeon. Make a left when you’re at the exit and enter the room present there. Proceed downwards on the staircase Then make a left when you spot a Daedalian Key cabinet. The moth mirror will be present on the wall next to a stone archway.

To locate the Moth, simply head back up and take the second left past two fire braziers. The moth will be resting on a pillar next to a tapestry. Use Lumos to guide it back to the Mirror to finish the puzzle.
Moth Mirror Puzzle #12 The Bell Tower Wing – Hogwarts North Exit
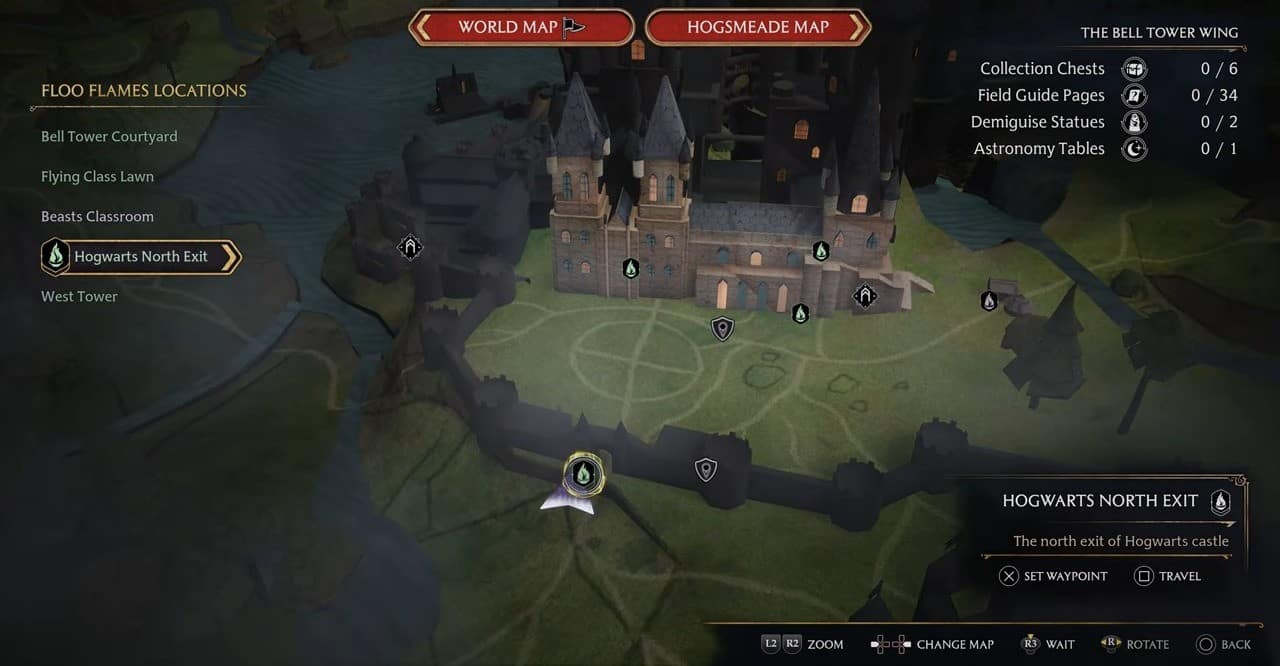
From the exit, head back towards the castle and make an immediate right to enter the stables. Follow the corridor to the end until you come upon another locked door that requires the use of Alohamora. The Moth Painting is present inside the locked door.
Head back out and continue straight past a flight of stairs leading up. The Moth will be present on the boundary wall along the left. Simply guide it back to the Moth Mirror using Lumos to finish the puzzle.
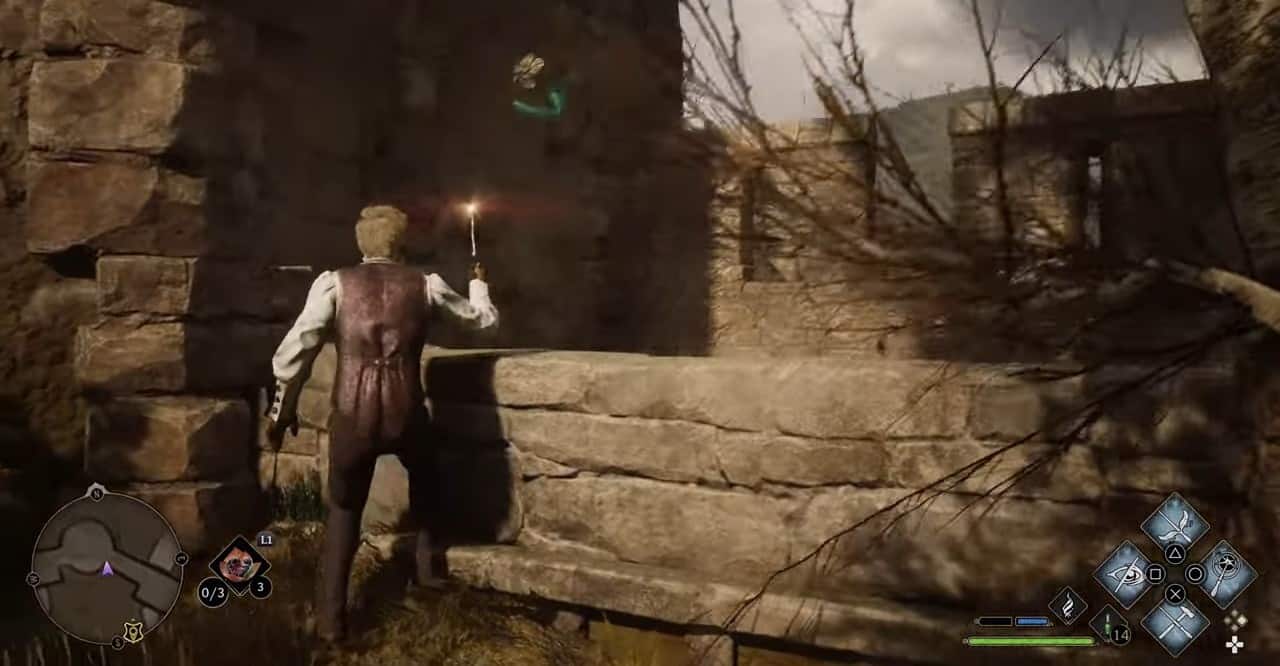
Moth Mirror Puzzle #13 The Bell Tower Wing – Bell Tower Courtyard
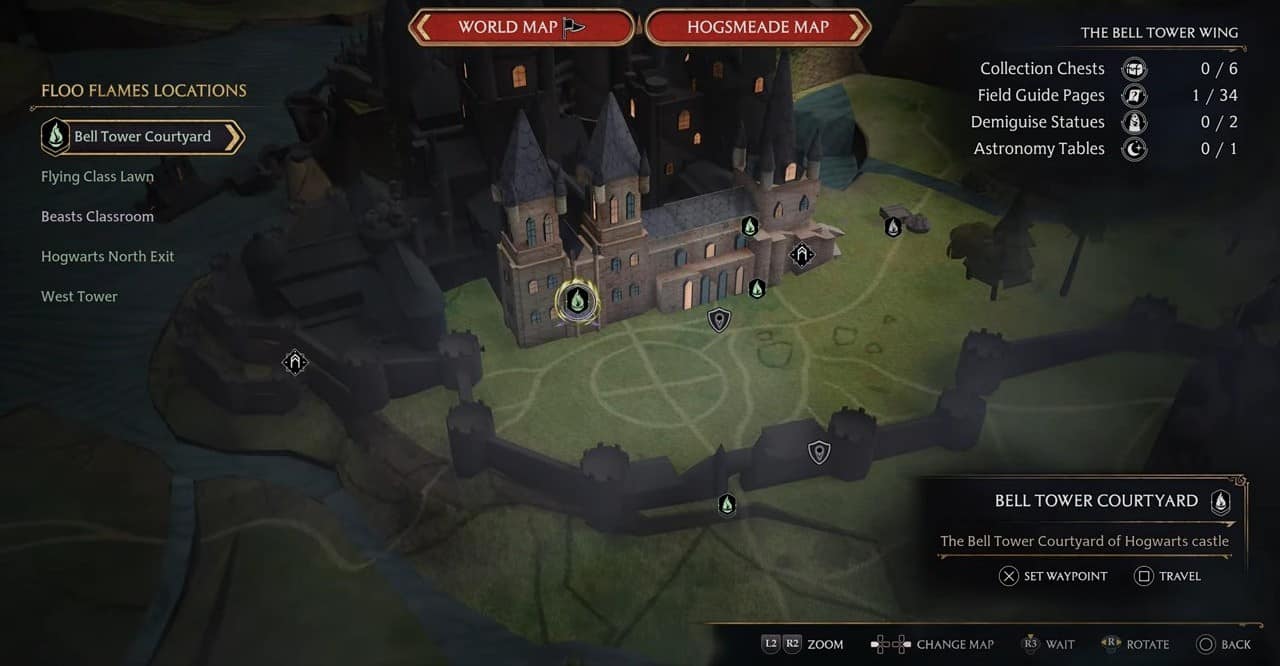
Take the stairs towards the back right of the Floo Flame fast travel point and enter the door directly in front of you. Take the two flights of stairs (leading to the north hall) as you enter and the Moth Mirror will be present on the landing of the second flight. Use Lumos to activate it.
Head back down the first flight of stairs and use the door in front of you to enter the History of Magic classroom. Use Alohamora to unlock and enter the door behind the professor’s desk. The Moth will be resting on a plant next to the Sphinx statue.
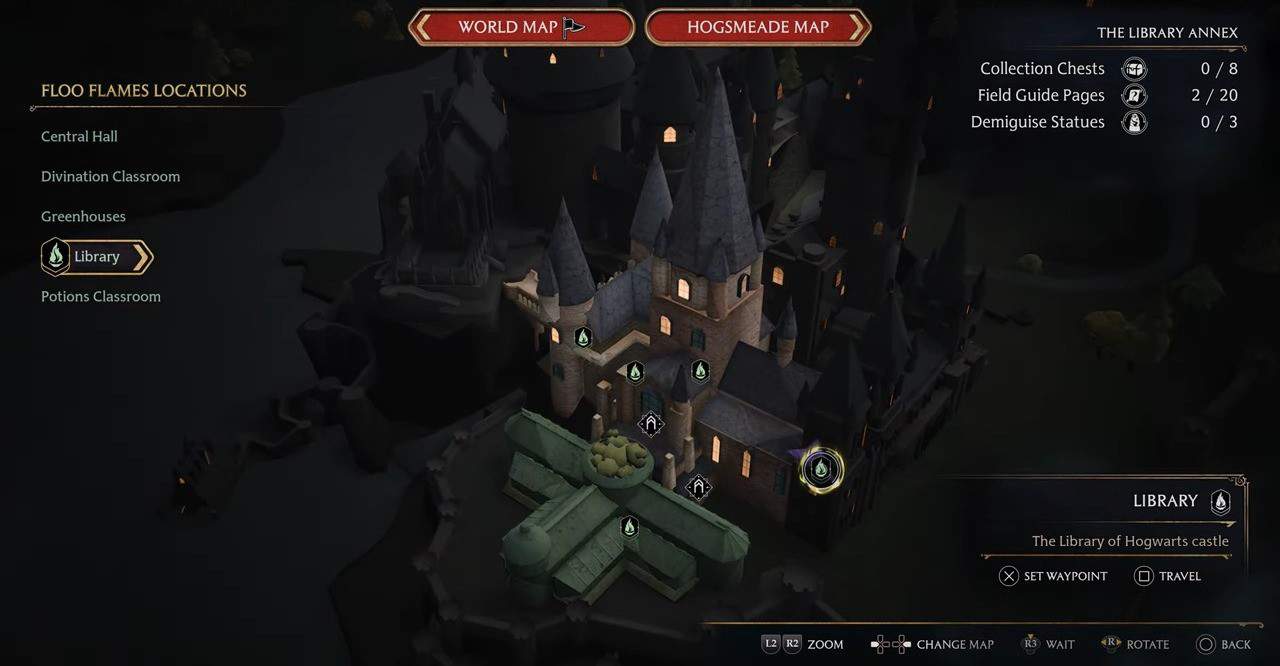
Moth Mirror Puzzle #14 The Library Annex – Potions Classroom

From the Floo Flame fast travel point, go through the wooden door on your left and then take the stairs leading down. Follow the path then unlock the door next to the Daedalian Key cabinet using Alohamora. Follow the corridor, and the Moth Painting will be present on the left wall towards the middle section.
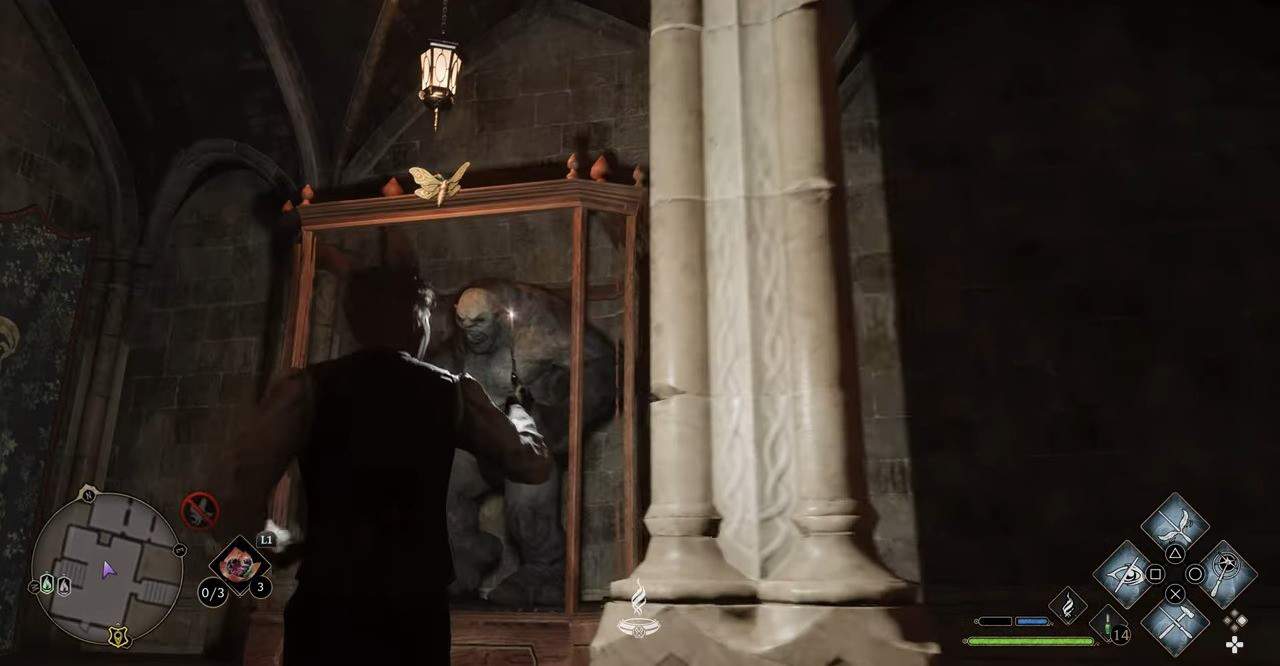
Proceed down the hallway until you come into a room. On the left, you’ll spot a troll encased in a glass cabinet. The Moth will be resting atop the cabinet. Use Lumos to guide it back to the Mirror to finish this puzzle.
Moth Mirror Puzzle #15 The Library Annex – Library
Go up the wooden spiral staircase right next to the Floo Flame point. Next, make a left and make your way down the rows of bookshelves until you reach the eastern end. The Moth Mirror will be between the wall and the last bookshelf. Use Lumos to activate it.
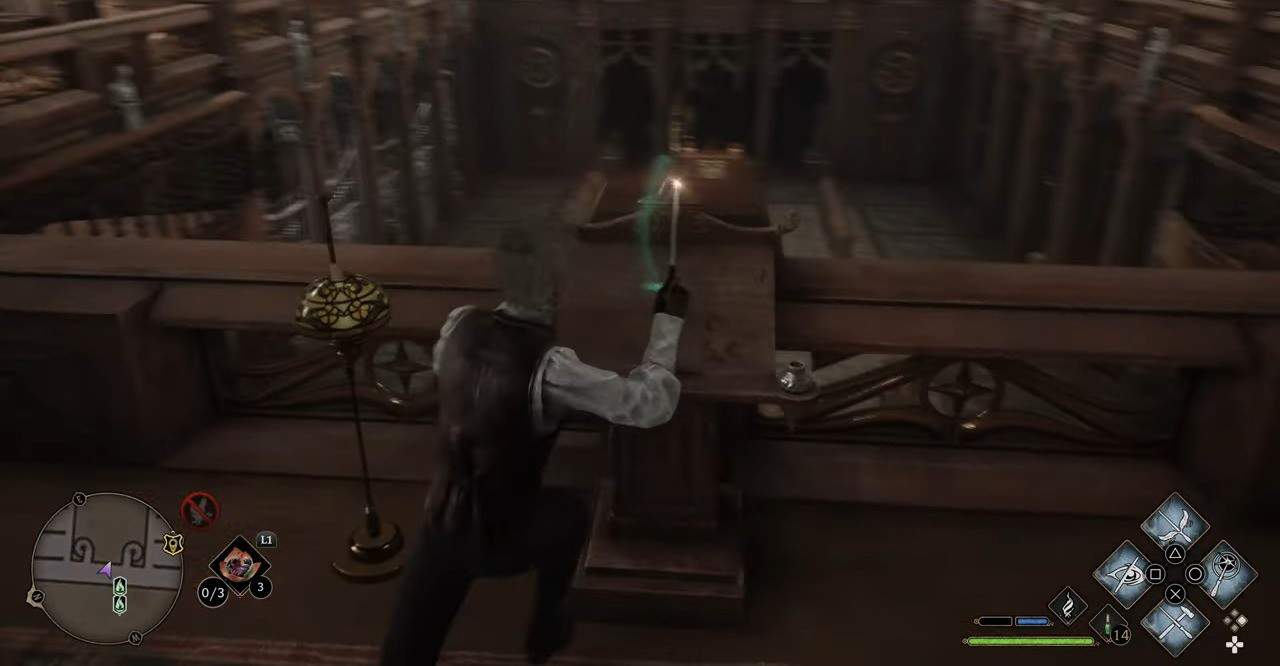
Go back to the stairs from where you came up and you’ll find the Moth resting on a podium along the railing. Use Lumos to guide it back to the Mirror to finish the final Moth Puzzle in Hogwarts.
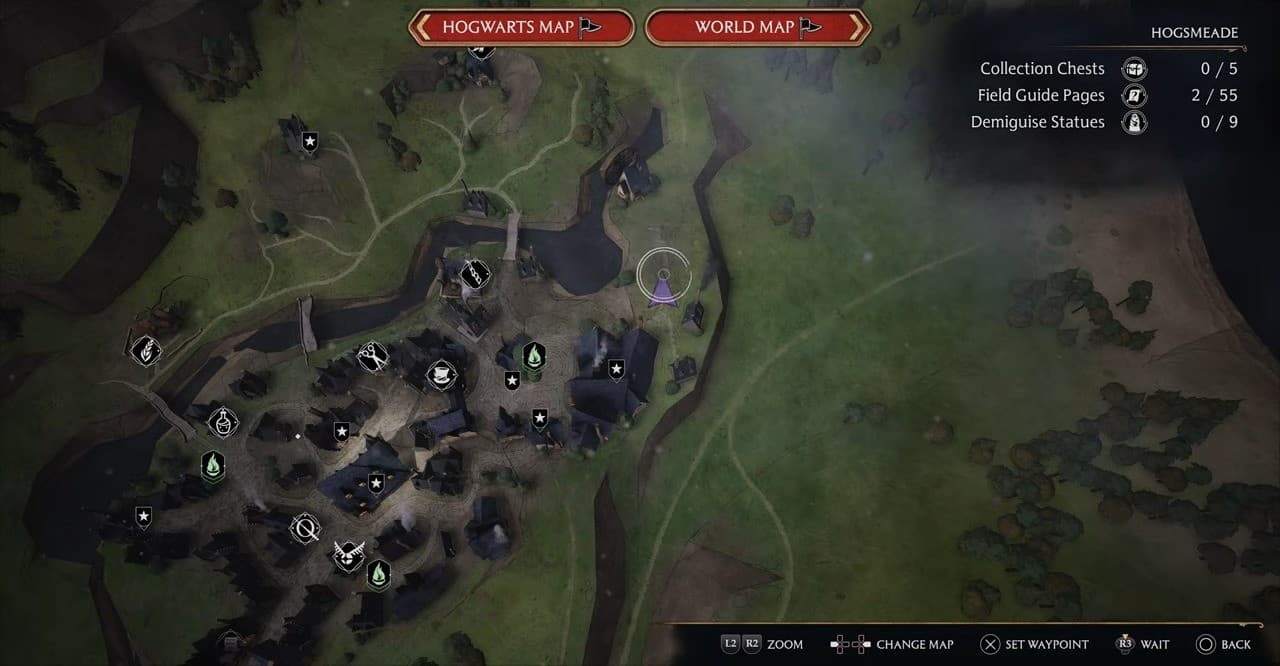
Moth Mirror Puzzle #16 Hogsmeade – West Hogsmeade
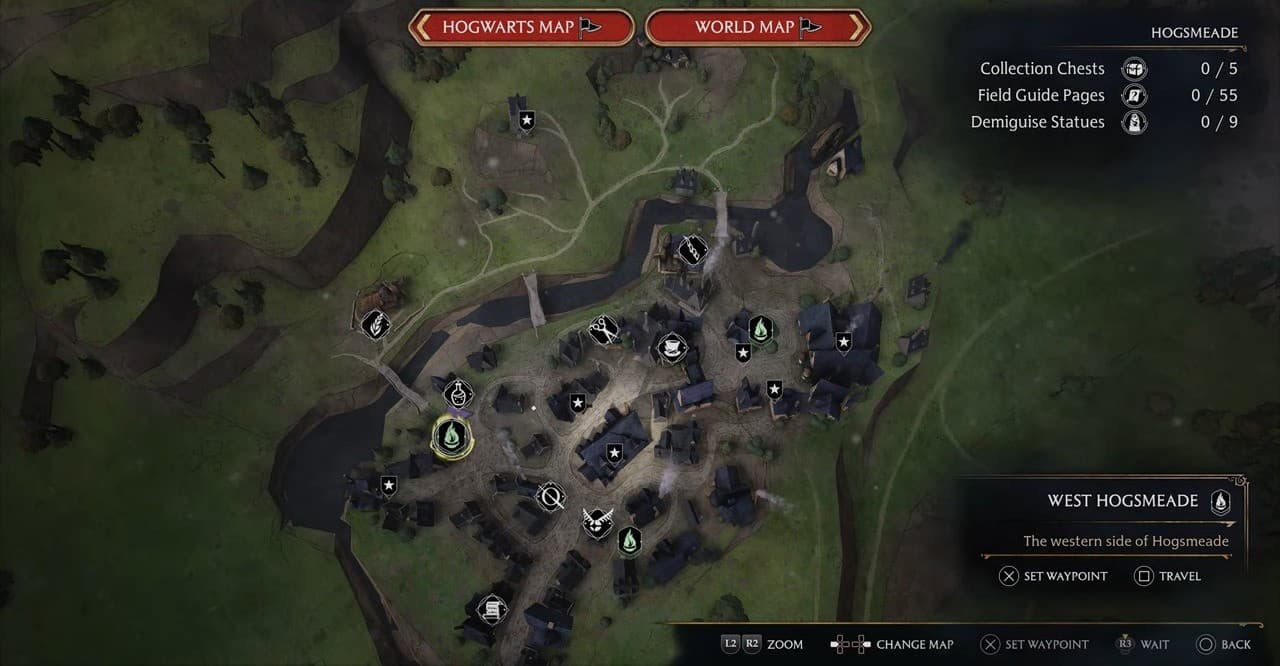
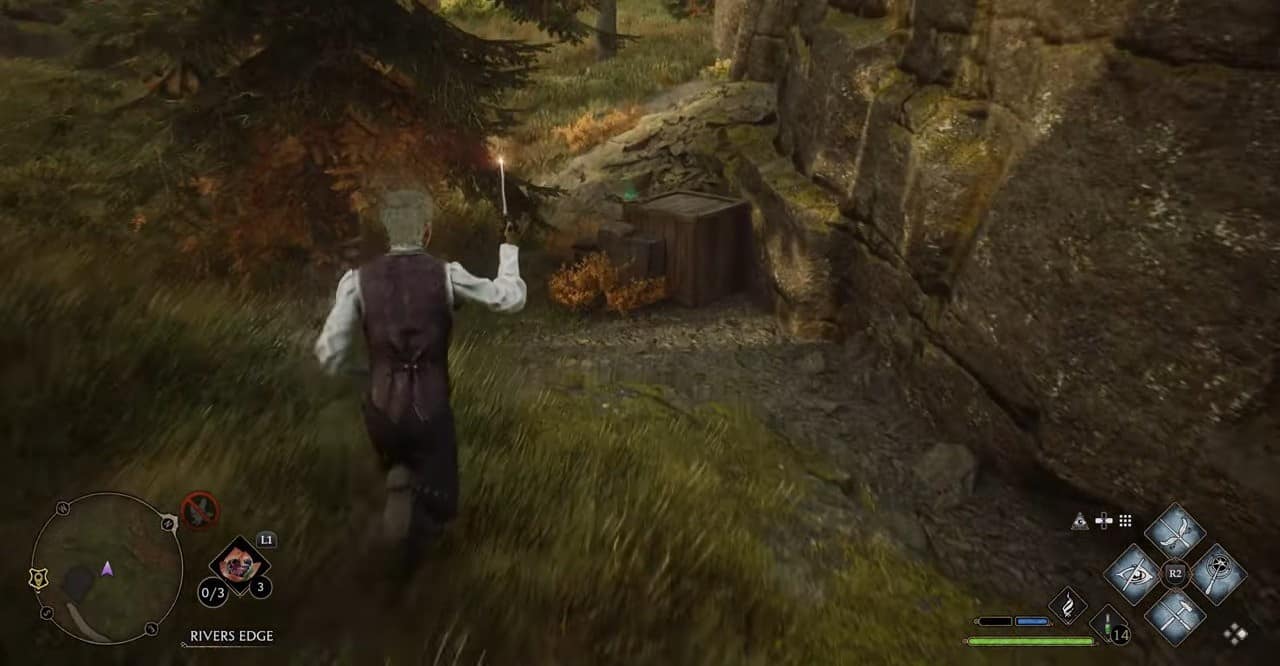
From the Floo Flame fast travel point, head left and go down the alleyway. Enter the narrow alleyway after the first house (there is a broken cart at the entrance of the alleyway, making it easy to distinguish) Hop over the stone hedge and you’ll spot the Moth Mirror leaned up against a wall right next to an Eye Chest.
Next, hop over the next stone hedge and take an immediate right to enter a small square. Make a left, and you’ll spot the Moth resting on a wooden crate right next to a barrel. The crate in question is found on the wooden deck of the house next to the river.
Moth Mirror Puzzle #17 Hogsmeade – South Hogsmeade
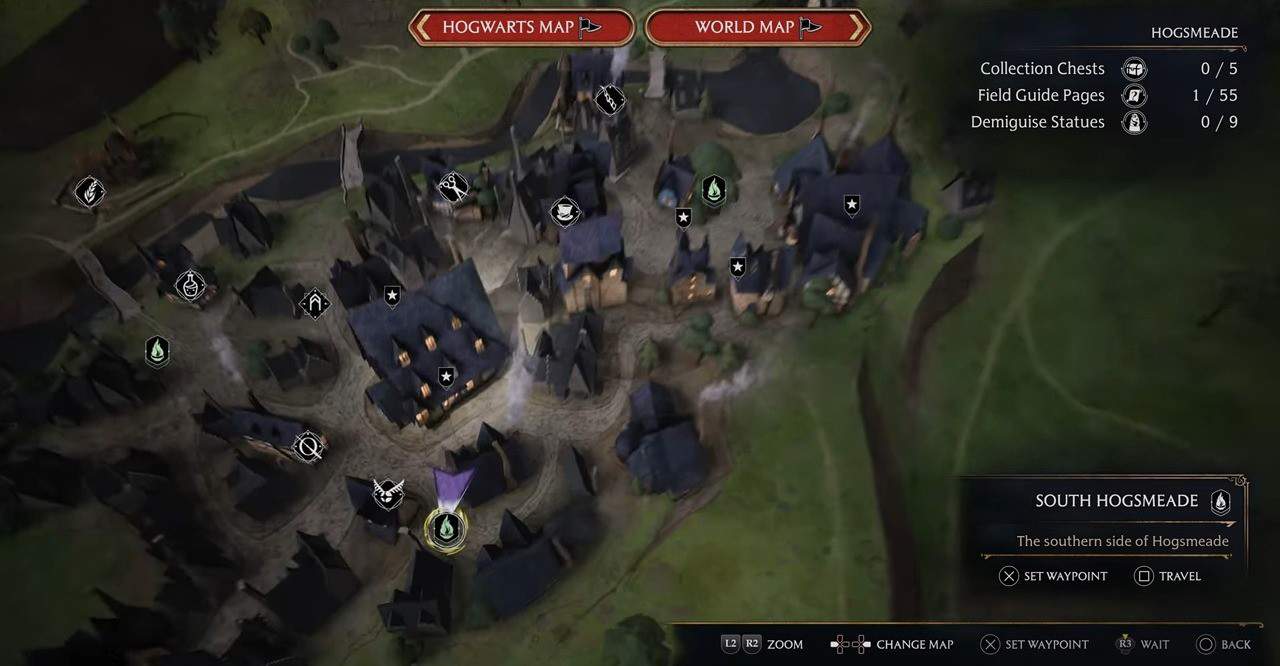
The location and solution of this Moth Puzzle is fairly straightforward. From the Floo Flame fast travel point take a few steps in the alleyway to your right and you’ll spot the Moth Mirror on your left leaned up against a house. Activate it using Lumos.
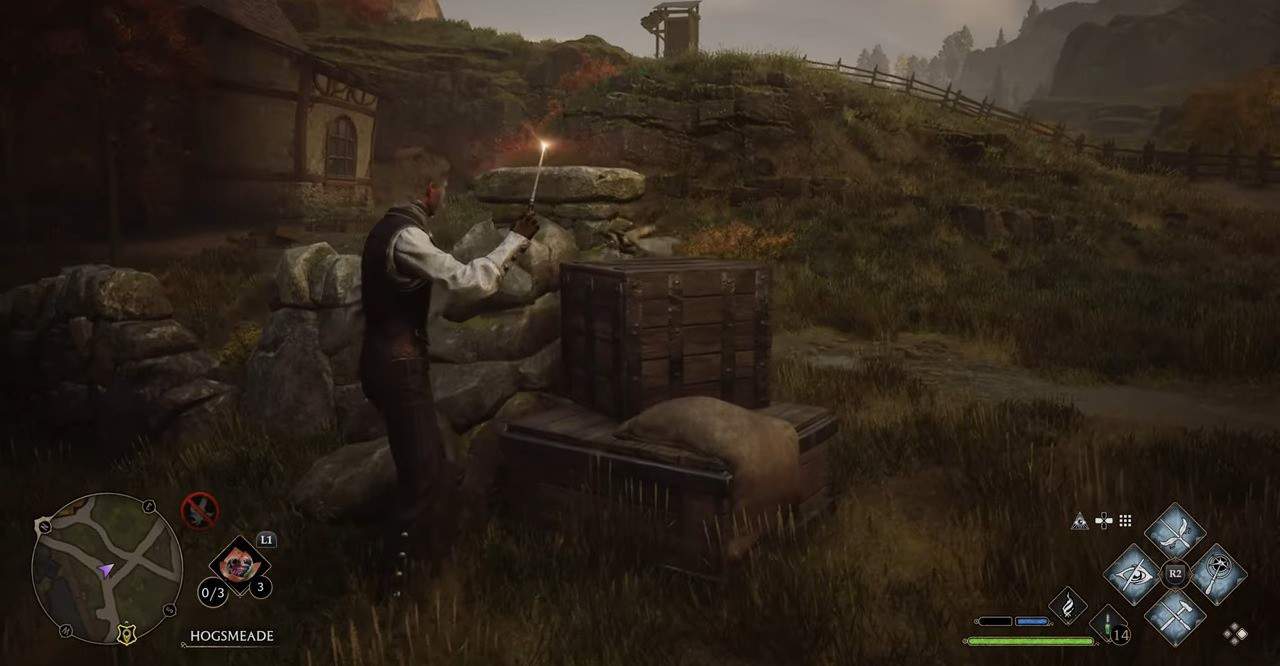
To find the Moth itself, simply make your way between the gap between the houses directly in front of the Mirror until you come upon a stone fence. The Moth will be resting on a wooden crate right next to it.
Moth Mirror Puzzle #18 Hogsmeade – The Water Mill
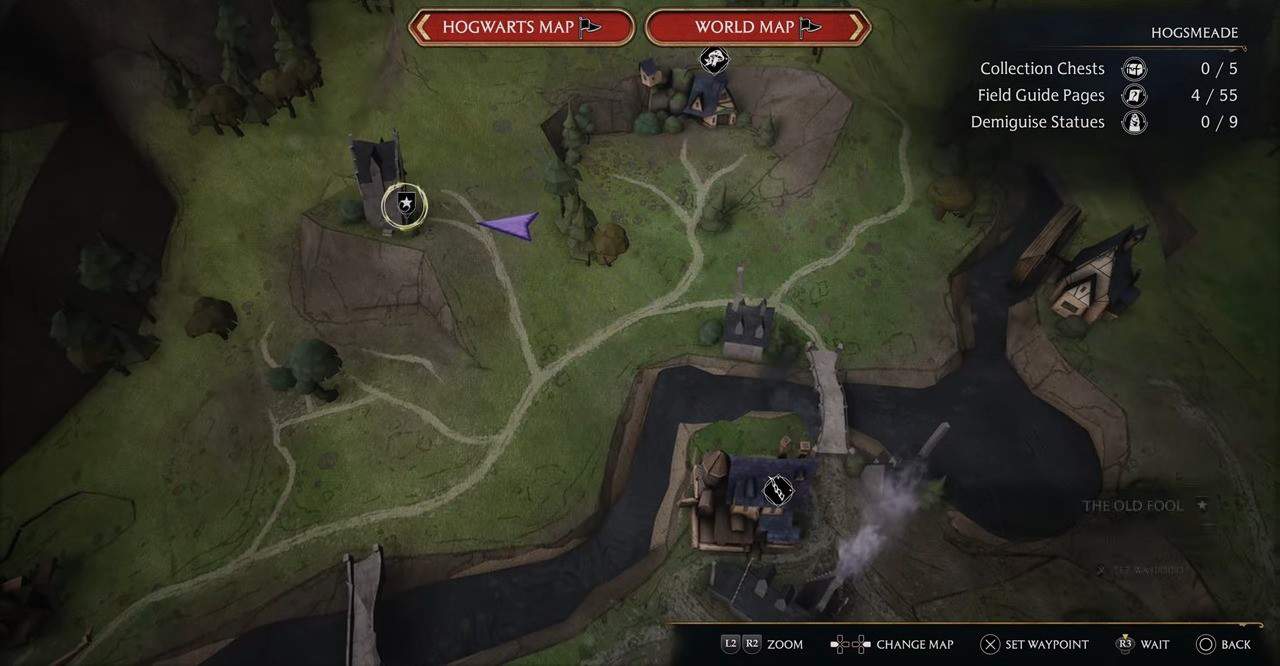
The eighteenth Moth Mirror Puzzle is in an unmarked location within Hogsmeade; The Water Mill. It is located towards the northeast of Brood and Peck. Simply use the map picture above and continue straight ahead to reach the Mill. The Mirror will be present on the ground towards the left as you walk in.
To find the Moth, simply use the path right by the exit of the mill. It will be resting atop a lamp post. Use Lumos to guide it back to its painting to successfully complete this puzzle.
Moth Mirror Puzzle #19 Hogsmeade – Dogweed and Deathcap
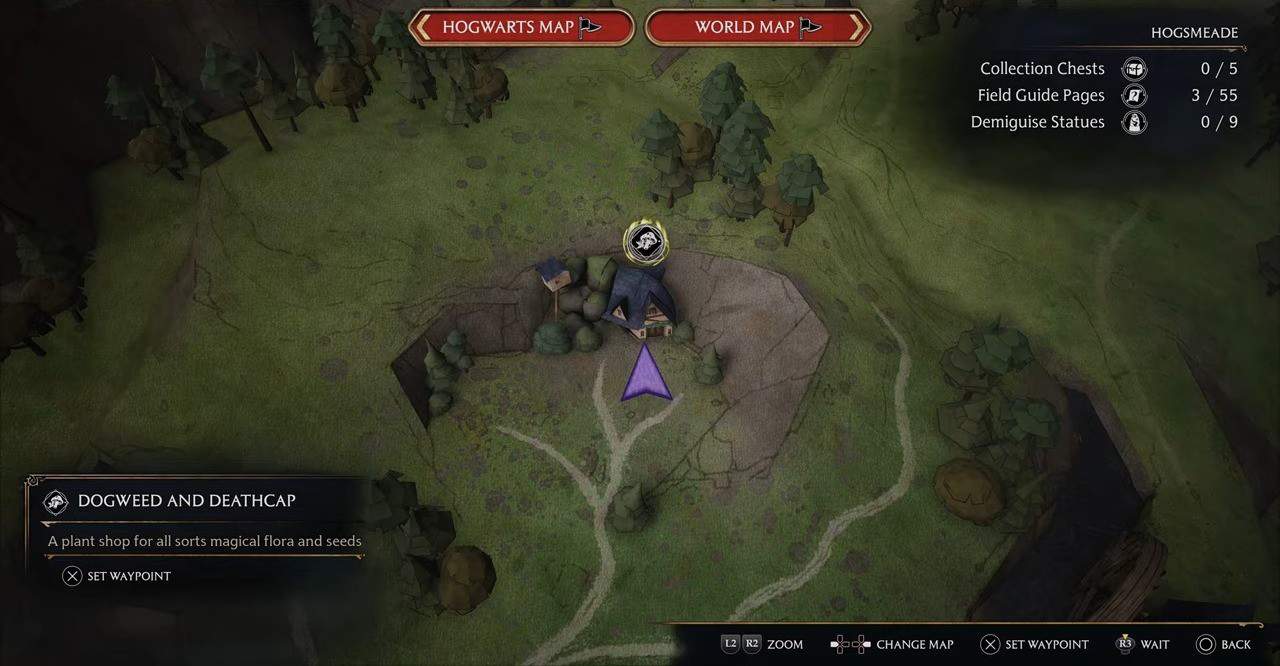
The second last Moth Puzzle is found within the Dogweed and Deathcap shop in Hogsmeade. It is present on the left side of the shop, resting against a planter. Use Lumos to activate it.
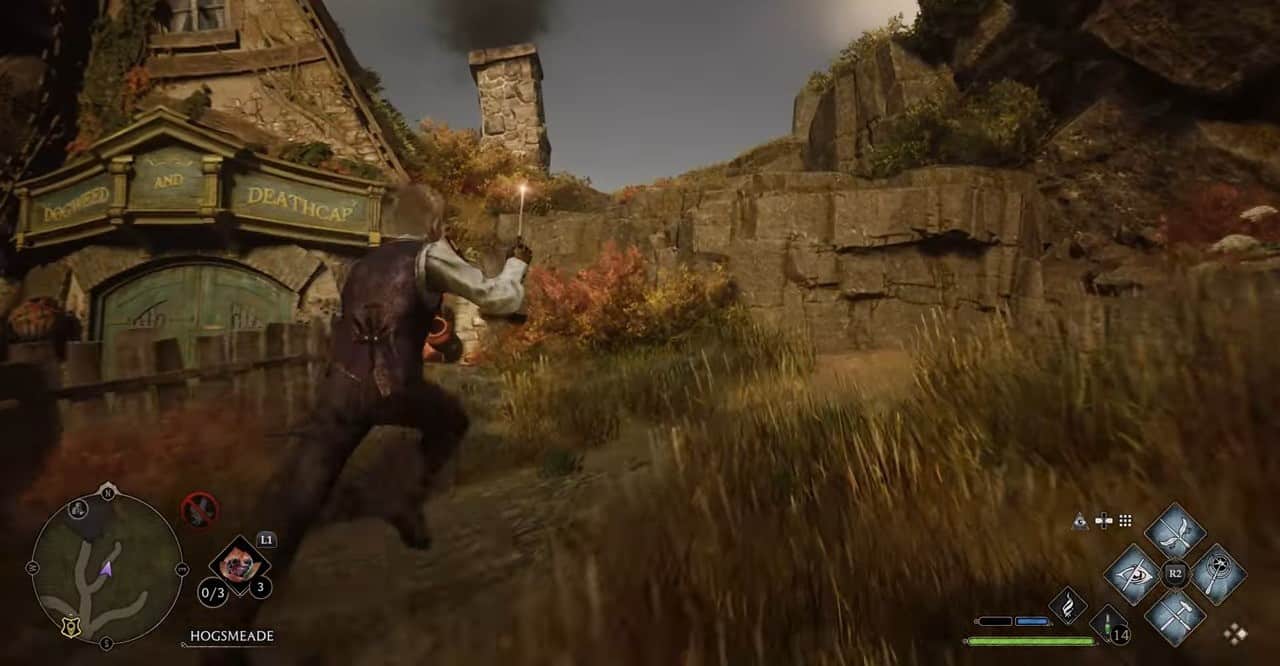
Next, exit the shop and use the ledge right next to it to reach its chimney. The Moth will be resting on the backside of the chimney. Use Lumos to guide it back to its mirror to finish the puzzle.
Moth Mirror Puzzle #20 Hogsmeade – The Old Fool
The final Moth Mirror puzzle is also in an unmarked area. It is in the small hut toward the left of Dogweed and Deathcap. The mirror will be present right as you walk in.
Exit the hut and make your way to its back. The moth will be resting on a wooden crate by a large rock formation.
How to fix Hogwarts Legacy Moth Puzzle not working Bug
In certain instances, one or several of the moth puzzles may become glitched for you. This bug mainly manifests in the Moths not showing up in their intended locations and mainly occurs in the Potions Classroom puzzle, Slytherin Dungeon puzzle, the Bell Tower Courtyard puzzle, and the Library puzzle. To remedy this glitch, use the following methods:
- On PS5 and Xbox Series X|S switch between Performance and Resolution (RTX) modes
- On PC, turn DLSS on and off
- Restart the game
- Fast travel to and from the location