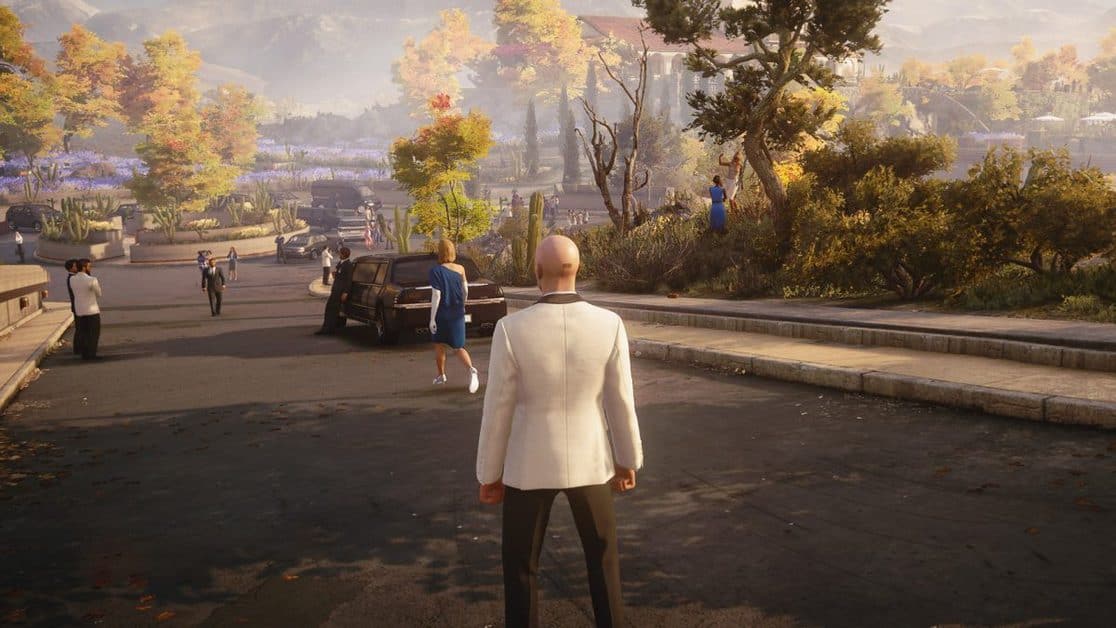
This Hitman 3 Mendoza Undiscovered Area Locations guide covers the locations of all the areas that you need to discover in the Mendoza Argentina map to help you get that trophy.
Hitman 3 Mendoza Area Undiscovered Locations
Hitman 3’s Mendoza Argentina has a bunch of areas that need to be discovered for the Master the Terroir achievement.
The total number of areas you need to discover in the Mendoza, Argentina map of Hitman 3 are 45. These 45 locations can be discovered while in 7 different levels of the map (Lvl 0 to Lvl 6).
So without further ado, here are all of the 45 locations divided under the level categories from 0 to 6 on the Mendoza map in Hitman 3:
Level 0 Locations
- Chardonnay Field: The Lower region of the grapevines
- Grape Shed: The shed within the grapevines
- Grapefield Roads: The path that runs down the middle within the grapevines
- Malbec Field: The Upper region of the grapevines
- Cinema: The lower right region of the main building
- Production Room: Main working place at the center of the complex northeast of the cinema
- Staff Locker Room: Located to the top left of Production Room
- Staff Restroom: Adjacent to the Staff locker room
- Fermentation Room: Located to the right of the Production Room
Level 1 Locations
- Tech room: On the left, when you go one floor above the production complex
- Barrel room: A central room above the production Room
- Wine Fridge: Discovered by dropping the shelves that are to the right side of the barrel room.
Level 2 Locations
- Grapefield Cliff: A trailing pathway between the entry point and the grapefields.
- Parking Lot: A crowded section with parked cars.
- Parking Area and Tunnel: a guarded area next to Parking Lot
- Security Tunnel: A tunnel behind the guard office
- Boatdock: To the very north of the level 2 map.
- Dance Floor: A crowded area to the right of the parking lot.
- Reception: To the right of the Dance floor
- Fermentation Atrium: The large room to the right of the reception
- Tasting Room: South of the Atrium, towards the bottom of the map
- Bathroom: right above the Reception area
- Security Room: adjacent to the Bathroom.
- Secret Tunnel: A tunnel behind the security room
- Armory: A room accessible via the secret tunnel.
- Backside: To the right of the map, at the end of the Secret Tunnel.
Level 3 Locations
- Lower Gardens: In the upper area on the left side of the map.
- Asado/Barbecue: Upper side section with many party guests
- Higher Gardens: In the top left area of the map
- Villa Basement: Take an entrance through the Foyer.
- Silo: Top left of the map near the lower gardens.
Level 4 Locations
- Security Checkpoint: The location at the beginning of the map.
- Viewing Platform: Located at your first objective overlooking the region.
- Villa Front Yard: Situated between Villa and the Asado
- Villa Back Yard: A garden behind the Mansion
- Villa Foyer: Entrance to the Mansion
- Villa Guest Room: Right side of the Foyer
- Villa Living Room: Left side of the Foyer
Level 5 Locations
- Villa Roof: A large section of roof at the top of the Villa, colored orange.
- Villa Office: The central room in the Villa on the upper floor.
- Villa Bedroom: Attached to the office.
- Villa Bathroom: Attached to the bedroom.
- Villa Front Balcony: Seen from the front yard of the Asado
- Villa Back Balcony: Overlooking the top most end of the map
Level 6 Locations
- Villa Attic: Access through the ladder in the bathroom to reach the attic of the Villa.
So above are all the 45 undiscovered locations in the Mendoza area that need to be discovered for Master the Terroir Trophy.
