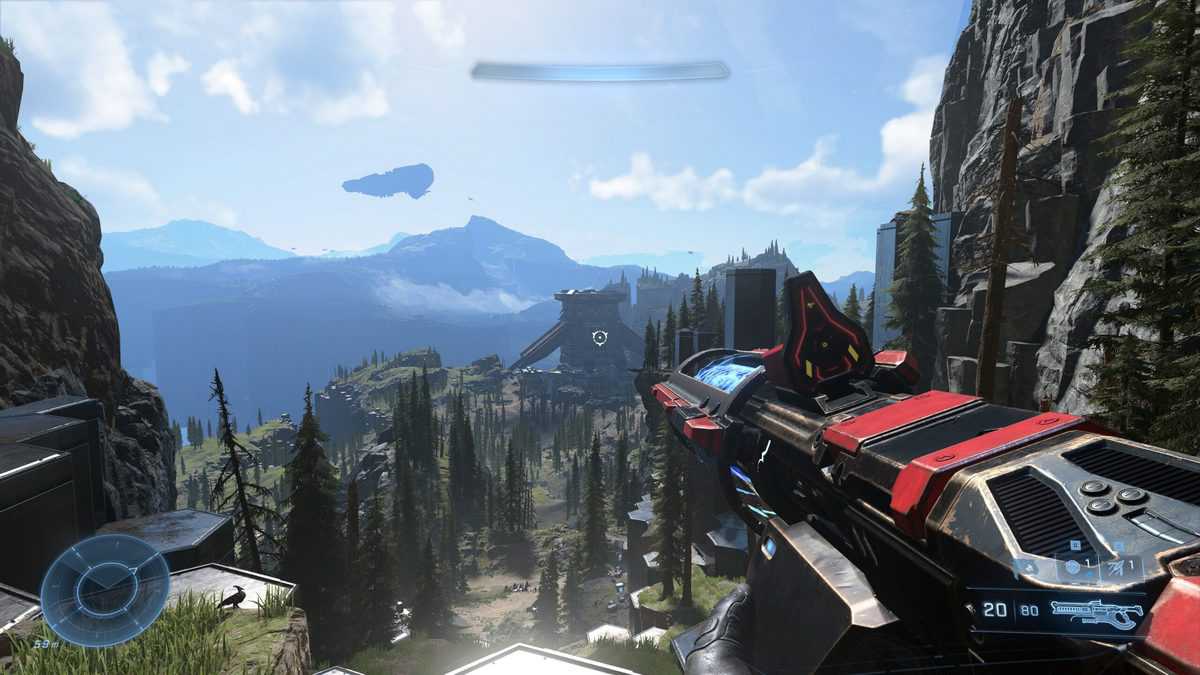
Skulls make a return in the latest Halo campaign, allowing you to apply modifiers to gameplay. In this Halo Infinite Skulls Locations guide, we will show you where to find all the skulls on Zeta Halo.
Halo Infinite Skulls Locations
Skulls can be used to unlock mutations in Halo Infinite and that is why collecting all 12 of them is super important if you want Master Chief or his enemies to be decked out with mutations.
Since main story missions in Halo Infinite cannot be replayed so, if you missed any skulls within those missions then the only way for you to acquire them again is by starting a new campaign.
Skulls can be distinguished by the noises they emit and once you’ve scanned a skull, whether knowingly or unknowingly, it’ll be added to your map.
We have described the location of each skull in Halo Infinite as well as the modifier they provide to make things a lot easier for you.
Boom Skull Location
Skull Effect: doubles explosion radius
Location: Warship Gbraakon
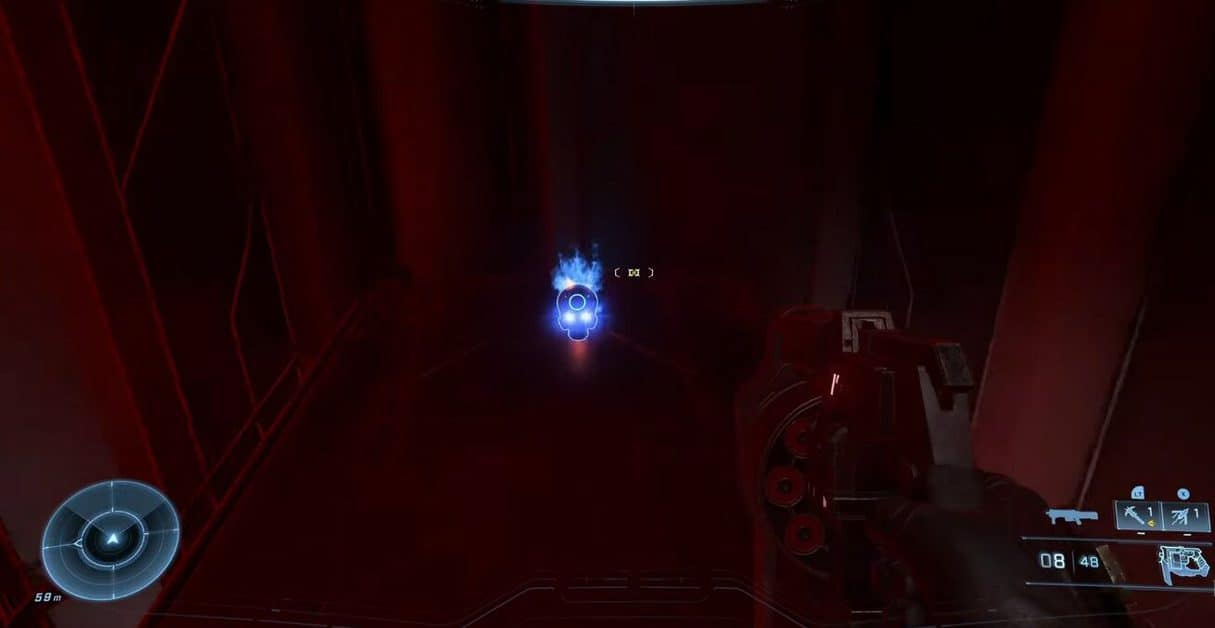
The Boom Skull doubles your explosion’s radius and can be found in Mission 1 on Warship Gbraakon so make sure you collect it from the room with the red moving blocks.
Climb on the left block using your hook and then vault on top of the other one to locate the skull.
Cowbell Skull Location
Skull Effect: This skull increases acceleration from explosions.
Location: The Foundation
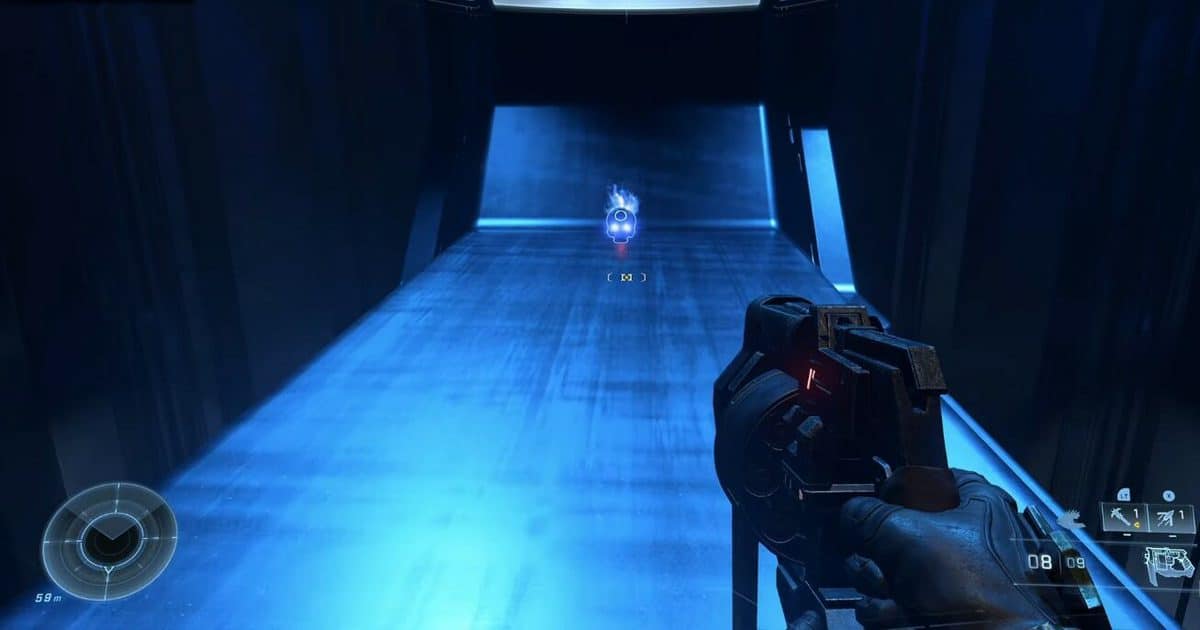
You can find this skull in the Foundation mission of Halo Infinite. This skull increases acceleration from explosions. You can locate it right after you watch the memory and exit the elevator.
You need to climb the massive blue pillar and use your hook to work your way up to where the skull is located.
IWHBYD Skull Location
Skull Effect: This skull makes rare dialogues during combat more common.
Location: The Tower
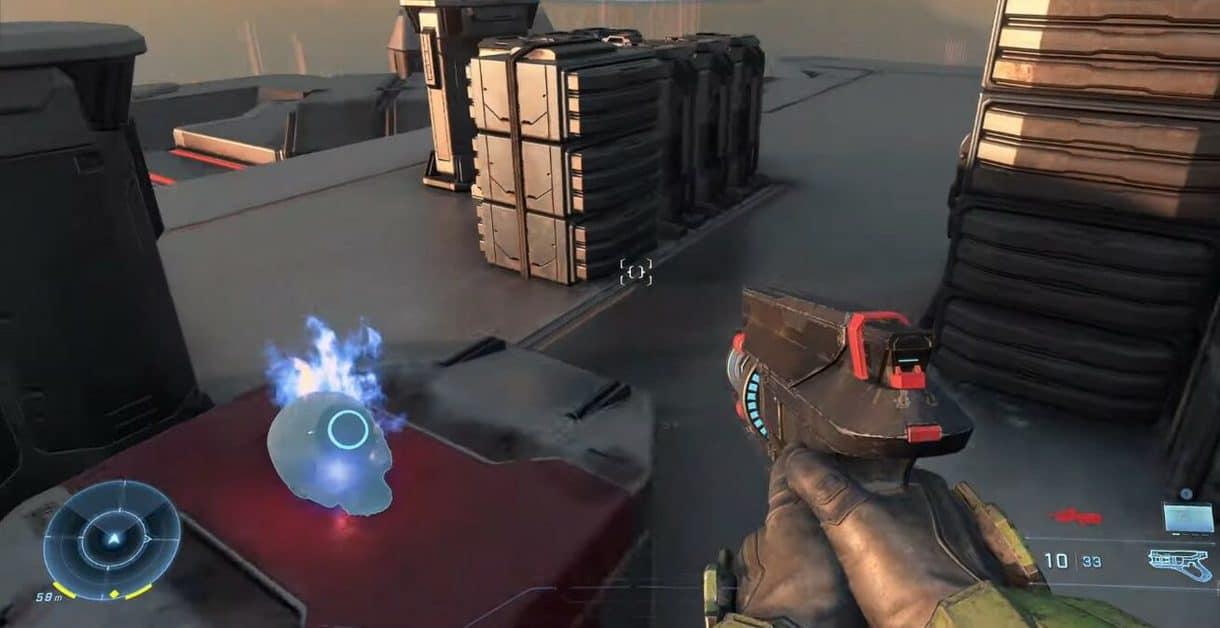
This skull can be found on top of the huge tower on Island 1. You can scale the tower by flinging Master Chief around with the hook. This skull makes rare dialogues during combat more common.
Blind Skull Location
Skull Effect: This skull makes your Hud and hands/weapons disappear.
Location: Southwestern Region of the Island
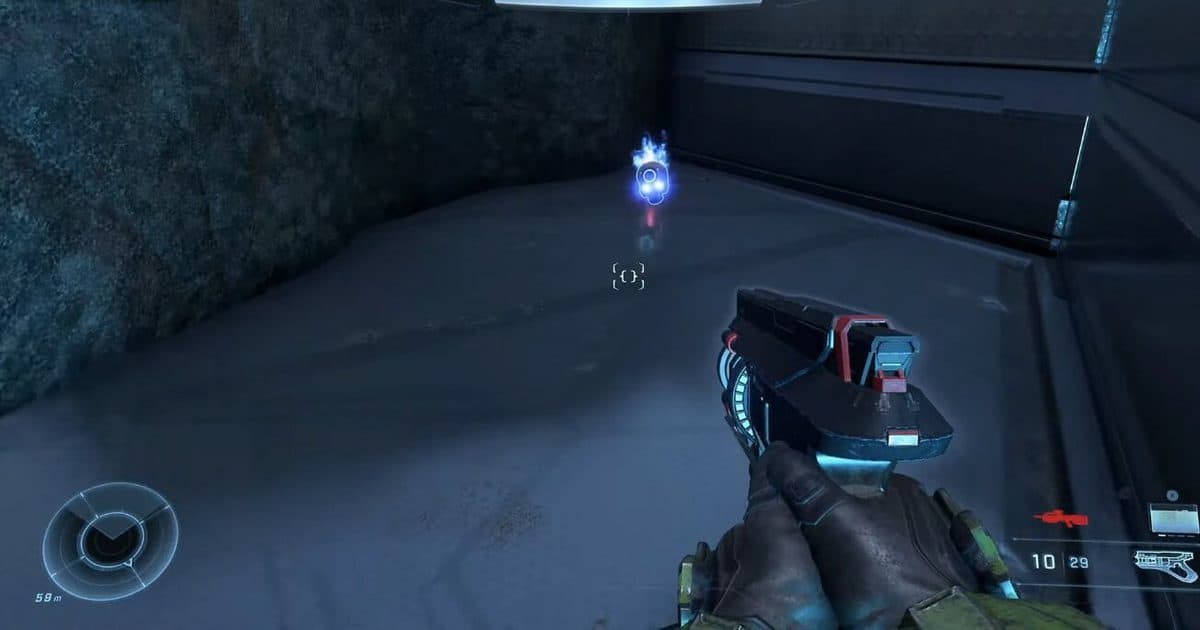
The Blind Skull can be found on the first island, between the two cliffs, around the bottom area of the island.
Clear out any grunts in the area to be able to look for the skull peacefully. This skull makes your Hud and weapons disappear.
Catch Skull Location
Skull Effect: This skull can make enemies drop their thrown grenades more often.
Location: Northwestern part of the Island
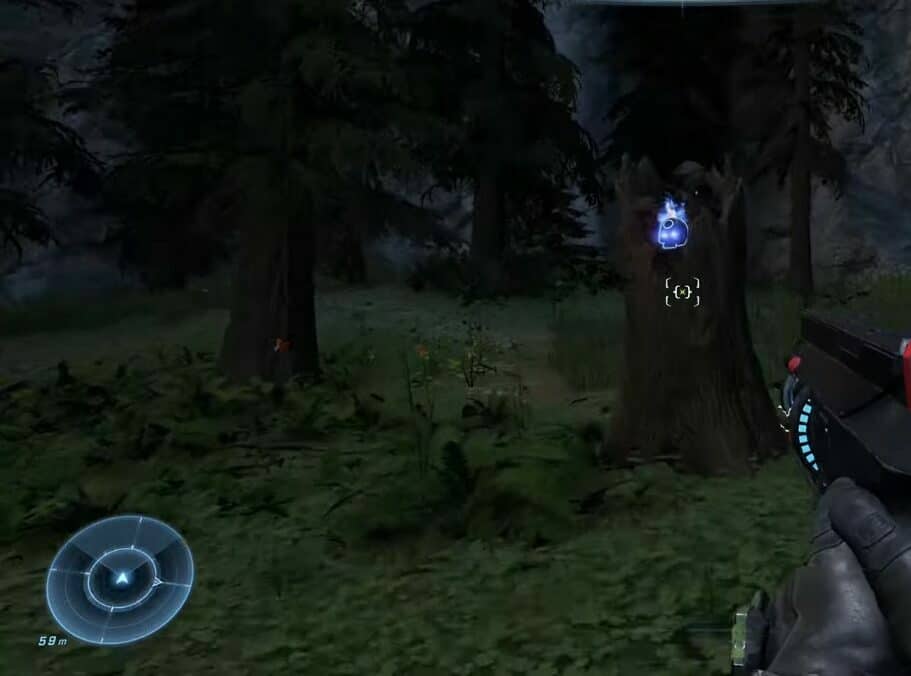
The catch skull can be located near the upper areas of Island 2, around the excavation site in that area. This skull can make enemies drop their thrown grenades more often.
Two dangerous enemies are guarding the tree trunk where the skull is sitting. Wreck them and loot the skull afterward.
Fog Skull Location
Skull Effect: The Fog skull turns off the enemy’s motion tracker radar systems.
Location: Cliffs west of FOB Alpha
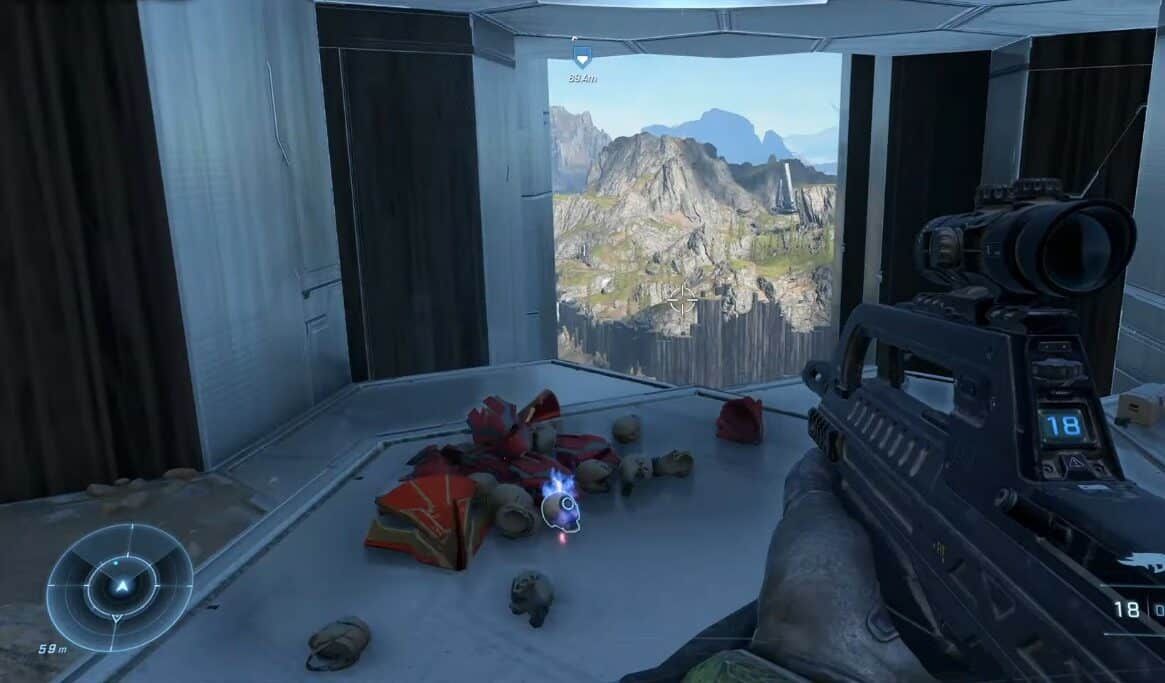
Go west from FOB Alpha on Island 2 to locate a hexagonal pillar along the cliff. You need to reach the other end of these pillars using your hook to loot the skull.
The Fog skull turns off the enemy’s motion tracker radar systems.
Famine Skull Location
Skull Effect: Famine Skull reduces the ammo you get from dropped enemy weapons by 50%.
Location: Small Island east of the Beacon
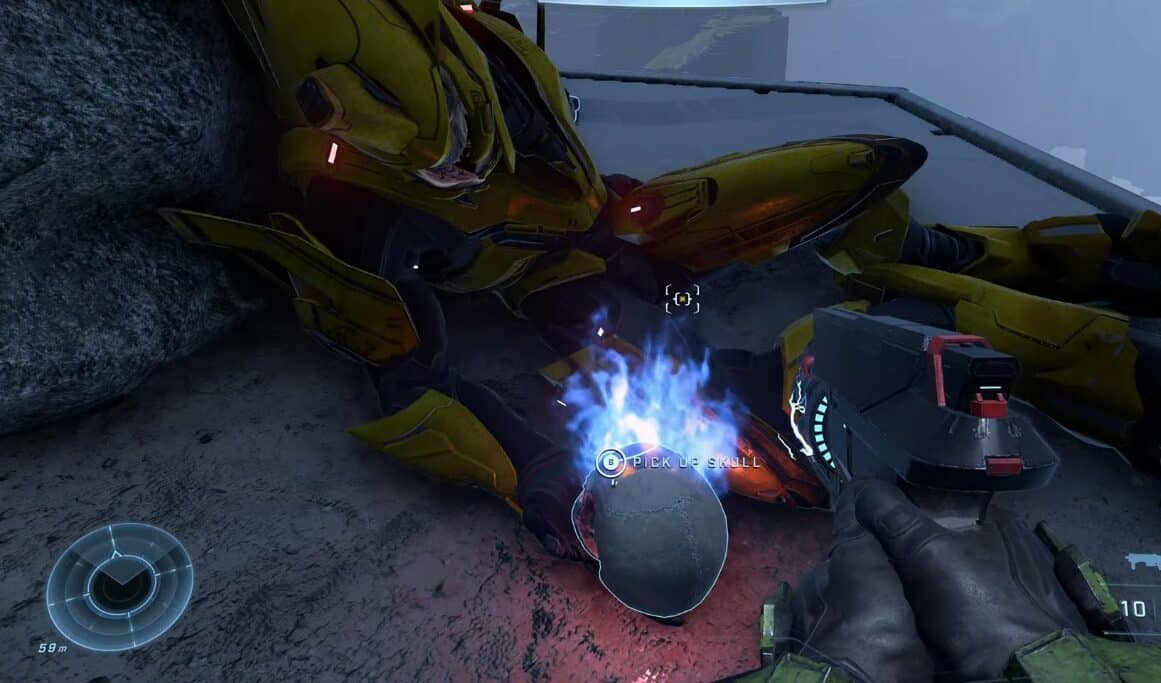
Famine Skull reduces the ammo you get from dropped enemy weapons by 50%. This skull can be located on the 4th island, around the western edge of the island.
You will need to shimmy around the edges of the cliff carefully to drop down and collect the skull.
Black Eye Skull Location
Skull Effect: The Black eye Skull forces your shields to only recharge whenever you melee enemies.
Location: Inside A cave on the southern Island
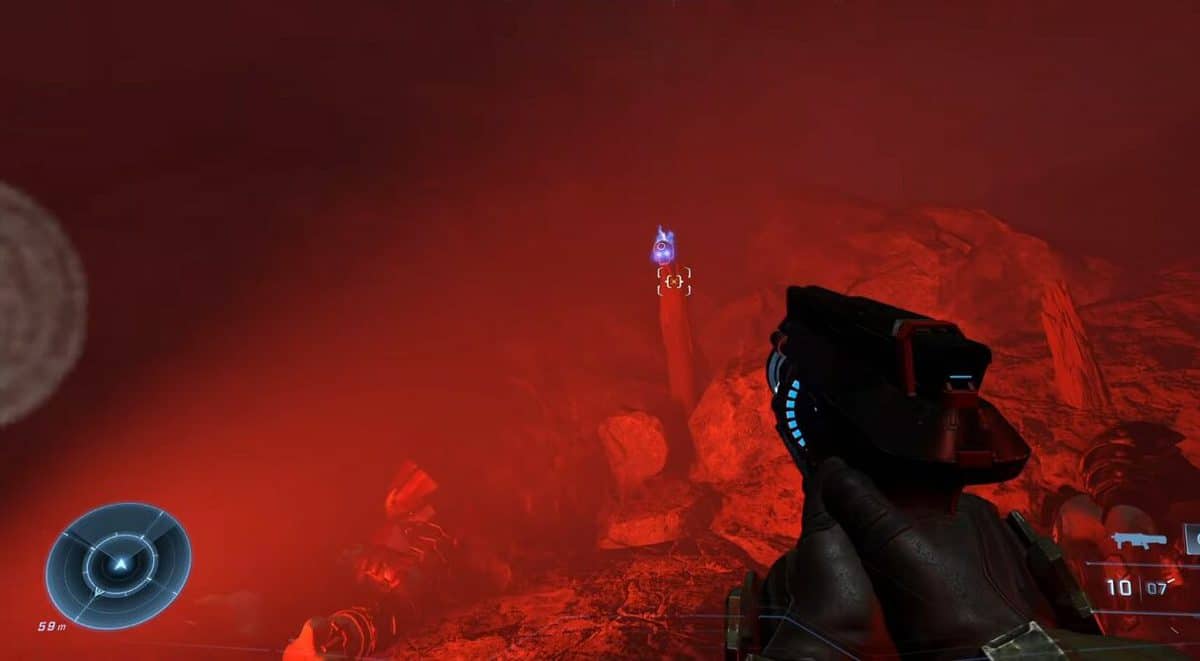
To find the Blackeye skull, you need to go to Island 4 and travel to the river between Raven Gate and FOB Kilo.
You need to go through the waterfall and then scan to reveal the skull’s location. After that, you can easily reach it using your grapple hook.
The Black eye Skull forces your shields to only recharge whenever you melee enemies.
Thunderstorm Skull Location
Skull Effect: This skull lets you increase ranks for almost every enemy type.
Location: 4th Island/ Southern Island
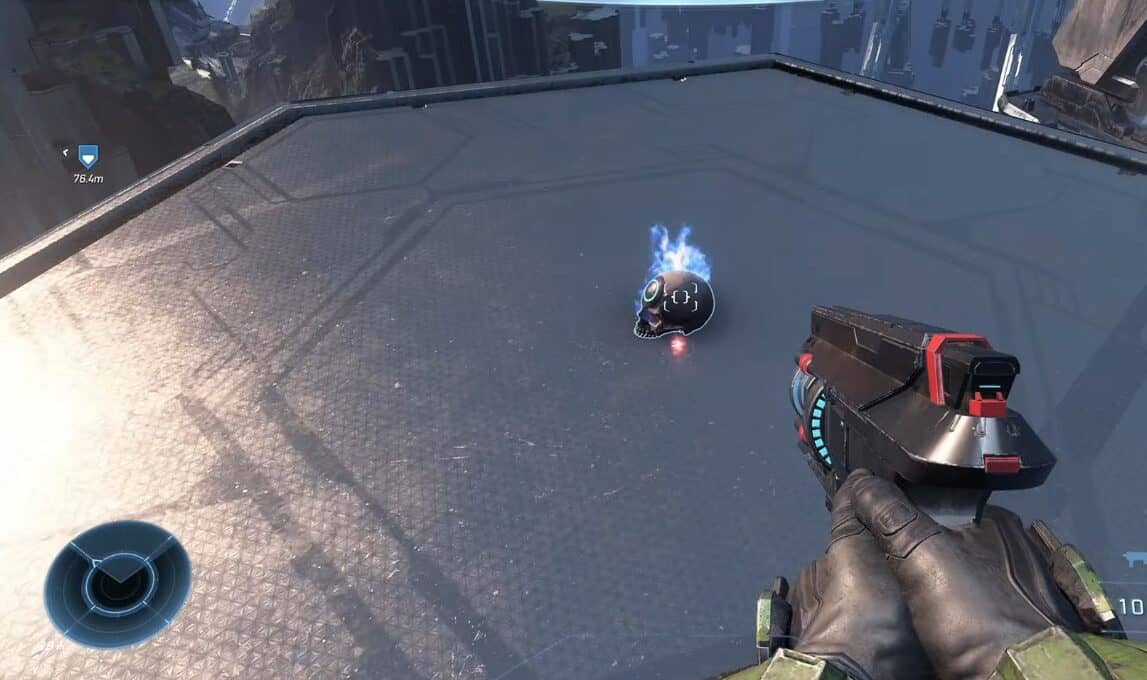
Locate this next skull on Island 4, near the beacon at the top of the island. You need to go to the edge of the cliff and look down to spot some dead grunts. That’s where the skull is.
This skull lets you increase ranks for almost every enemy type.
Mythic Skull Location
Skull Effect: weapons dropped by enemies have half the ammo they normally would.
Location: The Command Spire
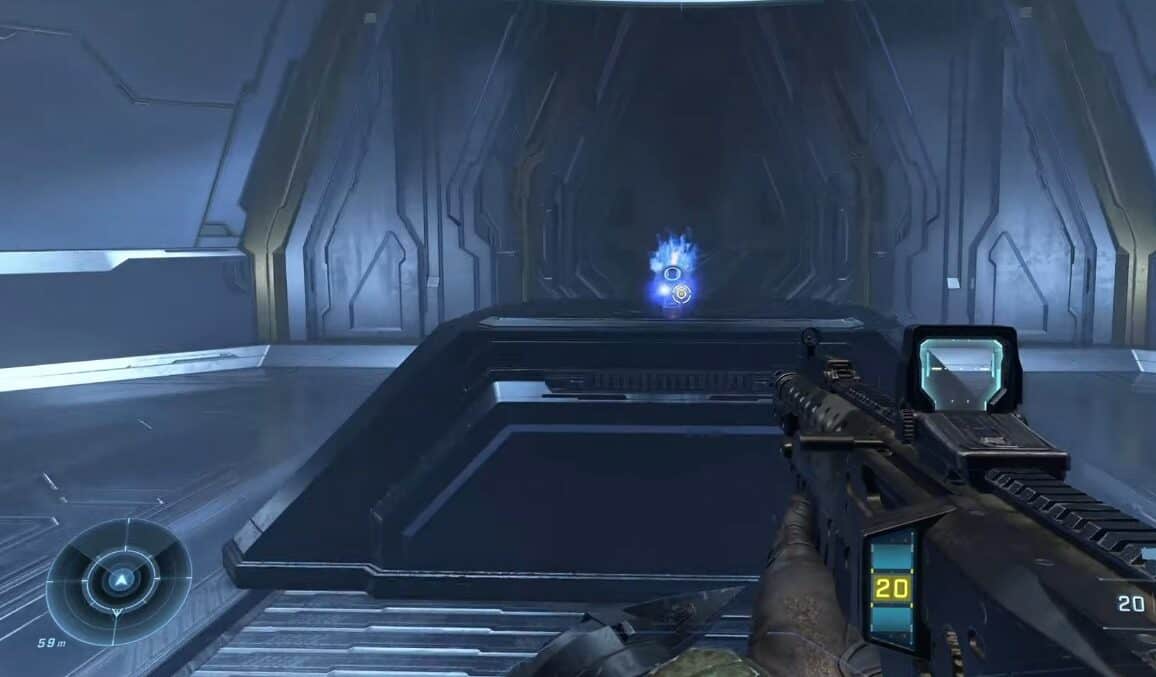
You can miss this skull if you fail to collect it during the campaign’s mission 11, The Command Spire. Keep defeating grunts and sentinels in the room with the golden lights to move forward and then use the grapple hook to reach the console room.
The skull increases enemy health and can be found sitting on top of the main console.
Grunt Birthday Party Skull Location
Skull Effect: Confetti and Celebrations start whenever you headshot a grunt.
Location: Repository
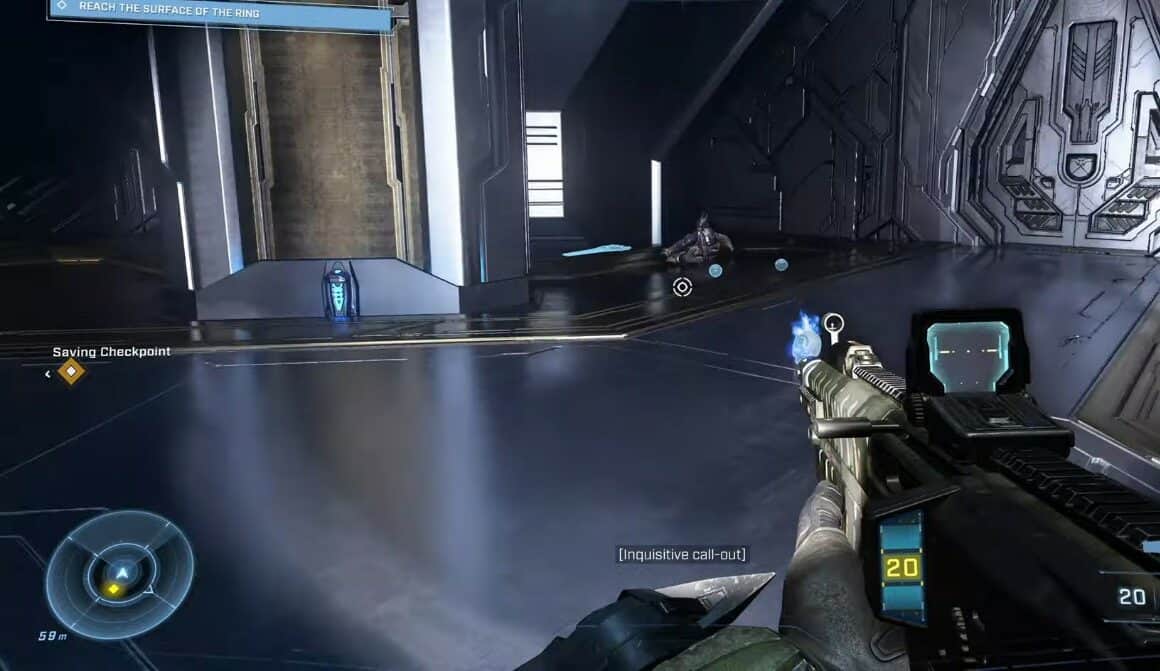
Confetti and Celebrations start whenever you headshot a grunt. To acquire this skull in the Repository mission. You need to watch the cutscene and then unlock a secret door using a power seed and crucible before leaving the long room.
Defeat the enemies and then go to the room on your right to acquire the power seed. After you’ve picked up the power seed, backtrack and then swing to the left room to deposit the power seed in the crucible.
After that, you can move onwards with your mission until you come across a room with golden walls and sentinels. Defeat em all and then enter the door that opened because of that power seed you deposited earlier.
You need to defeat 4 covenant blade masters inside this small room to be able to collect this skull.
Bandana Skull Location
Skull Effect: it will grant you unlimited ammo, grenades, and zero cooldown timers.
Location: The Silent Auditorium
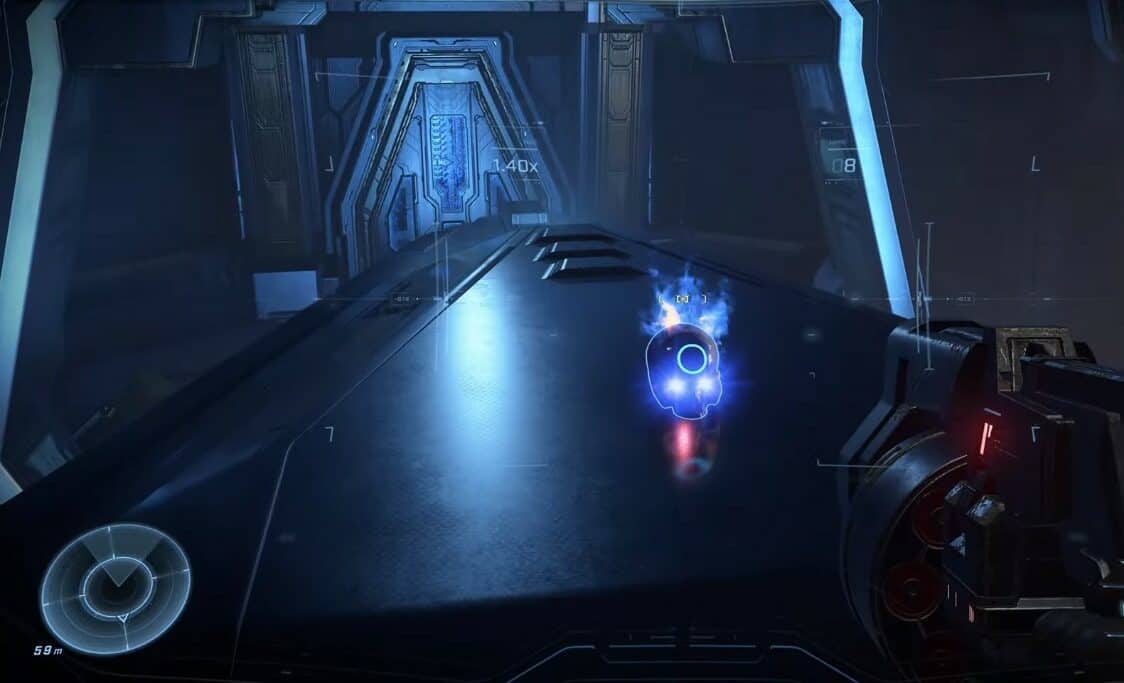
You can find the final skull during the Silent Auditorium mission and picking it up will grant you unlimited ammo, grenades, and zero cooldown timers.
All you need to do is NOT KILL ANY SENTINELS during the mission and a door will open for you in the room that has a light bridge. The newly opened door will be on the right side of the light bridge.
