Basil Karlo, AKA Clayface, has been Batman’s main foe in the comics for quite a few years now. Now, among other famous villains like Mr. Freeze and Atalia al Ghul, Clayface makes his appearance in one of the side missions; CF01: Clayface, in Gotham Knights.
The main guy behind Clayface’s identity is Basil Karlo, who has a huge clay-like body and superhuman strength. He went missing and was presumed dead after the fight with Batman, but now he makes his return and it’s up to Gotham Knight’s main protagonist to finish him off.
This boss is a pretty tanky one with a very large health pool. Moreover, his clay-like body allows him to mold himself into any shape and size, contributing to his versatile fighting style.
You’ll be able to find and fight Clayface in the side mission: CF01: Clayface, which can be unlocked after completing Main Case 2: The Rabbit Hole. Although the whole of the side mission is a pretty large yet straightforward one, you’ll only be able to fight Clayface himself in two different subparts of it. The rest of the subparts mainly involve investigations and fighting his smaller minions.
With the help of this guide, you will be able to learn how to defeat Clayface in Gotham Knights in no time.
Do note that there is also a secret Clayface case file you can unlock in Gotham Knights. The case file is neither shown on the map nor prompted during progression. You have to unlock it yourself by following certain steps.
How to beat Clayface
The side mission CF01: Clayface has two different main subparts/objectives in which you’ll fight against Clayface himself. They are 1.2: Disturbance at the Dixons and 1.3: Rumble at the Reservoir.
Although both of these parts involve fighting Clayface, his appearance is a little bit different in these cases. Let’s look at how to beat him in each of the two cases.
Subpart 1.2: Disturbance at the Dixons
In this part, you’ll fight a smaller version of Clayface, but there will be three of them. One of them is the main Clayface, and the other two will be his Clay Homunculi.
Each of these three will be separate targets, but they have the same health pool. This means that it doesn’t matter which one you attack, as the overall health pool depletes regardless.
These three clones have the same types of attacks, both for close range and long range. For close range, the Clay Homunculi will use the normal melee attack but will gang up on you. For long-range, they have a variety of attacks. Since they are made of clay, they can extend their hands for a considerable distance to punch you. Moreover, they can also summon spikes for the ground.
As for their mobility, they can also dissolve into the water in the ground and move along with it quickly, temporarily invisible, and invincible.
Each of these attacks and movements isn’t that fast and can be seen from a long way off since you play in the third-person mode. Regardless of their relatively slow mobility, it’s still recommended to fight smartly.
The best way to approach this fight would be to stick to a single target but keep both eyes open for any attacks from the other two Clay Homunculi. When you see the attacks coming, roll and move out of the way, then switch to your nearest target and resume your attack.
After about 30% of Clayface’s overall health is defeated, a cutscene will start and several of his minions will appear.
Once that happens, you need to get rid of the smaller minions first, as they’ll only be a nuisance when you’re fighting Clayface. Once all the smaller minions are defeated, you can resume your normal strategy.
After you’ve completely depleted Clayface’s health pool and defeated him, a cutscene will appear and he’ll escape through a locked sewer gate.
Subpart 1.3: Rumble at the Reservoir
The fight with Clayface will resume in this subpart, in which you’ll have to finish him for good.
In this fight, you’ll fight a single Clayface, but he will be larger in size. Moreover, he’ll have 4 hands and a different set of attacks but will be slower in turn.
The main attacks will still be melee, but this time in addition to straight punches, he’ll also be able to do slam attacks and grab attacks.
These attacks will have a slightly larger range but will also be slower so they can easily be seen coming.
The best way to fight this version of Clayface would be to wait at a distance, wait for his attacks, dodge them and then move in for a few hits, then step back again, waiting for his next attack.
Using this technique, when you deplete about 30% of his health, a cutscene will start in which he’ll slam the ground, demolishing it. Now your bike will appear and you’ll have to escape from the sewer tunnels to a dry, hotter area.
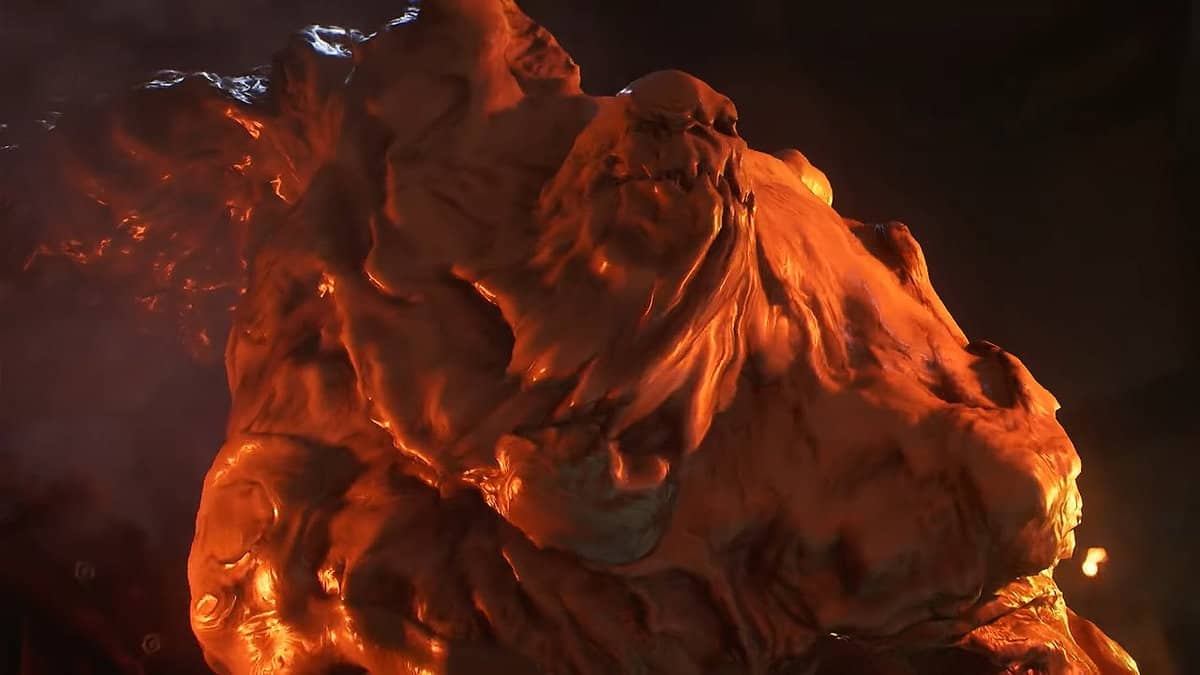
In this newer area, Clayface’s appearance will change and the two hands on his back will get larger. There will be a slight variation in his attacks, but they won’t make any significant difference to your strategy. The only notable, extra attack he can make in this case would be shooting projectiles from himself, which can be dodged by rolling.
Now, after about 30% of his health is remaining, he’ll change his appearance once again, the two hands on his back will disappear and his left hand will get converted into a weapon. Yet again, his attacks will change slightly, but it won’t affect the strategy.
All you must do now is to keep attacking him carefully till he is defeated, for good this time.
Clayface rewards and loot
Here is a list of rewards you get after defeating Clayface and completing each of the two subparts respectively.
Disturbance at the Dixons: 20100 XP, 1x Heroic Suit, and the ‘The Show Mud Go On’ trophy.
Rumble at the Reservoir: 13400 XP, 1x Heroic Melee Weapon, a ‘Rock and Hard Place’ trophy, and an ‘ End of an Era’ trophy.