The Bloodlines quest in Final Fantasy 16 sees you investigate different villages and gather information regarding the presence of Black Shields. You eventually carry on your journey to reach Port Isolde in search of Clive’s uncle.
This will be the 23rd main quest of the FF16 storyline that picks right up from where the Final Fantasy 16 The Gathering Storm quest left off.
How to complete Bloodlines quest in FF16
The FFXVI Bloodlines quest begins with a cutscene between Jill and Clive. They talk about Gav’s absence, Jill’s return to Ironholm, and her opportunity to mend her past.
Make for Amber
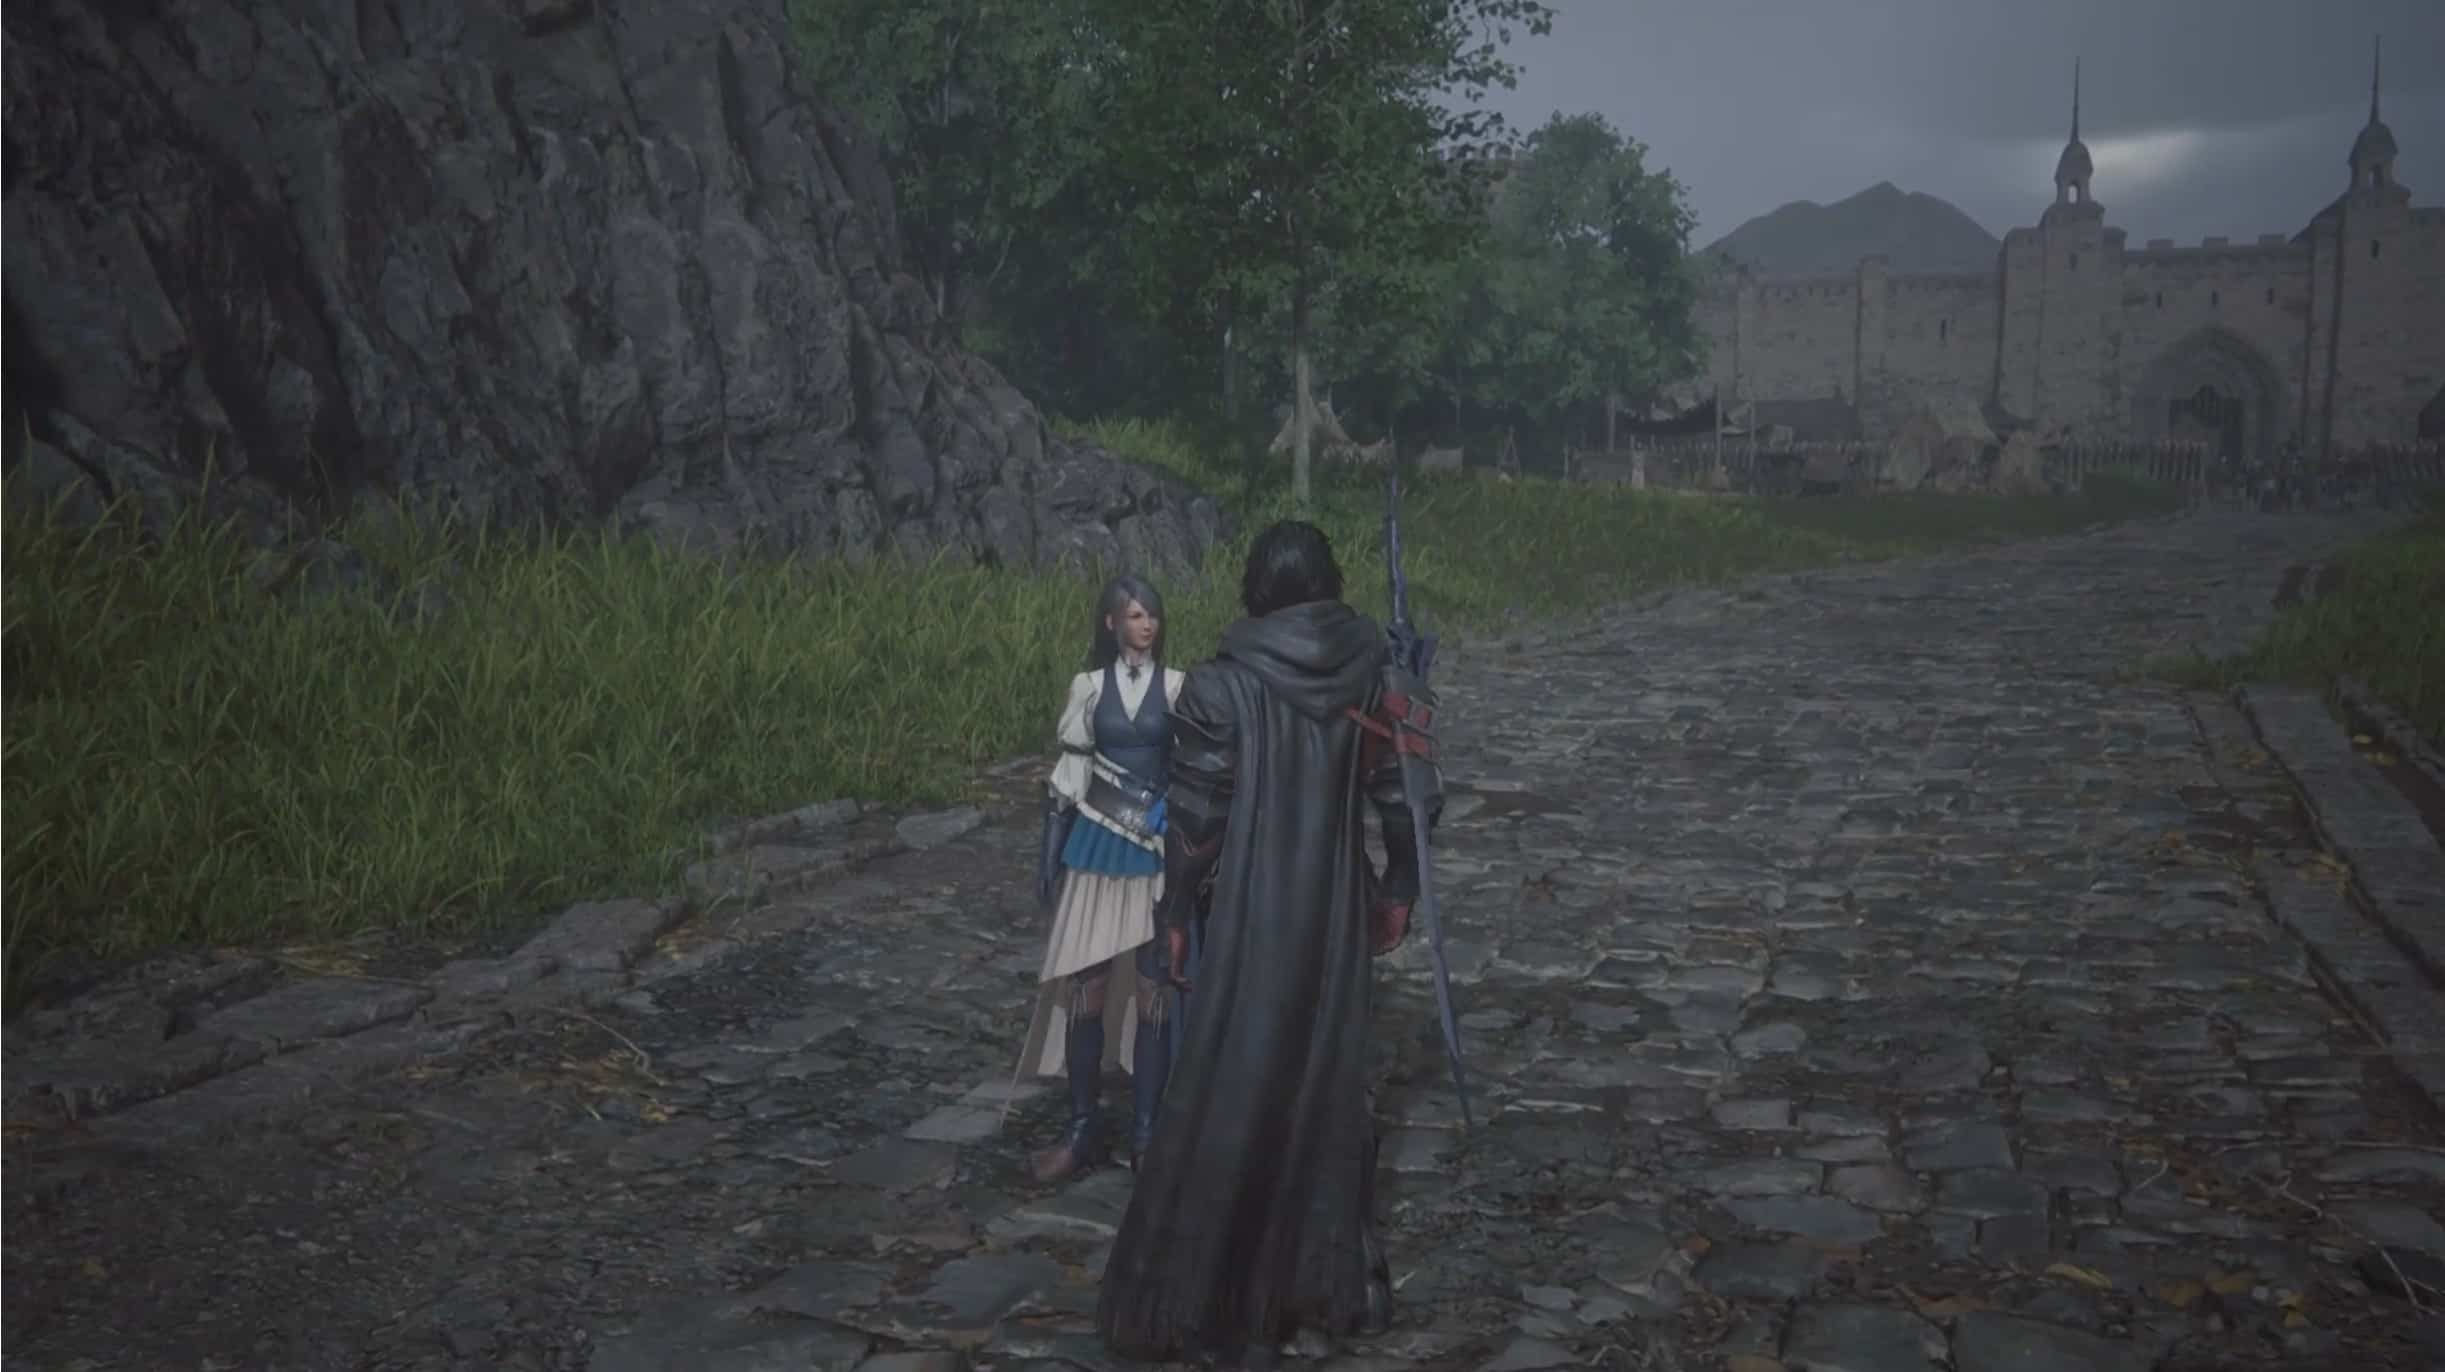
Your first objective of this quest will be to head toward Amber. Begin following the red marker on your screen to take you down the path up ahead. Continue heading straight on this path until you come across a fork.
You’ll need to head right here and continue on this path for a little while to come across a bridge. You’ll find a settlement right across the bridge, so use it to get to the other side.
As soon as you cross the bridge a cutscene will start as you overhear the conversation between two villagers. The camera pans out and this time another villager is seen being terrorized by a group of Black Shields.
Jill and Clive are curious about the presence of the Black Shields and their purpose for being in a small village like this.
Speak with the villagers
The cutscene finishes here and your objective will update. Your new objective will be to speak with the villagers of this settlement. The ones you need to approach will be standing by the end of a slope. Look to your right to spot them.
Approach them and interact with them to find out about the incident that had just occurred moments ago. They exclaim to you that rumblings of trouble across the empire have caused this.
Once the conversation ends, you’ll need to head deeper inside the village and extract more information from the villagers. You must search for a man standing against a fence. You are also told that the Black Shields have looking to find a group whom they have identified as Firebrands.
Speak with the locals
You’ll need to speak with one more of the locals of the village and get more information. You’ll need to head straight to approach the house in front of you. Approach the man sitting on a bench there.
The village elder sees the risk of you being in this village and cuts your conversation short, ordering you to leave at once.
The seeming presence of a potential ally has you interested and you want to stop the Black Shields and empire from getting their hands on them.
Make for Port Isolde
Your next objective will be to head toward Port Isolde in FFXVI. You’ll need to head along the path that runs through the canyon in front of you.
On this path, you’ll be greeted by many Fallen Hunters whom you must take out before progressing ahead. As you do so and head straight you eventually find a fork.
Though both routes lead you to the same exact destination, the type of obstacles and enemies you face are completely different. You’ll need to defeat a few Fallen Bugs on taking the right path. At the same time, your distance forward will be significantly shorter than the left one.
If you go down the left route, you’ll need to defeat a few Black Shield soldiers, as well as have to deal with Death Blossoms and Bombs. Remember you can track back and explore the other path anytime, should you wish to do it.
As you continue along you’ll notice your path will lead through a canyon. You’ll eventually have to defeat Fallen Bugs and Fallen Soldiers to progress further.
You’ll emerge from an area underneath a large bridge section. To progress, forward you’ll need to defeat the Wyrms blocking your path. Use Garuda’s Deadly Embrace to make quick work of them. Three Black Shields may also confront you here, but you can easily take care of them.
Now head to your left and follow the sloping path to lead you to the opposite side of the bridge.
Defeat the Black Shields
Now a cutscene sequence will start to examine a fresh blood stain. You will see Torgal growling confronted by a group of Black Shield troops in FFXVI. Your next objective is to defeat them as they try to take you down.
This shouldn’t be too difficult as the Black Shields offer not much threat to you. The Spellcaster will prove to be the most troublesome, so we suggest taking him down first.
Make for the Auldhyl Docks
Approach a dying Black Shield to extract some information. You are told that you had been the search target all along.
More importantly, apparently, your Branded friends await your presence at the Auldhyl Docks. So your objective will be to head to Auldhyl. As you approach it, interact with the gates to own them.
Clive discovers the horrific sight of corpses which is the aftermath of his mother’s order.
Make for Port Isolde
You’ll now need to head for Port Isolde, you can take the same path you used to enter the Auldyl Docks. Following it will take you to the Bewit Bridge,
Take a left from here to find a huge rock structure. You need to take the path that heads below this structure to take you to The Silken Strand in FFXVI. Skip the town area to reach the Port Isolde entrance.
As you approach the entrance you find the confrontation between the locals of Port Isolde and the soldiers. Since your path is blocked, you decide to take the alternate path through The Lazarus tunnels.
This will complete the Bloodlines quest in Final Fantasy 16 and you can then progress on to the next quest, Black Light Burns.
Bloodlines quest rewards in Final Fantasy 16
There are no special rewards for completing the Bloodlines quest in Final Fantasy 16. The rewards you get are during the quest.