The F1 22 Austria track is one of the shortest in the game, but also one of the most exciting. It may seem straightforward at first glance, but it has some sectors that can completely throw you off.
In this guide, we’ll be exploring the best F1 22 Austria Setup for both wet and dry variants including the best values for transmission, aerodynamics, brakes and more.
Austria Setup
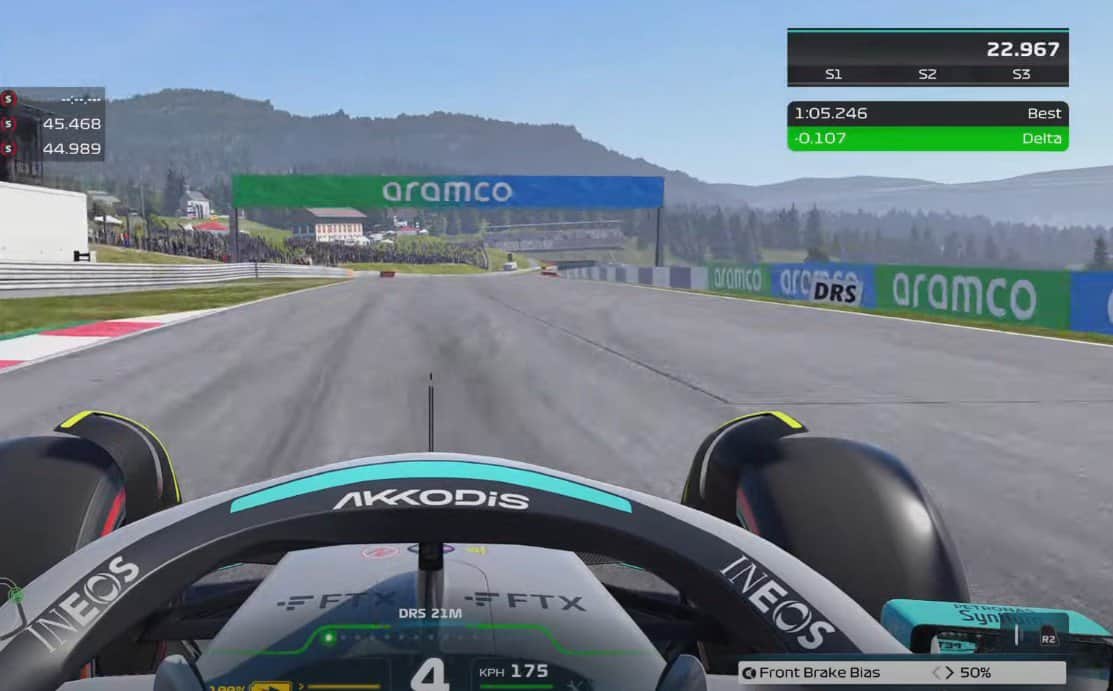
The Austria Red Bull Ring track in F1 22 starts off straight but gets curvy when you reach Sector 2, and there are some dangerous corners near the end of the track.
Sector 2 and the aforementioned corners are what make or break the track for you. If you come with the right setup, you’ll be able to breeze through the Sector and the corners, but if you come unprepared, you’ll gain a lot of time near the end of the track.
Because of the way the track starts off, you don’t need to focus too much on aerodynamics. What you need to focus on first is the tire pressure of your car. You’ll need to up the tire pressure to be able to breeze through the initial part of the track and also make the sharp turns near the end.
For the transmission, you need to set it up so that you can quickly accelerate out of corners. For that, you need to balance your throttle on and off settings.
For the brakes, you must set the brake pressure high and have the brake bias slightly above the mid-line. This will allow you to break comfortably without having fear of lockups.
The suspension geometry settings are very important as they decide whether your tires get destroyed while you’re swerving through corners. Make sure to use the suspension geometry we’ve listed below to save your tires on this track.
The suspension settings do not have any significant impact on the Austrian Redbull track, so you can either go with the balanced settings we’ve listed or tune them to your preference. Below are the best F1 22 Dry and Wet Setups that you should use on the Österreich Redbull Ring. These values apply to several cars across multiple car brands including Ferrari and Haas.
F1 2022 Austria Dry Setup
Aerodynamics values
Front Wing Aero: 17
Rear Wing Aero: 17
Transmission values
Differential adjustment on Throttle: 70%
Differential adjustment off Throttle: 40%
Suspension Geometry values
Front Camber: -2.60
Rear Camber: -1.50
Front Toe: 0.06
Rear Toe: 0.30
Suspension values
Front Suspension: 9
Rear Suspension: 2
Front Anti-Roll Bar: 9
Rear Anti-Roll Bar: 2
Front Ride Height: 4
Rear Ride Height: 3
Brake values
Brake Pressure: 80%
Brake Bias: 60%Tire values
Front Right Tire Pressure: 26 psi
Front Left Tire Pressure: 26 psi
Rear Right Tire Pressure: 24 psi
Rear Left Tire Pressure: 24 psi
F1 2022 Austria Wet Setup
Aerodynamics values
Front Wing Aero: 20
Rear Wing Aero: 28
Transmission values
Differential adjustment on Throttle: 60%
Differential adjustment off Throttle: 55%
Suspension Geometry values
Front Camber: -1.50
Rear Camber: -1.50
Front Toe: 0.06
Rear Toe: 0.25
Suspension values
Front Suspension: 3
Rear Suspension: 6
Front Anti-Roll Bar: 3
Rear Anti-Roll Bar: 6
Front Ride Height: 2
Rear Ride Height: 5
Brake values
Brake Pressure: 80%
Brake Bias: 50%
Tire values
Front Right Tire Pressure: 24.2 psi
Front Left Tire Pressure: 24.2 psi
Rear Right Tire Pressure: 22.5 psi
Rear Left Tire Pressure: 22.5 psi