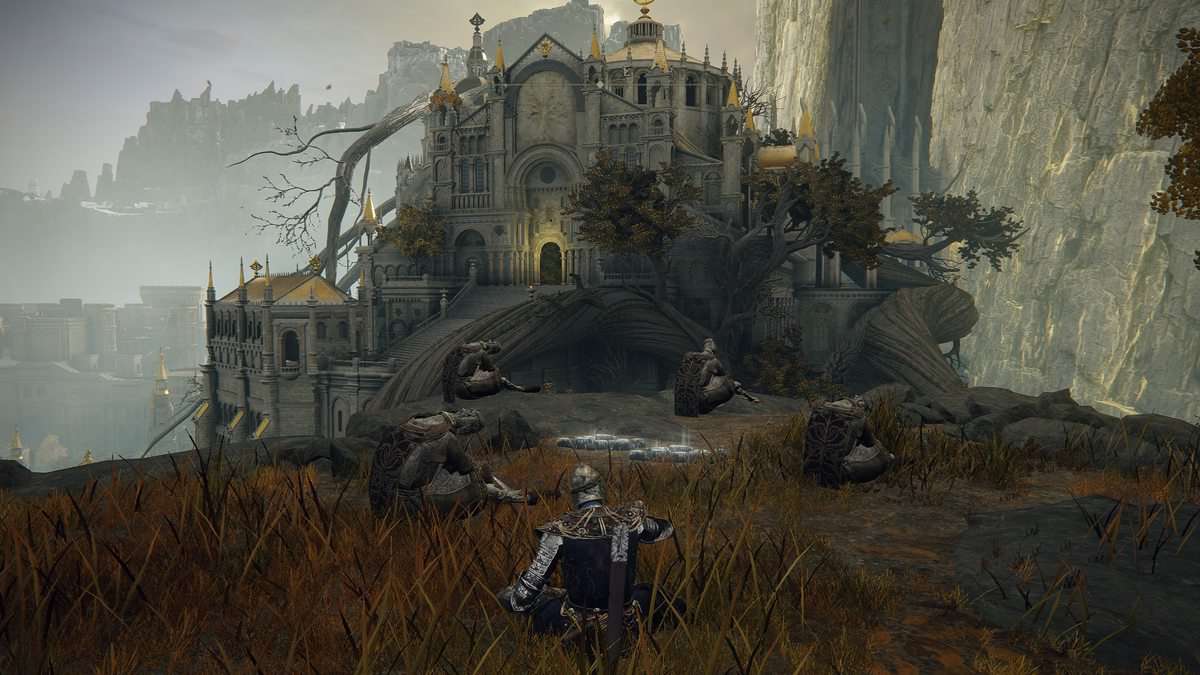
Stillwater Cave is an optional dungeon in Liurnia where players can go to find treasure and the Cleanrot Knight mini-boss. The following walkthrough will help players find Stillwater Cave in Elden Ring and its treasures while guiding them on how to defeat its mini-boss.
Where to Find Stillwater Cave in Elden Ring
The cave can be found in the southern part of Liurnia. By going to Liurnia of Lakes, players can find the opening close to Stormveil Castle.
They need to drop down from the southern plateau and make their way towards the entrance of the lake that opens to Stormveil Castle. You will find two Spirit Jellyfish close to rocky hills and this is the point where you will be able to find the cave.
Elden Ring Stillwater Cave Walkthrough
You need to access the cavern that contains Miranda Flowers. You can access the cavern by moving down the slope that comes after crossing the Site of Grace. Golden Rune can be found off the ledge while Crystal Cave Moss and Cave Moss can be found resting at the corner.
Players will have to face a Bat while moving at the upper level. They will find another Cave Moss at the same place as well. Moving ahead, you will face a Fungal Soldier that will attack you with poisonous projectiles.
Next, you will approach a gap with two more sorcerers along with some more Miranda Plants and Fungal Soldiers at the bottom. Players can either jump into the gap and face them or they can make them jump by running back towards the place where they faced the Bat.
Once this upper area is cleared, you can then jump down towards the tunnel where you will initially find Budding Cave Moss. Moving ahead towards the smaller cave, players will also find Crystal Cave Moss at the opening. Inside the smaller cave, they will find two Bats and a Harpy.
Players can find some useful rewards at this point. Golden Rune can be found on the corpses of Bats and Harpy. Serpent Arrows can also be found on the corpse placed just to your right and some Sage Hood, Sage Robe, and Sage Trousers can be found on the corpses placed in the center of the pool.
Be careful at this point, as you can be poisoned here due to slowed movement caused by the pool, especially if you do not possess enough Crimson Tear Flask.
While getting out of here, you will find three Bats and some more Fungal Soldiers casting poison spells at you. One can also find a Budding Cave Moss plant at the corner along with Glowstone on a corpse.
Now, you will again jump into the gap towards your West. Jump over the Miranda Flower to move down the slope to your left and reach the tunnel. Two more Fungal Soldiers with Poisonbloom plants will meet you here.
Jumping down and running quickly to move ahead, you will face five Fungal Soldiers at this point. Clear them all and collect Poisonbloom and Poison Grease placed on the corpse at your right-hand side.
Next, move through the mist wall by using Furlcalling Finger Remedy situated on the left side. Your next destination is an arena where you will meet Cleanrot Knight Boss.
How to Defeat Cleanrot Knight Boss at Stillwater Cave
Players will have to defeat Cleanrot Knight boss while traversing through Stillwater Cave. Players must possess a weapon level of at least +6 to minimize the damage dealt by poison and for having a competitive fight with the boss. Neutralizing Boluses should be in your inventory to reset the poison meter since it will rise for sure during the fight.
To avoid building up the poison meter, players should try to stay on the left side of the arena which is away from poison waters. While this may seem a small area to fight in, you need to do this to not let your health drop down by much.
Cleanrot Knight will come at you with different weapons including a sword, spear, and it can even combine these two weapons to use as a shield against your attacks. Players can easily dodge these attacks if they have enough stamina.
The main strength of this boss is the magic attacks that it uses to strengthen its weapon attacks. There are three main magical attacks to look out for.
For the first attack, it can lunge you with a Spear causing you to rise in the air while piercing through your body and applying the Scarlet Rot status effect. This attack deals a huge amount of damage and is difficult to dodge if players do not move timely.
The boss applies its second magical attack when you try to hit him while he is crossing the Sword and Spear. A blast of magical energy will come at you, but it can be easily avoided.
You need to make sure that you do not get caught mid-animation while trying to make your attack too desperately.
In the final attack, the boss will smash the ground with the spear. Spears will rise from the ground and come at you to deal a huge amount of damage. Make sure to time your rolls. By defeating this boss, players will earn the Winged Sword Insignia as a reward.
