Temple of Namari is one of the eight dungeons in Diablo Immortal. It is the shortest Dungeon in the game containing three rooms and only a single boss to fight. This guide will give you a complete walkthrough of the Temple of Namari Dungeon in Diablo Immortal.
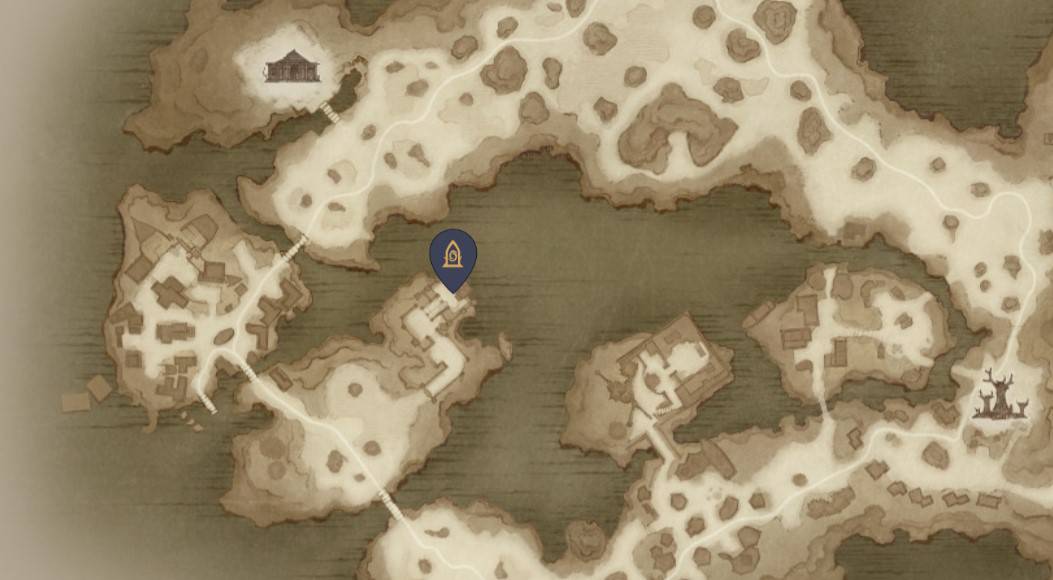
Diablo Immortal Temple of Namari Location
The Temple of Namari is found in the Bilefen, and it can be entered once you have reached level 40. This dungeon is a bit different from all the other Dungeons in the game due to its small size and final boss encounter.
The final boss, Sargoth, randomly picks between several options of mini-bosses that come before him. He also comes with different abilities each time you enter this Dungeon.
Temple of Namari Set Items (Drops)
After defeating all the bosses in Temple of Namari dungeon in Diablo Immortal, you will receive the following set of items. The difficulties at which these items are dropped are also mentioned in front of these items.
- Shepherd and Leader (Boots) – Hell 1+
- The Gaoler (Belt) – Hell 1+
- Slit Throat (Neck) – Hell 2+
- Luminary’s Urge (Hands) – Hell 2+
- Mountebank’s Misdirection (Ring) – Hell 4+
- Resting Fangs of Shal’baas (Ring) – Hell 4+
Temple of Namari Bosses
The Temple of Namari Dungeon in Diablo Immortal features only one boss fight, but it comes with a twist. The boss Sargoth can summon a combo of any three mini-bosses from a list of options. We have listed all of the mini-bosses out of which you could face any 3 before facing the actual boss, Sargoth.
- Torrid One
- Fallen the War Matron
- Siege Breaker
- Perdition
- Marauders of the Ashen Wastes
- Coldsnap
- Voracity
- Sargoth
Temple of Namari Walkthrough
There is just one floor containing 3 rooms in the Temple of Namari Dungeon. We have divided this walkthrough according to the different rooms in this Dungeon.
First Room
As soon as you enter the Dungeon, you will encounter a bunch of Skeletal Warriors and Archers. Talk to Namari in this room to trigger the combat. Now you’ll face more Skeletal Warriors and Archers. Kill these monsters and then collect the treasure chests that you’ll find towards the east and north of the room. Wait for Namari to open the barrier to the next room and head inside.
Second Room
Here you will encounter three Skeletal Mage summoners and a Demon Warrior. Fight off these monsters and wait for Namari to once again open the barrier to the third room.
Third Room
Now in the third room, you will face three Skeletal Mage summoners. Magic shields protect these summoners until you finish off all the undead waves. Once you have finished off the Skeletal Mages and their summons, you’ll head towards the final Chamber.
Final Chamber
In this Chamber, you will be encountering three random mini-bosses before finally facing Sargoth. Here is a list of all the possible summons and how to defeat them.
How to Defeat the Torrid One
This demon performs fire breathing attacks and also throws fireballs which are predictable. His most deadly attack is launching explosive minions that will march towards you and then go off before you know it. They are easy to miss, so you will have to watch out for them carefully.
How to Defeat the Fallen War Matron
This demoness generates four portals around her. She also generates orange orbs with a fire aura to punish those who aren’t in her melee weapon’s range. These orbs slowly move towards the center, and even if you manage to kill the War Matron, these orbs might still kill you, so beware of them.
How to Defeat the Siegebreaker
The Siegebreaker has a defensive wall that glows in orange color. You might notice that his back is not protected at all. You might want to attack him from behind for maximum damage. Siegebreaker draws a red line to signal where he will charge, so make sure you avoid his charge because it can inflict a heavy amount of damage.
How to Defeat the Perdition
This demon follows the same mechanics as Siegebreaker. Please stay away from the range of his twin blades and watch out for his telegraphed attacks.
How to Defeat the Marauders of the Ashen Wastes
Sargoth will summon three of these demons, and each of them will have a different ability based on different weapons. The most dangerous of them all are the Sword and Shield Marauder.
Finish off this demon first and foremost, and then move on to the Two-handed Axe Marauder, who does a Sweeping cleave attack. Lastly, kill the dual-axe Marauder, who does a small ranged throwing attack which you can easily tackle at last.
How to Defeat the Coldsnap
Coldsnap has three different types of attacks. He will spawn three frozen orbs that grow enough, then explode and harm everyone in the large AoE.
You must stand far away from the exploding zones to avoid taking damage. Coldsnap will swing his weapon high and slam it to the ground for the second attack, slowing everyone in range. Lastly, he will use a 180-degree cleave that you can avoid by standing behind him.
How to Defeat the Voracity
Voracity is a poisonous monster whose attacks mainly consist of him somehow spraying poison in your direction to cause damage. Avoid him and focus on killing him as fast as you can.
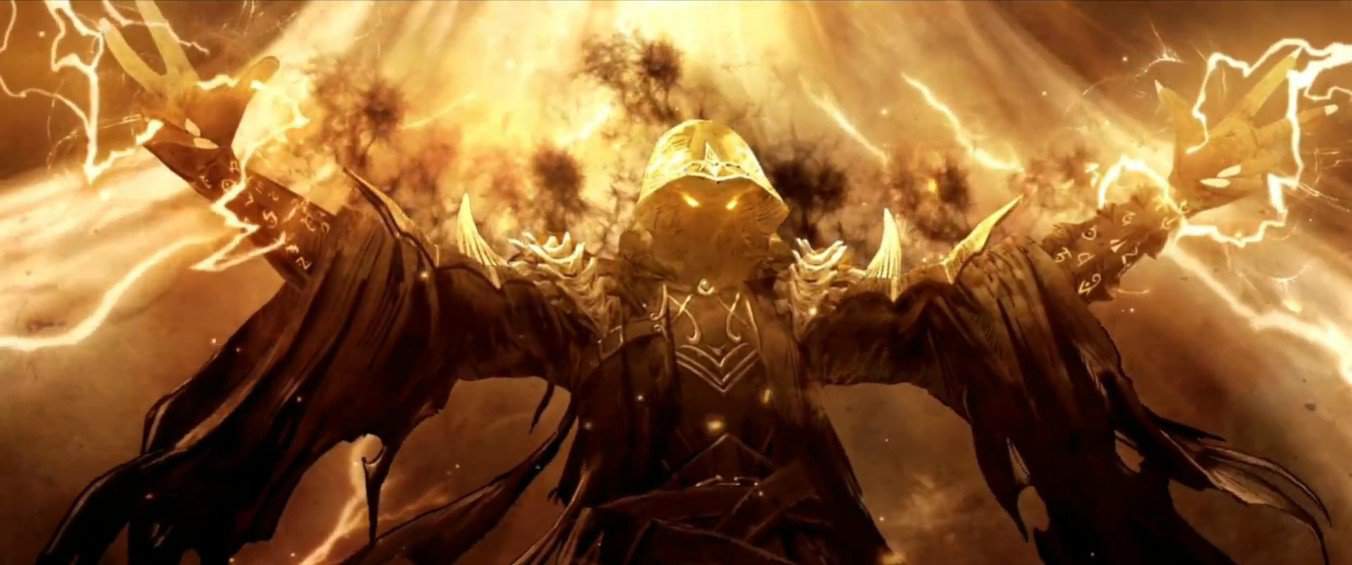
How to Defeat Sargoth
Finally, you will be faced with Sargoth, the actual boss of the Temple of Namari Dungeon. Sargoth will have a different set of abilities each time you enter this Dungeon. Sargoth summons 4 Nephalem Warriors that you must AoE and avoid at all costs.
Sargoth also launches missiles in the air. Avoid getting hit by these missiles by moving away from the areas marked with circles on the ground.
Whenever you spot a large teal circle with runes on the ground, you must avoid and escape the area as soon as you can.
Sargoth’s worst attack is when he summons frozen orbs that are explosive. You must avoid these orbs as much as you can and avoid damage.