
Destiny 2: The Witch Queen introduces the last member of the Lucent Hive with its third campaign mission. The following guide does its best to help players waltz through The Ghosts questline in Destiny 2 The Witch Queen expansion in addition to relaying other related details.
Destiny 2 The Witch Queen The Ghosts
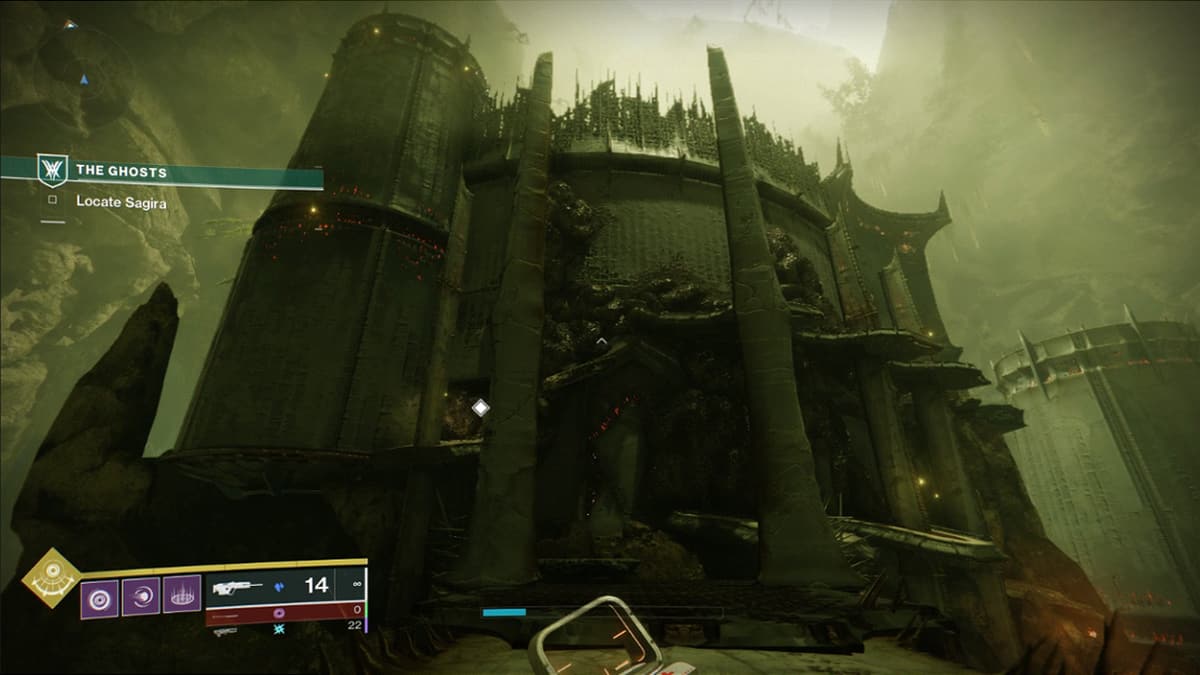
The Ghosts is the third mission which gets unlocked after you have completed The Investigation quest. Get the mission by speaking to Fynch. After the request is accepted, go to the campaign banner with the Witch Queen icon in proximity and get started.
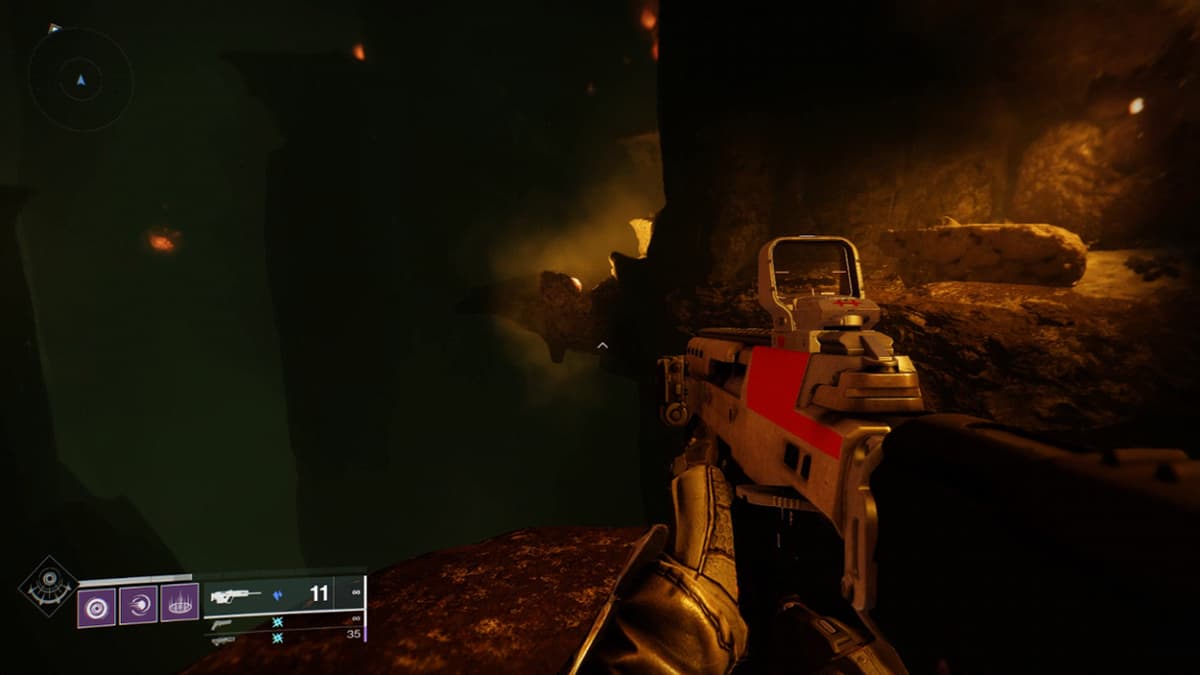
Start by heading to the large cavernous area. There you’ll see Hive enemies spawning, including a Lightbearer Wizard. After dealing with the lot, head deeper into the cavernous area.
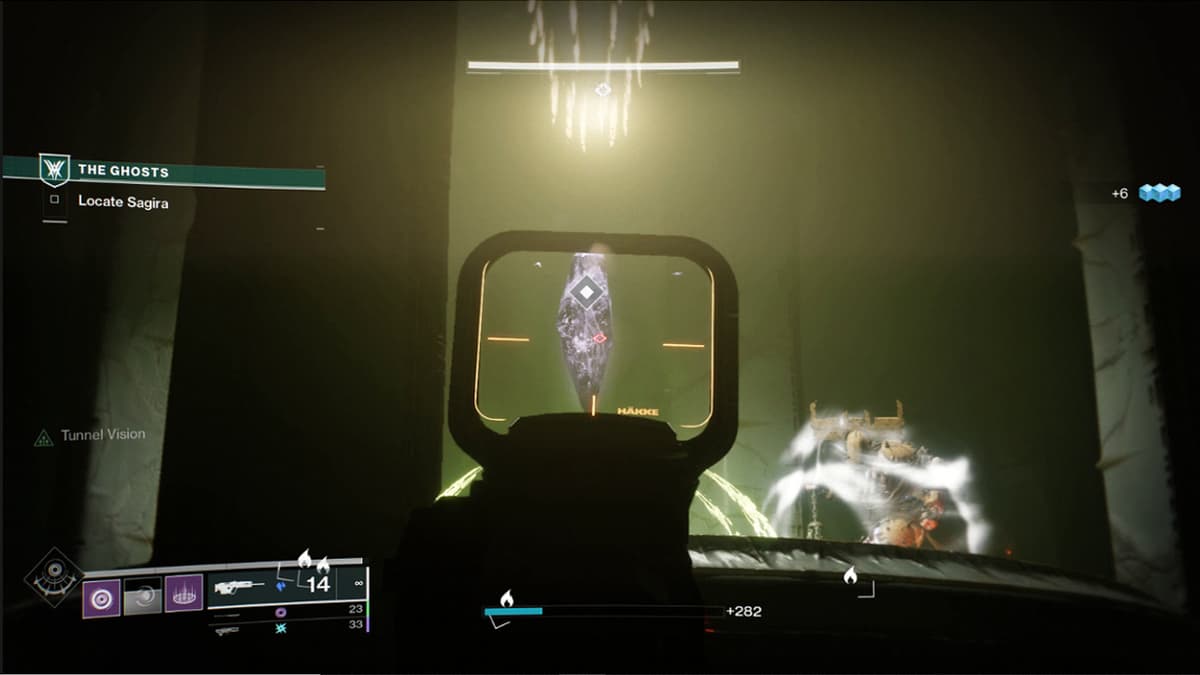
Stop when you reach the temple of the Wrathful. Shoot the Hive Membranes to illuminate the area. You’ll find a lot of them during this mission.
After lightening up the area, enter the next large room. You may make use of your Rally Banner to refill your abilities and ammo. Alongside plenty of other enemies, you’ll see two Lightbearer Acolytes in the cavern.
The enemy has an element of surprise if they make use of their solar abilities from afar. After clearing all the enemies, a group of scorn will spawn at the back of the room. Deal with them and enter the next room. Make sure to collect the rewards.
Entering the doorway on the right, illuminate the ledges by shooting the Hive Membranes. Jump across the gap and go deeper into the cavern until you come back outside.
You can ride the pikes there. Pikes equipped with weapons can deal swift damage to the enemies, or you may grab a gun and take charge.
A Scorn Walker on the right can deal explosive damage if ignored. Aim at its legs and force it to pop out a dome-shaped shield. As the dome pops up, walk through it and blast the explosive glowing area near the Scorn Walker’s head dealing massing damage. You may need to do this more than once but it will eventually fall if you are quick. Proceed upstairs after clearing the other enemies.
Again, you’ll have some chit-chat with Scorn enemies. Deal with them and head to the back of the room where a crystal is floating in the air protected by a shield with a Shimmering Chieftan guarding it below.
Defeat Chieftan, blast the crystal, and, open the nearby door. Use the nearby platforms to ascend the exterior of the tower. Once you reach the top, you’ll see a circular well-guarded by Scorn enemies and a magic spell. Break the spell and then deal with two Shimmering Chieftans in the opposite corners each guarding a crystal.
Take the crystals and get a third crystal floating above the well. Beak the last crystal and drop it down into the well. There’s another Rally Banner circle at the base of the well to refill your abilities and ammo.
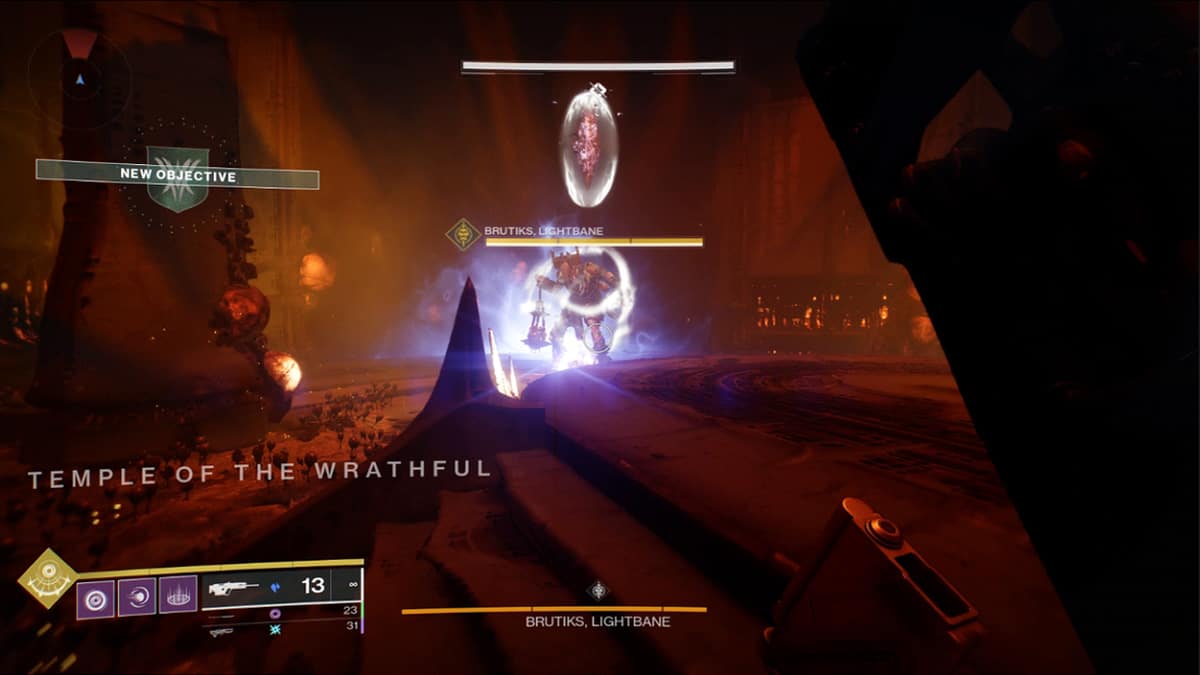
After entering the next room, get to the center to spawn Brutiks and Lightbane. Don’t try to shoot the enemy as it makes no difference since the enemy is protected by a white shield. Around the edges of the circular arena, there are three glowing Hive Sigils. Behind each of them, there are a bunch of enemies with a Shimmering Chieftan at the back, guarding a crystal.
Once the Chieftans and the crystals are defeated, the Hive Sigil will disappear for time being. The green shield will fall in the center of the room bringing a final crystal, once all three Hive Sigils are gone. Break it to make Brutiks disappear.
Claim the reward and go down to the hole. Shoot the Hive Membrane to illuminate platforms. Go down until you reach a Deepsight orb. Get the hidden platforms known and move to the next area marker.
Interact with the orb to get another 30 seconds of Deepsight and platform further the next hole in the ground surrounded by four statues come. Go to the hole to reach an arena where Sagira is in captivity.
Now, make sure to use another Rally Banner before the final battle.
Boss Battle: Brutiks, Lightbane
It is time to encounter Brutiks. Walk through Sagira’s cage to start the battle. Since, the enemy is protected by a white shield, try to shoot Shimmering Chieftan nearby to break the shield around the crystal.
Once the crystal breaks, Brutiks will lose the shied for some time and more enemies will spawn. Focus on damaging the Brutiks until he reaches two-thirds of their overall health.
After this, the shield will appear again and beside that, three Hive Sigils will spawn around the edges of the arena. Head behind each Sigil and defeat three Chieftans and the crystals to break Brutiks’ shield again.
Once all the crystals are broken, strike Brutiks again to one-third marker. Again, it’ll get the shield at that point for the last time. Repeat the process and defeat Brutiks. Now, collect your rewards and retrieve Sagira to end the mission.