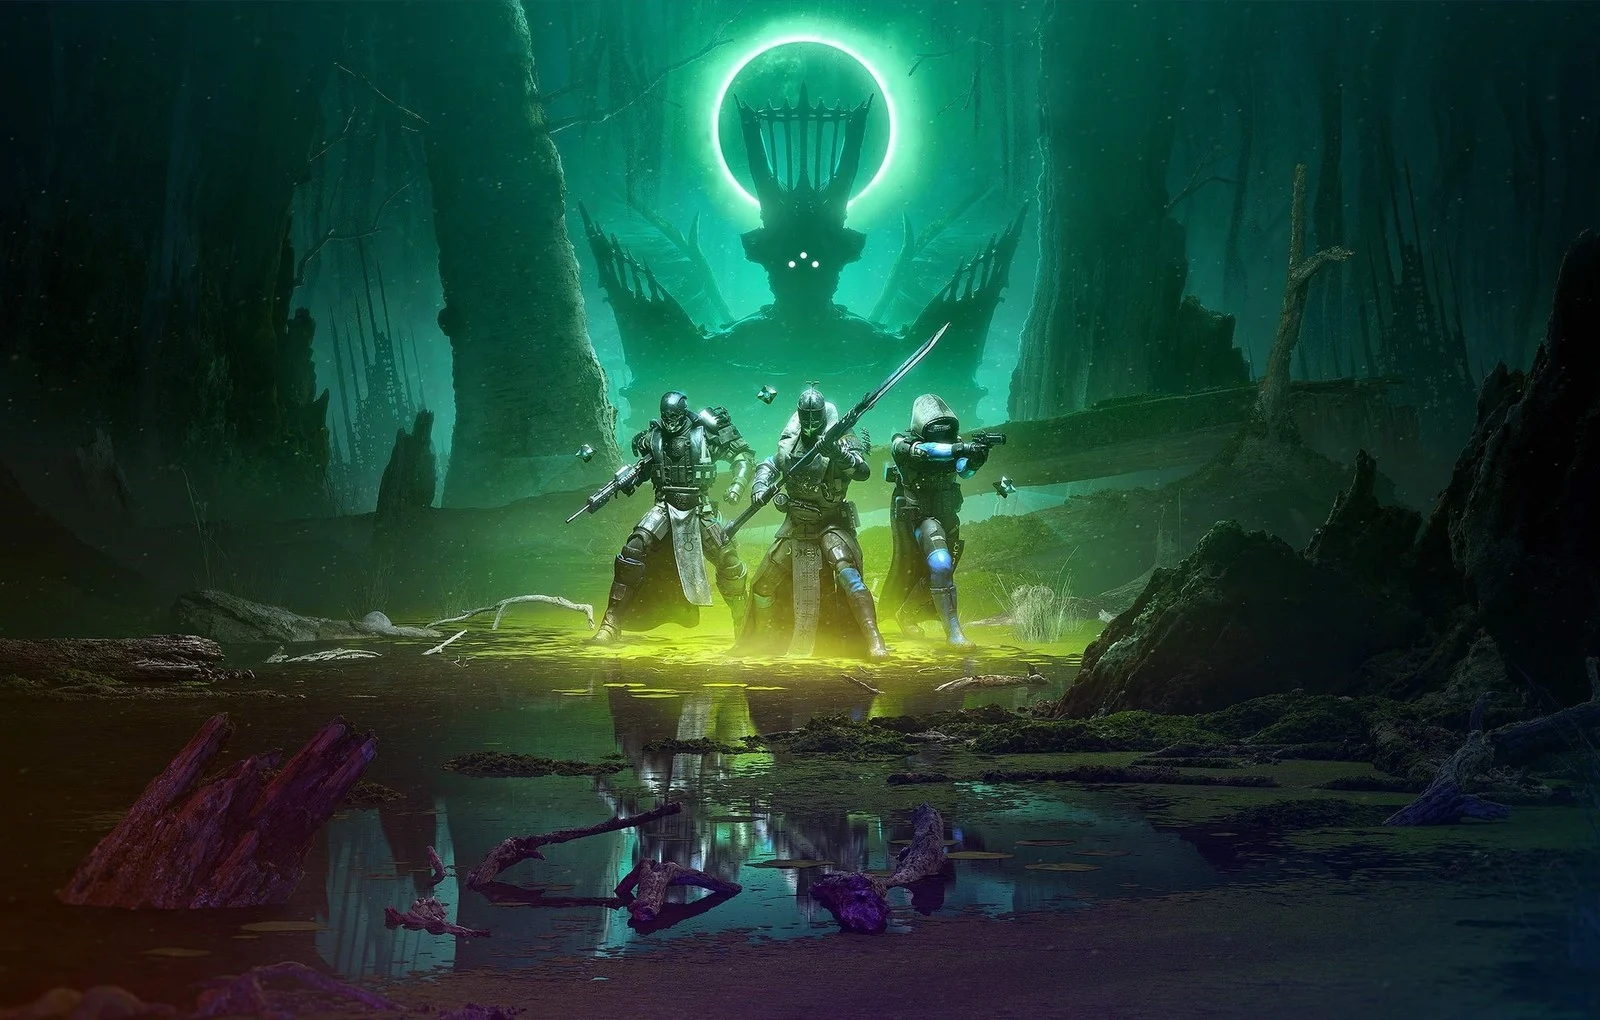
This comprehensive walkthrough covers The Investigation main story mission in Destiny 2 The Witch Queen expansion. We will help you get through the quest from start to finish without facing any issues.
Destiny 2 The Witch Queen The Investigation
To begin the quest, go to the Quests tab in Settings and track The Witch Queen quest. You need to head to Mars to start the quest. Make your way to Mars and interact with Ikora.
Ikora will tell you to craft your first Glaive to unlock the quest. Do that and head to the banner of the quest to start it. Once you interact with the banner to the right of Ikora, the quest will begin.
Defeat the Barrier Guards
Your first objective of the quest is to meet with the Contact, where you will have to defeat THREE Barrier Guards. As you start the quest and enter the World, you will see Scorn enemies fighting the guards.
Target the three Barrier Guards and take them out. Scorn will help you fight against them but will attack you when the other enemies are defeated.
Defeat the Lucent Hive
After defeating the three Barrier Guards, you will now face the Lightbearer Wizard. It is a tanky floating enemy that will shoot projectiles towards you.
Take any of your strongest melee weapons, and you will be able to defeat him easily. Once it is down, make sure you take out its ghost before it spawns again.
Now defeat any other enemies that are still alive, and your objective will be completed.
Rendezvous with the Contact
Once all the enemies have been defeated and the door is opened, loot the chest and make your way towards the next marker.
Spawn in your Sparrow and head towards the marker where you will rendezvous with the Contact. As you reach the quest marker, you will find out that it was Fynch the whole time.
