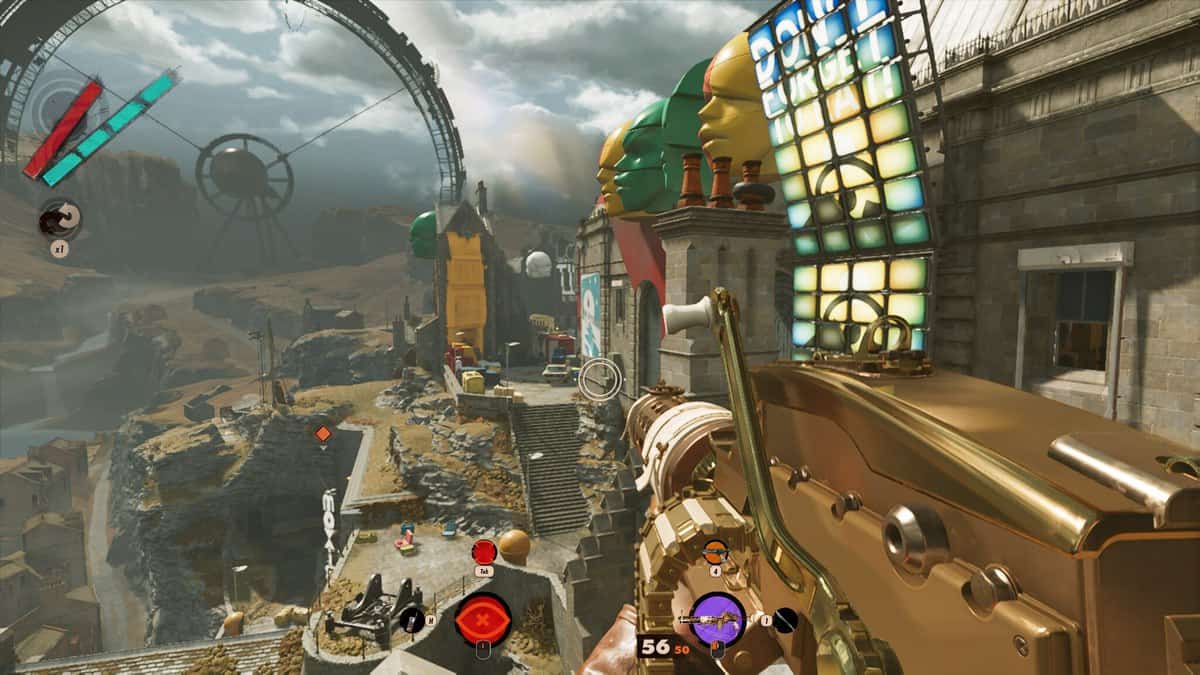
Deathloop Heritage Gun is one of the best weapons in the game. While it is a little tricky to acquire this unique shotgun (it comes with a rifle mode), it can bring a lot of harm to your enemies. The weapon is a part of Arsenal Leads, which also indicates that it’s something special.
However, there is randomness involved in acquiring the Heritage Gun in Deathloop for each run, but that shouldn’t stop you from getting it. Basically, you need to collect some gift boxes (some of which might have their locations changed) on each run to unlock this weapon. In this guide, we are going to discuss exactly how you do this with ease. Also, there are multiple fail conditions for this quest so if you are not careful, you might have to start over.
How to Trigger Super Shifty Arsenal Lead
To trigger the Super Shifty Arsenal Lead to acquire The Heritage Gun, you will have to find a pair of Eternalists in a street at Karl’s Bay (evening hours). They will be striving to unlock a box. Suddenly, a blast from inside of the box will happen, killing both of them.
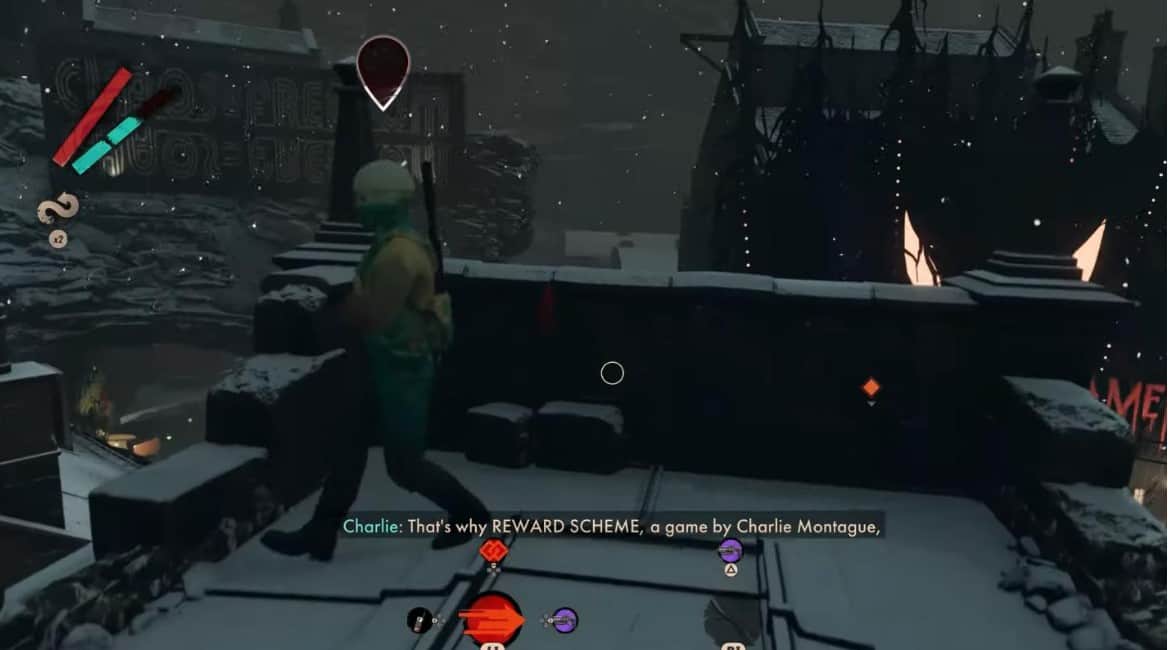
At this point, the recorded voice of Charlie Montague announces the Reward Scheme game. The quest now begins, and you are good to go for further puzzles.
Gift Box Locations
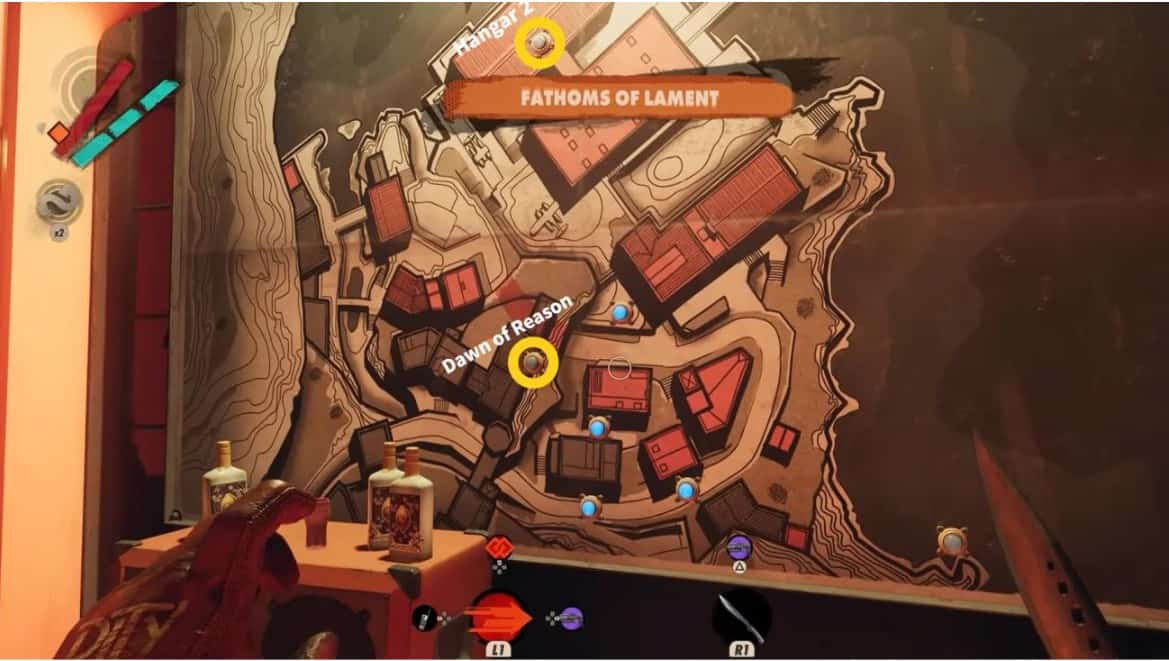
Clear out the area around Fathoms of Lament and enter the building. Beware, as some more enemies can be waiting for you inside.
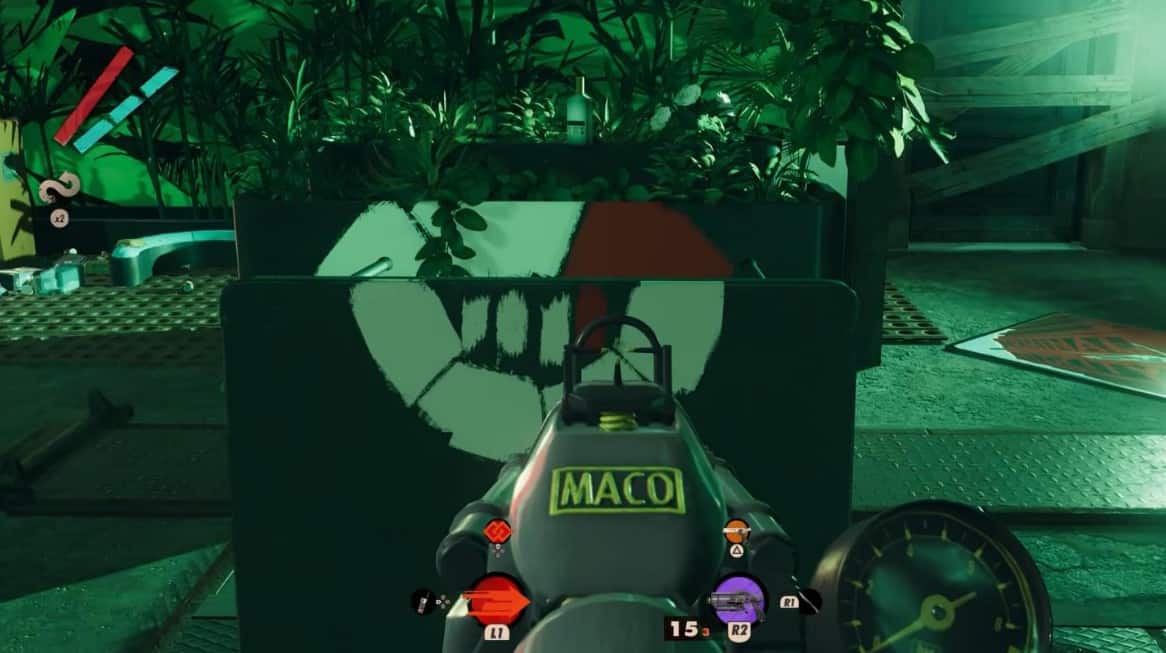
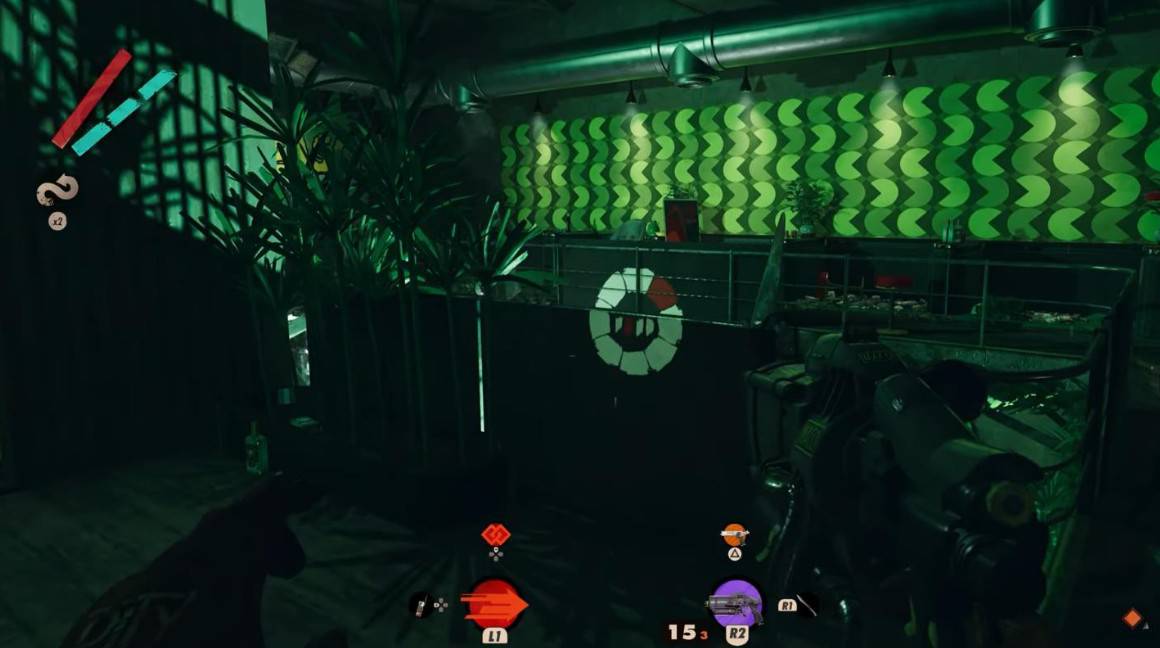
Once you enter, you’ll notice a map under the phrase, “Seek your Fortune”. The blue dots on this map represent the gift boxes that are already collected (by the Eternalists, thankfully), and the remaining ones are yet to be explored.
Collecting these boxes may seem easy now that you know where they are, but this is only half the battle. Obtaining these boxes is made harder given the fact that they can be damaged or even kill you!
You need to interact with these boxes very carefully. The first thing you need to do is make sure you don’t shoot or damage the box in any way, or else you’ll fail the quest. Take out any enemies around before you interact with them.
Next, make sure you’re careful of the sounds the box itself makes. Some, like the one the Eternalists were trying to open, will blow up!
Simply interact with the box and shift away as fast as you can. It will count as having been collected despite blowing up (remember, don’t shoot it!)
Hangar 2 Gift Box
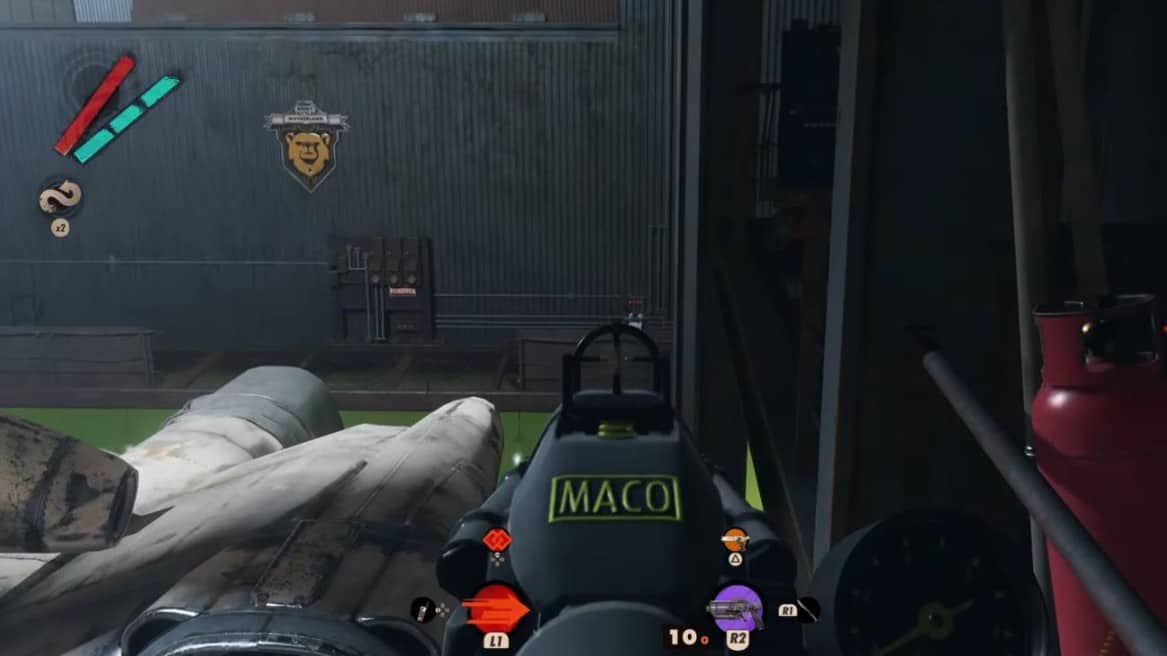
One of the boxes with a fixed location will be inside Hangar 2 in Deathloop, which happens to be Harriet Morse’s operational base in the morning. However, once you approach it in the evening, you will be able to get a gift box that is included in the Super Shifty quest. Before getting that, you will be presented with the daunting task of pulling some levers amidst some lethal Lasers to remove toxic gases.
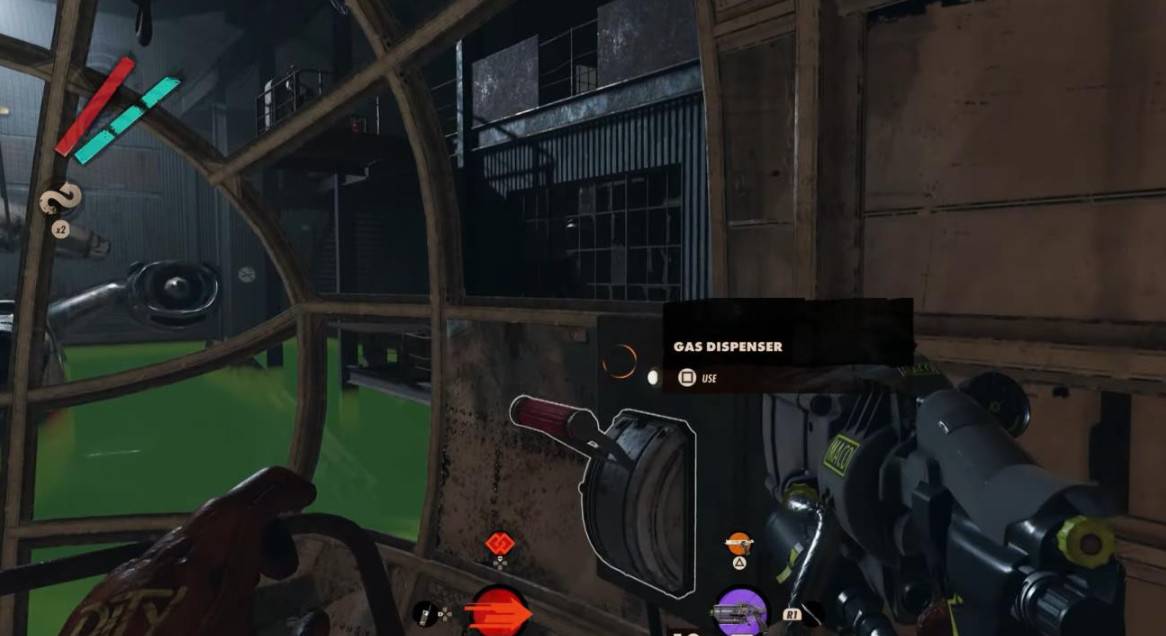
To prevent the intoxicating gas from filling the whole room, you can head to Harriet’s Pulpit and pull the Gas Dispenser’s lever. To reach there, open the door on your left just after entering Hangar 2. If it’s closed, Shift to the other side of the platform, go left, and then Shift again to reach the opposite side of where you came from. Open the closed door first, and then go down the stairs to reach the Pulpit.
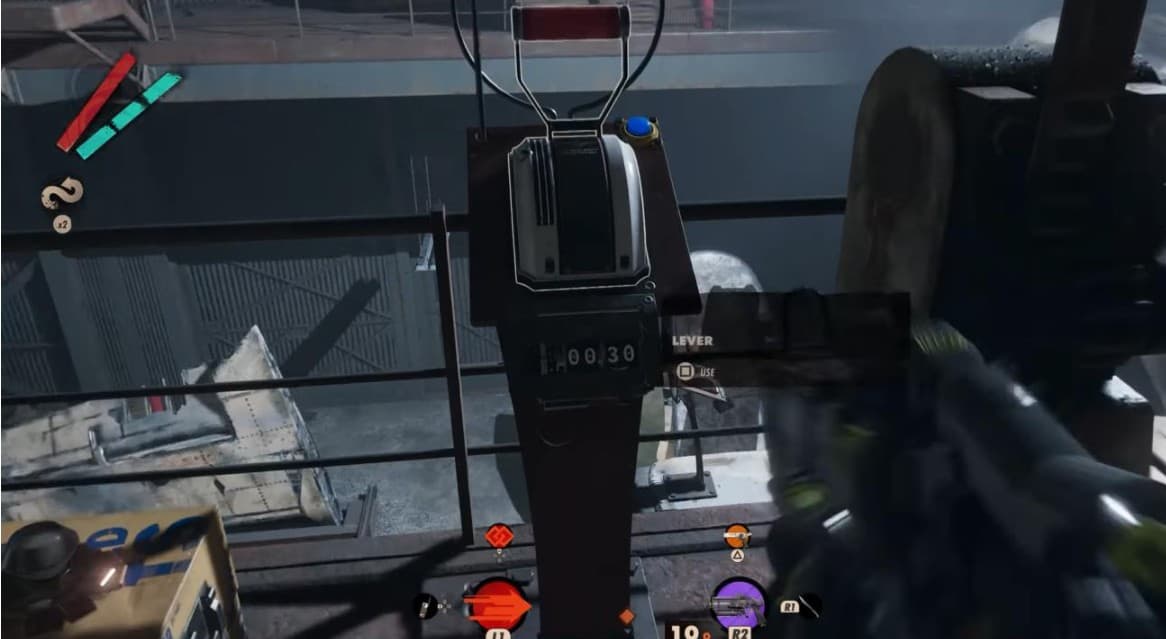
Now that the gas problem is solved, we can move ahead with the puzzle. You are required to pull six levers, all in the correct order. The good news is that the correct levers will start ticking loudly as you get closer to them.
Before pulling the first lever, look for the other five to have a clear idea of their locations. You need to get over with the levers in 30 seconds, or else you’ll have to do it all over again.
1st Lever – Right at the Hangar 2 entrance, beside the gift box.
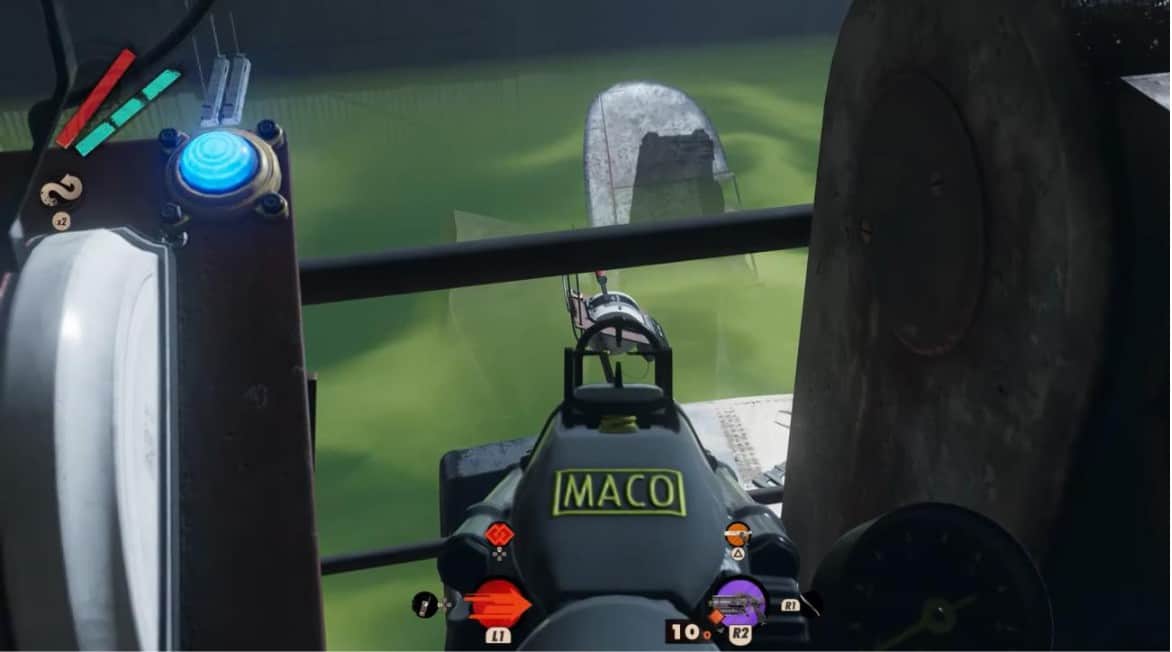
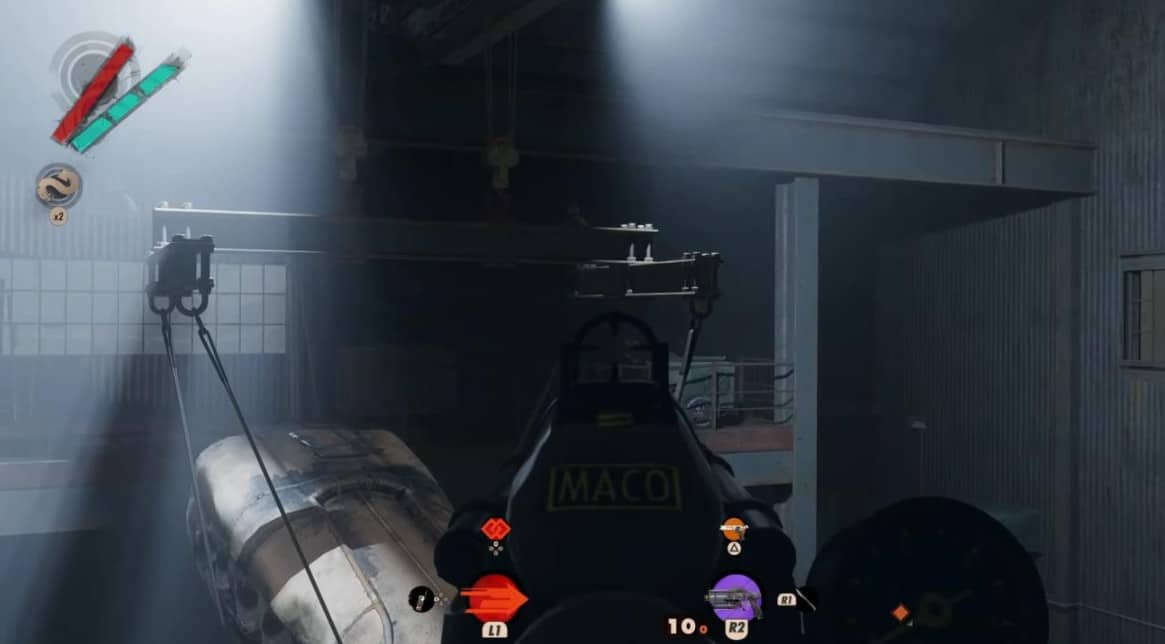
2nd Lever – Placed on the plane at the center.
3rd Lever – To the left side from the entrance, beside Harriet’s Pulpit.
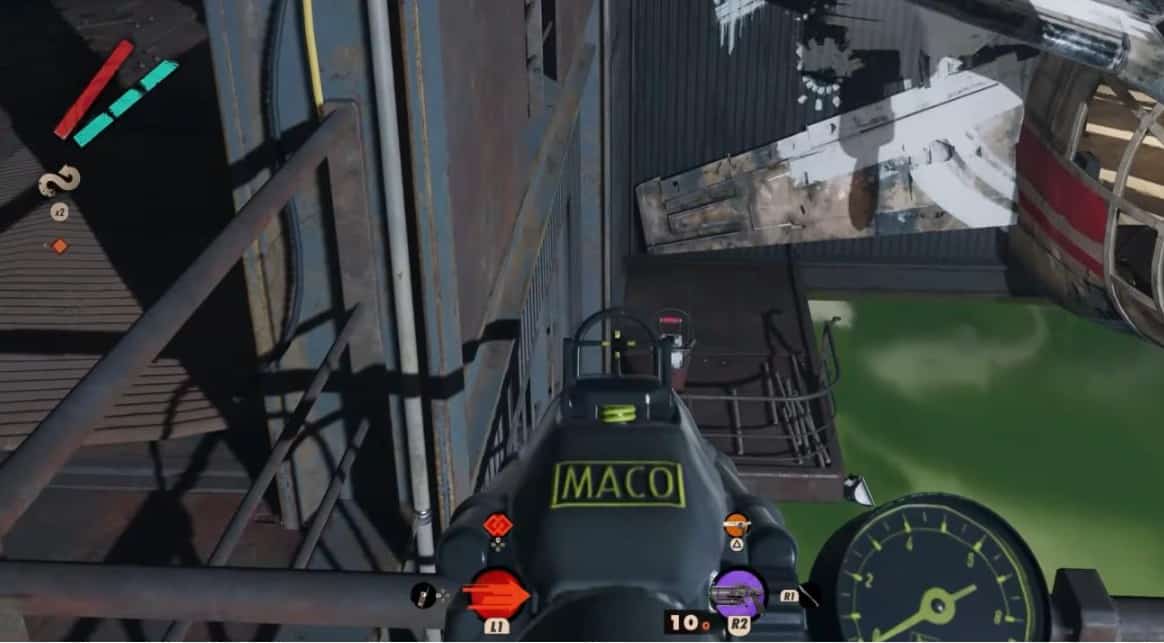
4th Lever – On the other side of the platform, a little to the left.
5th Lever – To the right side of the entrance, beside the far-right wall.
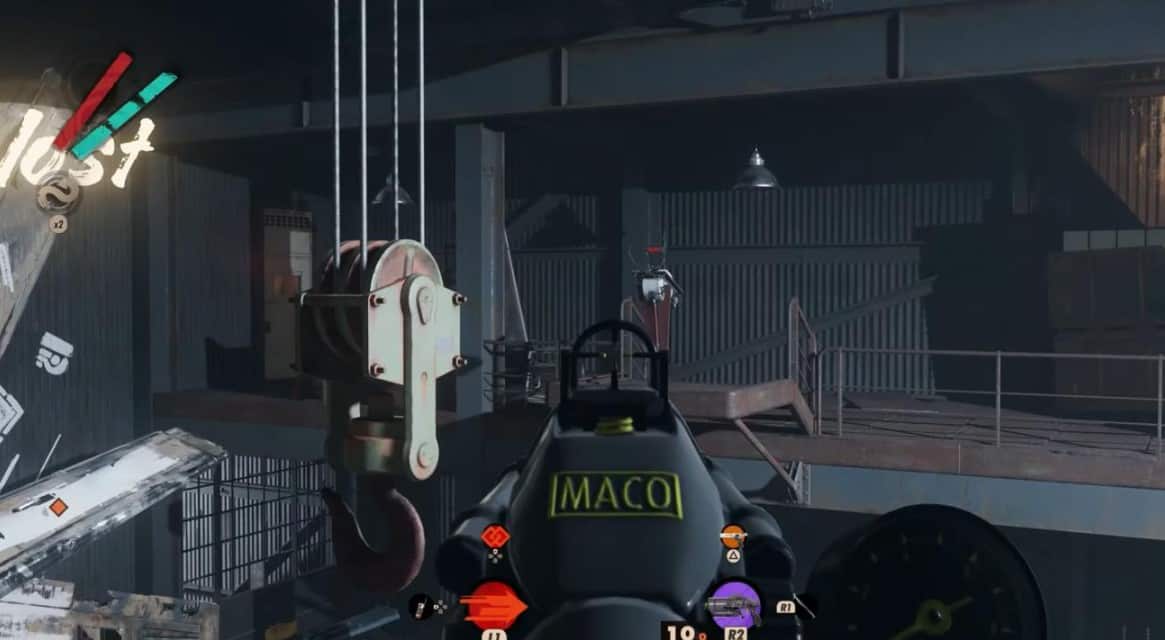
6th Lever – To the other side of the entrance platform, but on the right side.
Pulling all the levers in the correct order will allow you to open the gift box.
Dawn of Reason Gift Box
The Dawn of Reason club can be opened by pulling the lever outside the establishment. On entering the club, you will have to solve another puzzle to unlock another gift box. Going inside by using this method starts a timer, after which the whole room explodes, resulting in quest failure. So you will be on the clock for this.
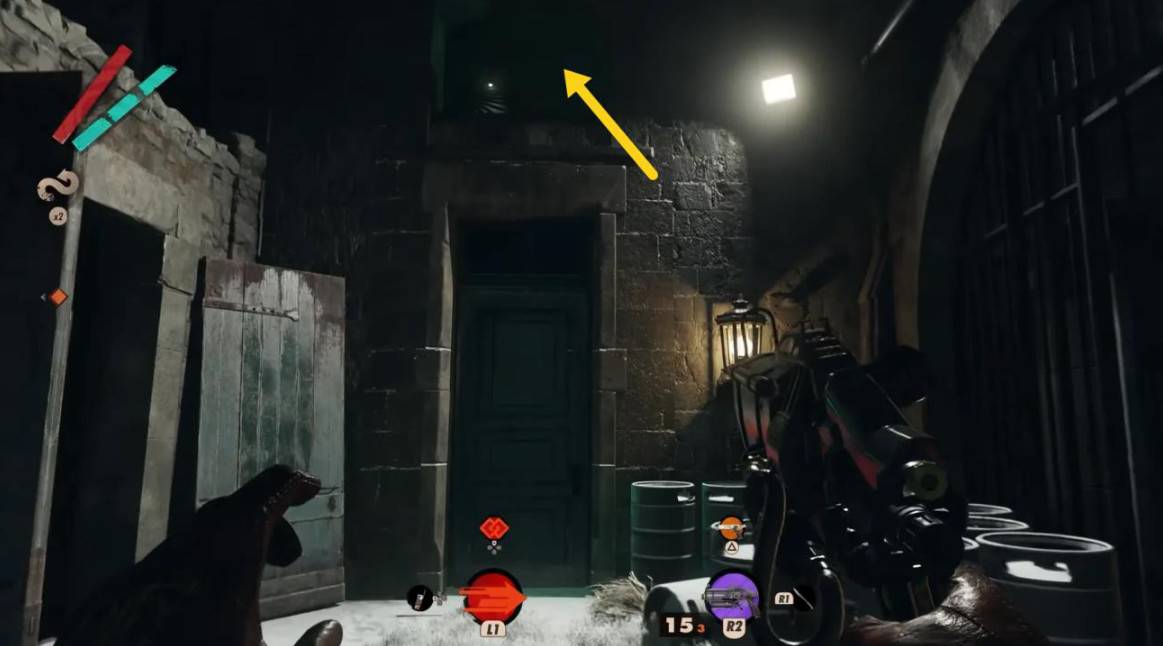
For a safer approach, go a step further from the Dawn of Reason lever and move to the left. You will see a small entrance above the closed door. Shift through the narrow hole to go inside.
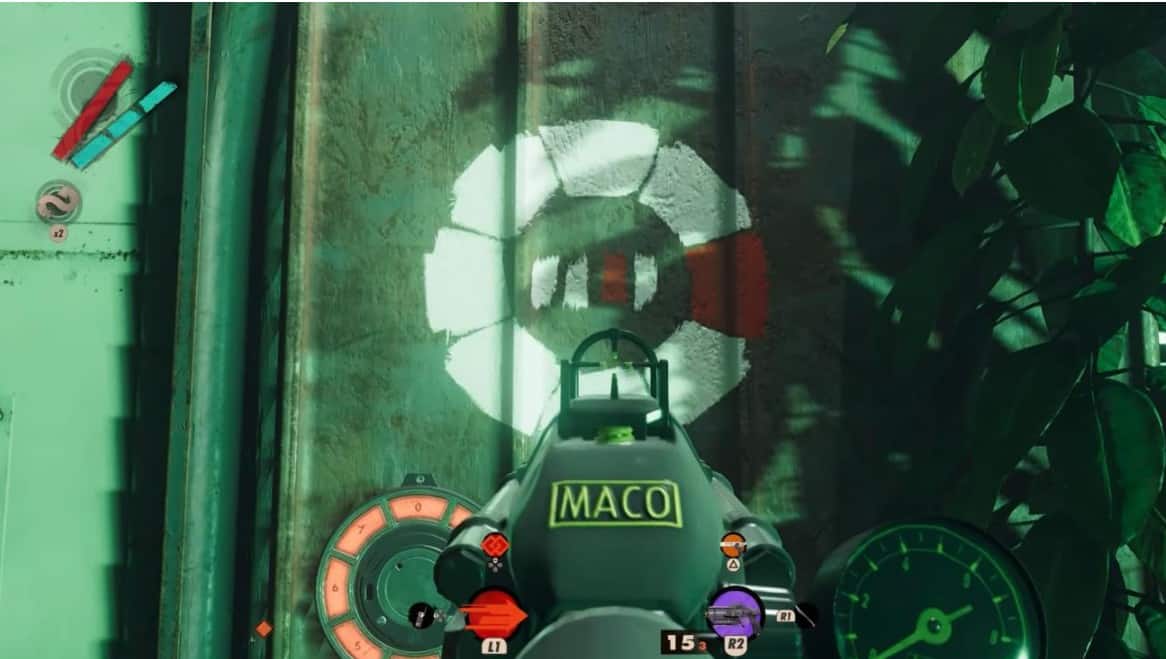
The specific door that leads to the gift box requires you to enter a 4-digit code. The symbols in the Dawn of Reason area represent the code to be entered. All of these symbols can be found at different locations, and some of these require you to move a little bit to get them in line and understand the pattern.
The symbol contains two parts: a wheel with four hash marks inside. The red part of the wheel represents the number that should be pushed on the keypad. The red hash inside the symbol’s wheel represents what position this number should be put in the keypad.
The first symbol is above the keypad with the locked door.
The second one is to the right side of the locked door, next to the barrels.
The third one is on the second floor. For this one, you need to go left from the stairs and move your character so that the symbol is in line with its other part.
For the fourth symbol, stand near the second symbol and look up to the upper floor, above the locked door. This one has no hash marks, meaning you will have to conclude its position by judging the remaining three symbols.
Once you enter the code, you can open the door to find the gift box.
Random Giftboxes
The boxes below also need to be explored to reach the final puzzle and achieve the Heritage Gun in Deathloop. You may find them at different locations through every changing loop.
1. As you come out of the map room, see to your left and climb down the stairs. Turn right, and hug the right wall until you see the “Stop Me? I’ll Stop You” sign on the cliff. Just past this point, a crashed plane is placed, with three Eternalists guarding the area. Eliminate the enemies to receive the first gift box, placed on the tail of the plane.
2. Another one can be found in Hangar 1, on the north end of Karl’s Bay. It is surrounded by lasermines, so you will have to be extra careful. Moreover, the gift box itself may be prone to exploding. Thus, make sure to plan your exit before interacting with the box.
3. One gift box can be accessed by going between the path that connects both the Hangars. This path is also filled with traps, so be mindful of that while moving ahead. The peculiar sound of mines (on the ground and the wall) will also help you navigate through them. Don’t forget to deactivate as many of these as possible, so that your escape route is safe.
Apart from these, you may have to open a couple more gift boxes before hearing Charlie’s automated voice again. He will ask you to return to Fathoms of Lament and receive the Final Prize.
The Final Puzzle – Collect the Heritage Gun
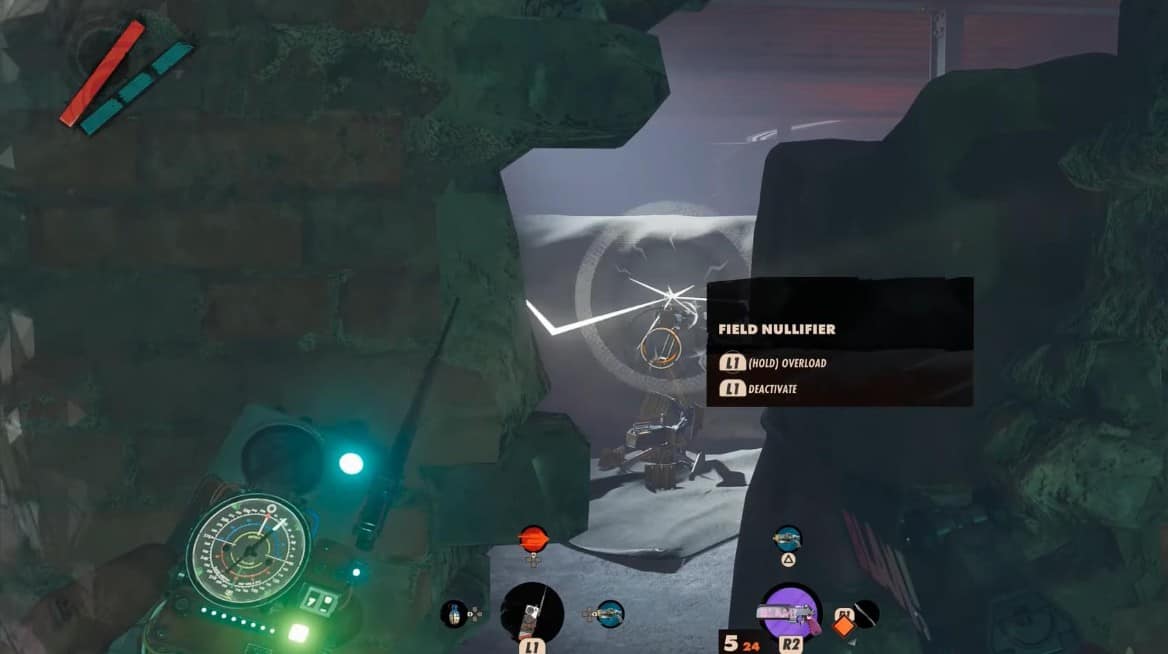
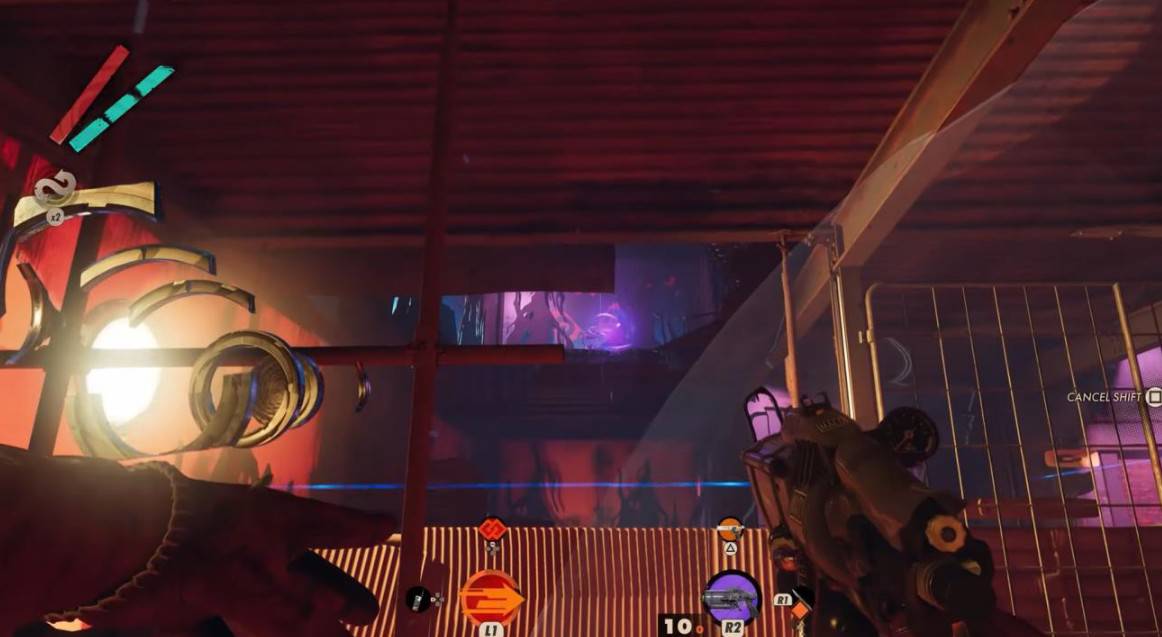
Now, go back to the Fathoms of Lament. Here, you will find a newly opened door leading to the other parts of the Lament building. There is a board behind the door, which should be destroyed to find the Field Nullifier. Disable the Nullifier as it can prevent you from using the Shift Power.
Pull the main lever on the ground before going upstairs. Here, you will find more of them, so you will have to pull all of them in the correct order.
To understand the right order, you need to listen to the ticking sound carefully. Make sure you prevent yourselves from the laser, as touching it will disturb the order and may result in failing the quest. Here, the Shift Power will be useful, as it helps you cross the lasers safely.
There are five levers to be pulled on the upper floor. After climbing the stairs, look back and Shift through lasers to access the first lever.
The second lever is right next to your current position, on the other side of the metal bar. To reach there, first, return to your initial position and then Shift through the lasers.

Now, turn around and approach the area near the stairs. The third lever is right next to the stairs.
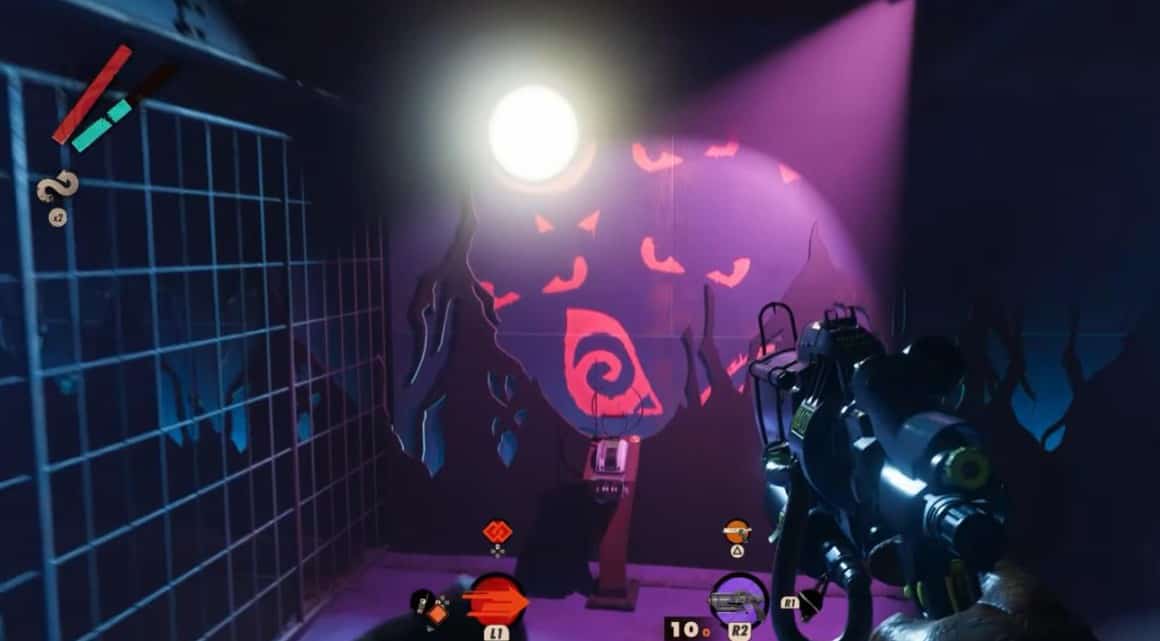
Next, drop down from the upper floor to your left. The fourth lever will be right beside the wall.
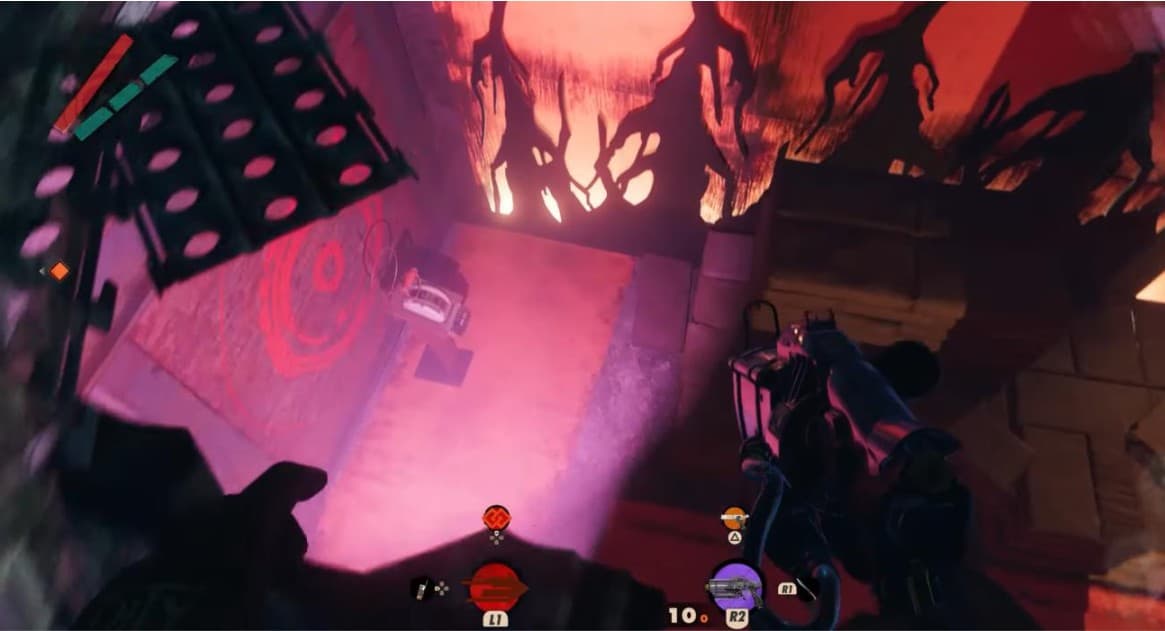
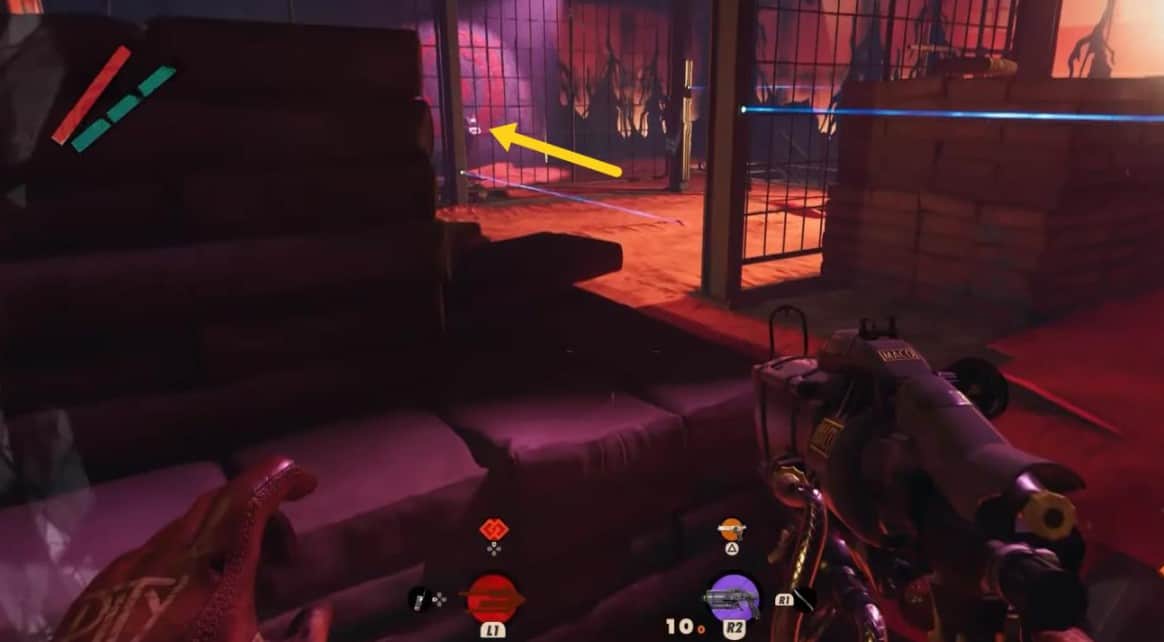
From here, you can see the fifth and final lever on your left, across the metal gates. To reach there, crouch through the first laser and then jump through the second.
After completing this puzzle, come to the entrance of Fathoms of Lament to collect the Heritage Gun from the glass container (right next to the large map).