In this Cyberpunk 2077 Braindance Editor guide, we’ll help you get started and learn more about the Braindance Editor in Cyberpunk 2077, as well as all the Braindance tips and tricks that you need to be aware of.
How to Braindance in Cyberpunk 2077
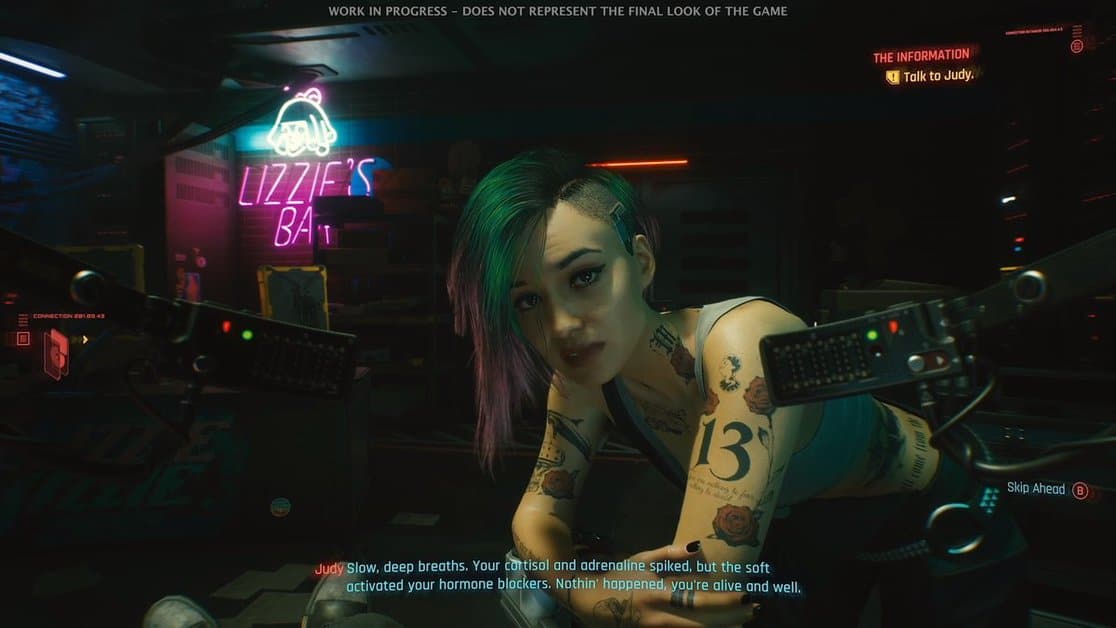
Braindance is introduced in Cyberpunk 2077 as an in-game virtual reality that your characters get to experience.
Though Braindances may seem like just a good experience, they play a much more important role in Cyberpunk 2077. You get to watch a Memory or an event play out from start to the beginning, and experience everything the Braindance has to offer.
You can look around the Braindance and look at all the details of the world, even listen to every sound that was made and the temperature of all the things around you and scan for any important items or points of interest.
To start a Braindance, you just need to find the data node for that Braindance and insert it in your Brain slot. The Braindance will play out allowing you to see and learn whatever you are after.
How to Use Braindance Editor in Cyberpunk 2077
Every Braindance you use has three distinct layers. The Audio, Visual and Thermal. Using these components, you can separate and focus on a particular part of your Braindance.
Sometimes you might notice something that was lying around that the eye didn’t catch earlier. Or a sound coming from a nearby source that can give off vital information, even though it was completely ignored by the Braindance creator.
Once you have played out your Braindance, you can then start looking for clues in the Braindance Editor.
You can see all the instructions on the screen to change what type of filter you are using, Audio, Visual or Thermal. You can pause, fast forward, and rewind the Braindance, and even restart the Braindance at any given time.
As you play through the Braindance in different layers, sections of the Braindance will be highlighted that have any crucial information that you might want, allowing you to focus on them and scan the items that you want.
Once you have scanned everything of interest the Braindance has to offer, you can exit the Braindance by pressing the Back button, Circle on PlayStation, B on Xbox, and X on PC.
There Are No Shortcuts!
Instead of rushing towards the editing, make sure you watch the entire Braindance first. You never know what might catch your eye.
If you rush towards the editing instantly, there are chances that you’ll miss out on some important intel that needs to be investigated and this will only make the mission more challenging.
Take note of anything you find interesting while watching the Braindance and once you’ve watched the entire Braindance, enter into the editing mode to investigate it.
The Camera Will Set You Free!
The camera is one of the most beneficial features integrated into the editor. It allows you to set yourself free from the person’s vision who recorded the BD and roam around on your own.
However, there’s a limit to the camera as well and you can’t move too far away from the person recording the Braindance.
If the place is at a certain distance from the recorder’s vision, it will become blurry and you’ll have to wait for the person to move a little closer to the venue you’re trying to investigate.
Use the camera to focus on hidden spots, such as an open drawer. Important intel is often hidden in these spots.
Fast-forwarding
It’s still better to watch the entire Braindance at first and focus on all of the smaller details. However, if you’re in a hurry you can also skim and scan through the Braindance.
This is done using the timeline on top of the editor. The process is quite similar to forwarding a YouTube video.
Also, to make things even easier for you, all of the important events will be highlighted on the timeline so that you can skip directly to them.
This highlighted part will also be beneficial for you while watching the entire Braindance. You’ll know when and where to focus.
Plenty of Layers to Choose From
While in the editor you can switch between visual, audio, and thermal layers from the timeline.
This helps you gather better intel. Certain elements in a recording are not visible but they can be audible.
Once you hit the highlighted part on the timeline, go through it using different layers to develop a better understanding of the mystery you’re solving.
The Visual Layer
As the name suggests, this layer will present to you all the visible aspects of the BD. This can then be used to see and scan elements.
You can also use the camera in the visual layer to have a closer look at something.
The Visual layer allows you to look around the environment and scan any NPCs who are in the Braindance or even look around for clues that help clear the setting and context of the Braindance.
You can even look around to sometimes find hidden items, chests, and even entrances to underground areas where you need to progress for the missions, and passwords to these entrances.
The Audio Layer
This layer will help you hear anything and everything in the Braindance. This could be useful if you see someone talking in the visual layer.
Instantly toggle over to the audio layer to have a better understanding of what they’re saying.
There could be several other sound notes present in the surroundings that could not be focused on in the visual layer. You can only access them through the audio layer.
The Thermal Layer
This layer will help you trace out hidden objects, and people using the heat they give out.
There could be two people standing behind a wall that could not be seen. If you turn on your thermal layer, they could instantly be spotted through their body heat.
Similarly, objects can also be seen through opaque surfaces following their surface temperatures.
These objects do not necessarily have to be extremely hot to show up in the thermal layer. The thermal layer can even pick up objects at temperatures below the freezing point.
Don’t Forget to Scan!
Scan each and everything that you come across. It would give you intel that cannot be seen or heard.
Scanning a computer can give you the data stored in it. This means that if you scan a computer, you’ll get important data regarding anything that is being controlled using that computer.
Scanning a phone can give you the audio of what the person on the other side of the receiver is saying.
You can also scan security cameras, and other objects to get important hidden information.