In Code Vein, the revenants will start to appear once you get done with Miasma. These revenants will require your help with various quests that they are incapable of completing. Each character will have a set of side quests that you will complete for them if you want 100% completion of Code Vein.
If you are planning to completely finish the game then you will have to do the side quests of each character. Below is a list that includes the characters and their side quests.
Daryl Side Quests
Request 1: Ruined City Center (Parking Garage)
In order to complete this request you have to head to certain places like Howling pits and Ruined City Center where you can possibly find Daryl and interact with him.
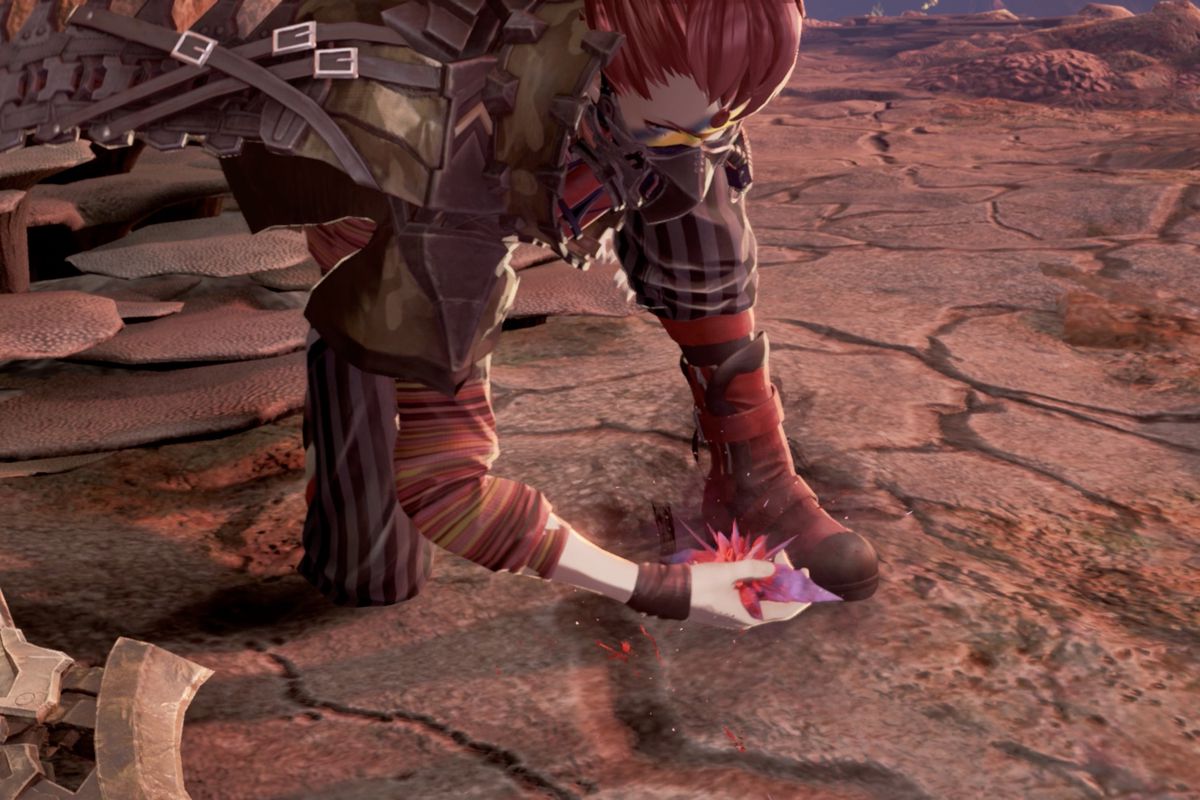
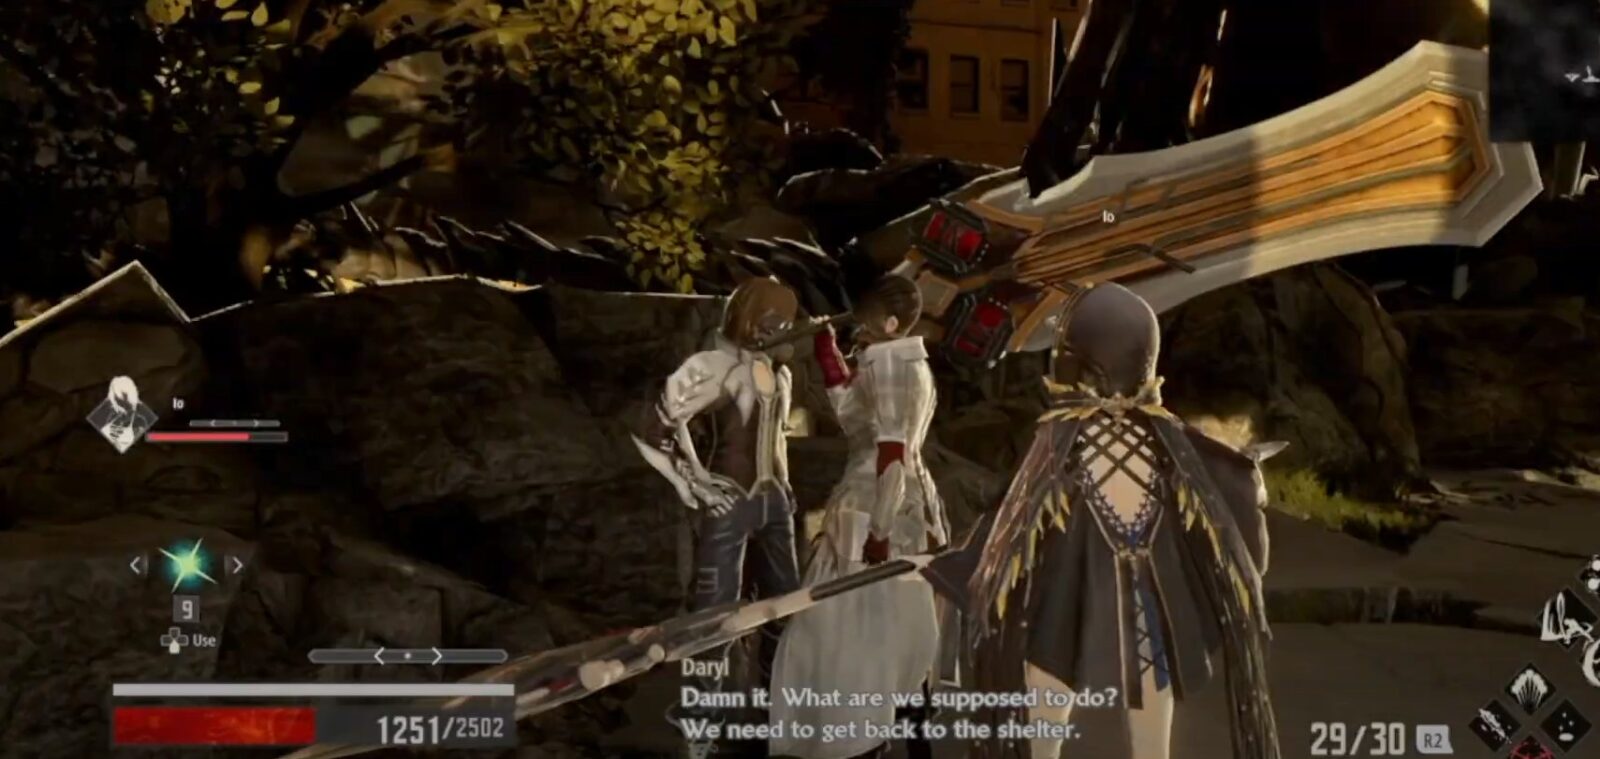
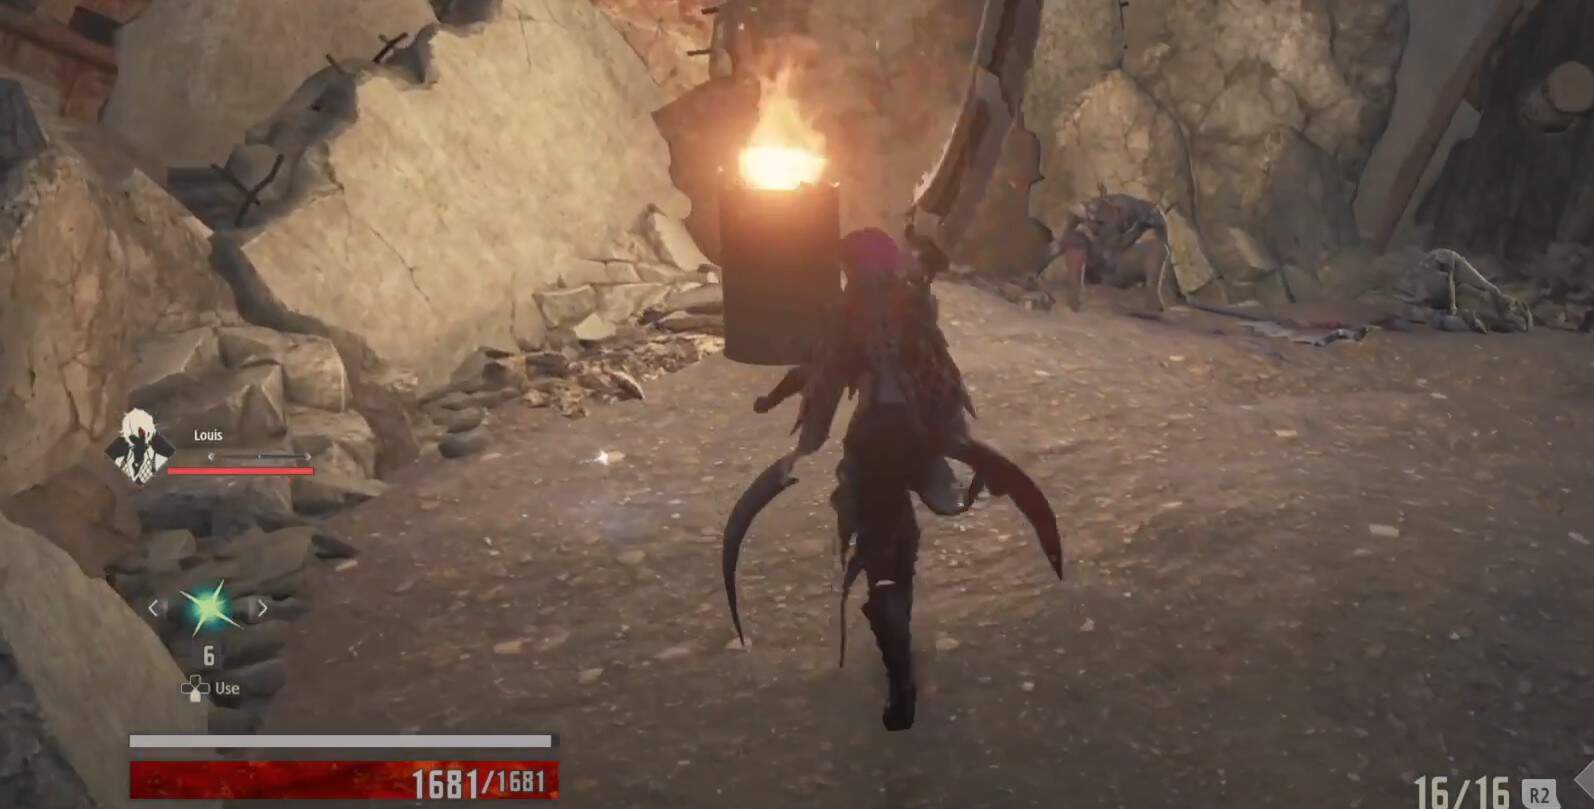
Daryl request includes the task of looking for his friends who appear to be missing. Since there are some enemies in the cave, therefore, he can’t enter. You just must search around for a dog tag, as he mentions that his friends are wearing one. You will find a tag that will be burned and just bring that to Daryl who will give you a reward.
Request 2: Howling Pit (Howling Pit Entrance)
You can complete this second request only if you have visited the locations of the ruined city center and howling pits alongside the first request. Just head to the Howling Pits where you will again find Daryl. He needs your help to find his friend one more time. You just need to move in the northern direction and up the ramp following it.
You will encounter an executioner who will give you a dog tag upon defeat. Just bring the tag back to Daryl, and the request will be completed. This time, Daryl will reward you with a Loss Shard.
Request 3: Howling Pit (Howling Pit Entrance)
For this request, you need to fulfill the first two requests. Once you have done that, move to the Provisional Government Outskirts area, where you will meet Daryl for the third time. He will need your help to defeat an enemy this time who is blocking his way towards home.
You will teleport to Deception Mistle Hills and then travel through the path of the arena. You will find an executioner on your way carrying an axe and will be blocking the way.
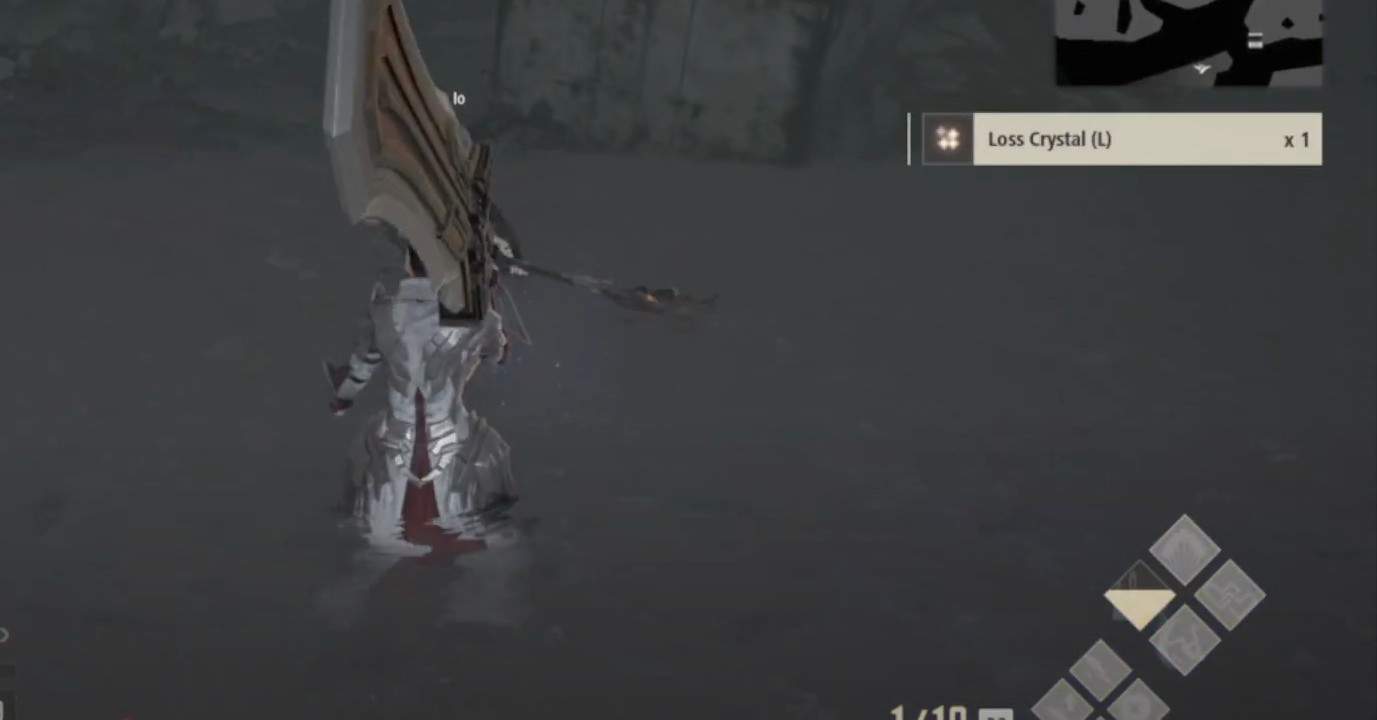
You need to defeat him and go back through the teleporter to Daryl. Once you talk to him after defeating the executioner, your task will be complete, and you will be rewarded with a Loss Crystal and Regen Inducer.
Self-Improvement Revenant Side Quest
Request 1: Ruined City Center (Parking Garage)
This revenant will only appear once the Ruined City’s boss is defeated. To find the self-improvement revenant, head to the Mistle area through teleportation. You need to teleport to the parking garage mistle area where you will find the Self-important revenant. His request will be to kill an enemy blocking the way of Lost.
You must teleport again to the Ruined City mistle and kill the opponent blocking the way. Look for the red mark on the map, that’s where you find the enemy in question. Then advance by going to the revenant again and claiming your reward, a Loss Shard.
Request 2: Dried-Up Trenches (Decayed Ship Interior)
You need to have completed the Ridge of Frozen Souls mission and also his first request to complete his second one. Just go to the area of dried-up trenches and find the revenant, who will be near a ladder. After inquiring about him, he will hand you a map and will need you to investigate the area of blood spring.
Just go back towards the home base and talk to Davis. He will hand you a map with locations already marked. Just visit the area by following the marking on the map and kill the enemies on your way. After doing so, go back to the revenant and claim your reward, which will be Condensed Loss Shard this time. After completing the quest make your way to the revenant to attain the reward.
Request 3: Ruined City Center (Poisonous Butterfly Nest)
You need to visit the revenant in the nest of Poisonous Butterfly where he will task you to find an activated mistle. To do so, visit the area of ‘memories of players’ in the facility area mistle and find the item which will be marked on your map as well. After finding the item, travel back and hand the item to the revenant to get your reward, which will be Condensed Loss Shard and RV Mastery.
Shang Side Quest
Request 1: Ruined City Underground (Outer Crossroads)
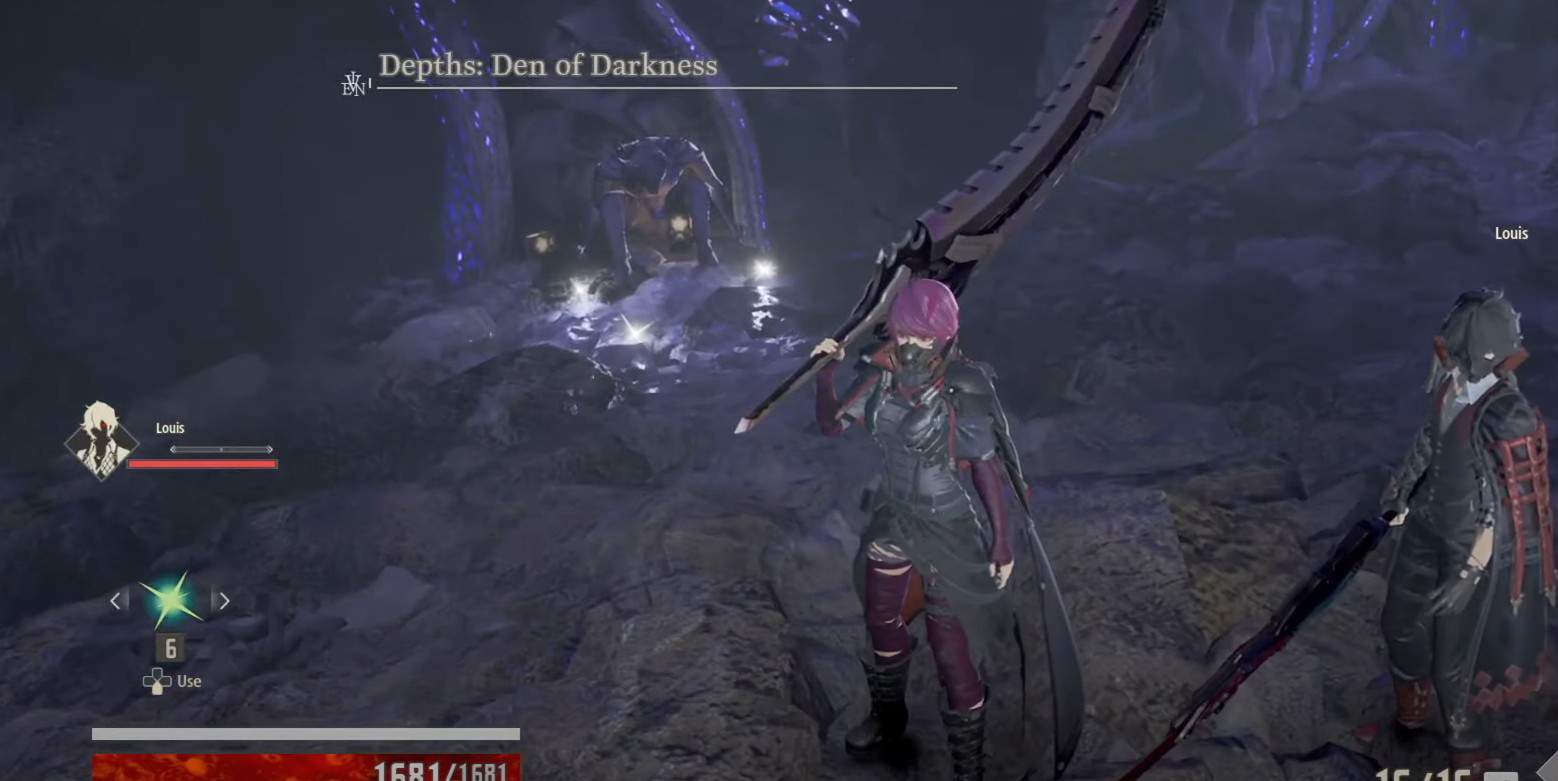
You will find him after completing the Ruined City Underground location and visiting the outer crossroad area. As the conversation ends, you will get the map through which Depths: Den of Darkness will become accessible.
After this you will have to return to the home base and will have to ask Davis to go to Den of Darkness by teleportation. You need to find an item for the revenant, and once you do so (you can use the help of the map to trace the item), just head back and achieve Loss Shard as your reward.
Request 2: Ruined City Underground (Outer Crossroads)
Once you visit the outer roads, you will find Shang. Be ready, as right after the conversation, you will have to face the trial of blood.
This will cause a lot of enemies to swamp the area. You need to kill every last one of them and try to avoid the waves of attacks that the enemy causes.
After doing so just visit Shang again who will reward you with Loss Shard and RV Mastery.
Request 3: Ruined City Underground (Outer Crossroads)
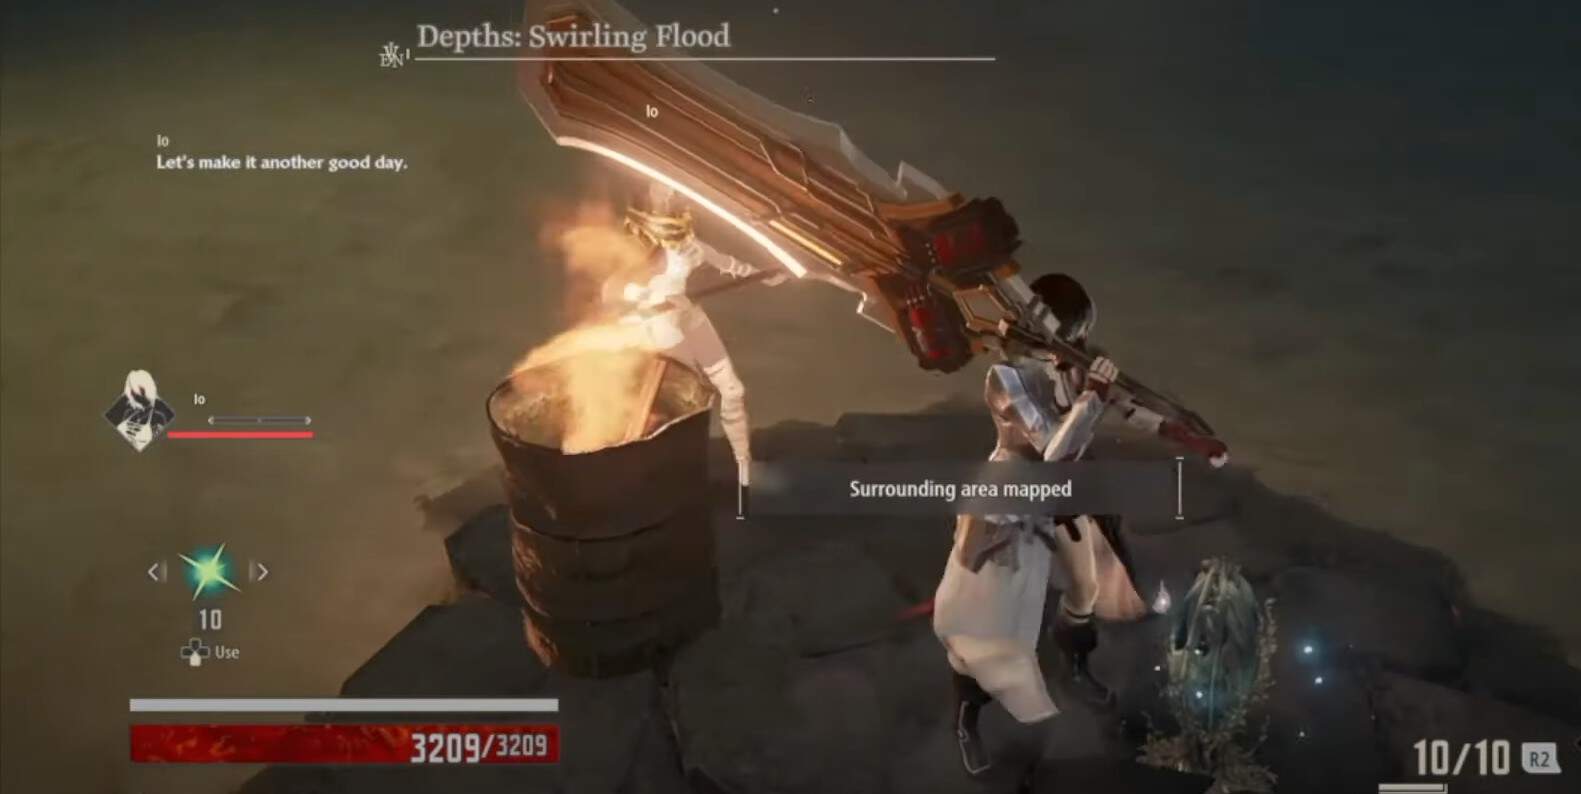
This must be completed after you kill the enemies of the Cathedral of the Sacred Blood. You will be given a map to find an item for Shang. After finding the item, move back to home base and talk to Davis to ask him to travel towards Depths: Swirling Flood.
If you are having difficulty, you can use the map to trace the item to find it. Head back to Shang and deliver him the item in exchange for the reward, which is a Condensed Loss Shard.
Request 4: Ruined City Underground (Outer Crossroads)
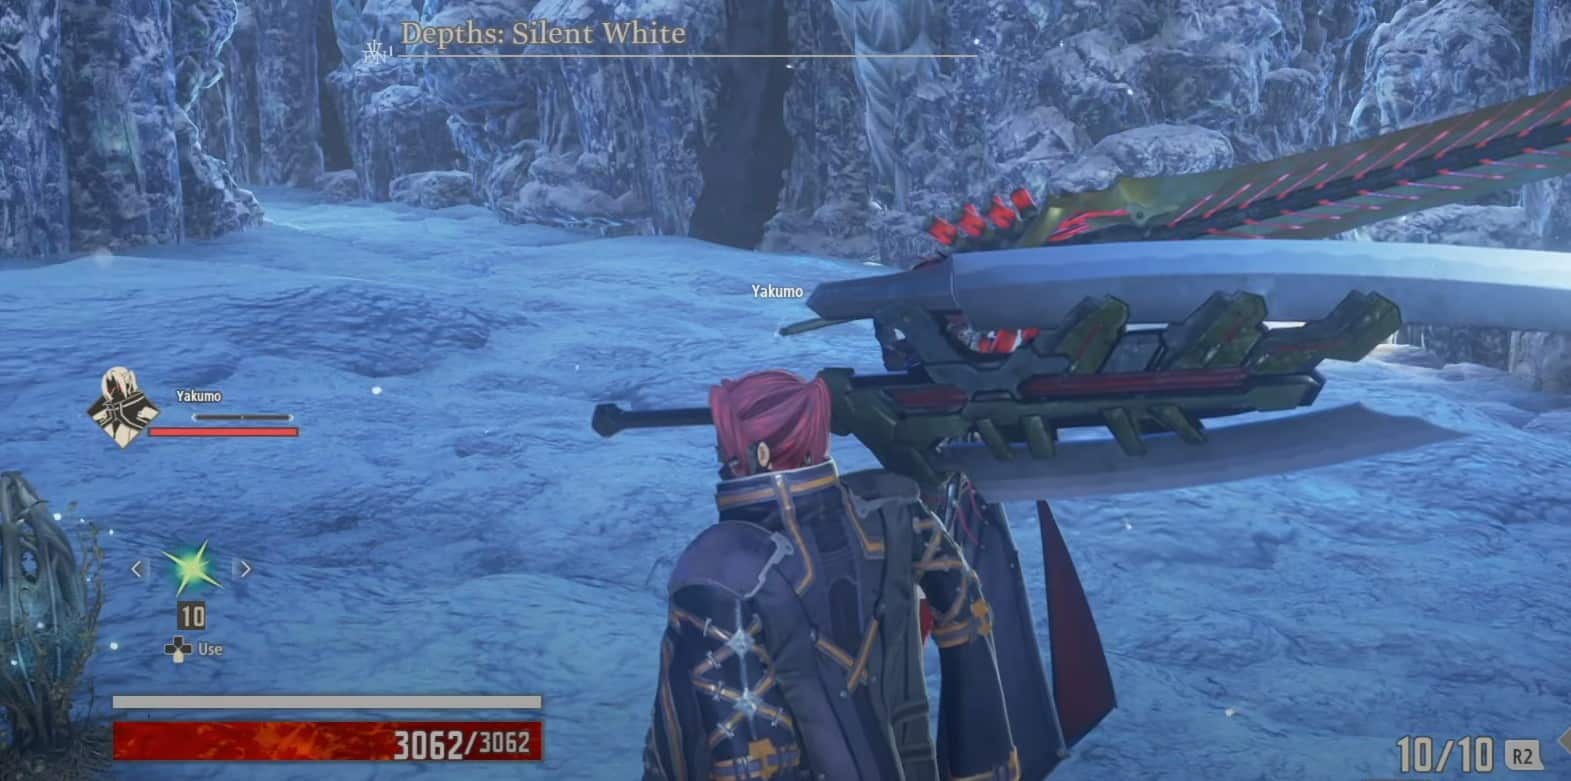
Take down the Main enemy of the Ridge of Frozen Souls and then communicate with Shang, by doing so you will get the map for the silent white.
Afterwards, go back to the Home base and talk with Davis. Doing that will give you access to the site. And then complete the request by giving rare material to the Shang.
Richard Side Quest
Request 1: Howling Pits (Halls of Deception)
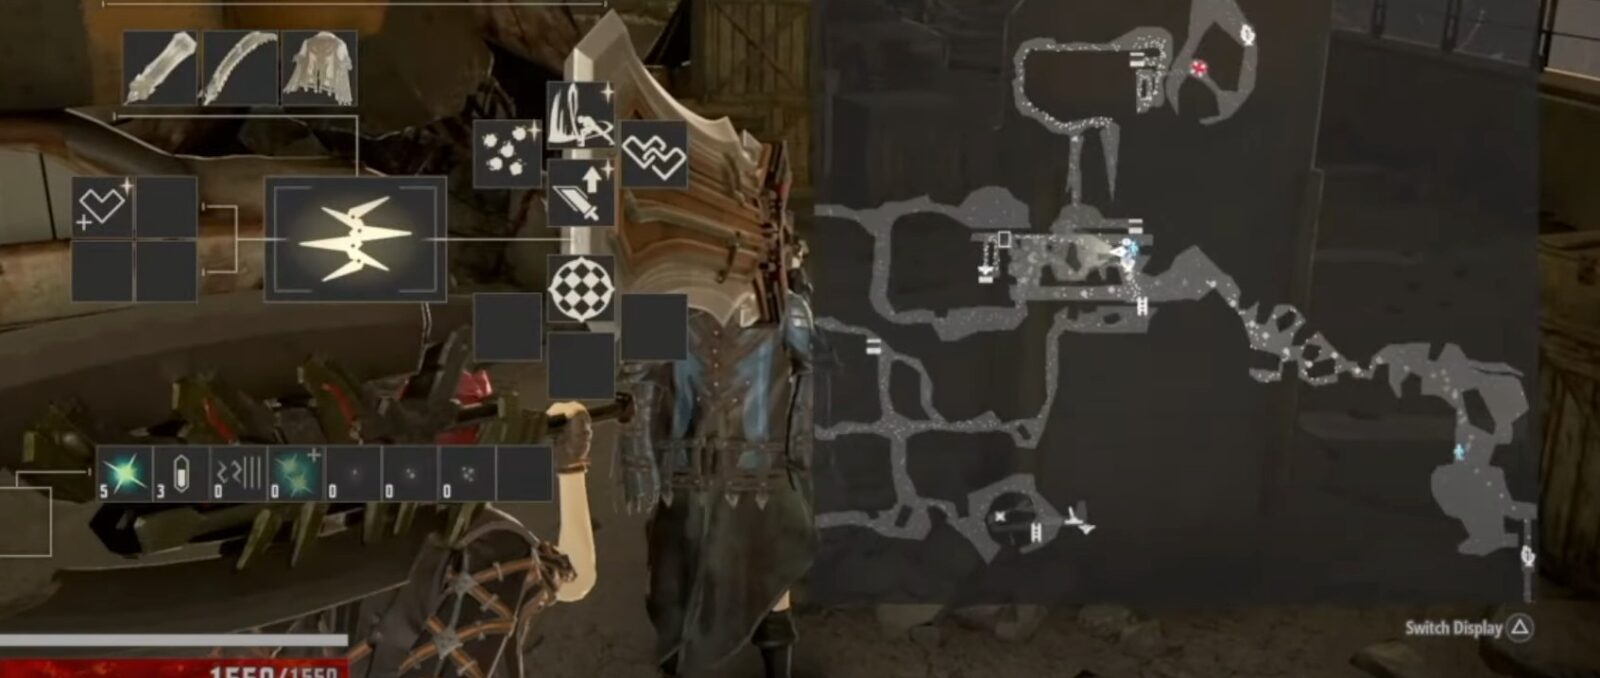
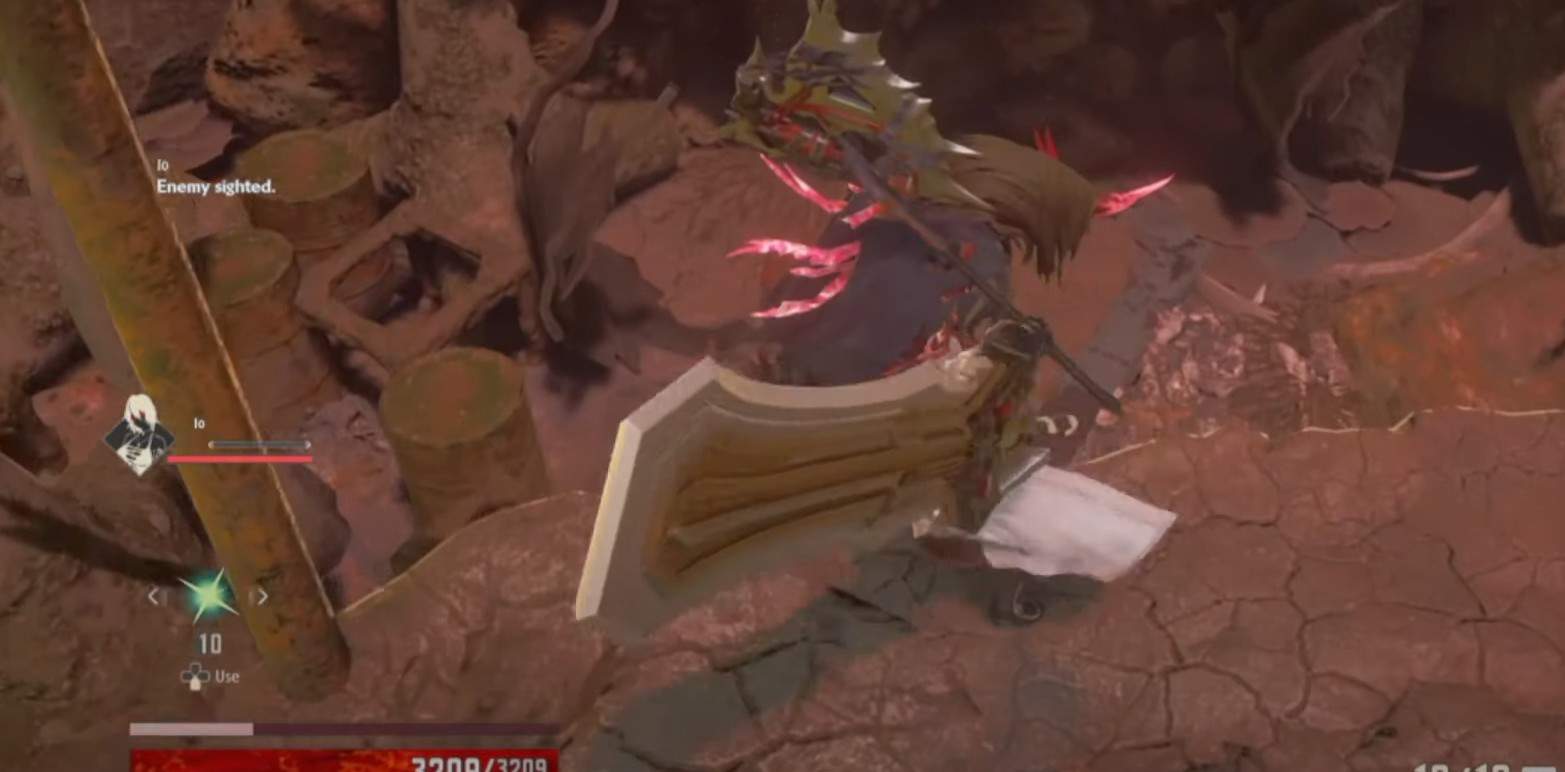
Right after taking down the monster, talk with Richard, who will be in the Halls of Deception. You will be given the task of looking for his sleeping bag. Use the map to reach at the right location and the item will be near the barrel. Give it to Richard, and the request will be completed.
Request 2: Ridge of Frozen Souls (Ridge of Frozen Souls Entrance)
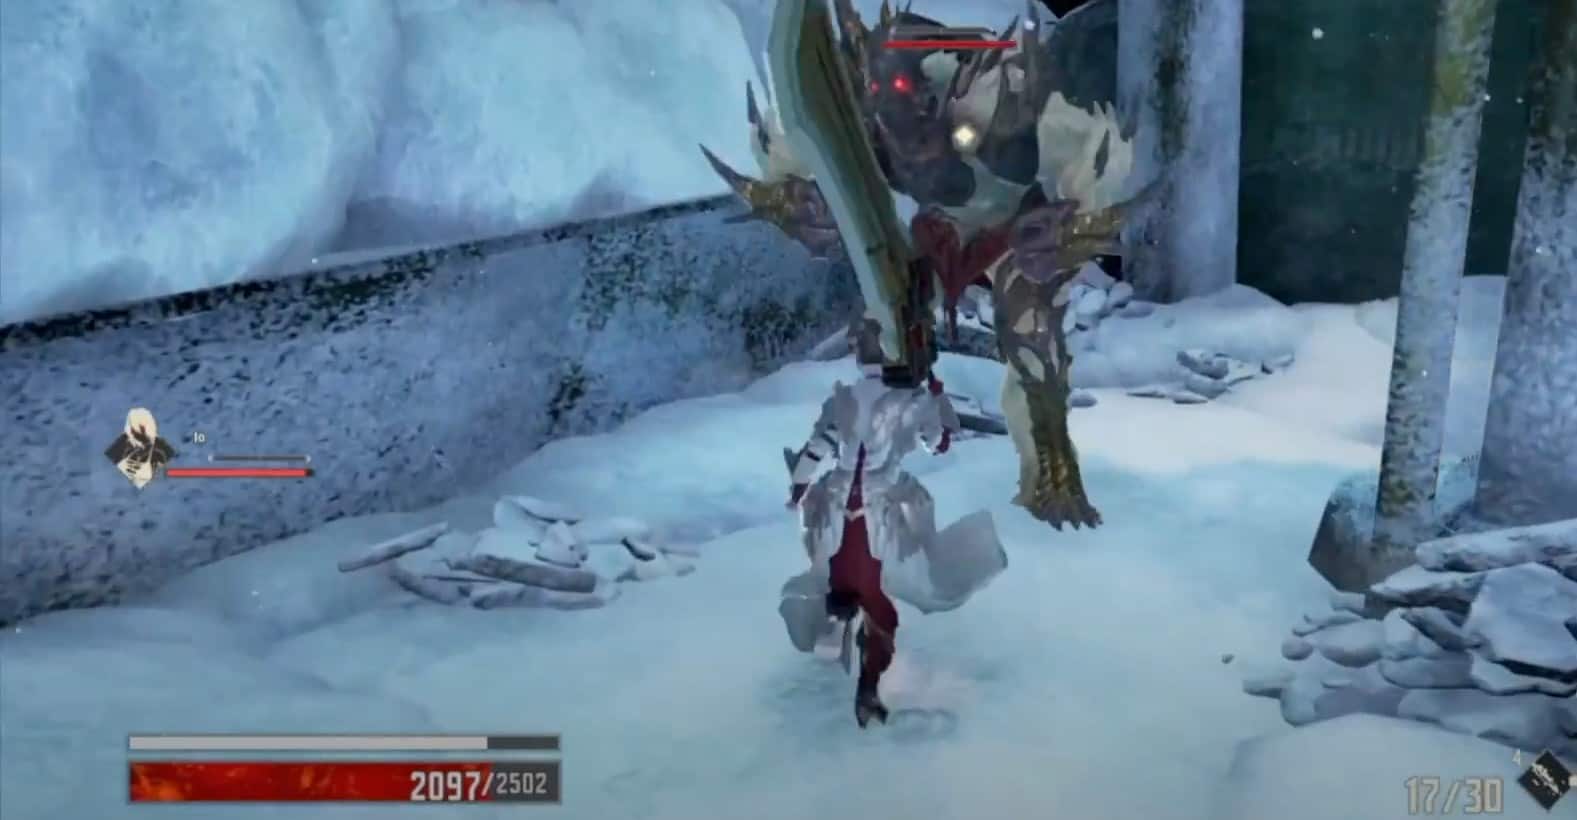
Start moving through the path shown on the map from the mistle. You will arrive at a location where there will be a truck, then head down from there by using or jumping on the platforms covered with snow and then move to the right side to meet Richard. He will tell you about the monster and you will have to defeat it.
Request 3: Ruined City Underground (Natural Cavern Depths)
This one is also similar to the previous one and in this quest Richard will again ask you to deal with the monster.
Request 4: Ruined City Underground (Natural Cavern Depths)
You must first fulfill the requests of the Self-Important Revenant. Following that, you must return to the same area as Request 3 to see Richard. Speak with him to get the Depth map for Rocky Ruins.
Sophie Side Quest
Request 1: Cathedral of the Sacred Blood (Cathedral Front)
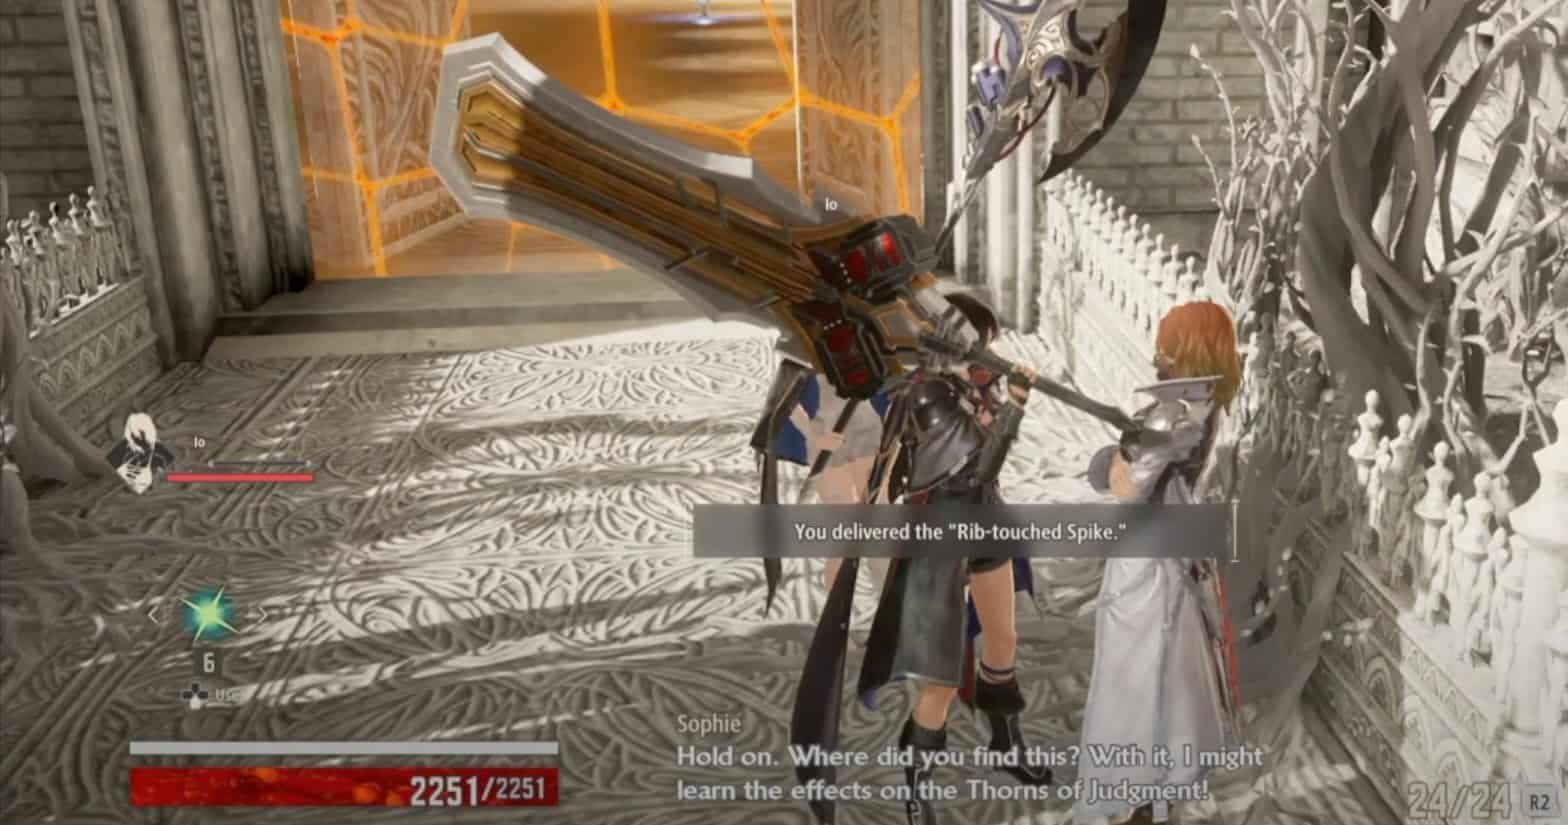
You will see Sophie appear after turning down the Successor of the Ribcage. She will be visible once you exit the destined area and come back to see her present.
Then you will have a conversation with her in which she will tell you about her concern regarding the Successors’ power and that she desires to study these powers so she can have a control over them. After this you will have to meet the successor and by going to the crypt you can find it. Talk with successor to attain the rib-touched spike. By bringing the item to Sophie you can finish the request and the reward: Condensed Loss Shard and Isis Chrome will be yours.
Request 2: Ridge of Frozen Souls (Crypt of the Breath)
She will be present near the Crypt of breath once you have defeated the Successor of Breath. She will again want to research something.
You will only be able to find the item if the Nicola’s memory have been restored or if you haven’t done this then go to the successor and talk to attain Breath-touched Snowflake.
Condensed Loss Shard and Fionn Chrome will be rewarded to you for this task.
Request 3: City of Falling Flame (City of Falling Flame Entrance)
You will find Sophie near the city of falling flame and she will appear after you have defeated Successor of the Claw. Speak with Sophie in the City of Falling Flame’s Ashen Caverns.
Communicate with Sophie and then you will have to head back to back Alley mistle. Here you will have to attain the item by interacting with the boss. Go to Sophie and give her the item to fulfill the request.
Gustav Side Quest
Request 1: Dried-Up Trenches (Dried-Up Trenches Entrance)

After getting rid of the monster go to Gustav and talk to him at dried-up trenches and he will ask you to find the paper or document. To get this item you will have to go to the Ruined City Center: Parking garage. Follow the plus symbol on the map to reach the item’s location, defeat the enemy, and deliver it to Gustav.
Request 2: Cathedral of the Sacred Blood (Outlook Tower)
Your next location will be the Outlook Tower where you can find Gustav down the stairs. To find the item, head to the left and attain it and then give it to Gustav.
Request 3: Ridge of Frozen Souls (Observatory Site)
To complete this request you will have to go to the Observatory Site and bring the required item for Gustav. There will be an enemy at the item’s location so make sure to fight it off and get the item later on. Give it to Gustav to attain the reward.
Request 4: Ashen Cavern (Accumulator Ruins)
The location for the final request will be Accumulator Ruins, and he will be at the back of the mistle. You will be given a map of the Arachnid Grotto. After this, speak to Davis after heading back to home base, and then you will have to defeat the monster at a marked location. Then, go back to Gustav, and the mission will be completed.
Matthew Side Quest
Request 1: Ruined City Center (City Ruins Entrance)
You will have to take down the boss of the ruined city center to find Mathew. Once you do so, you will find him sitting near the entrance of the city ruins. He will ask your help to kill a monster. The monster is blocking the way. As soon as the talking is done, you will see a red mark on the map. This is where you will find the monster. When you kill it, you have to go back to Mathew so the task can be complete, and you will be rewarded with Loss Shard and Regen Inducer.
Request 2: Ruined City Center (Parking Garage)
For the second time, you must leave the area and revisit so you can see Mathew for the second time. This time you can also use the shortcut as you must have found it by now. You need to travel down the stairs into the parking to find Mathew. This time he will require a weapon and you need to find it. If you thoroughly search the area, you will find the weapon once you go to the other side of the stairs. You must take Battered Weapon to Mathew and gain the reward such as Loss Shard.
Request 3: Howling Pits (Bottomless Shore)
You should complete the howling mission along with the first two requests to move on to this one. You need to teleport to shore mistle and reach Mathew. He will again require you to kill a monster. The location of the monster will be marked on the map. Just kill it and go back to Mathew to collect Condensed Loss Shard.
Request 4: Crown of Sand (Crown of Sand Entrance)
You must defeat crown sand’s boss to progress to this mission. You can find him near the sand mistle. This time his request will be the same as the previous one which is to kill a monster that is stopping his way. The location will be marked on the map. Just kill it and return to Mathew. You will be rewarded with Condensed Loss Shard and RV Mastery.