Similar to its spiritual prequels, The Callisto Protocol also puts players in a survival horror environment where they must use every weapon at their disposal to stay alive. Unfortunately, The Callisto Protocol doesn’t give you all the weapons automatically and you have to search on your own.
To aid you with that search, we have crafted this guide that goes over every weapon schematic location in The Callisto Protocol so you have an idea of which weapons are in the game and how to acquire them.
How to find all weapons in The Callisto Protocol
Most of the weapons in The Callisto Protocol are found as schematics instead of actual weapons which means you must print these weapons as well as their ammo at a Forge in the game. For this purpose, you need Callisto Credits as this is the currency required to print weapons and ammo.
Below are all the weapons that are available or can be found in The Callisto Protocol according to the order they appear in.
Stun Baton – Chapter 2
Stun Baton will be your very first proper weapon and is found in Chapter 2: Outbreak as part of normal story progression. Players must squeeze through the vent to obtain this, taking care to avoid being detected because security will be present everywhere.
There will be a cutscene if you have securely entered the security lock-up without being discovered by so many adversaries and two enormous fans. Jacob will take the stun baton from the prison guard in this cutscene. The Stun Baton you have acquired will be your melee weapon till the end.
Stun Baton’s electric damage is the only viable way of dealing with enemies that are resistant to bullets without wasting other high-power resources.
You can block too using the baton, making it even more trustworthy than most of the guns you have on you. It’s best to invest in upgrading the baton from early on.
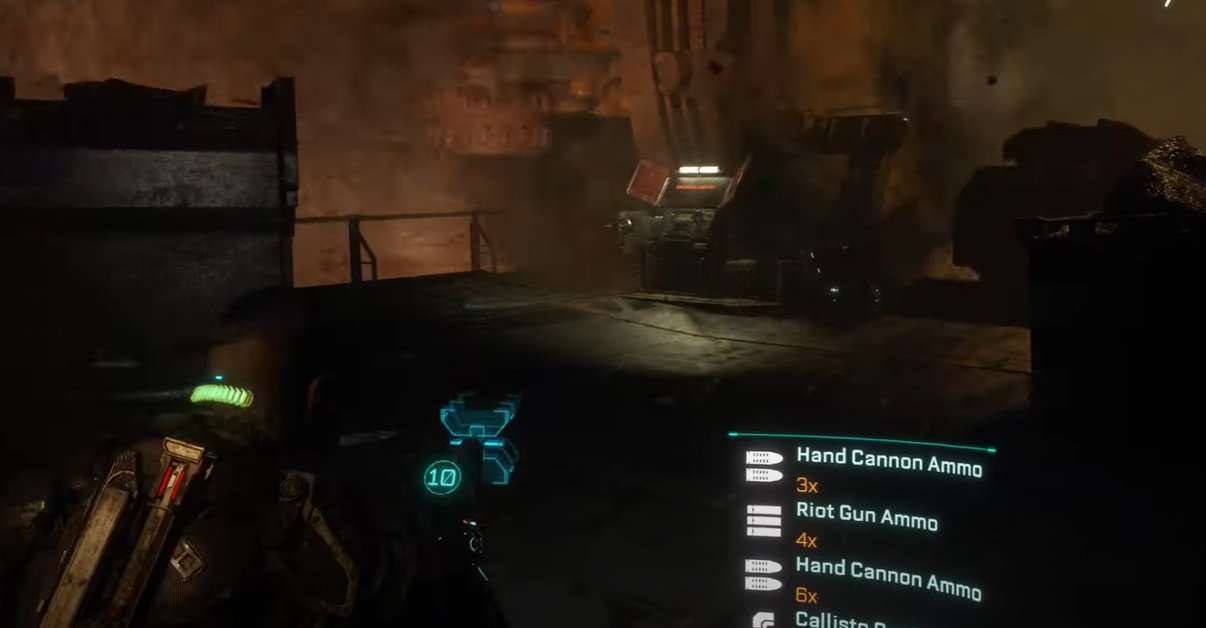
Hand Cannon – Chapter 2
The Hand Cannon schematics will be found in the Watch Tower. In order to get this, players need to fix a meeting with Elias at Watch Tower in Chapter 2: Outbreak. He will give you a schematic and ask you to take that to Reforge and print a new weapon. You can then use it to print Hand Cannon.
The weapon is a fairly good starting weapon, and you can upgrade it down the line to make it stronger and even better. You get some pretty handy perks for the weapon, like quick-shot combos which lets you put multiple bullets in multiple enemies at once, similar to RDR’s dead eye.
The only issue you get at the start is the limited magazine size, allowing you to load only 6 bullets, but it can be upgraded to 10 bullets.
Skunk Gun (shotgun) – Chapter 3
Once you get to the basement during Chapter 3 (after the elevator crashes) go to the end where you encounter a group of enemies. Here pick up the Fuse.
After that went to the basement storage with a collected fuse to find a vent to crawl through. Use the Fuse on the fuse box close to the elevator. You can find the Skunk gun schematics inside the room that opens up.
It can also be found in Chapter 4, if you missed it earlier, in the Botanical Recycling area. Look for the schematics on a dead body in the area Utility H630.
GRP Glove – Chapter 3
GRP glove is found in Chapter 3: Aftermath. The objective of this chapter is to find a way out of the basement. The GRP glove will be found on the dead guard you will come across. This dead guard will be located on a gurney as you enter an examination room. It’s part of the game progression so can’t be missed.
Riot Gun – Chapter 5
Riot Gun Schematics will be found at the beginning of Chapter 5: Lost. Helping Dani in her battle with the biophage in the garage is all that is required for players to obtain the Riot Gun. Dani will reward you with the Riot Gun Schematic once she’s defeated the biophage
Tactical Pistol – Chapter 6
The Tactical Pistol will be found in Chapter 6: Below. The players will find this Pistol on the main path as they are trying to get to the Transport Hub. Tactical Pistol being automatic and having larger magazines offers a high rate of fire.
After defeating enemies at the start of service tunnels, as you go straight and turn right from where you” ll see prisons on the left side, you will reach a cell.
There will be different lockers in the cell that you can open for different items but be aware as the blind will attack you. Opposite these lockers, there will be a workbench and a tactical pistol schematic will be placed over that workbench.
Tactical Pistol’s only advantage is that you get better stability and recoil control. The damage is low and it is only a viable option for clearing out weak or critically damaged enemies. Otherwise, Tactical Pistol offers no benefit over the Hand Cannon.
Assault Rifle – Chapter 7
Assault Rifle schematics will be found in Chapter 7: Colony on the second floor in the bathroom as you’re climbing to the Light tower. This is basically the first main area you enter at the start of Chapter 7.
Reaching the bathroom, you will find a health injector and an Assault rifle schematic on the sink. As soon as you pick up the Assault rifle schematic a blind will attack you. Kill the blind and then you can easily get the assault rifle schematic.
Assault Rifle is semi-automatic and is set to burst shots. You don’t see any exceptionally high damage, but it allows good crowd control from a distance, allowing you to mow down enemies before they get close to you making it a much safer option than the Riot Gun and Skunk Gun.
The bullets can be upgraded to Homing Rounds. They will then automatically track enemies, making it easier to take out enemies without wasting any bullets. It’s perfect for quick sots if you need to keep moving, or if the mutants you are targeting are too mobile to aim at.