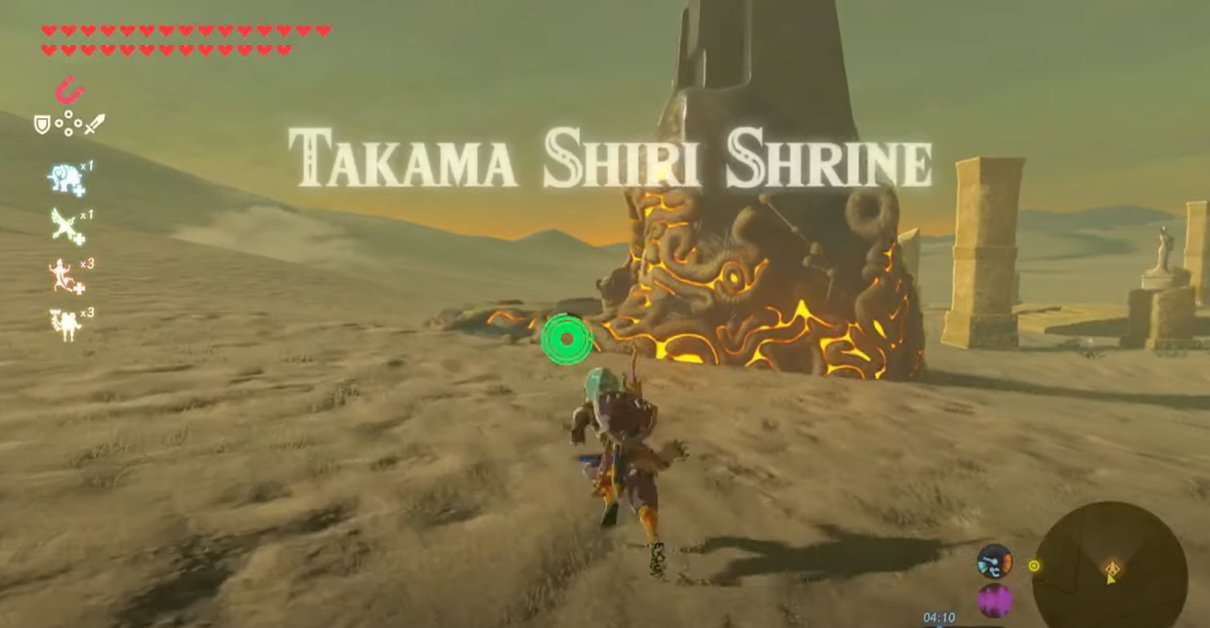
The Legend of Zelda Breath of the Wild Takama Shiri Shrine is one of longer shrines in the game and was added as part of the DLC shrines. Due to its DLC nature, players can only attempt to complete the Takama Shiri Shrine while attempting the EX Champion Urbosa’s Song DLC quest.
Takama Shiri shrine in Zelda BOTW is among the three most ancient shrines of the Gerudo Desert and as such pretty difficult to find in the massive area.
Takama Shiri Shrine location
To locate the Takama Shiri shrine in BOTW you need to travel through the northwest direction of the Gerudo Desert. The Shrine entrance is really hard to find as the Desert sand conceals it completely. It feels like the Shrine is deeply buried in the sand.
As mentioned before, you’ll only have the access to this Shrine once you start the “EX Champion Urbosa’s Song” Quest.
If you visit the West Barrens, you will find a row of shining Rings each located after a distance. Keep traveling towards them to get each step closer to the Takama Shiri Shrine. Get closer to the Rings and here find a San Seal Rental Shop.
You can choose to ride a Sand Seal, but first of all, find Essa who is the owner of these Sand Seals and you can rent them from the shop. This shop is located in the vicinity of the West Barrens. Here you’ll have two options to avail yourself:
- Hire a trained Sand Seal
- Get an untrained Sand Seal and then train it yourself
After getting a Sand Seal, start your journey through the Glowing Rings. The first one is found at a short distance.
However, moving through these Glowing Rings is not a piece of cake. There are several Electric Lizalfos that will try to inflict damage on you. But if somehow you’re successful in this endeavor, through these Rings the Takama Shiri Shrine will rise and will be visible on the surface.
When you enter the shrine, you’ll come across the Monk of the shrine. The Monk will give a task to you which you’ll have to complete in order to enter the Shrine.
Zelda Breath of the Wild Takama Shiri shrine walkthrough
Remember that reaching the end of each Shrine in Legend of Zelda Breath of the Wild requires you to complete specific tasks. Your task starts once you have a conversation with the monk.
In the beginning, Link will come across many platforms as well as metallic cubes. He’ll have to move across it. For this, you can move these objects backward and forward with the help of Magnesis. If you move these cubes to appropriate places this will allow you to connect the Electric Circuits. This will eventually turn off all the switches and hence you can move through the door unharmed.
However, it is important that you take some preventive measures which include wearing the Thunder Helm or the complete Rubber Armor Set when he standing on the activated metal cubes. This will protect you from the electric current that is flowing through these cubes.
Another way to keep Link protected against the Electric Current is to use metal objects that are insulators.
When you’ll reach the Third room after turning the Switches off, you’ll stumble across a Treasure Container which will have a Royal Bow inside. You will gain one Nabori’s Emblem after a complete adventure through this Ancient Shrine.
Now there’s only one room left. After accessing it you will come face to face with the Monk of the Shrine. He now gives Link another task which is to gather all the remaining Nabori Emblems. During the First visit, Link will gain one Nabori’s Emblem and will be asked by the Monk to collect the other two.
During the second visit, Link will be asked to collect only one more Nabori’s Emblem. After his final visit, he will be directed by the Monk to the Divine Beast Vah Naboris.
