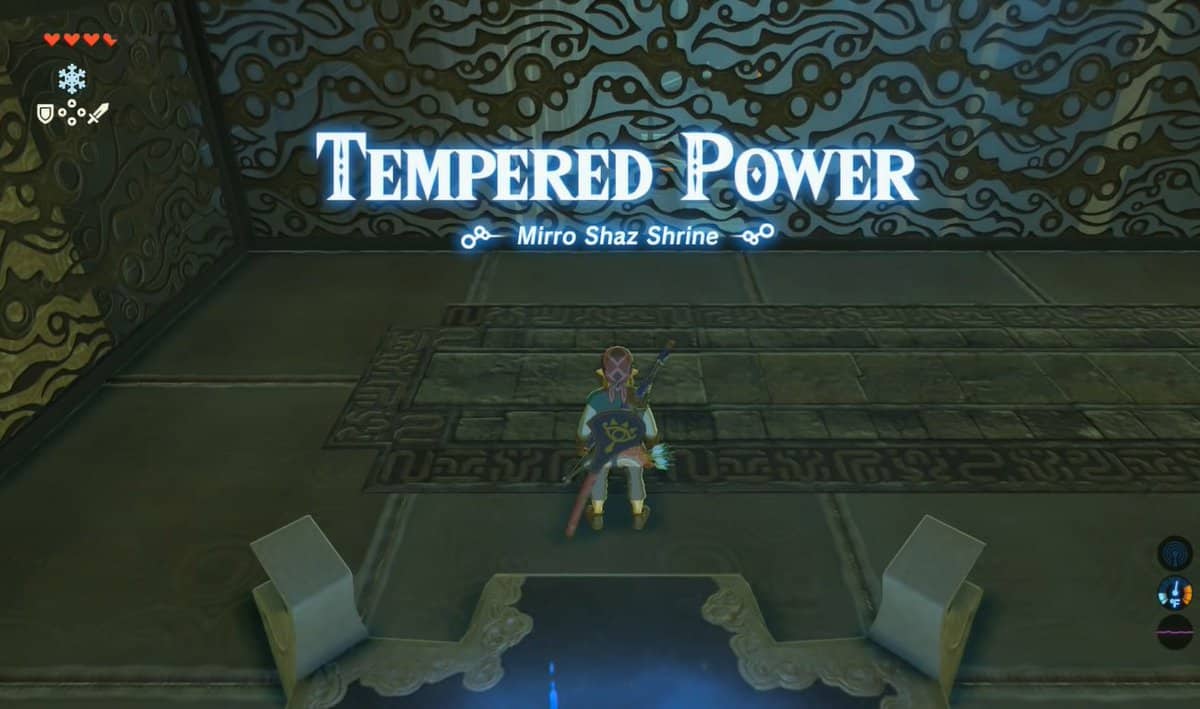
In Zelda: Breath of the Wild, Mirro Shaz Shrine is one of the trickiest shrines of the Central Hyrule Region to access. This DLC shrine is a favorite among the players to collect the reward. To complete the Mirro Shaz shrine in Zelda BOTW, you must do certain trials and puzzles. Follow this guide to learn about the Zelda Breath of the Wild Mirro Shaz Shrine.
Mirro Shaz Shrine location
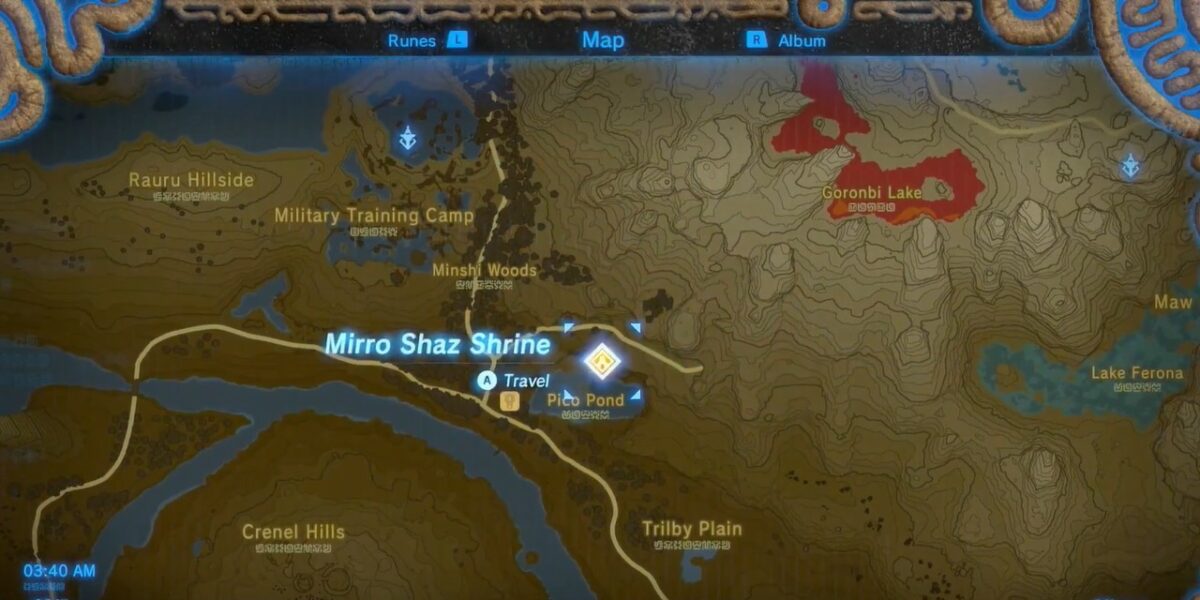
To locate the Mirro Shaz Shrine in Zelda Breath of the Wild, pinpoint the Hyrule Forest region on your map. If you need a close approximation, go towards the northeast direction of Woodland Stable.

Here you’ll also notice a Pico Pond nearby. While you’re close to a Pico Pond you should look out for the Korok Seed in Zelda Breath of the Wild.
But to get The Korok Seed, you’ll have to complete a puzzle. The puzzle is about placing the missing piece of the Isle in the middle of the Pond. You’ll have to place it using Magnesis, then Korok will lead you to a Korok Seed.
Zelda Breath of the Wild Mirro Shaz Shrine walkthrough
As mentioned, the players will encounter many challenges in the Mirro Shaz Shrine. The Mirro Shaz Shrine is also known as Zelda BOTW Baseball Shrine or even the Zelda BOTW Golf Shrine because one of the tasks to reach the orb is the Stasis baseball/Golf trial.
In this Zelda Breath of the Wild Miro Shaz Trail, you’ll have to use an Iron Sledgehammer to strike the Ball by using Stasis and direct the Ball in a hole.
Once inside the Shrine. Enter the first room. There is a treasure chest in the room that contains the Iron Sledgehammer. Roam around, and you’ll find the Ball in the same room. Just be careful when you strike the Ball: it needs to be stroked only 5 times and go straight inside the hole.
Now you need to get another Iron Sledgehammer, for which you just move downwards towards the left direction of the monk in Mirro Shaz Shrine. This is a hefty task, as you must be vigilant at each instance.
Try to save the game beforehand once you reach this point because there’s a chance that your hammer can get destroyed, and unfortunately, you’ll have to start the checkpoint again.
Just hit the centered Ball five times with Sledgehammer to pass this trial. This time you also need to strike the Ball with a Boomerang or even a Sword. After completing the task successfully, the door to the left room will be unlocked.
Now you’ll have access to the Zelda BOTW Mirro Shaz chest. You will be authorized with a Giant Ancient Core. Then to get your Spirit Orb go back to the monk.
How to cheat Mirro Shaz shrine in Zelda BOTW
You need to be smart and use some cheating hacks to get rewards easily in this difficult shrine. The hack is that:
Strike the Ball in such a way that it moves close to the hole that is near the platform. Now there is an area at the backside of the fence. You need to make a Cryonis block in the water at this location.
Then move over the fence and use the following hack. Notice that there are bars that restrict you from gliding over the hole, but hold the forward button and then crouch and then jump. This will allow you to slip through them, and you’ll glide the fence over the hole.
Use the Cryonis to reach the platform by moving from one block to another. Find the Ball using Stasis in the water body. Then take the Ball out of the water with the help of the Octo balloon in Zelda Breath of the Wild. After this, place the Ball on the land.
Finally, get your Giant Ancient Core after placing the Ball exactly in the hole.
