Alpha Omega was the first DLC Aether map to be released for Call of Duty: Black Ops 4 Zombies. It naturally contains an easter egg for you to complete, while also playing an important role in the whole Zombies saga.
Alpha Omega brought us close to the end. It is the penultimate chapter in the story of beloved characters like Richtofen, Dempsey, Nikolai, and Takeo.
Continuing from where we left off in Blood of the Dead, you’re now deployed on the most famous map in the Black Ops series, the Nuketown which is now much bigger and there’s a whole lot more to explore compared to the previous iterations of the map.
The easter egg on this map is fairly simple to solve compared to some of the other maps that require tiresomely long tasks and challenges to complete the easter egg. Below you will find the simplest method and steps to follow to solve the Alpha Omega Easter Egg.
Step #1: Turn on the power and activate Pack-a-Punch
As is the deal with all the maps in Zombies mode of the Black Ops series, the first thing you need to do is to turn on the power and activate the Pack-a-Punch machine in the underground region of the beds.
Navigate to the Generators and activate them by pushing the panel near the mannequin. Now take part in a mini-challenge that prompts you to fight off some zombies while you look for houses with nova gas leaks.
Head to each of these four houses and repair the ventilators by interacting with them to clear the gas. Now the Pack-a-Punch machine will be fully functioning.
Step #2: Unlock A.D.A.M aka the Rushmore Computer
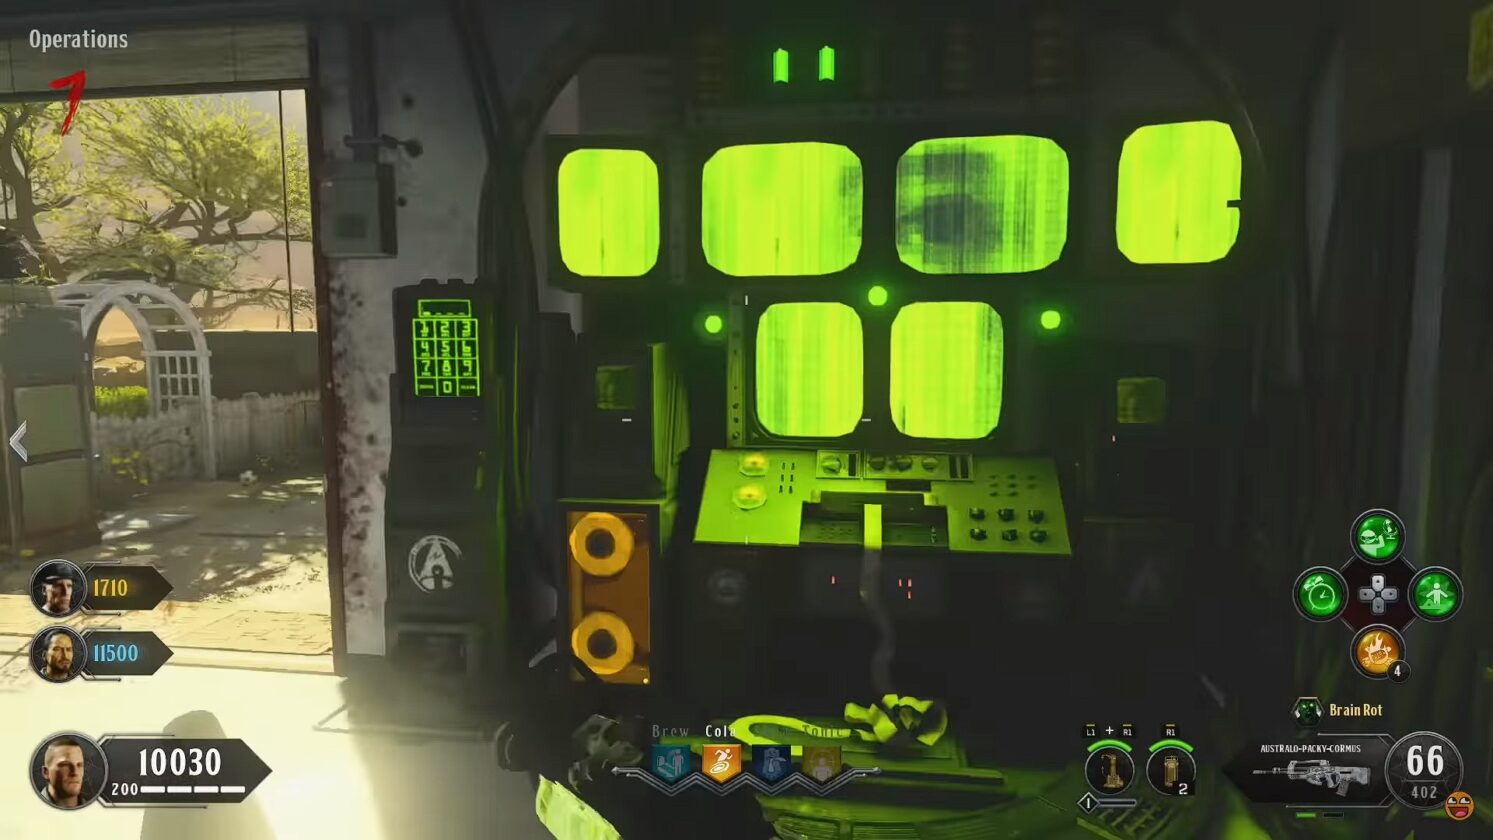
To trigger the actual start of the Easter Egg hunt, you’ll need to start up the Sergeant A.D.A.M Rushmore computer. You can find it on the first floor of Operations. You’ll be coming back to this computer as you find four numerical codes, from around the map.
You must find 4 codes across different locations on the Alpha Omega map and note them down.
Code 1 -Toy Soldier
You can find the first code in the Operations near the Toy Soldier on a desk.
Code 2 – Pernell
For the second code, you must collect the key from Solitary and go over to the yellow house. Head upstairs and look for a desk. Open the drawer using the key you found and note down the Pernell code.
Code 3 – Sawyer
This code is the Sawyer’s code and can be found in one of the 3 possible locations but it will always be inside the APD Interrogation room.
- On top of the desk with the chair.
- Under the stairs.
- On the desk on the upper level.
Code 4 – McCain
McCain’s code can be found once you shoot at the sheet of papers in the ADP Control room.
Step #3: Set the Clocks
Head over to the Cul-de-Sac area and get the Galvaknuckles from the red truck bunker near the yellow bus. Look for a lit TV screen in the underground bunkers. It should be at one of the following locations – Beds, Lounge, or Diner.
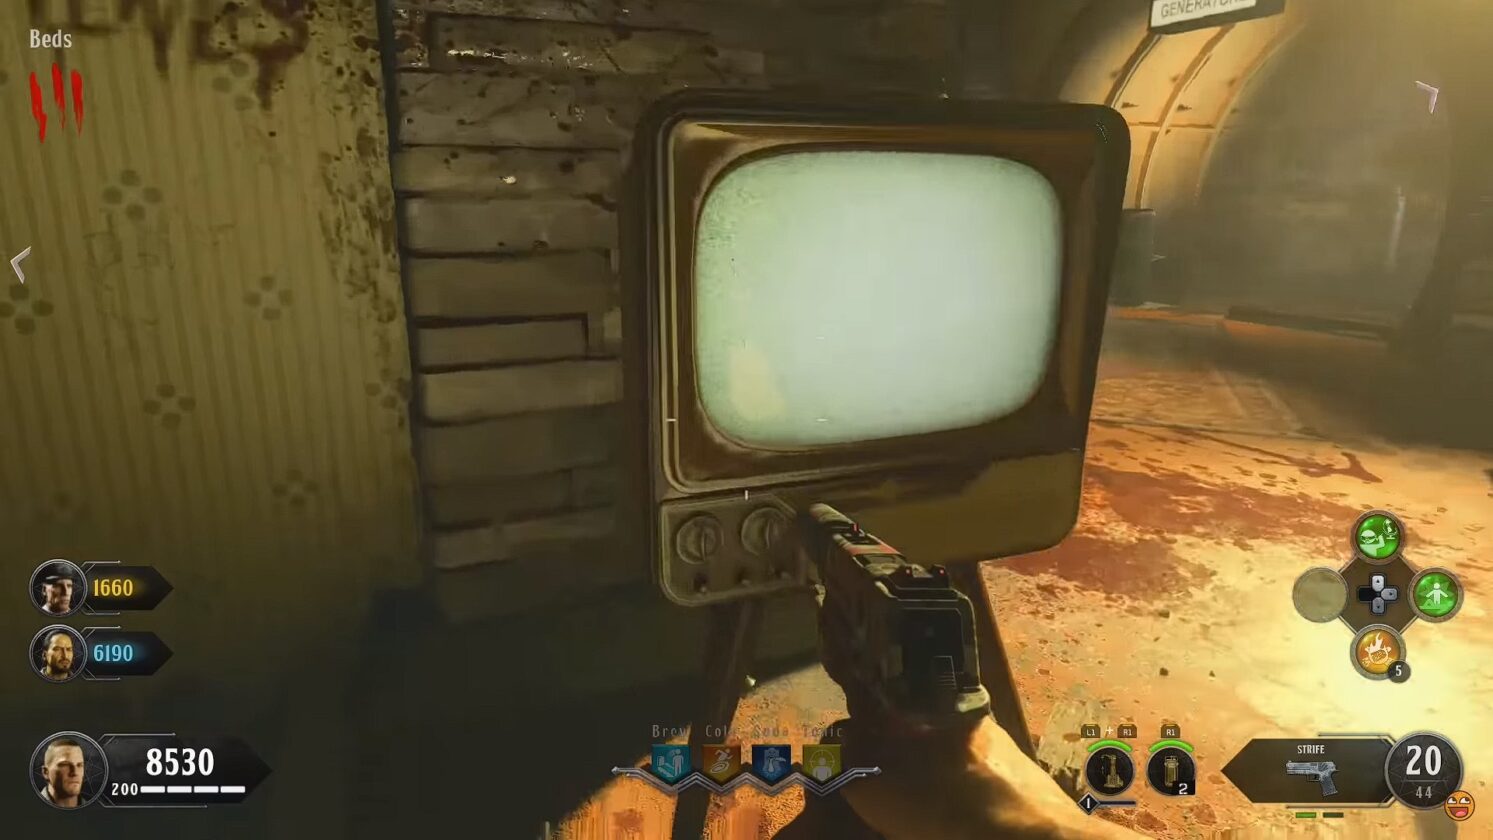
Use the Galvaknuckles to kill a zombie near the TV screen and interact with it which will then read you a list of five-digit codes comprising 1 letter and 4 numerals. Make sure to note down these codes in the correct order as each of these corresponds to a specific house.
Follow the sequence of the code and navigate to each of the houses represented by the letter of each code. For example, if you’re going for a code like A1314, then you need to look for a house that has an “A” symbol on the mailbox. Inside, interact with the clock and input the time as 13:14.
Do the same for the remaining three ones. Then head to the house whose symbol was not shown on the TV screen and mele the clock with your Galvaknuckles.
The clock will start winding and stop at a particular time. Note this code and input it back into the Rushmore computer. For example, if the clock shows 2:35, the code you must enter at the Rushmore computer is 0235.
Do note that you must enter the code in the same round where you started this step, if you accidentally progress a round, you will have to restart.
Step #4: Escort the Nova 6 Crawler
Now head back to the Operations and interact with Rushmore. This will cause a red Nova 6 Crawler to spawn somewhere in the Bunker. Escort it to the Transfusion Facility until it climbs over a barrier and leaves.
If the crawler dies somehow, wait a round for it to spawn again. After doing so, return to Operations and interact with Rushmore.
Step #5: Get the 115 canister from Marlton
Head to the Storage Room activate A.D.A.M and release him. Now with him following you head to the hallway that lies between Green House Backyard and the Diner. Note that you can only use A.D.A.M for free the first time. After that, it will cost you 3000 points to activate him.
Now look for a metal door and melee it to get a response from Marlton. Upon learning that A.D.A.M is with you, Marlton will give you a 115 Canister. Place this canister on the shelf in the Transfusion Facility and then head back to Rushmore in the Operations area.
Step #6: Deliver the core to Operations
This part of the Alpha Omega easter egg is split into three portions for Black Ops 4 Zombies. You need to first build the Telepad Amplifiers, charge them, and then deliver them to the core.
Build the Telepad Amplifiers
You need three parts to build a signal amplifier for the Telepads. These parts can be found at the following locations on the map:
- Part 1: The green-colored house
- Part 2: Transfusion Facility.
- Part 3: Generators room.
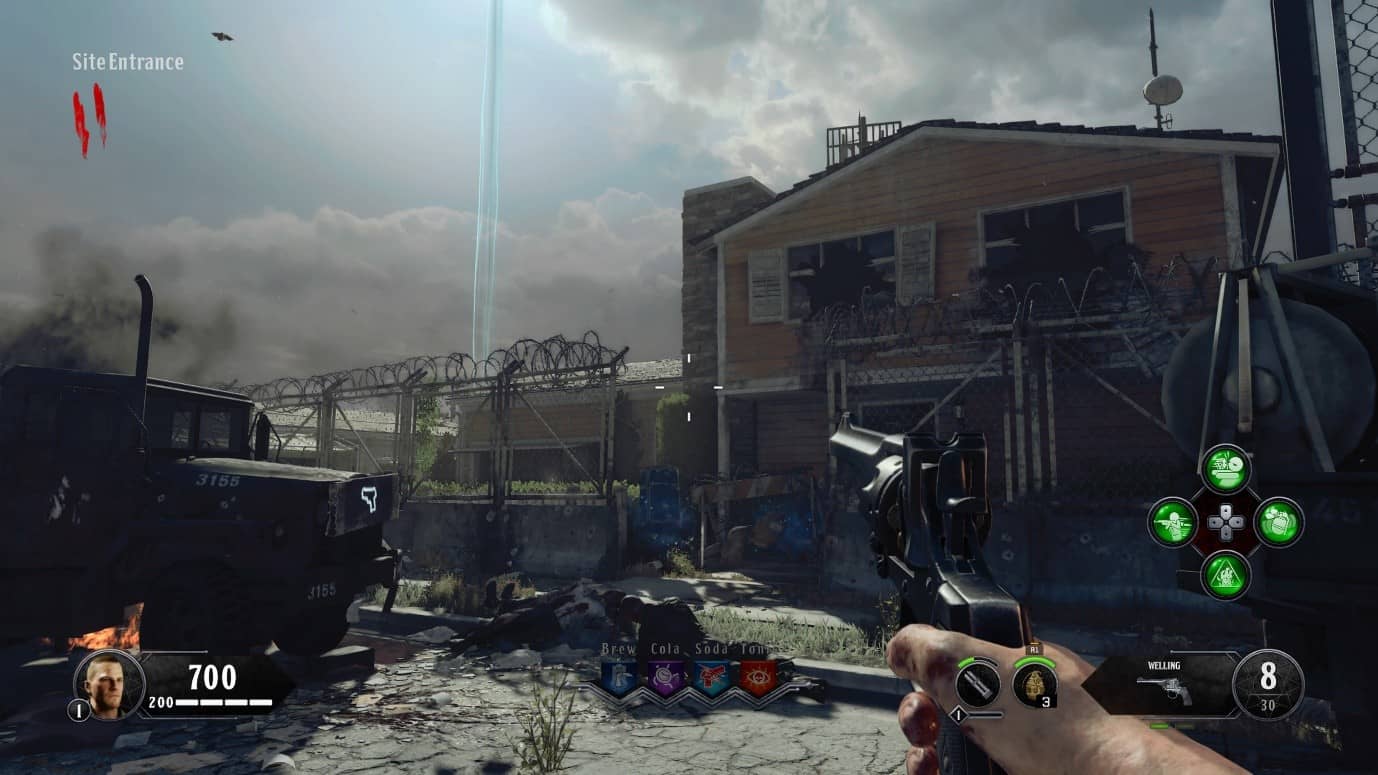
Once you have obtained the 3 parts, head to any workbench to build the amplifier and place the Telepad Amplifiers on the Power House Telepad and the Site Entrance Telepad.
Charge the Core
You now have to take the Power Core from the Power House and place it in the empty slot over in the Operations room. You can do this by having an electric crawler charge an attack toward this core.
Deliver the Core
Take the charged core and deliver it to the Operations before the timer reaches 00:00. The best way to do it is via portals through the two places you placed the amplifiers.
Step #7: Get the codes from the paintings
Now there should be 3 paintings in the Bunker with green smoke coming out of them. Two of these paintings are situated in the beds and lounge, and the third one is located upstairs in the green house.
Knock them down by luring a Brain Rot zombie near it and shoot it down with a Pack-a-Punch weapon that has Brain Rot ammo. Note down the four-digit codes for each of the three paintings and then rush back to input them into the Rushmore computer.
Step #8: Re-activate the power
Interact with Rushmore computer and wait for it to finish the monologue. The power will go out and you need to find six power switches and interact with them Look for these at the following locations and make sure they are in the following order
- Storage – down
- Generator – up
- Solitary – down
- Beds – up
- Diner – up
- Lounge – down
Step #9: Collect Mannequin parts
For the next step in the Alpha Omega Easter Egg, look for a mannequin with a blue glow coming out of its chest. Once all members of your squad interact with it, a mini-challenge is triggered where you have to defend against a wave of zombies in Black Ops 4.
At the end of it, a part of the mannequin breaks and you have to collect it. Look for other mannequins with the same blue glow effect around the map and repeat the process so that at the end of the challenges, you’ll have two arms and the head of the mannequin.
Head back to the APD Interrogation room and look for a mannequin with missing arms and head sitting in a chair. Interact with him to place the missing parts. This will also give you a bit of the lore of the Alpha Omega map.
Head back to Rushmore to begin your search for a blue Elemental Orb across the map. You can find it by listening for a unique audio cue it makes when you are close to it or spot it by its blue glow. Once you’ve found it, escort it to the newly revived mannequin in the APD Interrogation room.
Head back to the Operations one final time to interact with Rushmore. then go down to the APD Control room. Interact with the computers to activate the APD release sequence.
Now you will have to kill the rushing mannequins to fill up the soul canister. Once the canister is full, go to the door of the APD and unleash the final boss.
Step #10: Defeat the final boss
As for the boss fight, it’s not particularly a hard one. Before you can fight Avogadro, avoid it and navigate the Bunker region to find 4 empty canisters in the Beds, Storage, Diner, and Lounge areas.
Interact with them to fill them with souls. Do note that all players will need to interact with a single canister and then move forward for the rest. While doing this Avogadro will be constantly chasing you and trying to zap you with electricity.
Do your best to avoid Avogadro during this task or if you can dodge in time simply turn around if you have a shield equipped so that the shield can absorb the charge. Do this until you have collected all 4 soul canisters. Note that the Boss will get more aggressive with each canister.
Head back to the APD room and start shooting Avogadro or better yet, melee him with the Galvaknuckles to push him back to the base of the staircase. This will cause him to be sucked back into the APD door.
Once you’ve managed to push the boss into the door, the fight will conclude and your team can step inside the chamber to claim the reward, an Elemental Shard. This will complete the Alpha Omega Easter Egg and you will now receive a notification for a new Black Ops 4 Zombies achievement you just earned.