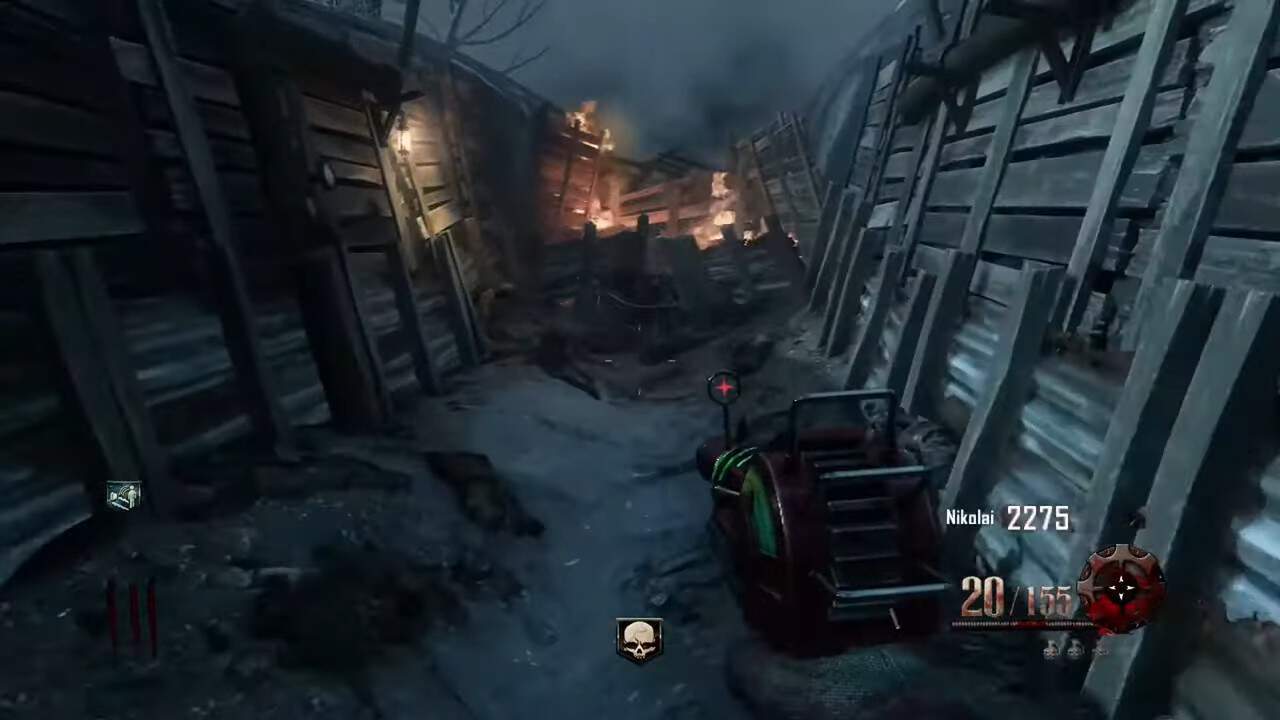
Origins also known as Dig Site or Excavation Site 64, is a Zombies map in Call of Duty Black Ops 2 and Black Ops 3. It is set in Northern France and continues the long-running story of Maxis as the players assume the roles of the core four characters; Tank, Nikolai, Takeo, and Richtofen once again.
On this map, players are tasked with finding and recovering Samantha from Argartha. In true COD Zombies fashion, doing so requires solving the main Easter eggs which feature a multitude of steps. In this guide, we’ll go over how to complete the Little Lost Girl Easter Egg in Origins.
Origins Little Lost Girl Easter Egg Walkthrough

Origins is chronologically the first Zombies story as it takes place in 1914. To finish the Easter egg, you’ll have to unlock all the components of the map and most of them, including the excavation site can be unlocked with in-game points. However, an area inside the excavation site can only be opened by using the Gramophone. The map above gives you a general understanding of the layout of Origins.
Once you free Samantha, you’ll unlock the Little Lost Girl achievement/trophy in Black Ops 2 Origins.
Step 1 – Turn on the power and acquire the staves
To start, you need to first turn on the generators. This step is fairly straightforward but if you’re struggling, Go through our ‘How to Activate All Generators’ guide to learn more.
Next, you need to build the staves of power. Not only do these weapons work at greatly controlling large hordes of zombies but they’re also required to proceed to the next step of the Easter egg.
To do this, you must first locate the gramophone. It can be found near a table at the excavation site. Then you will have to find a record for the Gramophone to unlock the area of the excavation to continue with the mission.
There is a total of four staves, each representing a different element; fire, ice, wind, and lightning. You must locate their respective parts to build them. Once you’ve done so, upgrade them to the ultimate staff.
Step 2 – Complete Staff Challenges
Make your way to the ancient chamber for the second step. Here, you need to complete four challenges/riddles associated with the different elements of the staves. They are as follows:
| Puzzle | Objective |
| Lightning Puzzle | For the Lightning Puzzle, you need to hit targets on the firing range in a certain pattern. The order is: 1-3-6, 3-5-7 and 2-4-6 |
| Ice Puzzle | For the second puzzle, you simply have to rearrange a couple of stone tablets. Try different combinations until the puzzle concludes. |
| Wind Puzzle | Like the previous puzzle, you have to rearrange symbols on the ceiling until they’re in the correct order |
| Fire Puzzle | For the fourth and final puzzle, you simply need to defeat hordes of the undead with the fire staff while standing in the ring of fire in the middle of the room. Once you’ve killed the required number of zombies, the puzzle will end. |
There is a total of two challenges per elemental staff, and you need to complete all of them to build the ultimate staff. One of each task takes place in the Chamber of the Ancients while the second one takes place on the normal map. Normal map tasks become available once you’ve completed tasks in the Chamber of the Ancients.
Once the staves are upgraded, your next course of action is to take them to specific locations and place them there. These areas are as follows:
| Staff | Locations |
| Lightning Staff | Head of the Thor robot |
| Wind Staff | Head of the Odin robot |
| Ice Staff | Head of the Freya robot |
| Fire Staff | Pedestal in the excavation site |
The pedestal for the fire staff only appears once you’ve placed the other three in their respective places. Once you’ve placed the final staff, all four staves will appear on the pedestal towards the back of the area and you can pick them up to use once again.
Step #3 – Build the G-Strike Beacon
For the third step, you need to build the G-Strike Beacon, which is a powerful grenade that makes use of the power of the statues of the three Norse gods. Its main purpose is to break a seal that exists outside the map. To do so, you need to locate two items; Thunder Fists and Stone Slabs. Three Thunder Fists can be found near Odin’s footprint while the fourth and final one is found near Freya’s footprint.
For the stone slabs, make your way to the Tank Station. Pick them up, take them to the church, and deposit them in the white basins full of water. As you kill zombies using Thunder Fists the stone slabs will become purified.
Once they’re purified take them back to where you picked them up and kill more zombies using the fists there until the G-Strike Beacon spawns.
Next, use the trenches to reach the southernmost part of the map where you’ll spot a crashed airplane and a white patch of land. The next step is easier if you play in a party. Have one of your party members enter the robot that appears in this part of the map and press the red button inside it.
Pressing this button replaces the staff pedestal, as soon as the button is pressed, throw the G-Strike beacon on the white patch of land which will break the seal.
Step #4 – Use the Maxis Drone
Next, make use of the Maxis Drone to bring forth a horde of zombies. Your objective here is simple, you simply need to kill the enemies that spawn here and survive their onslaught. You can make use of the fire staff as it proves to be very powerful against the enemies here.
There will be a total of eight enemies. We recommend doing this portion (and the entire Easter egg) with a team as it can be quite overwhelming for one player to take out all of them. This way, each player can focus on two enemies.
Step #5 – Use Zombie Blood
The next step involves the acquisition and use of Zombie blood, which can be found near the flaming carts in the excavation area. You’ll need to make use of the Ice staff to get it. It is important to note that you can only pick up one per round. Once you’ve collected a couple of bags, make use of the zombie blood to locate an airplane circling the skies. Bring it down by any means necessary.
Once you bring the plane down, make your way back to the excavation site where you’ll find an invisible zombie. Make use of Zombie blood once again to reveal it. it is important that you get to him you must kill him quickly. If he gets away the entire ordeal becomes much more difficult. The fire staff is extremely potent against this enemy. Once you kill the zombie, it will drop the Maxis Drone which you can then pick up.
Step #6 – Upgrade the Iron Fists
For the sixth step, you simply need to make your way down to the excavation site, where the staff pedestal is, and kill zombies using the Thunder Fists. Here, you need to pick up the Iron Fists power-up.
The more zombies you kill, the higher the chance of them dropping this item becomes. You only require one to upgrade the fists, but if you’re playing with a party, each member will require a single Iron Fist power-up (for a total of four)
Step #7 – Free Samantha
Now make your way back to the ancient chamber and place all the staves into their specific pedestals. A blue circle will then appear. Make your way to the center of the blue circle and start killing zombies.
As you kill the zombies, their souls get transported to the roof. Once you kill enough zombies in the area, Samantha will be freed and a portal will appear above you.
If you wish to end your run here, simply release the Maxis Drone into the portal. This will bring forth a ray of light that you and your teammates can use to exit the map, however, if you wish to continue and go on to higher rounds come back and release the drone once you’re ready to go.
As soon as the portal opens, you’ll unlock the Little Lost Girl achievement/trophy. When you release the drone, the game will end with a cutscene.