Although optional, CyberDeck Upgrades can significantly tweak your character and improve your odds in the cyberpunk world of The Ascent. That’s why we have our guide below, which takes a dig into the locations of all CyberDeck Upgrades in The Ascent.
The Ascent CyberDeck Upgrade Locations
So, why should you care about upgrading your CyberDeck? Well, CyberDeck is basically what enables you to hack a variety of objects in The Ascent.
An upgraded CyberDeck means that you can hack more items, such as ICE locks, ATMs, and Vending Machines, etc. Also, remember that the hackable objects can sometimes be color-coded in Yellow.
When you create your character, you start with the TA Lifestyle CyberDeck Upgrade. To max out your CyberDeck, you’ll require nine more upgrades.
However, there are a total of 11 CyberDeck Upgrades that we have come across so far. We have detailed the location of every one of them below!
The CyberDeck Upgrades below are listed from worst to best.
CyberDeck Upgrade # 1 (City Kicker) – Cluster 13
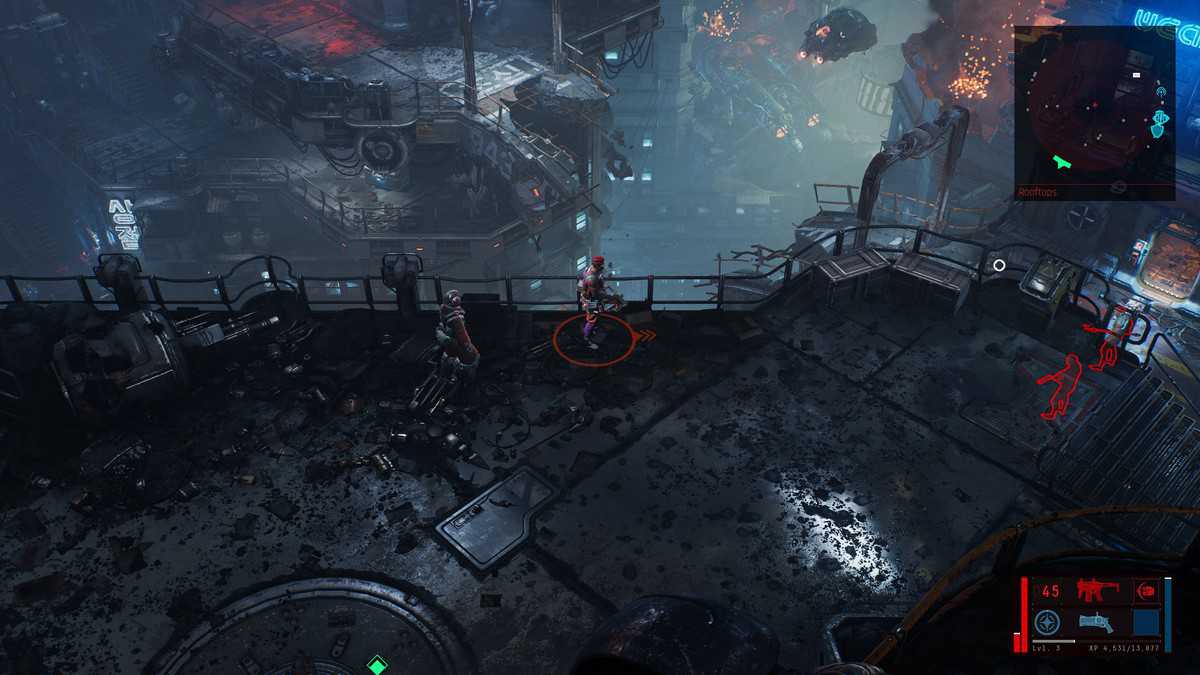
When you arrive at Cluster 13 at the start of the game, head to the upper-left part of the rooftop near the Armor Vendor. The desired update will be sitting in a chest at the edge of the balcony.
CyberDeck Upgrade # 2 (Peacemaker CD) – No Man’s Land
In the No Man’s Land, when you’re on your way to the Grinder, you will come across a small room with a crafting component inside.
Exit this room and ascend the small staircase outside. The stairs will lead you to a platform with a chest sitting on it, containing the desired upgrade.
CyberDeck Upgrade # 3 (Icepick) – Coder’s Cove
During the third main mission, “Trading Places”, you will be able to find this CyberDeck upgrade the first time you enter Coder’s Cove.
There, in the doorway behind nogHead’s room, you’ll find it emanating a gold glow.
CyberDeck Upgrade # 4 (Plug) – AG Vault
During the fifth main mission, you’ll enter dNexus, and eventually, for a mission objective, you’ll end up in AG Vault.
Proceed inside the AG Vault, and you’ll soon come across the gold-glowing Cyberdeck upgrade.
CyberDeck Upgrade # 5 (Visitor) – Cosmodrome
During the sixth main mission, “Foreign Code”, you’ll be sent to Cosmodrome.
Go through the C6 Door and head northeast. Eliminate all the enemies on your way and hack your way to the Visitor upgrade, sitting in a red chest.
CyberDeck Upgrade # 6 (Manta D) – Lanier’s Apartment
During the seventh main mission, Trace Protocol, when you’ll be sent to Lanier’s Apartment.
As required by the mission objective, you’ll enter the computer room where this Cyberdeck upgrade will be sitting in a corner.
CyberDeck Upgrade # 7 (Diva) – exMat Lab
In the later part of the Trace Protocol main mission, you’ll also be sent to the exMat Lab in RezDev.
Battle and hack your way to proceed in the lab. You’ll find the upgrade in the room located at the far north-eastern side of the lab.
CyberDeck Upgrade # 8 (The Arcade) – CorpZone
In the Archology: HighStreet, go to the street marked with a Y8 in the CorpZone. There, you’ll find this upgrade in an Ice 1 chest.
CyberDeck Upgrade # 9 (Ghost of Veles) – The Glut
In the Archology: HighStreet, head to the Gut, the place where you naturally come during the Prison Break side mission.
Anyhow, proceed in the north-eastern direction and battle your way to this upgrade.
CyberDeck Upgrade # 10 – Arcology: Pinnacle
You will be granted access to this Archology in the eighth main mission, “Syntax Error”.
Keep proceeding forward until you have reached the north-eastern edge of the area, where you’ll be able to grab this upgrade.
CyberDeck Upgrade # 11 – Nitroad
This upgrade requires you have access to Arcology: The Warrens.
To acquire this upgrade, you’ll need to battle your way to the room labeled as Storage 168. Once there, open up the red chest to the CyberDeck upgrade.
Note that you must be able to hack Ice 2 chests and Ice 2 doors to be able to get your hands on this chest.
