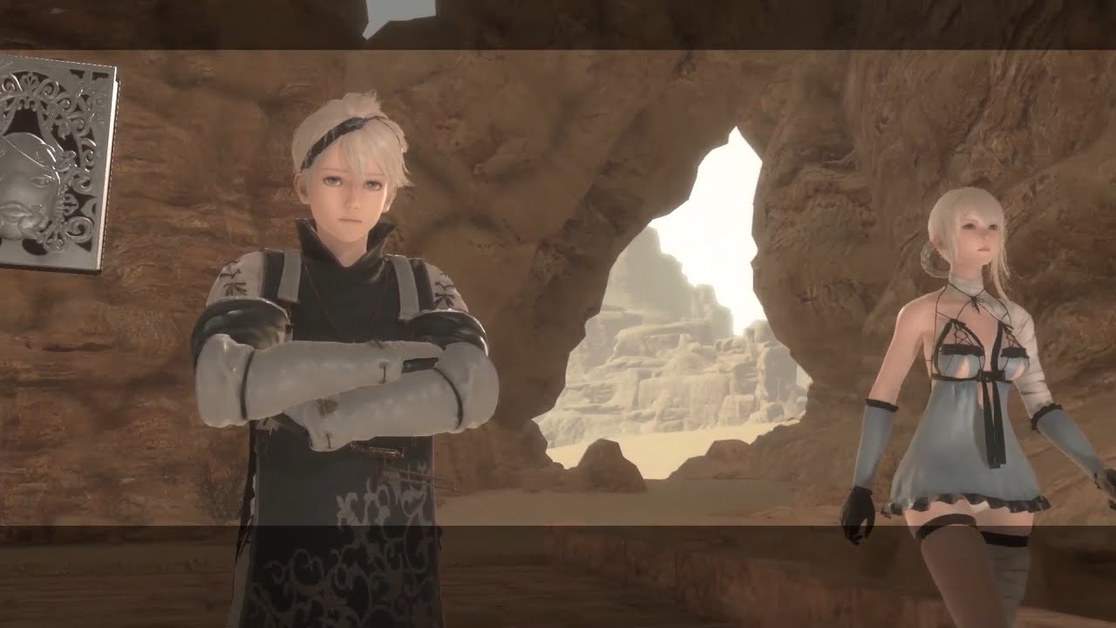
NieR Replicant Remaster is finally available, with loads of new content, complete voiceovers, and huge graphical improvements. As such, a lot of new players will be getting into the game. We have prepared this NieR Replicant Act 1 The Barren Temple Walkthrough of Route A in the game to help out.
NieR Replicant Act 1 The Barren Temple
Starting off from the Village that is home to NieR, we will help you complete all the trials that await you in the temple during Route A of NieR Replicant remake. All your main objectives will be marked by a cross (X), so if you ever get lost, just follow it.
First Trial
From where you start, take stairs down, and go through the door to your east. Here you will begin your first Trial.
The main objective of the Trial is to reach the glowing cube at the end without jumping. The light cubes will fire at you, use the black cubes for cover, move them accordingly to support you. Destroy the glowing cube to finish the Trial.
Second Trial
After finishing the first trial, enter through the door on the west side this time. The second Trial will begin after a short cutscene plays.
This Trial’s main objective is simple: Don’t stand still; as soon as the Trial begins, start running and don’t stop for anything. Make a dash for the glowing cube at the end of the room, avoid shooting projectiles but never stop. Destroy the cube to finish the Trial.
Don’t go back to the hall; instead, use the door on the west side of the room to enter the next area. The view will shift to that of a 2-D scroller. Double-jump your way across the cubes and progress to the next door.
Third Trial
Entering through begins the subsequent Trial. Here you can’t use Magic or Run while the Trial is in progression. You have to cross over to the other side of the glowing cube.
To do this, you have to cross the cubes that fire projectiles at you. You have to move along from cover to cover in the brief moment they stop firing at you.
After destroying the cube exit using the door on the east side. Wait till you enter another hallway, and go through the door immediately to your east.
Fourth Trial
This begins the 4th Trial. The rule for this one is that you can’t defend. To reach the glowing cube, you can either push a black cube forward to give you cover, or run to the column of cubes firing at you, climb up for a safe route to the glowing cube. Destroy it, and head back out in the hall to take the door to the west for the next Trial.
Sixth Trial
In the Sixth Trial, you can’t use melee attacks. Make use of your Dark Blast or Dark Lance to destroy the multiple glowing cubes while avoiding the cubes being fired at you. When done, exit through the western door.
Before you enter the next door over, make sure to collect the iron ore from the harvest point, then enter the door on the other side and be prepared to face the final Trial.
Seventh Trial
For the seventh and final Trial, you have to quickly kill all the shades that appear without evading. Make effective use of your magic and melee attacks, so that they don’t get the chance to attack you. In the end, a large shade appears.
This one will be similar to the others, just stronger. Once finished, move out through the door on the east side and move towards the open area.
Cross the stone bridge that goes out to the west side. On the other side, there will be a crystal harvest point that you can use. Use the door at the end of the path that you are on.
There’s a safe point on your left if you want to use it (it is advised you save as a boss fight is coming up). After finishing up, move forward through the corridor right infront of you and prepare to face your first boss, Shahriyar.
Shahriyar Boss Fight
There are many forms that Shahriyar takes during the fight. All of those have one thing in common, to damage the boss, you need to hit the Red cubes that appear after it is finished attacking you. It attacks you with projectiles, and you can either dodge or guard against them.
When Shahriyar finally turns into a giant humanoid made of blocks, wait for it to slam its arm on the ground, dodge the attack, and attack the red cubes that appear on the arm.
In the end, Shahriyar will start shooting rotating lasers, and you have to avoid getting hit while also shooting the glowing red cubes to keep depleting its health. When the attack prompt appears, charge Dark Lance to finish off Shahriyar. And you will have ended the first Act.
Facade – Desert – Eastern Road (Rewards)
Talk to the Prince of Facade to get Rebirth (a one-handed sword), talking to him again and leaving triggers a cutscene at the end of which you get Dark Wall (Sealed Verse).
Talking to Royal Advisor outside the manor will give you access to the sand wells, which are fast travel points spread all over the Desert. Talking to the guard will net you the sandstorm compass.
To exit Facade, board the sand boat at the entrance and go through the Desert. The Eastern Road is towards the northeast.
