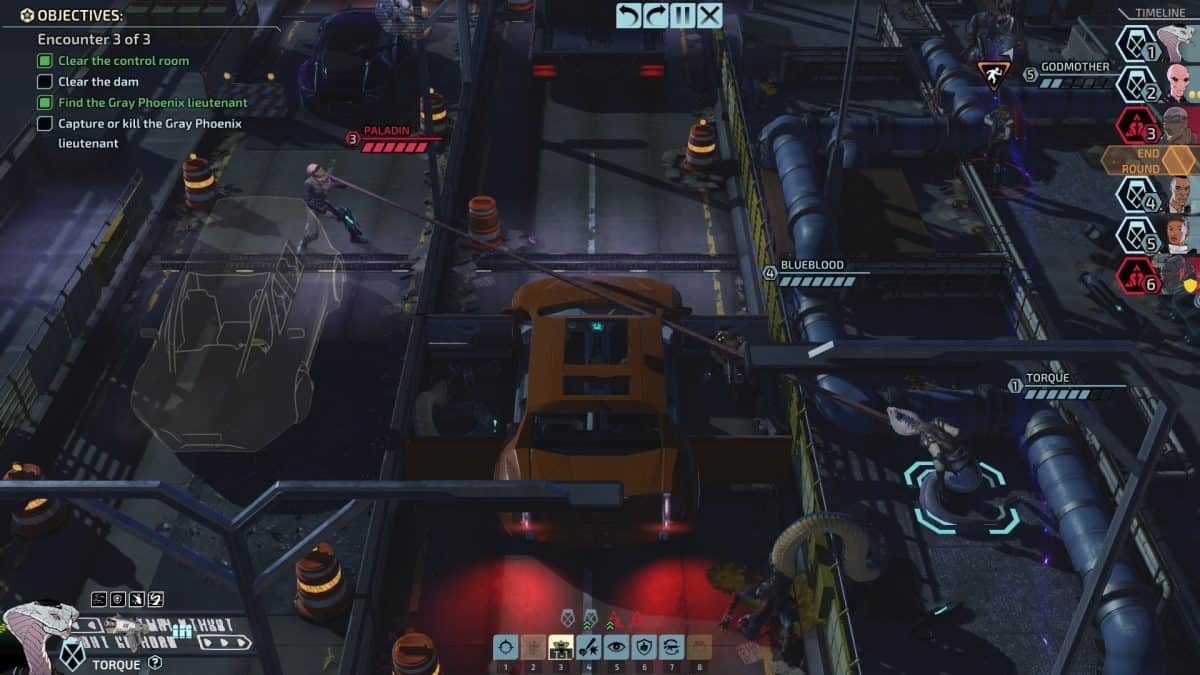
As you track the activity of the Progeny through the Angler’s Point in XCOM Chimera Squad, you must stop them from their heinous activities that may risk the lives of people of City 31. Here we will take you through the XCOM Chimera Squad Track Progeny Teams mission.
After gathering enough intel, you find out the location of the Progeny Stronghold in Angler’s Point; and therefore, must infiltrate, recover and extract.
We have made this guide with a list of all the buffs and debuffs you will be receiving going through each door so you can make a more educated decision as to which agents you need to include in your roster before proceeding with the mission in XCOM Chimera Squad.
XCOM Chimera Squad Track Progeny Teams
Complete any missions and situations available by Angler’s Point which will help you gather some key information regarding the hidden operation going around those parts.
You will have only a total of 5 days to complete the operation.
Once you finally got the missions down and you got “Infiltrate Progeny Stronghold” in Angler’s Point, you’re ready for your showdown with the Progeny.
First Encounter
There will be three entrances present prior to your first encounter which applies the following effects according to their descriptions,
- Secure Entrance – Less aggressive enemies.
- Quick Snare – First unit entering will be rooted for one round.
- Low Visibility – Less accuracy, resulting in greater chances to miss enemies while shooting initially.
Breach in, clear up; the encounter isn’t that hard and you should be wiping the floor with your enemies in no time.
Second Encounter
For the second encounter you will have only one entrance to go through which has the following effect,
- Reflex Boost – All units will gain +25 Defense for one round only.
If you plan your moves just right, you won’t have to lose too much of your HP in order to move through; make sure to get all the intel in this area if you want to, it’s entirely optional should you want to leave it behind.
Third Encounter
The third encounter will give you the options to go through three different entrances that give you,
- Overwatch – All units going through this door will gain Overwatch.
- Explosive Entrance – Blow through the wall.
- Quick Disable – First unit through will have their weapon disabled.
Clear the room and grab the Prototype Psi Amp and proceed to extract your whole squad out of the area and complete the mission.
