The Surge 2 is out and one of the features in it is the ability to craft character builds for yourself that can augment your abilities and overall further your capabilities in dealing with the various challenges present in this game.
The Surge 2 builds can be quite intricate and therefore require meticulous planning and tweaking to get right; this is due to the existence of partial Set Bonuses and the amount of Implants (and how varied these implants can be).
The Surge 2 Builds
Our Builds guide will help you in crafting a few builds that are more than likely to help you in many situations.
1. Who’s the Boss Now
This is a build that’s designed for battles against Bosses (although it’s pretty handy against grunts as well). To put it simply, this is a build that’s designed to utilize both defense and offense.
The core concept is that you use Directional Block to stop and stagger an enemy, gain buffs by doing so, and then use those buffs to deal as much damage as possible to the downed enemy.
The dodging mechanics in this game are a little hard to master (especially difficult when up against bosses); whereas blocking is far more easy.
Therefore, you’re more likely to stagger your enemy than to dodge them, and the ability to do tremendous damage after blocking them is the perfect way to capitalize on it.
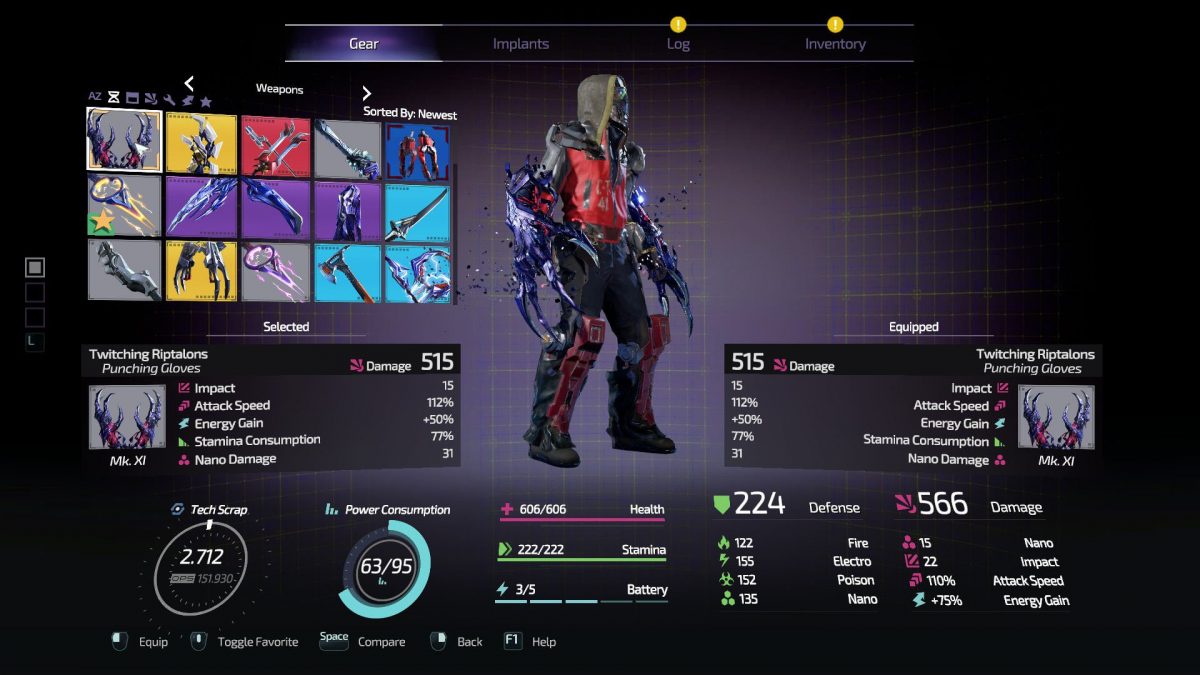
Weapons Due to the buffs granted by this build, it isn’t important which weapon you choose, all have the potential to do exponential damage. However, one thing to note is that there is a timing difference in the Directional Block when using different weapons; it’s dependent on whether the weapon you use is slower or not.
Therefore, it’s advisable to learn the timing for whatever weapon you choose. For example, the weapons in the Punching Gloves category are much faster, therefore you’ll block faster with those equipped (they’ll also use up less stamina).
To reiterate, it doesn’t matter which weapons you choose as long as you have the timing down, but if you’re having trouble, go for the weapons that are quicker to use.
Armor One thing the Bosses tend to do is inflect Elemental Damage – something that can be quite vexing; Nano Affliction is the most problematic. Because of this, it is recommended that you get the Liquidator Set as it protects you from such status effects and afflictions (especially useful against Nano Affliction). The set is very light, meaning you’ll still take a bit of damage against brute hits; if you’re not too worried about elemental damage, then a Goliath Class Armor would also work for you.
Another option is the Nano Ward Set (something that will supplement your Directional Block) but the Nano Explosion triggered by it is pretty much useless. Another alternative is the SCARAB Set (you won’t get this until later in the game, so best stick to the Liquidator Set till then) due to the defensive bonuses granted by it.
Implants This is where things get interesting; implants are what make this whole build tick. The implants in this build only get more effective as you progress deeper into the game, and many (if not all) of these builds are ancillary to the directional blocking. The following are the implants you’ll want for this build:
-
- Deflection Supercharger: You’ll get this much later in the game but do make sure to make it part of your build as it grants you +30% Damage and +25% Energy.
- Battery Adrenalizer: This is useful as you use up a great deal of Stamina when blocking, and this implant will increase your stamina recovery every time you fill up a battery.
- Nano Absorber: Certain bosses cause a lot of Nano to build up, which can be a huge problem, but not with this implant.
- Deflection Hardener: For a short period of time, you’re given a defense and elemental defense boost, something absolutely necessary when fighting bosses.
- Dynamic Redirector: This one will assist you when you screw up a block; every time you’re struck, you’ll gain 30 energy.
- Deflection Energy Convertor: Every time you deflect, you gain 25 energy.
- Deflection Damage Enhancer: Every time you deflect, your damage is increased by 10% (costs 3 Core Power though).
- Medi-Voltaic Injection: This is an injectable you definitely want to upgrade as much as possible; it’ll allow you to stack up heals, which will be very useful in situations where you’ll be taking a lot of damage.
Extra Tips You want your Battery Efficiency to be as effective as possible as it’ll help you tremendously in healing (you might even recover 100% of your health). Stamina and Health aren’t as important at the beginning, but after a while, spend some points on them as well.
Change into a more offensive armor set when fighting grunts (stick with the defensive set when up against bosses). Finally, directional blocking and deflection can be a little tricky to get a grasp off, but keep practicing and you’ll get the hang of it.
2. Elemental Mage
This build capitalizes on your elemental prowess, granting you ethereal powers that will stun and petrify all who dare oppose you. With increased Electro Damage, you will stun your enemies while simultaneously inflecting them with Nano Damage.
Keeping up such a barrage of attacks will chew through the enemy’s health; in other words, as long as you stay on the offensive and keep the attack going, you’ll have no trouble pulverizing your adversaries.
Weapons The weapons themselves aren’t that important, what is important is that they do Electro Damage. The weapons that would most suit this particular requirement are the weapons present in the Spears and Staff catalogs.
This is due to the fact that they have a larger area of effect, meaning they can hit and stun more enemies than weapons from other categories. However, ultimately, it’s up to you. Pick whatever weapon you’re comfortable with as long as it’s capable of doing Electro Damage.
Armor There are 2 sets that you need to get your hands on for this build: The Chrysalis Set – adds Nano Damage to your attacks – and the Archangel Set – increases your Electro and Nano Damage (attained towards the end of the game). This is the perfect combination to increase both Electro and Nano damage.
Along with this, you should get a headpiece that has no core power, therefore giving you space for more implants; it allows you to any chest piece as well. You’re free to equip whatever chest piece you want, it’s only going to better your build no matter what.
Implants Now, one of the downsides of this build is that many of the implants for it aren’t going to be available to you right off the bat; in fact, you may not gain access to them until much later in the game. With that said, the following are the implants you’ll need for this build:
-
- Elemental Intensifier: Reduces physical damage by -20% but increases Electro Damage by 30%.
- Directional Block Analyzer: This implant lets you see from which direction an enemy attack is coming from; especially useful when up against bosses.
- Entropic Dissolver: Your Nano Damage is boosted by 30%.
- Aggression Amplifier: Allows you to clear a battery and buffs you up every time you execute (while also looting).
- Battery Analyzer: When you fill a battery, your stamina recovery rate is increased.
- Energetic Speed Intensifier: The attack speed for certain weapons categories (namely Spears) is increased.
- Medi-Voltaic Injector: Like for the last build, you’ll need this to recover health as quickly as possible.
- Energy Dynamo: The energy from your attacks is increased.
- Auto-Healing Dynamo: Whenever you fill a battery, some energy and health is granted.
- Super Oxygenating Implant: This one isn’t 100% necessary but this build is likely to drain your stamina quickly, this will help you to keep fighting even when you’re out of stamina.
Extra Tips Your batteries are definitely useful in this build, so make sure to use them as much as possible – don’t worry, they’ll fill quickly and having Battery Efficiency (something you should spend points on) will increase the number of batteries you can fill, meaning you won’t be running out of batteries easily.
Your Implants increase damage dealt against certain enemies while reducing it against others, therefore equip and un-equip depending on the situation.