The Borderlands series has always allowed players to tackle the games with friends or by their lonesome if they so choose. Borderlands 3 improves upon the solo playing feature and provides players all the abilities and resources they need to finish the game on their own, and they’ve done this by expanding on the skills and subsequent abilities found in the skill trees to allow for better builds.
Borderlands 3 Solo Builds
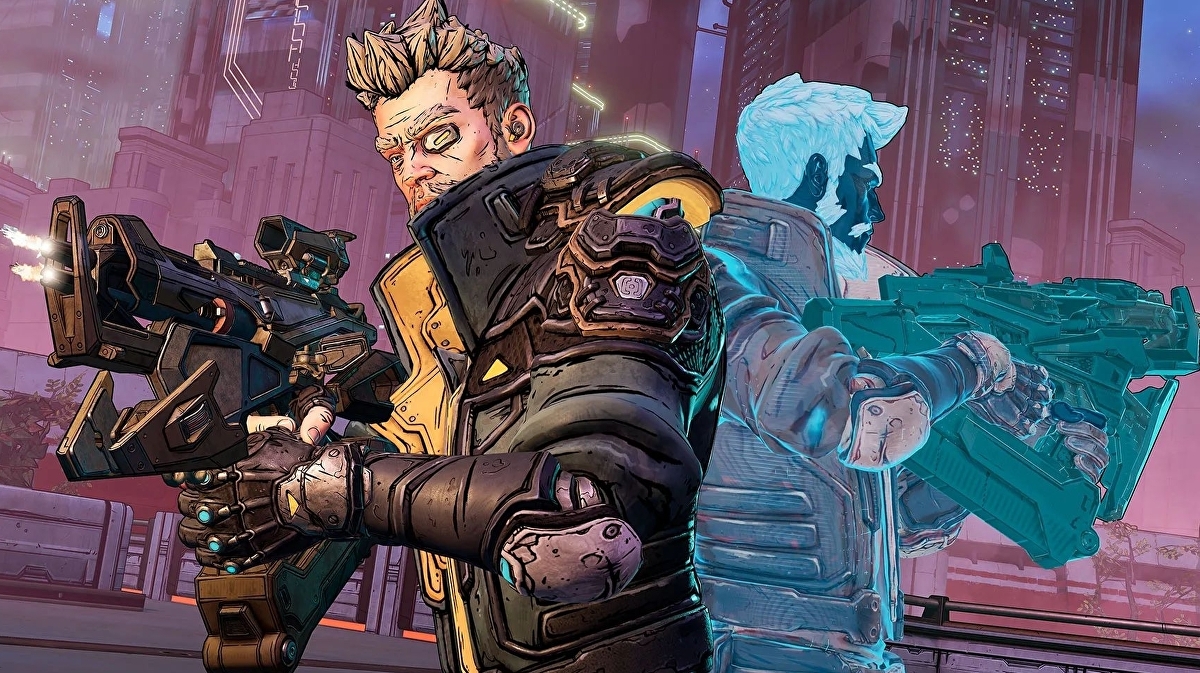
The 4 new Vault Hunters: FL4K, Zane, Moze, and Amara all belong to different classes, in previous installments choosing a particular class would mean that you’re foregoing certain abilities that are necessary when playing solo, not anymore!
Each character is given 3 unique abilities that can be augmented with different skill trees. Essentially, you can adopt 3 different play styles for each character.
This Solo Builds Guide is here to give you a couple of builds for each character, builds I believe will help out anyone daring enough to tackle Borderlands 3 single-handedly!
FL4K – The Beastmaster (The Power of First Aid!)
This particular build is a pretty nifty one, primarily because it pretty much makes sure that you’re almost always in tip-top shape.
With multiple abilities that regenerate health and even increase your max health, you’re pretty much the most unlikely person on the battlefield to get killed.
Alongside that we have the skills of the Master Skill Tree, this provides you and your pet with some much-needed offensive stats.
Increasing Gun Damage and upping your Pet’s attack power, this build creates the perfect soldier, capable of both extreme offense and defense. This is an insanely strong build, you could even call it a tank build.
The best weapon that compliments this would be one that already has high damage, we want it supplemented with these abilities. Perhaps a shotgun would work.
Master
- Ferocity (3)
- Persistence Hunter (3)
- Who Rescued Who (5)
- Frenzy (5)
- Psycho Head on a Stick (1)
- Hive Mind (3)
- Mutated Defense (1)
- Pack Tactics (3)
- Shared Spirit (1)
- Dominance (1)
Stalker (Gunslinger Jabber)
- Self-Repairing System (5)
- All My BFF’s (5)
- Eager to Impress (3)
- Lick the Wounds (1)
- Turn Tail and Run (3)
- Hidden Machine (3)
- Rage and Recover (2)
FL4K – The Beastmaster (Like a Hunter in the Night)
This is a Stalker build for FL4K, one that’s designed to simultaneously heal you and raise your attack power!
This is further augmented with the few Master Skills you’ll have equipped; this will give you just that extra bit of edge against your opponent.
I’d recommend getting the Atlas because, with the amount of raised Gun Damage you have with this build, I’d want a weapon that fires as rapidly as possible!
Stalker (Gunslinger Jabber)
- Self-Repairing System (5)
- Sic’em (3)
- Furious Attack (5)
- Overclocked (5)
- Lick the Wounds (1)
- Turn Tail and Run (3)
- The Fast and the Furryous (3)
- Hidden Machine (5)
- The Power Inside (1)
- Eager to Impress (5)
- Rage and Recover (5)
Master
- Persistence Hunter (3)
- Ferocity (4)
Zane – The Operative (One Grenade Ain’t Enough)
This build is all about increasing your survivability chances and making you a juggernaut on the battlefield.
Your skills as a Hitman (assisted by an SNTNL) will increase Gun Damage, Weapon Speed, and Fire Rate, all the while providing you with grenades – grenades galore!
But you’ll also have access to several Kill Skills that will be augmented by Death Follows Close.
On the flip side, you’ll have your abilities as a Doubled Agent. With a clone, you’ll be able to get out of life or death situations, share your primary weapon with it, and have increased gun damage due to his help.
All the while, you’ll have even more grenades! With all those grenades and firepower, this is most assuredly a damage build!
Since you’ll share your primary weapon with your clone thanks to Double Barrel, best to pick a weapon that you’re most comfortable with or pick a weapon that deals the most damage; your choice.
Hitman (SNTNL with Winter’s Drone and Almighty Ordnance)
- Cold Bore (2)
- Violent Momentum (4)
- Cool Hand (2)
- Drone Delivery (1)
- Salvation (5)
- Death Follows Close (1)
- Violent Violence (2)
- Playing Dirty (3)
- Good Misfortune (1)
Double Agent (Digi-Clone With Schadenfreude and Digital Distribution)
- Synchronicity (1)
- Borrowed Time (5)
- Donnybrook (5)
- Fractal Frags (1)
- Duct Tape Mod (5)
- Quick Breather (1)
- Pocket Full of Grenades (3)
- Old-U (1)
- Like a Ghost (3)
- BOOM. ENHANCE (1)
- Double Barrel (1)
Zane – The Operative (Shields Up; Drowns Out)
As you can guess by the name, this is an Undercover build and a Hitman build coming together to have a love child.
But wait, there’s a little something extra in the concoction. What is it? Why it’s a modicum of Synchronicity! Because you can’t just hide behind your shield all day and expect your drone to do all the work, you need some firepower, even if just a tiny bit.
You could call this a tank build as it gives you heavy fortification due to all the Undercover abilities which augment your barrier.
And your Hitman abilities will make you a pretty hard target to hit; you’ll most likely be the one person on the battlefield not getting hit even once!
Because the build is more so about defenses and kills skills, there’s not a lot of choices for guns that suit it.
If I had to pick, I’d say that you should go for the Hyperion, giving you even more protection while simultaneously increasing accuracy so you’ll always be able to shoot your targets from behind your proverbial wall.
Undercover (Barrier With Nanites or Some Shite and All-Rounder)
- Adrenaline (5)
- Hearty Stock (3)
- Ready for Action (5)
- Stiff Upper Lip (3)
- Confident Confidence (1)
- Really Expensive Jacket (1)
- Futility Belt (1)
Hitman (SNTNL With Static Field and Almighty Ordnance)
- Cold Bore (5)
- Violent Momentum (5)
- Cool Hand (5)
- Drone Delivery (1)
- Violent Violence (5)
- Death Follows Close (1)
- Good Misfortune (3)
- Seein’ Red (1)
Double Agent
Synchronicity (3)
Moze (Munition Haven)
You’re a Gunner, alright, what’s the one thing a gunner can’t be without? Okay, guns, yeah – what are the TWO things a gunner can’t be without? Guns AND ammunition!
Don’t worry, weary traveler, as this bottomless mag build will give you all the ammunition you’ll ever need, courtesy of the Bottomless Mags skill tree that provides you with all that you need and more!
Of course, that won’t be all, as you’ll also have your precious Iron Bear there to help you out. And if that’s not enough, you might even be firing FIRE rounds. Yeah, I think this build will do just nicely.
As far as weapons go, Vladof has the trade-off of running out of ammo too quickly; that’s rectified now!
Bottomless Mags (Salamander, Molten Roar and Fuel Economy)
- Cloud of Lead (5)
- Stoke the Embers (3)
- Redistribution (1)
- Scrappy (2)
- Rushin’ Offensive (1)
- Scorching RPM’s (5)
- The Iron Bank (3)
- Specialist Bear (1)
- Some for the Road (1)
- Click, Click (3)
- Forge (1)
Demolition Woman
- Fire in the Skag Den (5)
- Means of Destruction (3)
- Stainless Steel Bear (2)
- Auto Bear (1)
Shield of Retribution
- Security Bear (1)
- Armored Infantry (4)
- Vladof Ingenuity (5)
- Experimental Munition (1)
Moze – Papa Bear Is Unhappy
We really should not gloss over the fact that Moze has at her disposal a mecha bear! So we should probably have a build that exploits that fact and makes the bear a juggernaut on the battlefield, while also making Moze as deadly as her mech.
This build, primarily a Bottomless Mags build, borrows a bit from all 3 skill trees.
However, this isn’t damage focused build, more so a defense build as it reinforces Iron Bear and Moze’s shields; not to say that you don’t have any firepower on your side – you’re a freaking gunner.
Of course, you’re gonna have firepower! And all that firepower stems from the Bottomless Mags Skill tree (most of it stemming from the Salamander Action Skill).
Bottomless Mags (Salamander With Fuel Economy)
- Cloud of Lead (5)
- Stoke the Embers (3)
- Redistribution (1)
- Scrappy (1)
- Rushin’ Offensive (1)
- Scorching RPM’s (5)
- Iron Bank (5)
- Specialist Bear (1)
- Click, Click (3)
- Forge (1)
Demolition Woman
- Deadlines (3)
- Grizzled (2)
- Stainless Steel Bear (5)
- Auto Bear (1)
Shield of Retribution
- Security Bear (1)
- Armored Infantry (4)
- Vladof Ingenuity (5)
- Full Can of Whoop-Ass (1)
Well, since you have Vladof Ingenuity, and the perks needed to keep the ammo coming, I see no reason not to have this weapon set as your primary.
Amara (A Siren’s Wrath)
Amara’s the most difficult to recommend playing Solo as she doesn’t have anything that would stand out, neither does she have any allies to help her and also has a long cooldown ability.
However, this build will make do as it enhances your survivability while also maximizing damage dealt.
This Assault build is meant to increase her Action Skill capabilities, stack Rushes, and enhance a bit of elemental damage.
This is taken a step further with her Deliverance action skill which will deal a great deal of damage on all enemies.
On the Brawl side of things, you mainly have abilities that are meant to increase your max health and help you regenerate health faster, making you difficult to kill and alleviating any worries you might have with this character.
All of this is then supplemented by the Soul Sap augmentation.
A COV will do nicely as you’ll never have to reload and hold the offensive position. And when it overheats, that’s when you can use your Action Skill – taking out enemies while letting your weapons cooldown.
Brawl
- One with Nature (5)
- Personal Space (3)
- Clarity (5)
- Samsara (3)
Mystical Assault (Deliverance with Soul Sap)
- Do Harm (5)
- Violent Tapestry (5)
- Transcend (3)
- Restless (5)
- Ascendant (1)
- Laid Bare (3)
- Wrath (3)
- Remnant (3)
- Awakening (3)
- Avatar (1)
Amara – One with the Elements
The phrase of the day is ELEMENTAL DAMAGE! That’s right, this right here is an elemental build/damage build, meant to showcase Amara’s various Elemental Effects at her disposal.
But that’s not all, this build also utilizes her Action Skills, which, in this case, is the Ties That Bind, with the action skill element of Soulfire and action skill effect of Allure.
These action skills are then augmented by Ascendant, Restless and Transcend. But we don’t want to leave Amara with just these skills; she also has tons of gun damage thanks to certain Mystical abilities and Personal Space.
A bit of health regeneration courtesy of Clarity just to top everything off.
Since this is such an element centric build, it is fitting that we get the one weapon that buffs the elemental damage further: The Maliwan.
Brawl
- Personal Space (3)
- Clarity (2)
Mystical Assault
- Fast Hands (1)
- Violent Tapestry (5)
- Transcend (3)
- Restless (5)
- Ascendant (1)
- Wrath (2)
Fist of the Elements (Ties That Bind with Soulfire and Allure)
- Anima (5)
- Steady Hands (1)
- Tempest (5)
- Illuminated Fist (1)
- Wildfire (3)
- Dread (1)
- Indiscriminate (3)
- Deep Well (1)
- Conflux (5)
- Forceful Expression (1)
