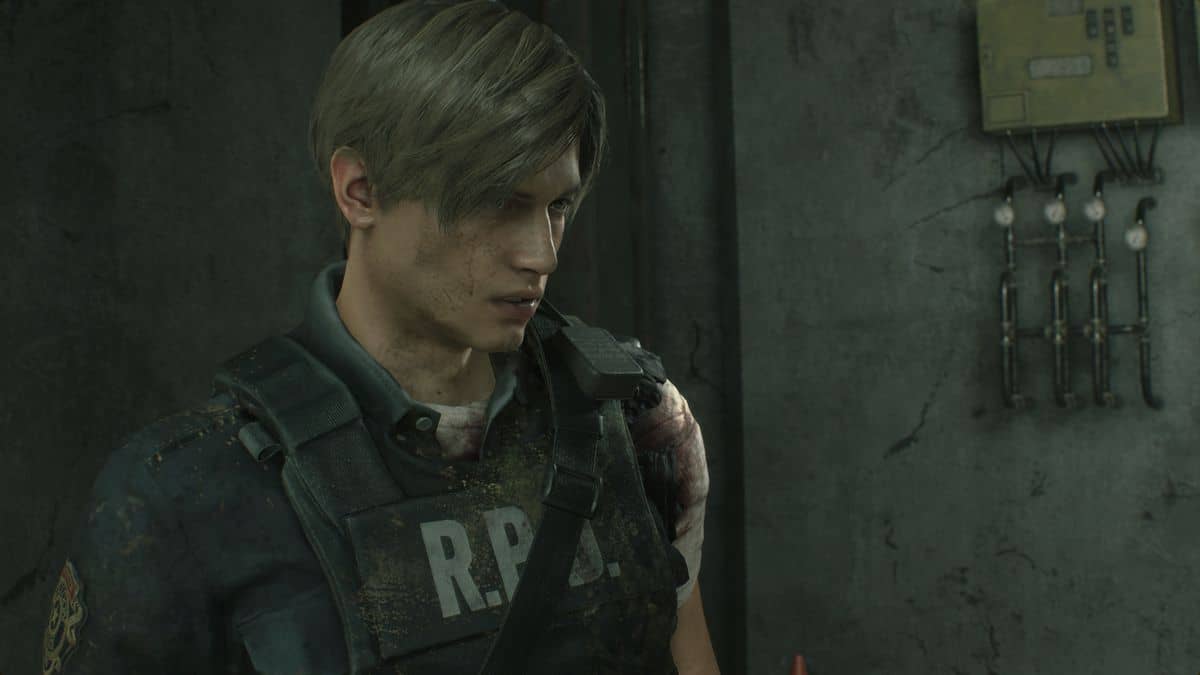
Amidst the chaos of spreading infection and the need to constantly be on the toes for dealing with the undead in Capcom’s Resident Evil 2 Remake, there’s a detailed world to explore with intricately hidden secrets behind combination codes.
Although its fun to explore and find the clues oneself, this may not be everyone’s cup of tea, so for those rushing the game or focusing purely on the action aspect, we’ve provided locker combinations and safe codes in Resident Evil 2.
Locker Combinations, Safe Codes, and Solutions
In your travels to find a solution to the current state of the world, you’ll find many puzzles on a smaller scale where you’ll need to input the correct code to unlock the safes, lockers, and other lock mechanisms.
Inside, you can find a variety of items ranging from Weapon Ammunition to provisions and Pouch Upgrades. For unlocking all lockers and safes, the ‘Master of Unlocking’ Trophy/Achievement is obtained as well.
Safe #1
In the West Office on the first floor of the Police Station, you’ll need to input the following combination to unlock the locker:
Left = 9 | Right = 15 | Left = 7
The code itself is acquired via the S.T.A.R.S room on the second floor of the same station. As a reward, you earn the Pouch Upgrade to expand the carrying capacity for Leon or Claire, whoever you were playing the campaign with.
Safe #2
On the second floor of the Police Station, towards the Eastern region. The code is as follows:
Left = 6 | Right = 2 | Left = 11
If you want to obtain the code in the game, it can be found in the Observation Room on the first floor of the station.
As Leon, you’ll earn the Muzzle Break Mod for Matilda Pistol while as Claire, you are rewarded the High Capacity Magazine enhancement for the JMP Hp3.
Safe #3
From the Sewer’s Monitor Room, exit the room and cross the bridge to enter the Treatment Pool Room. Here, you’ll find the safe and the code for it is written in chalk nearby as well. It will be as follows:
Left = 2 | Right = 12 | Left = 8
Playing as Leon, the reward will a Shotgun Stock for W-870 while for Claire instead, you’ll be able to receive the Reinforced Flame for her SLS 60.
Locker #1
In the Men’s Locker Room on the second floor of the Police Station, the code for the locker is CAP. The reward for Claire is some ammunition in the form of Grenade Launcher Flame Rounds while Leon also receives his share, with Shotgun Ammo.
Locker #2
On the third floor of the Police Station, in the second locker nearby the mannequin shadow, the code is DCM. Claire obtains SMG Rounds while Leon acquires Magnum Ammo.
Locker #3
In the Control Room of the Sewers region, input the code SZF to unlock the locker for Magnum Ammo for Leon and SMG Ammo when Claire’s concerned.
Puzzles and their Solutions
RE2 Remake features quite a lot of puzzles that you must solve to progress through the game. Solving these puzzles requires attention to the smallest of details and exploring each nook and cranny of a given area.
In this section of our Resident Evil 2 Remake Guide, we have outlined the basic framework of how to solve each and every puzzle that Resident Evil 2 Remake throws at you. You can also check out our detailed Puzzles Solutions Guide for more information on how to solve each puzzle, clues locations, and other info.
Lion Statue
In the Main Hall, noticeable straight away, the code is Lion, Leafy Branch, and Bird in that order. The Lion Emblem is obtained as the reward.
Rookie’s First Assignment
West office of the Police Station, the code to be inputted is NED on the left and MRG on the right. Inside, you’ll find High Capacity Magazine for Leon.
Control Panel
In the Safety Deposit Room, after acquiring the Diamond Key, obtain the two Spare Keys from two portable safes, one of which is in the Shower Room on the third floor of the Police Station, and the other near the S.T.A.R.S office in the Linen Room.
After collecting the Spare Keys, use them and input code 203 in the locker within the Safety Deposit Room. For Leon, you can get a Pouch Upgrade, shotgun shells, gunpowder, or a combat knife.
Unicorn Statue
In the Lounge area, the Unicorn statue is to be interacted with by inputting the commands: Fish, Scorpion, and Vase. You will obtain the Unicorn Emblem for successfully unlocking the item.
Maiden Statue
In West Storage Room on the third floor of the Police Station, nearby a C-4 device, the code to be inputted is Woman, Bow, and Snake. The Maiden Emblem is the content found inside.
Greenhouse Control Room
As the title suggests, heading to this location, the first puzzle solved by the clues: F, II, two ‘L’, and F atop the ladder, allows you to gain access to the ladder from Greenhouse to B2.
The second part of this puzzle involves two ‘L’, I, a big square above a little square, and a bolder I beneath a DNA Trophy. As a reward, you’ll gain the Dispersal Unit in Drug Testing Lab.
