Cenotes is a long area with many collectibles for you to find as you move through it as a part of the main story. The twelfth mission of the main story, Eye of the Serpent, takes place in Cenote. Our Shadow of the Tomb Raider Eye of the Serpent Walkthrough Guide will guide you through all of the aspects of the Cenotes area of the storyline.
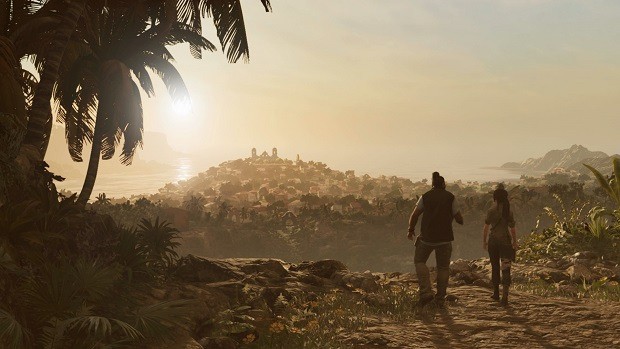
Shadow of the Tomb Raider Eye of the Serpent
You have many objectives in Shadow of the Tomb Raider Eye of the Serpent Walkthrough. You need to explore the area and outrun the Yaaxil while fighting off enemies before your return to Paititi. Let us go ahead and see how to do all of that.
Exploring Cenotes
Start by going through the tunnel and getting to the Cenotes Vista Base Camp through the zip line. Move through the water ahead and leap the stall to get to the ledge.
Go ahead and then jump left when you cannot move forward. Shimmy around the corner after that and rappel down before leaping to the floor ahead.
Remember that there are many collectibles for you to find in this area so take some time to look around the base camp to ensure you collect all of them.
Climb through the steps and go ahead, taking the right side so that you can take the Challenge Tomb. Move forward and jump to the handheld to climb the shelf.
Go to the far end and leap to the wall before rappelling down and then going left to the climbable wall. Go left again and get to the ledge before climbing to the objective marker.
Surviving The Ambush
At this point, you will be ambushed by humanoids that focus on close combat. You should use your shotgun for maximum effect or any other weapon which will be good at close quarters and allow you to keep a safe distance from all of the humanoids.
Make sure you keep an eye out for all of the Yaaxil that come at you as you can easily be blindsided by them if you do not pay any attention.
When the cinematic ends, detonate the cauldron near the Yaaxil and then go up the wall to pull the third effigy down.
Finding the Silver Box of Ix Chel
Go through the water and dive to go to the barrier that blocks the exit. Use the crank and tether an arrow between the 2 rope coils to rotate the crank until the door is open.
Follow the checkpoints after that and take out the Yaaxil that comes at you before jumping to your right ledge and rappelling down.
Follow the markers and rappel down when you get to the craggy surface. Drop down into the water but remember that there are many, many collectibles to find in this area including 3 Documents and a Relic.
Open the Gate
You need to solve 2 puzzles to open 2 round gates. Once inside, prepare a weapon and take out the enemies. Remember that you can retreat into the water if you are caught in a pickle.
To activate the waterwheel, approach the crank and tether a rope between the middle trough and the crank to turn it so that it faces right. Run up the steps and climb the trough to pry the barrier down and return to the crank.
Turn the middle trough in the opposite direction to line it up with the bottom one and then tether a rope between the crank and the top rope to turn it until water flows to the middle trough.
Lastly, tether a rope to the bottom trough and turn it clockwise until the water hits the waterwheel and opens the door.
Open the Second Gate
The second gate can be opened in a similar fashion as the first but it only has 2 troughs. Tether a rope between the crank and left trough until the water pours out.
At the crank, use the rope to turn the left trough counterclockwise until the water runs again and then tether a rope to the right pole so that the water wheel begins to turn and the door opens.
The Return to Paititi
Escape the Yaaxil by going at full speed along the designated path and swimming through the tunnel until you get to the surface.
Climb the ledge and get to the craggy wall. Here, perform 2 lateral jumps to the right and rappel down before moving forward. Keep on moving forward until you get to the hole that you can go through.
Once you are through the hole, run off the edge and go inside the water. Swim to the marker and pull off the barrier. Avoid the piranha and continue to the exit which will put you in the Hidden City, ending the chapter.