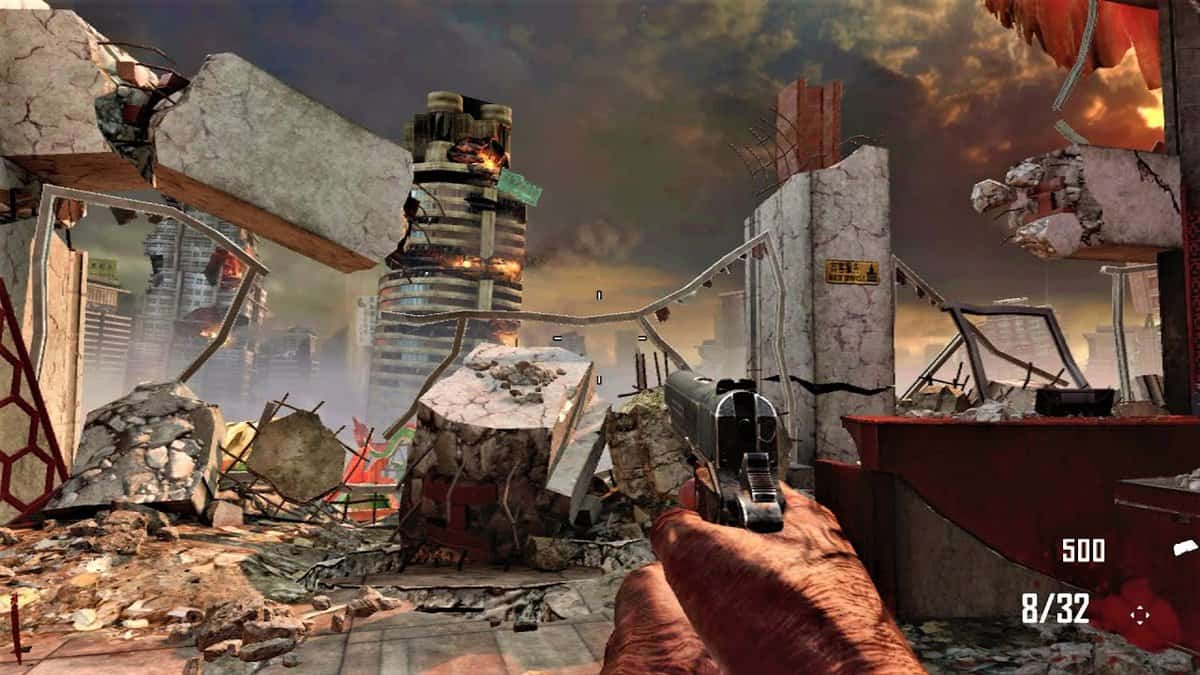
In this guide, we will detail all the steps you need to take in order to get all three buildable in the Die Rise map. These buildable are Nav Card Table, Trample Steam, and Sliquifier. All these are essential to progress in this new map. Furthermore, you will also need them to unlock several achievements. Continue reading in order to know how to build each item.
For more help on Black Ops 2, read our High Maintenance Easter Egg and Die Rise Strategy Guide.
Black Ops 2 Die Rise Buildables
Nav Card Table – How To Build
There are four components to make the nav card table. Follow these steps to find them all:
After turning on the power in the power room, go up the elevator to the roof. Go forward and then turn right. Up ahead, by the pile of junk, you will get “meteor rock.” The table is hidden/invisible under the radio tower. It will remain hidden until you place a component on it. Once visible, it will already have the nav card reader on it.
Look around and there will be another component right there, which is the board of the table. Pick that up and assemble that component on a buildable nav card table. The radio is directly opposite the ramp which takes you up to the face of the dragon. Pick the radio up and place it on your nav card table.
To get the electrical box, go up the ramp and onto the radio tower. From the radio tower, go to the building on your right. Go straight and then drop down another level. In that area, placed in the corner will be the electrical box. Now go back and place the electrical box on the table.
This last item will get you the full nav-card table; it will available even if you exit the game and come back later.
Trample Steam – How To Build
There are four parts required for this buildable. All these parts are in the starting area on the top floor. Just open the double doors and straight away to your left would be the board. Pick it up and look for the workbench. Get onto the top of the elevator and wait for it to take you two floors down. That is where the bench is. Place the board on the workbench.
After that go back upstairs and you will find the fan in the area to your left when you come out of the elevator. Pick it up and place it on the workbench. The third part is also on the top floor. When you get out of the elevator, you will see the flagpole by the railing just in front of you. Take the flagpole and place it on your workbench.
The last part is an air compressor. You will find it in the same area where you found the board. To the right of the elevator doors, right from the edge, you will come across an air compressor. Go place it on the bench to get your functioning catapult. If you fling 10 zombies off it, you will get the vertigoner achievement.
Sliquifier – How To Build
There are four parts required to make this buildable. The first part is a canister and you can find it in the power room. You will have to look around though. It can be anywhere in the power room.
The second part is on the barrel opposite the workbench. Now turn around go back up the stairs and then opposite the stairs between the couch and the TV to find the third part, a mannequin shoe. Go back and place it on the workbench.
Go down to the staircase and to your left would be a door, open that door, and on the counter of the kitchen will be the fourth and final part, the trigger. Place it on the workbench to get your Sliquifier wonder weapon; it is required for the Slippery When Undead achievement.
