One of the most difficult dungeons in Darksiders II is the notorious Soul Arbiter’s Maze. The maze contains a set of ten levels with various portals. There are five portals for each level; one is the central level you transition to the level from. The rest are all options to go forward, of which only one is correct.
In this guide, we’ll go over how to enter the Soul Arbiter’s Maze. You will also learn the portals you need to progress, the portals required to get access to the Secret Room for every level, and the enemies of each level, and how to tackle them.
How To Get To The Soul Arbiter’s Maze In Darksiders 2
The Soul Arbiter’s Maze is a unique dungeon next to the City of the Dead. To the left of the path to the City of the Dead is an entrance to a large hallway with a few boxes of potions and gold.
When you enter the dungeon, you will see some objects just sitting; destroy them to get a Boatman coin. Then go straight up and climb the pegs until to get to the last one. You need to wall run and then jump and get a hold of an interactive handhold when you use your Death Grip, and you will get to a ledge using the northern handholds.
Make your way up the northern handholds and use the Deathgrip hooks to get to a wall switch. Once you do that, drop down, run up the handholds that emerged to the wall on your left, and make your way to the other side with the Deathgrip hooks. There is a floor lever, which you should flip, and then run to the right and enter the door.
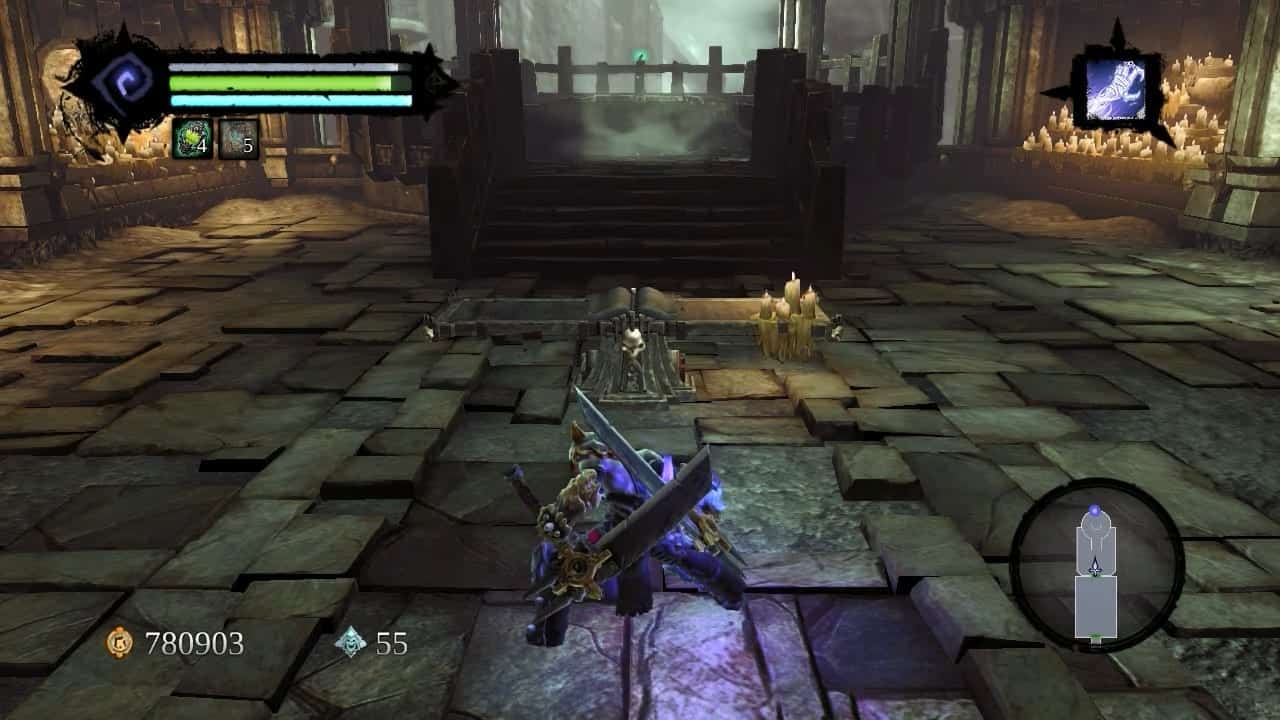
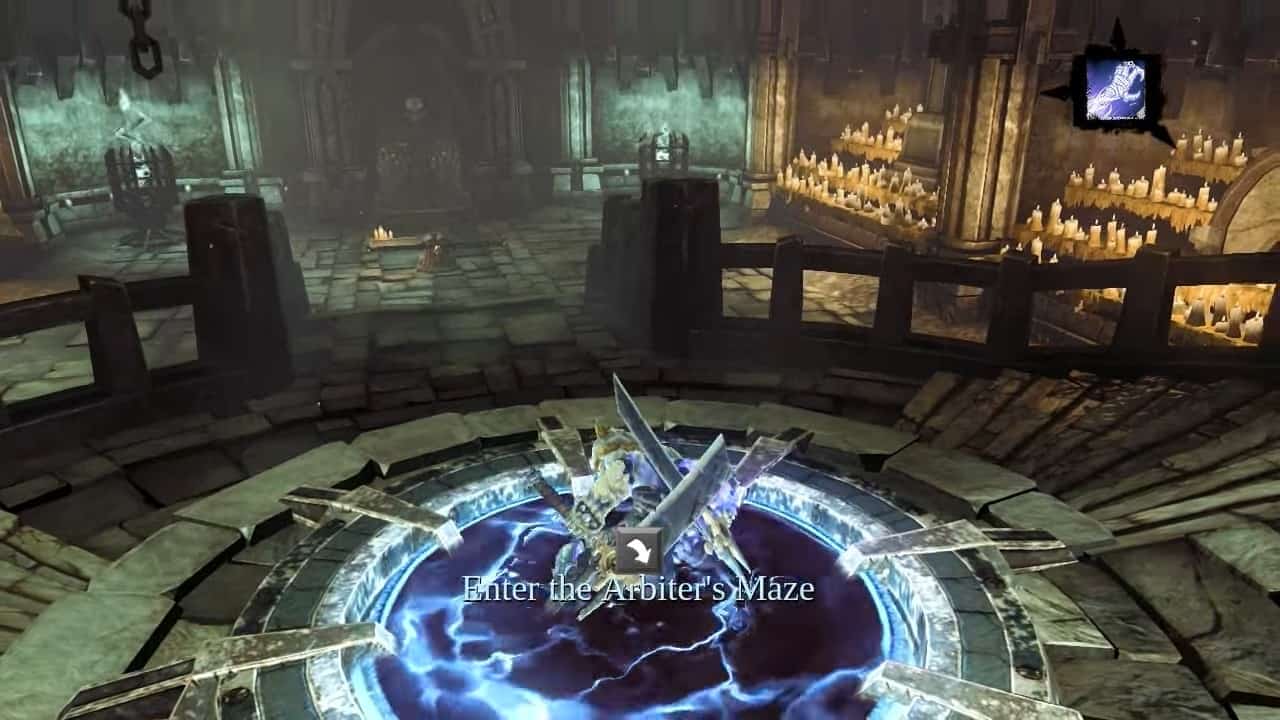
Go down the stairs and through another door that leads to a large room with a table in the front. The final Soul Arbiter’s Scroll is also there up on the podium with the portal. If you wish, look at the book on the table, and then when you are ready, go through the portal to start your journey through this maze.
When you get to the room with the mysterious tome; you will be able to interact with it, just select the level you want to go to press space, and stand next to the central portal again.
Level 1 – Declination

To enter the secret room, go South, and then East. After entering the secret room and collecting the treasure, take the portal back to enter the original level.
Treasure Chest Reward
The secret treasure stash contains the Executioner Pauldron.
Next Level
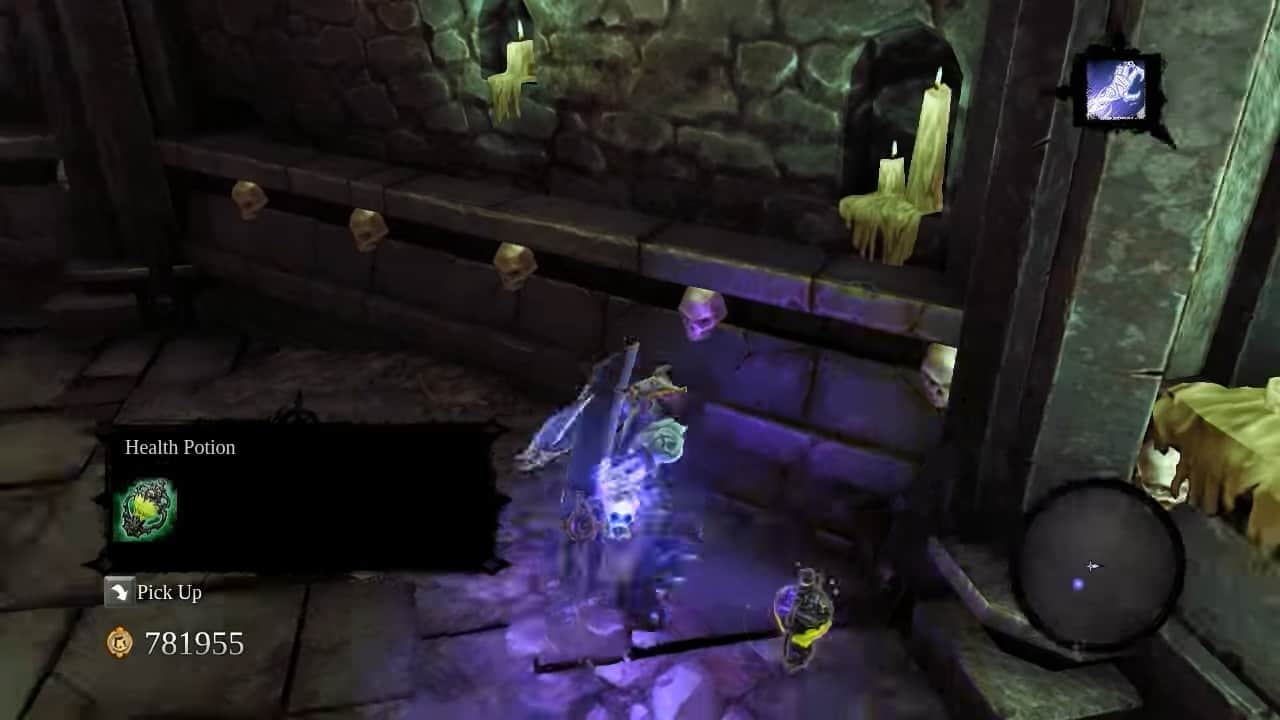
To go to the next level, go North, and then West. Before heading to the next level use your blades to hit the small coffin in an upright position next to the candles near the portal to get a “health portion”.
Enemies
The enemies are super-easy here – they’re just a bunch of skeletons, which is nothing that would worry anyone.
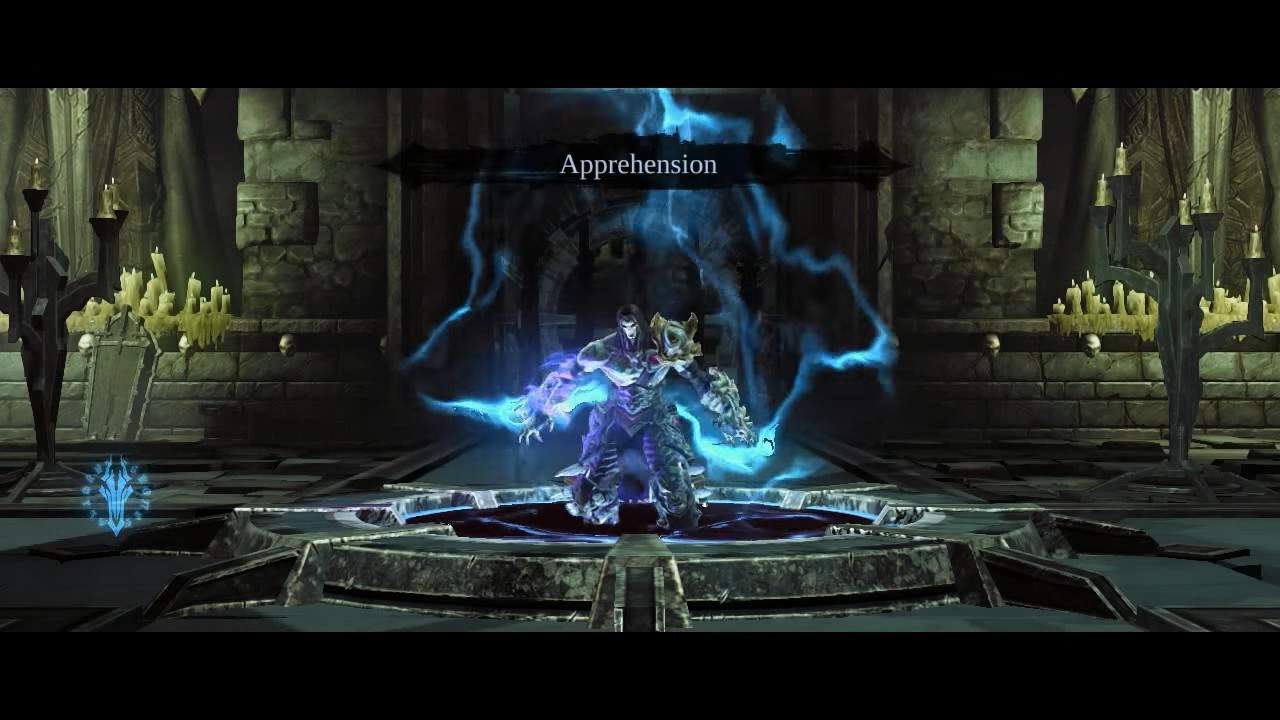
Level 2 – Apprehension
Go North, and then North again to get to the secret room.
Treasure Chest Reward
The secret treasure stash contains the Wayfarer Cover.
Next Level
Head East, then South and then North to reach the next level.
Enemies
You’ll face slightly tougher enemies, such as archers, but once again, it should be quite easy if you’ve gone through most of the game (which you should have).
Level 3 – Opposition

To get to the secret room, go North, South, and then East.
Treasure Chest Reward
The secret treasure stash contains the Executioner Sabatons.
Next Level
To go to the next level, go West, East, North, and North again.
Enemies
You’ll fight Liches and some skeletons. The Liches can give you some trouble if you’ve got bad gear.
Level 4 – Separation
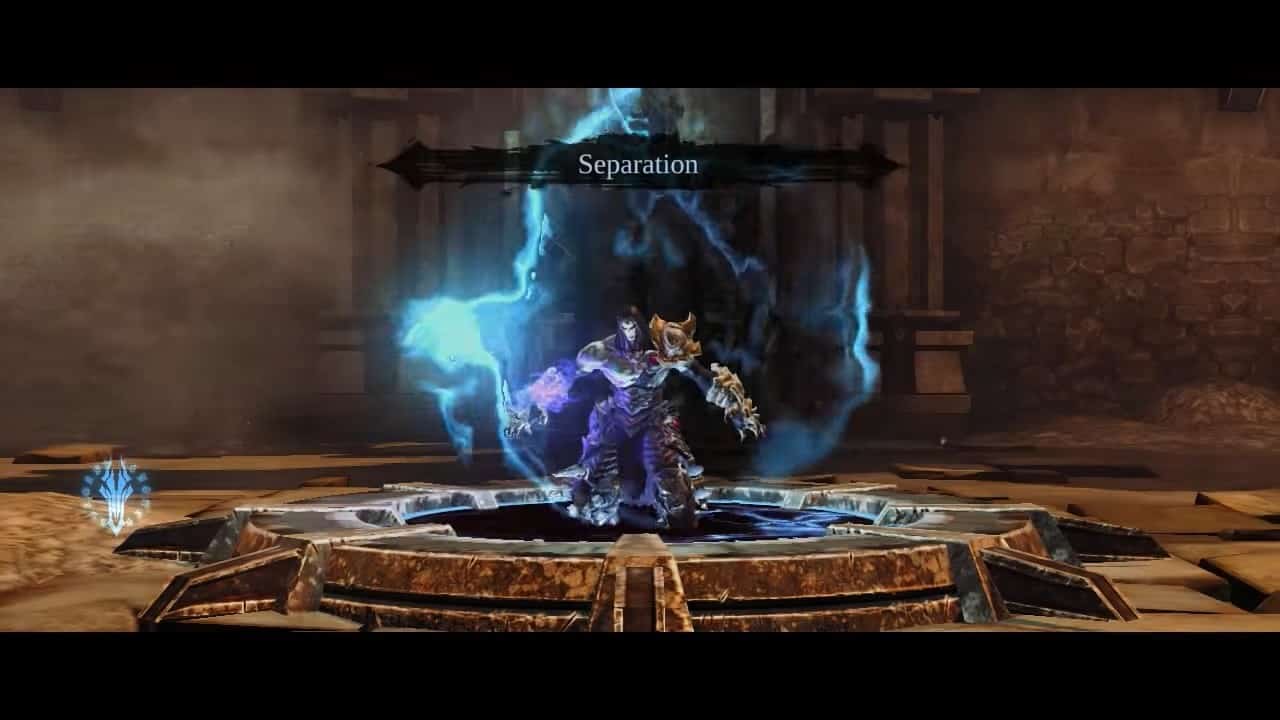
Go West, East, and then North.
Treasure Chest Reward
The secret treasure stash contains the Warlock Cowl and Health Portion.
Next Level
Go East, West, North, and finally South to access the next level of the Soul Arbiter’s Maze in Darksiders 2.
Enemies
You’ll fight slightly larger, tougher enemies and some standard, easy-to-kill foes. Focus on the larger enemies first, like the Scarab Hulks, and then on the skeletons. This is the first level that might give you a slightly more difficult time.
Level 5 – Deception

Head West, North, and then South. You will find the Secret Room dead ahead.
Special Rewards
Once you enter the secret room, you will get the Black Demise weapon to upgrade your arsenal.
Next Level
Go West, West, North, and then East.
Enemies
The fifth level has some badass General enemies, which should be focused on at last.
They are slightly slow (though they get around easily because of their large size), but it’s best to take out the archers and minor enemies before focusing them.
Level 6 – Isolation
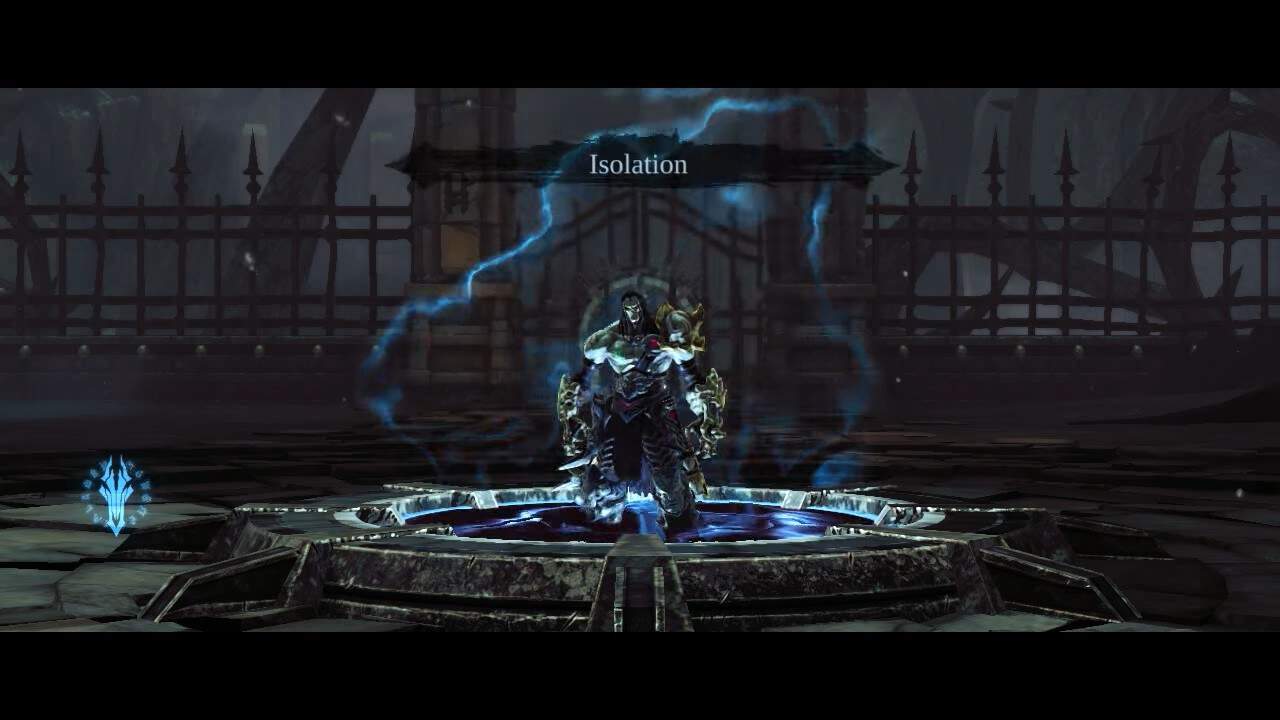
Take the East portal, then East, then East again, and finally South.
Treasure Chest Reward
The secret treasure stash contains the Scythes of Ice and Health Portion.
Next Level
Go South, East, East, North, and finally North again.
Enemies
The enemies to look out for here are the Abominations. They can do a lot of damage, so focus on the rest first, and then on them. Be careful of their AoE close-range damage. Good thing for you that they are super-slow. You should finish off the Wraiths first.
Level 7 – Revulsion
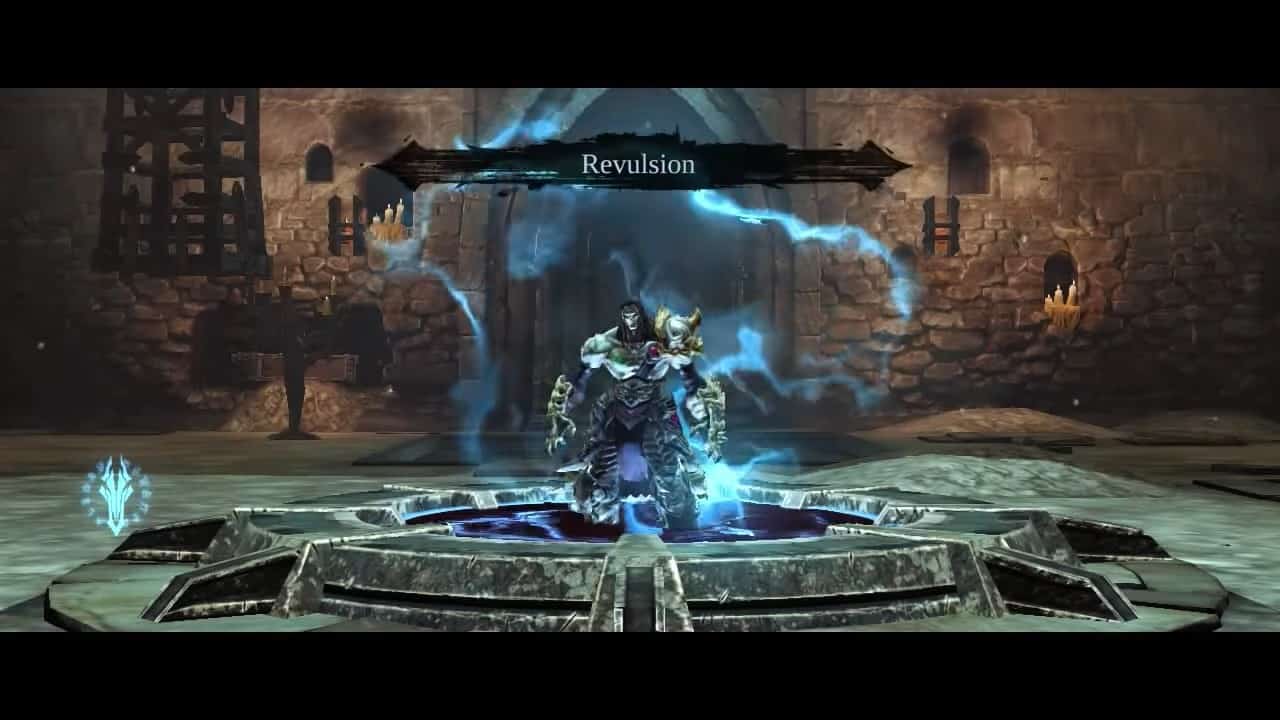
Head South, then South again, then West, North, and finally North again to find this secret room.
Treasure Chest Reward
You can get your hands on Health Portion and Baneful Glaive from the treasure box in the secret room.
Next Level
Go South, West, East, East, and again East. Before heading to the end portal on the last East wing, look up to see a flying orb, aim, and shoot it to get Stones of Mystic.
Enemies
Level 7 will have the Bone Giants, and they are tough. They can deal a lot of damage and have a massive reach. If you have the Gnomad Scythes, they work very well against these guys. If you don’t, then you’ll need to be strategic, destroy every other enemy you find, and focus on these guys last.
The Undead Stalkers also offer quite a bit of challenge, and since you can’t use Deathgrip on them.
Level 8 – Inversion
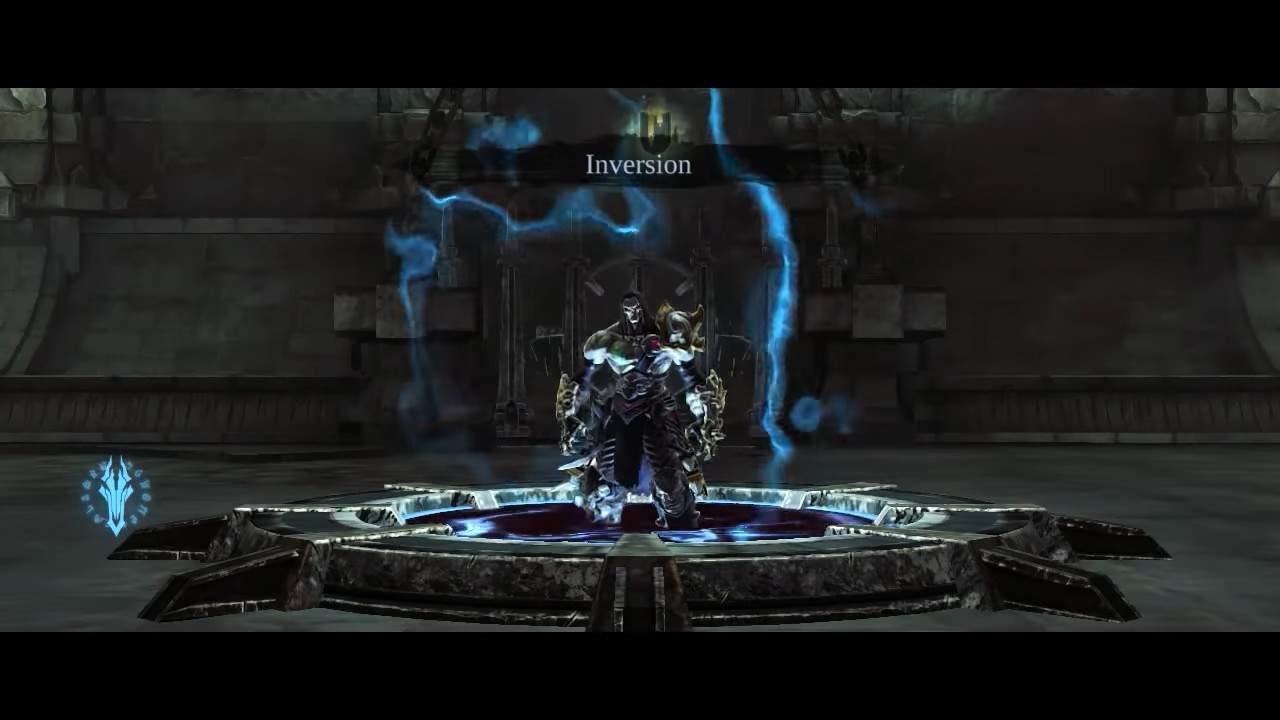
To find the secret room, go North, South, South, East, and North during the Soul Arbiter’s Maze in Darksiders 2.
Treasure Chest Reward
The secret treasure stash contains the Scythes of Frost.
Next Level
Go North, West, North, West, East.
Enemies
The nasty Tormentors will give you a lot of trouble if you don’t exterminate them first. For the spirits hovering about, take them out with Redemption to make life easier.
Level 9 – Benediction
Go South, West, East, East, and North to find the secret room on this level.
Treasure Chest Reward
The secret treasure stash contains the Wayfarer Shroud.
Next Level
Head East, North, East, North, and then finally South.
Enemies
This level will feature more Scarab Hulks, regular Scarabs, Undead Stalkers, and Undead Prowlers. It sounds easier than it is because the sheer number of enemies you find in this level and during your journey from port to portal can easily be overwhelming.
Level 10 – Apprehension
To find this level’s secret room, go North, South, East, and West.
Treasure Chest Reward
The final level gives you Glaive of Lightning from the secret treasure stash.
Next Level
Go West, East, North, South, and finally West.
Enemies
Level 10 will have the game’s largest and nastiest collection of enemies in the Soul Arbiter’s Maze in Darksiders 2. You’ll fight all kinds of hideous creatures that do tons of damage, ranging from Undead Generals to Abominations to much more.
On later progressions, you will even fight multiple enemies of the same type simultaneously, which can complicate things. Be brave, wary, and super-agile, and you should get through (provided you have good equipment).
Soul Arbiter – The Final Boss
It’s the Soul Arbiter himself, and apart from having a cool voice, he has a few tricks up his sparky sleeves. In the start, he will do a combination of two quick forward strikes, which you should dodge, and afterward immediately retaliate.
If he gets stunned, do some additional damage. If he doesn’t, evade immediately, or he’ll smash the ground with a fearsome strike and damage you.
Once you damage, he’ll summon some skeleton warriors and archers. Destroy the archers, then the skeletons, and then focus on the Arbiter again. The Arbiter is quite fast, and he’ll get a bit faster now as he does a combination of some ground slams and his usual forward strikes.
Use the same strategy – attack after the two strikes and immediately back off. He’ll eventually summon more enemies for you to fight against.
Once you kill off the wave of skeleton champs and archers, the Arbiter will get a little bit faster and stronger, but if you do more damage to him, he’ll do something deadly: summon an Undead General.
Normally, when the Arbiter summons, he will attain a passive role and float around with the shield, but he will also attack you while the General is summoned. His speed makes this part of the fight very difficult.
Make sure you have some health potions during this period. Otherwise, things will go downhill really quickly. You should use your Reaper mode in this part of the fight to get the General out of the equation as soon as possible.
Once the General is down, it should only take a few hits to finish off the Soul Arbiter.
Soul Arbiter’s Fight Reward
After taking down the Soul Arbiter, you will receive Executioner’s Hook, a savage weapon to grind the enemies with a few slashes, the Crown of the Dead, two Baneful Bucklers, and Executioner Sabaton.
Secret Room
Before teleporting out, head down the stairs into the basement to get Health Portion by slashing off the candle stand and the last treasure stash containing Executioner Binding, two Health Portions, Warlock Talisman, and Sorcerous Buckler.