
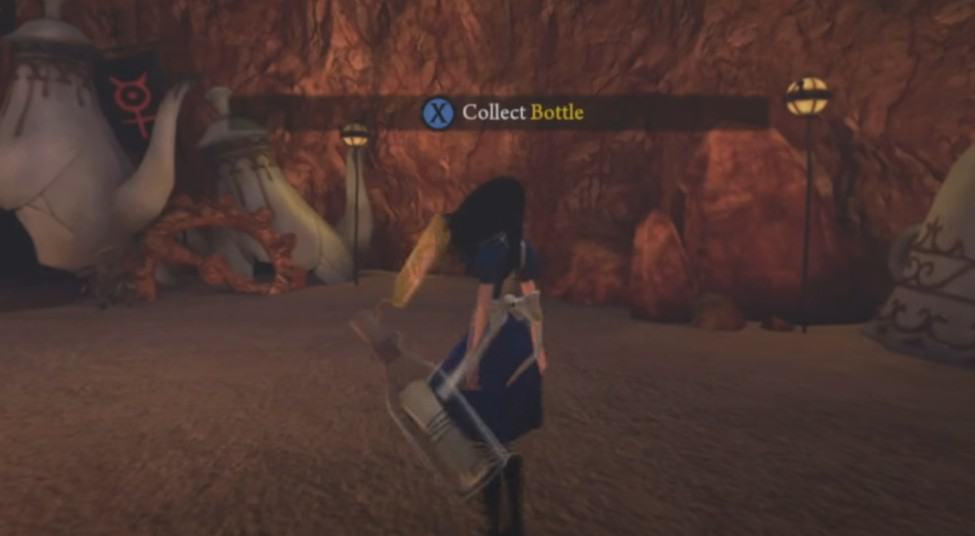
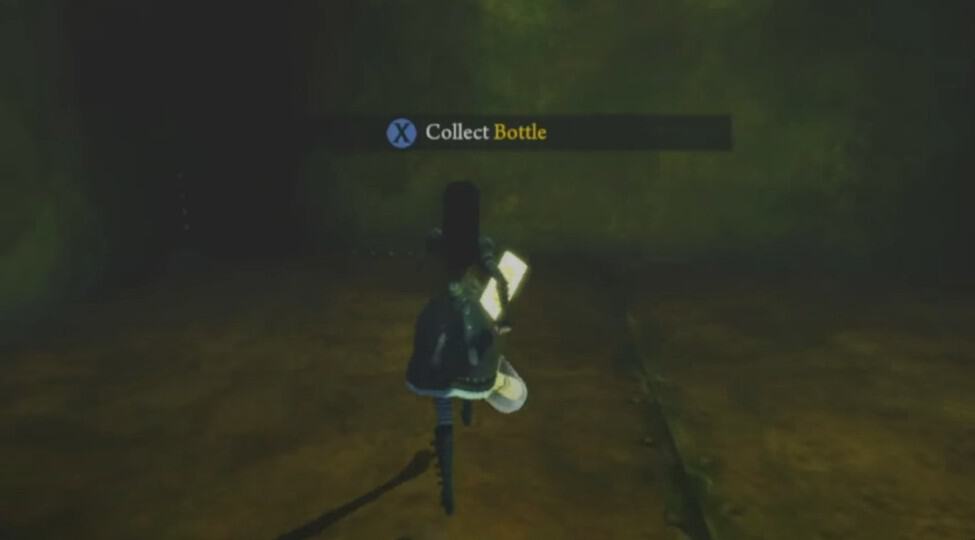
Bottles are rather easy collectibles to find in Alice Madness Returns, compared to memories and snouts, which were more difficult to find as they are mostly hidden.
If you intend to find all the bottles in Alice Madness Returns for corresponding achievement or trophy, you can follow this Alice Madness Returns Bottles collectible guide.
Chapter 1 – The Vale of Tears
No bottles are found in this area.
Chapter 1 – Slug with a Shell
Bottle #1
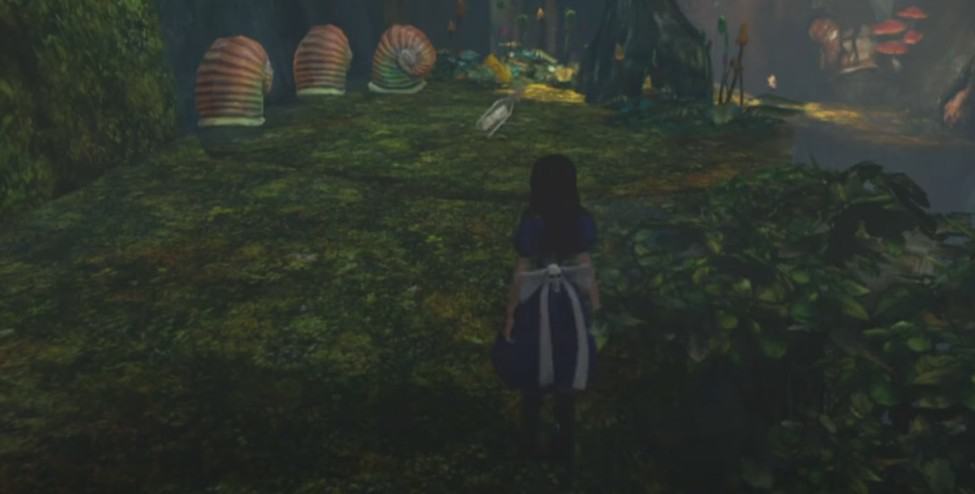
Location. Use the first mushroom and move on till you reach another one (on the third platform). Reach the area above to the right side.
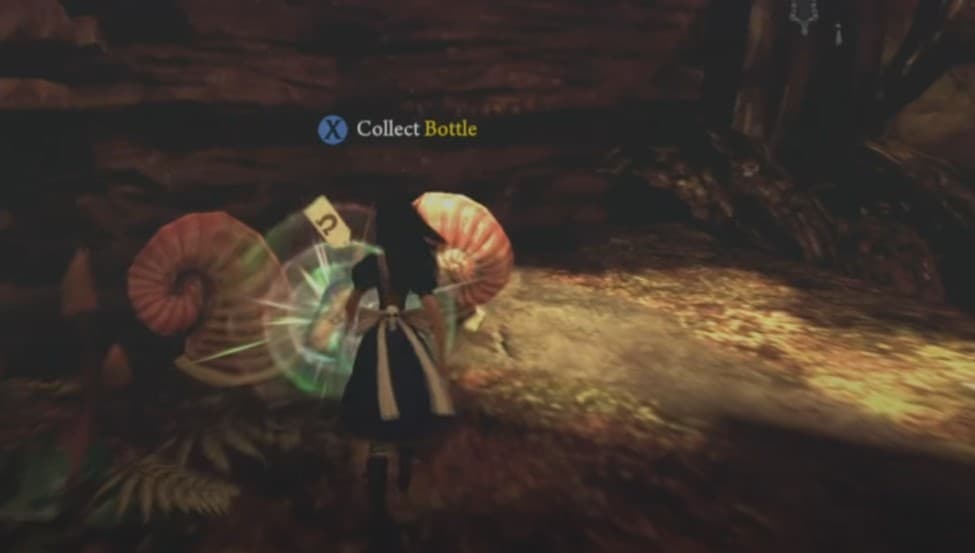
Bottle #2

Location. After jumping the gap and landing on the area lower where you find your first bottle, continue the path and you will find the second bottle on your left side.
Bottle #3
Location. Head back to the kitchen and use the small door. Now you need to find a pathway hidden near the waterfall, behind the false rock. . You will have to shrink to point the false rock and pass through the tunnel.
Bottle #4
Location. After meeting with ruin, you will find an isolated platform with a mushroom (you need to jump on it to see the mushroom). Use the mushroom to get to the upper level. Shrink through the tunnel to find the bottle.
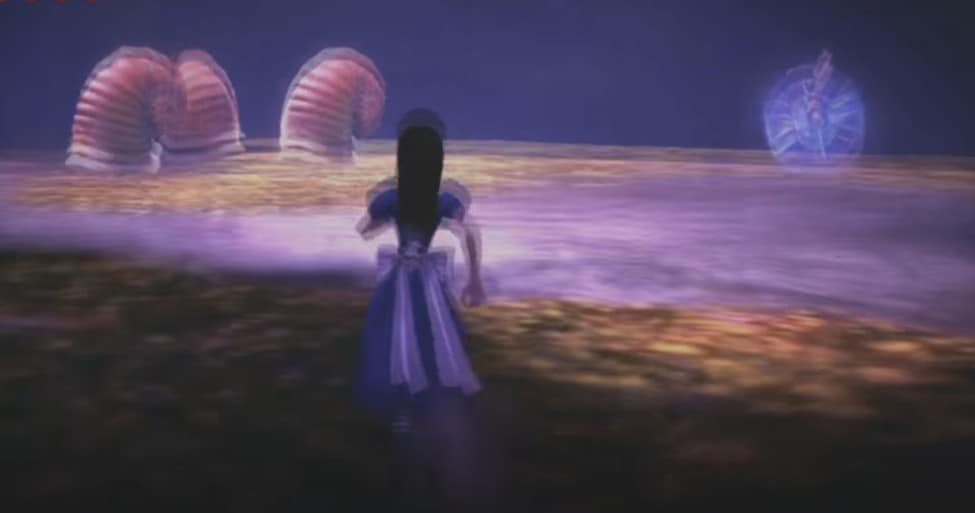
Bottle #5
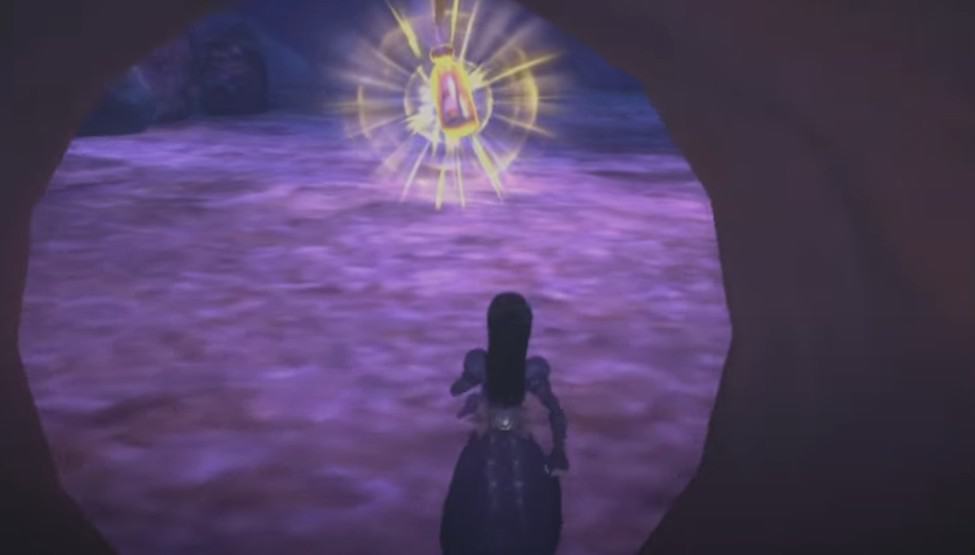
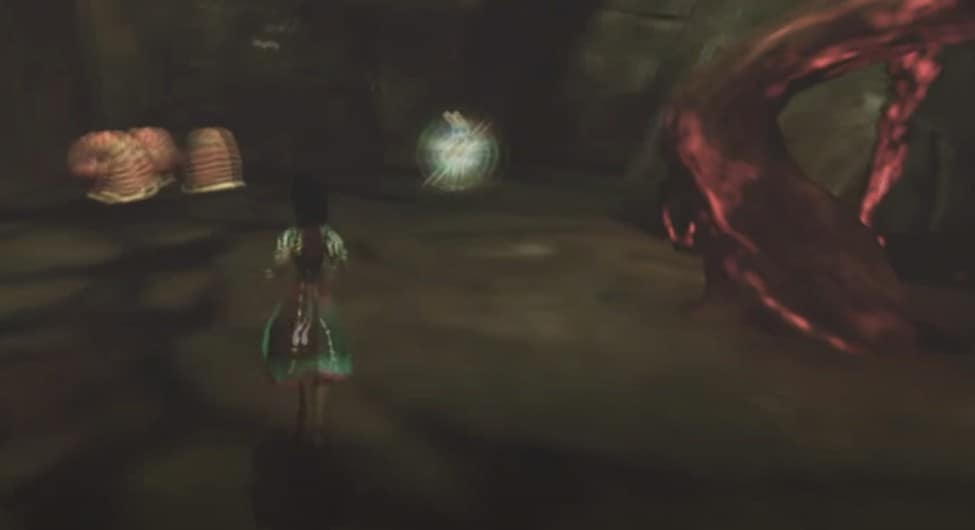
Location. In the lava geysers section, look for a mushroom beside the tree. You will find a bottle between the shells.
Chapter 1 – The Crockery
Bottle #6
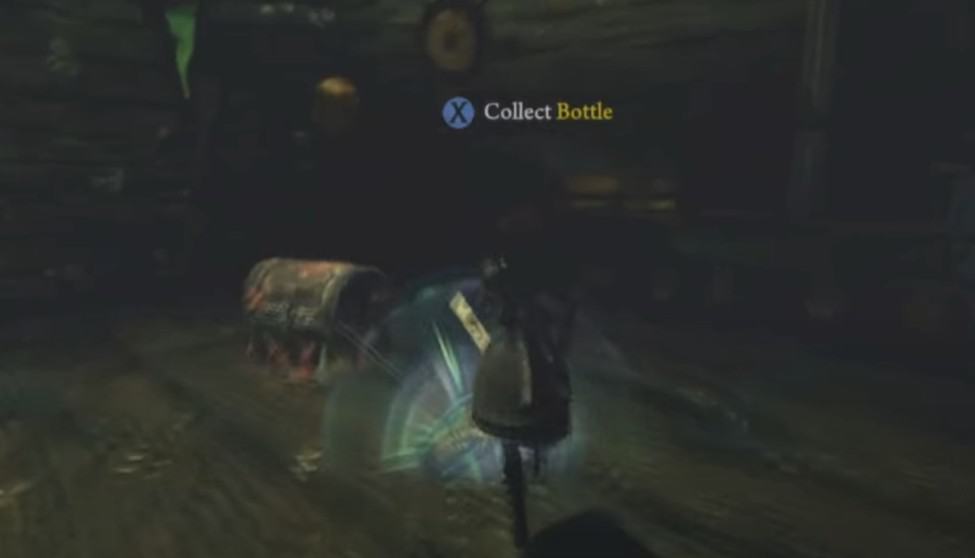
Location. At the start of the level, you will spot a hidden tunnel (you need to shrink) across the big gap and you are going to find a pathway. The bottle is at the end of this tunnel.
Chapter 1 – Hatter’s Gate
Bottle #7
Location. If you jump across the first invisible pathway(need to shrink) and land on a solid place by timing your jumps from pathway to another pathway, you will find one bottle as you land.
Bottle #8
Location. From the first vent again, head inside the castle and head inside the tunnel in the room to your left instead of pressing the lever to the right, head left to find a bottle.
Bottle #9
Location. After you turn the valve, use the appeared vent to get to the upper platform where you can find a bottle.
Chapter 1 – Always Elevenses
Bottle #10
Location. You will come across a door with red light. Head down and use the invisible platforms reach the above level.
Chapter 1 – About Face
Bottle #11

Location. You will discover it to one side of a pressure plate behind a feeble divider that you have to utilize a bomb on to crush. This will be on the correct side of the room when you go over Hatter holding tight the divider toward the end.
Chapter 1 – Smelling and Regurgitating
Bottle #12
Location. You need to turn a valve to solidify the lava on the ground beneath. When you have turned the valve, hop down onto the solidified magma and look underneath the main stage of this room and shoot Snout #10 for the bottle to show up on the ground at the center.
Bottle #13
Location. Fight the eyepots and turn the valve. Get to the bottom floor now. Beneath the platform, you will find a hive, destroy it and explore the area for a bottle.
Bottle #14
Location. Exit the door after placing a bomb on the pressure plate. Move through the door and then turn the valve to reveal more vents. Use them to reach a solid surface. Deal with the enemies and get back to the right side to find a bottle on the landing.
Bottle #15

Location. After you have cooled down the room, bomb the wall and drop to the lower surface. You will find a tunnel on the far side (turn right for it). The bottle is inside the tunnel.
Bottle #16
Location. Inside the room where you find Hatter again, if go inside the left wall, you will find a bottle beside the pressure plate.
Chapter 1 – Cranking up and Pressing Down
Bottle #17
Location. In the section where you face crushing fists, if your turn right from the last fist and then jump down, you can find one bottle at the end of the tunnel.
Bottle #18
Location. Next to the room having lots of crushing fists, jump across a couple of cages and get the bottle on the platform.
Bottle #19
Location. After you have dealt with enemies, use the switch (above) to raise the machinery. Use the lever and bomb the wall to the right to reveal a tunnel. Head inside for the bottle.
Chapter – 1 Assemblage or Destruction
No bottles are found in this area
Chapter 2 – Tundraful
Bottle #20
Location. You will spot some false rocks at the corner, use shrink to spot a tunnel. Get inside and snatch the bottle.
Bottle #21
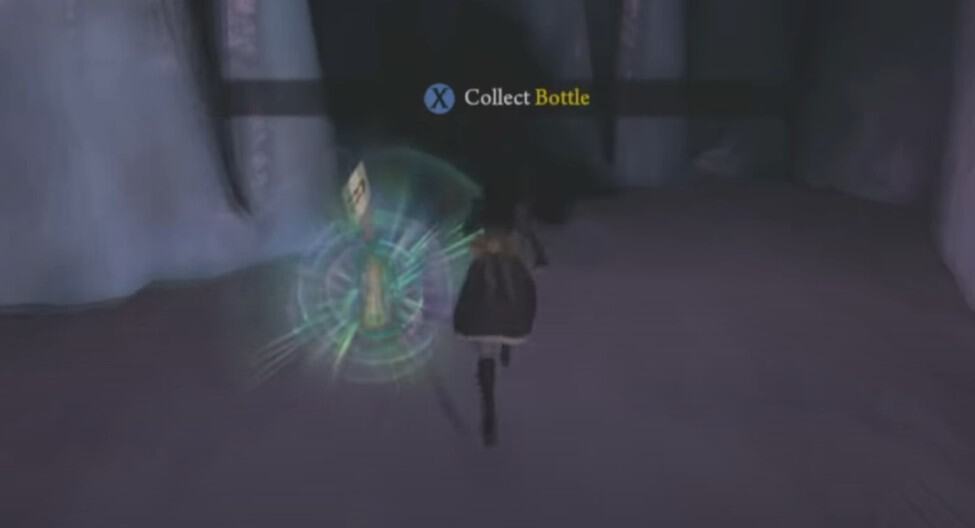
Location. The area where Yeti appears, break the weak ice to get the bottle.
Bottle #22
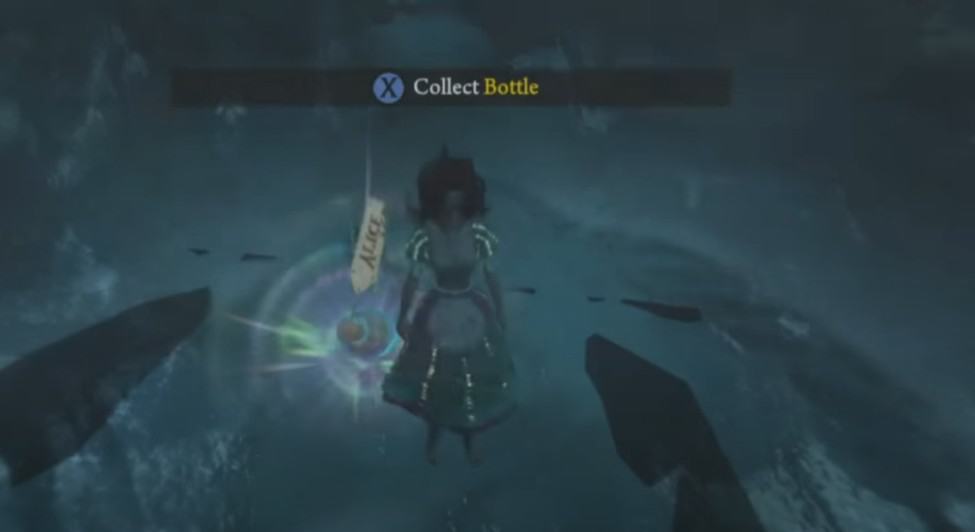
Location. From the ledge, follow the path to a small cage. First break the ice to the left and then break the ice on the ground in the room. You can find a bottle beneath the ice.
Chapter 2 – Sliding Towards Oblivion
Bottle #23
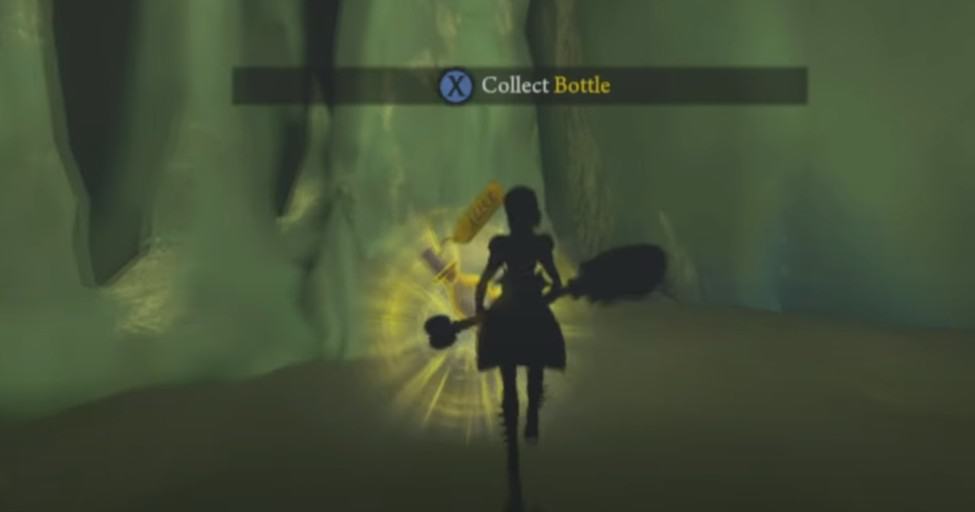
Location. After the slide section, jump down twice and break the weak ice to grab another bottle.
Bottle #24
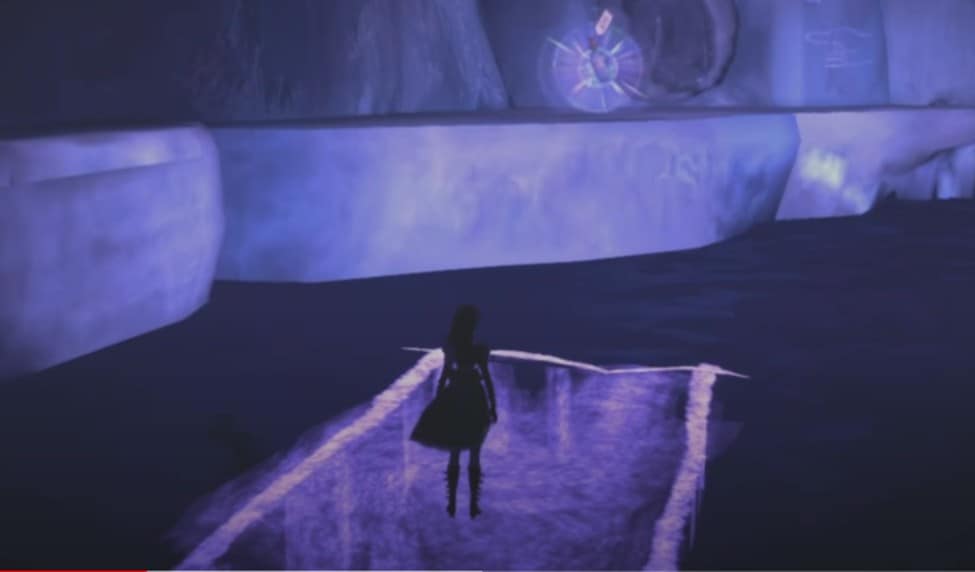
Location. After defeating the enemy, cross the series of invisible platforms. Move down to the iceberg and then use the shrink to find the boat. The bottle is inside the cavern.
Chapter 2 – HMS Gryphon
No bottles are found in this area.
Chapter 2 – Naval Disaster
Bottle #25
Location. After the admiral, use a geyser to jump across the gap. After going through the coral to the right side, shrink to spot a tunnel.
Bottle #26
Location. After you have defeated the lost soul, turn right (left leads to the invisible platforms) and shoot the switch. After crossing the bridge use shrink at the bend to find a bottle inside a tunnel.
Chapter 2 – Barrel Bottom
Bottle #27
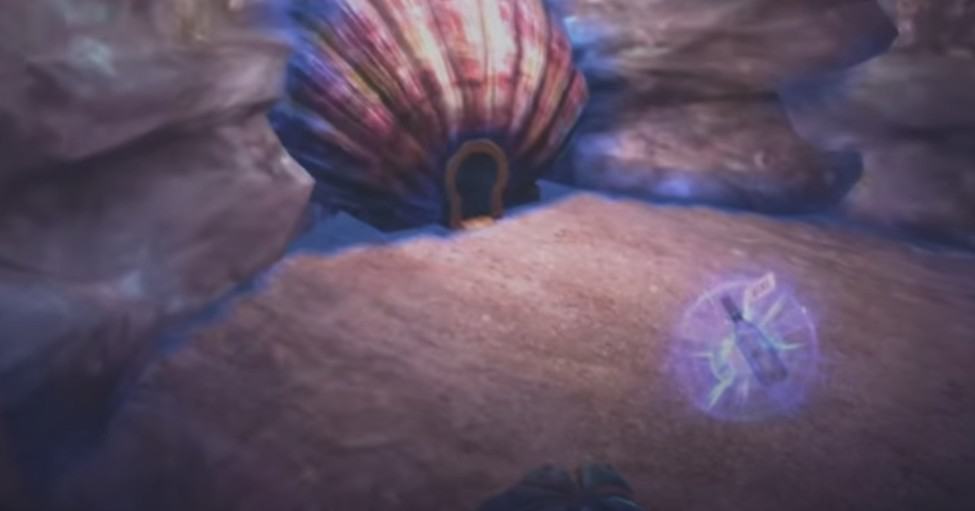
Location. After breaking the coral to the right of the statue. Move to the yellow shell. Shrink and enter the tunnel (after exiting the radula room) to find a bottle.
Bottle #28
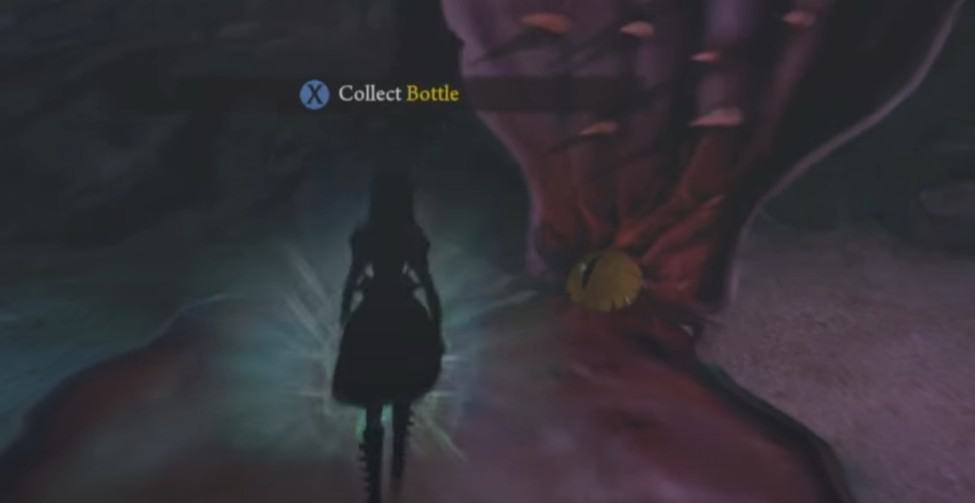
Location. Before moving towards the theater (after following the central path) turn left to find a bottle on a clam.
Bottle #29
Location. After your chit chat in the theater, explore the left wing of the room to find a bottle.
Chapter 2 – Inky Veil
Bottle #30
Location. After you have set a bomb on the pressure plate and rapidly shot the switch before the bomb runs out on the pressure plate. When you are on the correct stage, search for an invisible lift by contracting down to get up the high stage. You will discover it along the right pathway to one side on a high stage.
Bottle #31
Location. From the previous bottle location, head right and use the tunnel. You will be able to spot some invisible platforms to the left. The bottle is on the last of these platforms.
Chapter 2 – Choral Coral
Bottle #32
Location. As you are assigned the task to clear fish’s voice column, move to the bottom. You will find a bottle behind the chests that you can break.
Chapter 2 – Oyster Garden: Beds Available
No bottles are found in this area.
Chapter 2 – Lost Souls
Bottle #33
Location. After you are assigned the task to find the soul’s crew mates, enter the left door and deal with the enemies. Keep an eye to the left side as you will spot a bottle there.
Bottle #34
Location. Through the central door now, after the second the pressure plate, you will find a bottle on an invisible platform in the middle of the air.
Chapter 2 – Barrelbottom (Re)
Bottle #35
Location. After destroying the ruin, follow the tunnel and then the invisible platforms. The mushroom there will get you to the bottle above.
Chapter 3 – Vale of Doom
Bottle #36
Location. After using the hookah pipe, follow the path till first smoke vent. Before you progress further explore the right upper area for the first bottle in this chapter.
Bottle #37
Location. Keep moving till you find the second second pipe and land on a solid surface. As you land, you will find the bottle.
Bottle #38
Location. As you move further, use the doorway to the left to find another bottle.
Bottle #39

Location. After you have got the teapot cannon, use the hookah pipe and get rid of the enemies in the next patch. Now before destroying the ruin, you can find a bottle at the back of a tree.
Bottle #40
Location. Move up the vent and you will find another bottle on the top gear of the series.
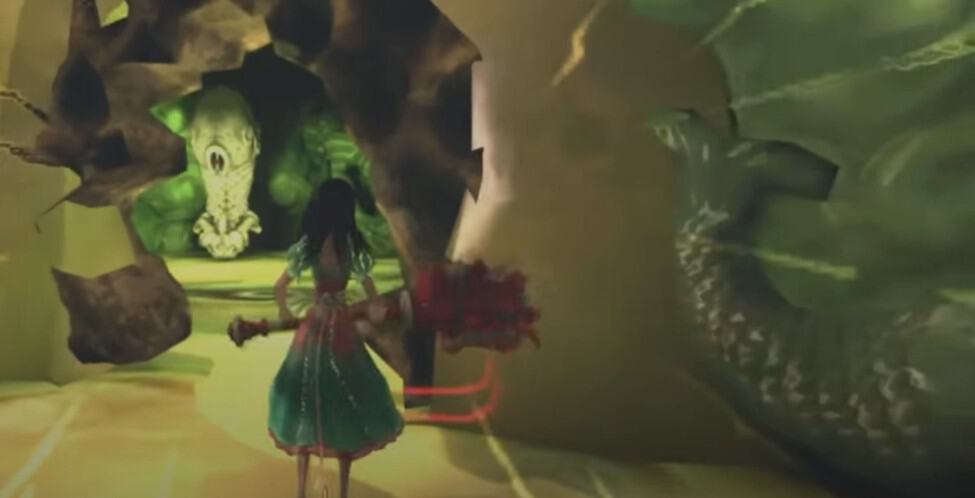
Chapter 3 – Scorched Earth
Bottle #41
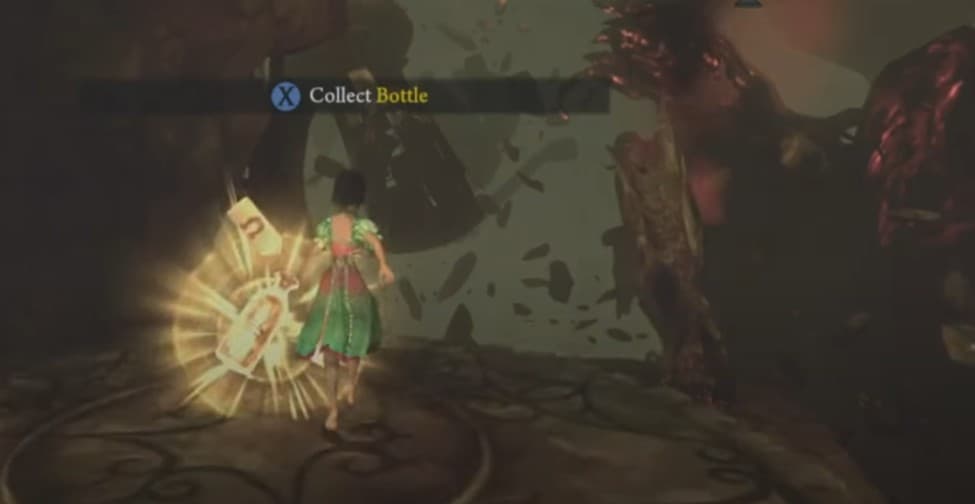
Location. At the start of the level, as you reach the fish with a chain in it’s mouth, head right and jump across the gap to find the bottle behind some fragile pottery.
Bottle #42
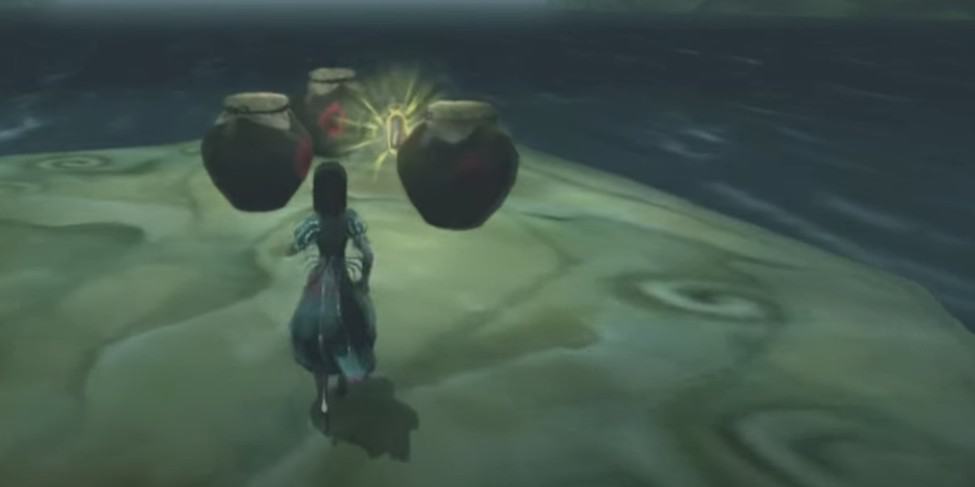
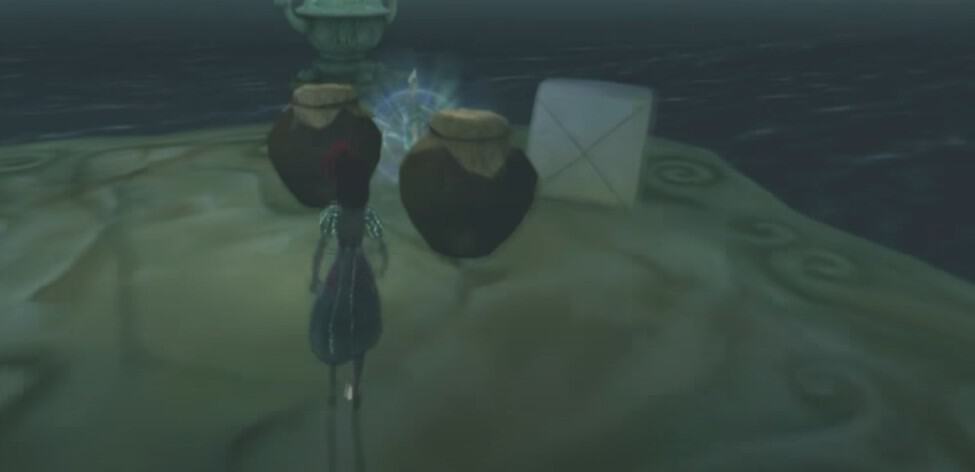
Location. After pulling the chain, head up and to your right, you will find a small island where another bottle resides behind some pots.
Bottle #43
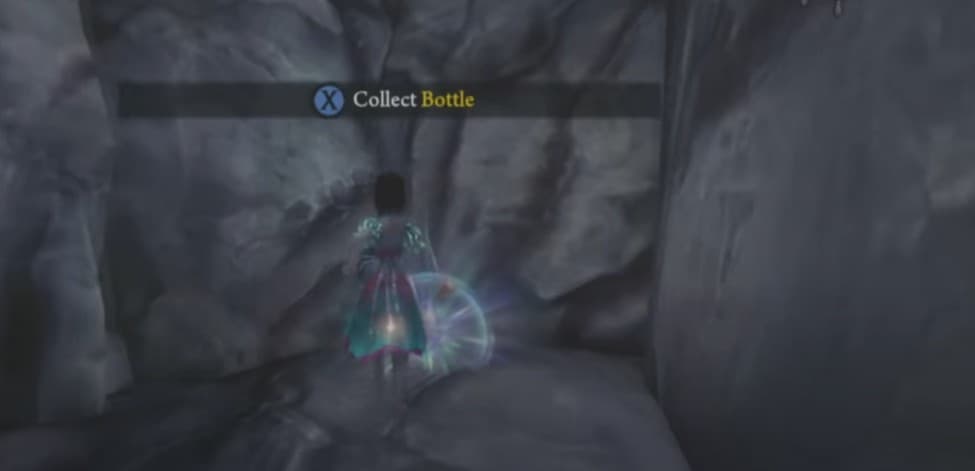
Location. After you exit the monastery, before jumping up to the ledge move through the bamboo to the right side to reach a bottle along with a snout.
Chapter 3 – Scroll of Happy Time
Bottle #44
Location. After the bridge, don’t pull the chain in the room. To the right side of the chain, you will find a bottle.
Monastery Shelf Valley – Chapter 3
Bottle #45
Location. After destroying the honeycomb, move up the stairs and deal with the hives and a wasp. As you exit the moving door, you can find a bottle to the left side of the door.
Bottle #46
Location. After pulling the chain (after you place a bomb on the pad), enter a cave through a demon’s mouth. To the right you will find a tunnel with a bottle inside it.
Bottle #47
Location. You will spot a another tunnel if you go past the lava to the pad in ruin. Get inside the tunnel first to grab the bottle.
Bottle #48
Location. After you place a on the switch, hurriedly move to the pillars across the lave to pull the chain. Move through the new path and you will find another pressure pad. Place another bomb to make a way to the top. Near the stairs, you will find a bottle inside a tunnel at the back of the house.
Chapter 3 – Trunk
Bottle #49
Location. Across the pinkish fan, you will reach a solid platform. To the right side, you will find a tunnel inside which is a bottle.
Bottle #50
Location. In the room with firing statue, dodge the fire to reach the rocks above and then to the honey comb wall. The bottle is beside the fish chain.
Chapter 3 – West Peak Prison Village
Bottle #51
Location. As you get the second piece while solving the picture puzzle, move the right tunnel path to find a bottle (left tunnel leads to the puzzle piece).
Bottle #52
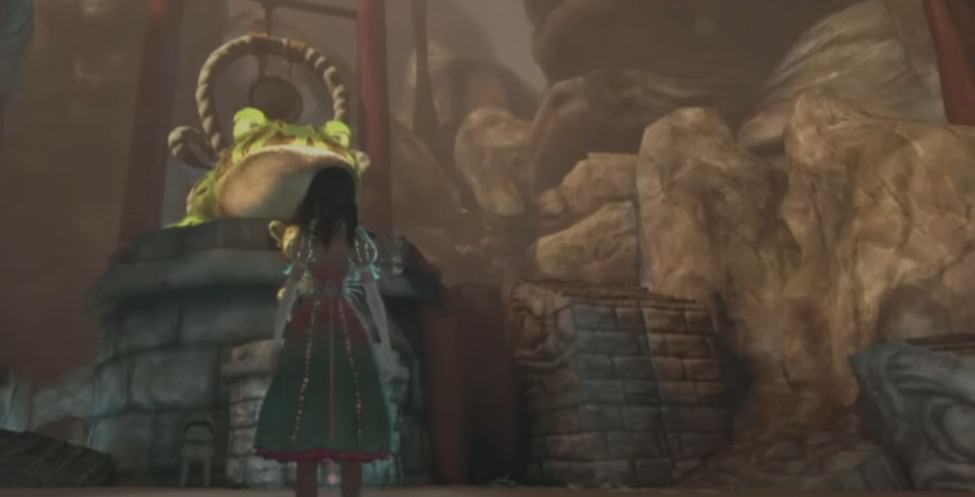
Location. To the left of the giant frog’s platform (after you defeat the enemies), is a tunnel with a bottle inside.
Bottle #53

Location. There will also be a new path revealed by the frog. So enter the cave, destroy the wall to the left side to get to the bottle inside the tunnel.
Chapter 4 – Cardbridge
Bottle #54
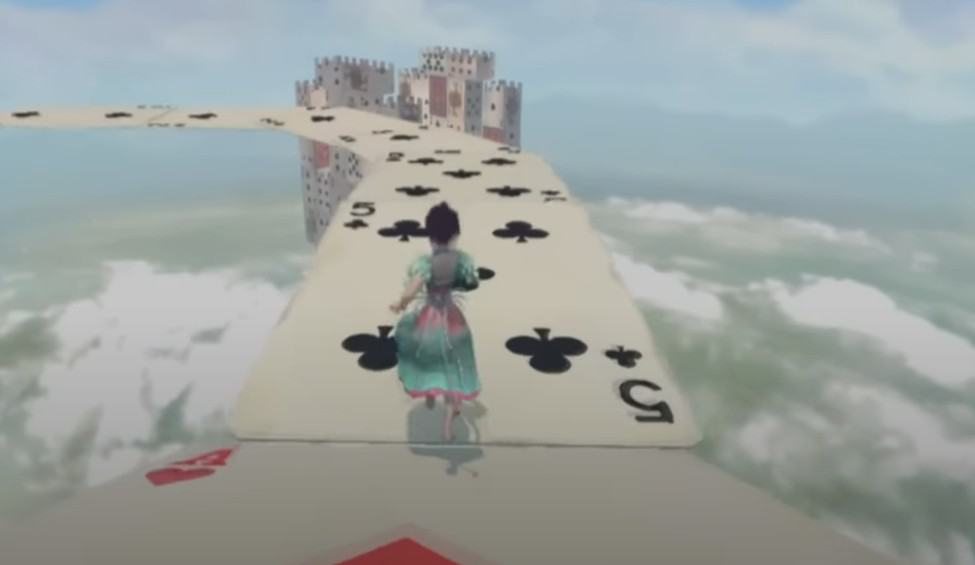
Location. After crossing the cards, turn left and use the invisible platforms (use shrink). You will find a bottle on the rotating surface.
Bottle #55
Location. Now follow the right side path to a house. Move along the path to the doors, take a left and across the gap, you will find a bottle behind the cards.
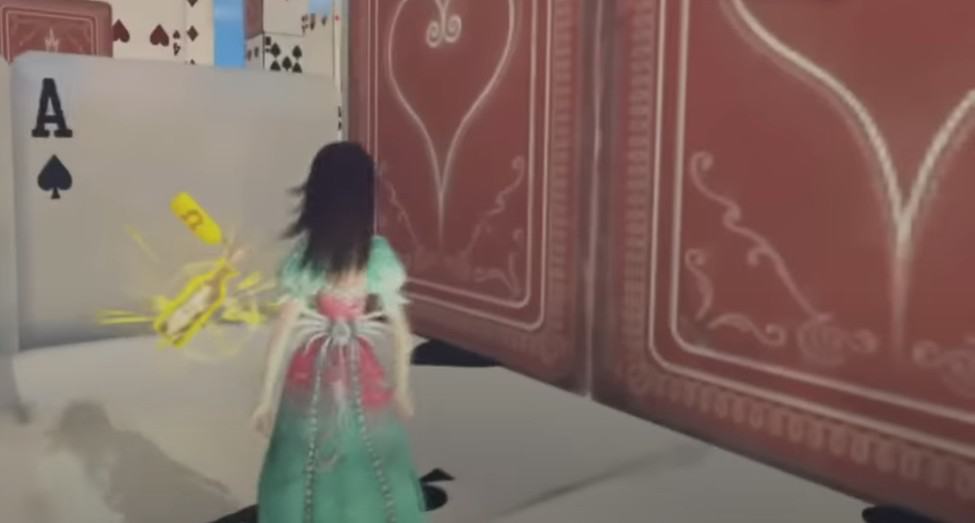
Bottle #56
Location. After using the pressure pad, move through the new platform to the platform having ace of hearts.
Chapter 4 – Least Wing
Bottle #57
Location. After the slide, jump onto the ledge to find a bottle.
Bottle #58
Location. After dealing with enemies, use the vent to get to the upper area (bridge) where you can find a bottle.
Bottle #59
Location. After placing a bomb on the pressure plate, jump across the platforms. Through the archway, turn around and destroy the weak floor to your right to reveal a bottle’s location.
Bottle #60
Location. Follow the new path revealed from queen’s painting to the next room. Jump onto the ledge to the left side and destroy the wall to reveal a bottle.
Bottle #61
Location. You can find a bottle when the executioner shows up. It will be in a corner of the area you landed.
Chapter 4 – Waste Wing 1
Bottle #62
Location. After falling down the slide (when executioner also appears), move along the right wall till you find a weak section. Destroy it to reveal the bottle.
Bottle #63
Location. After you place the bomb on the first pad, place another bomb on the second one. The first platform will raise to the location of the bottle (on the ledge).
Bottle #64
Location. Before destroying the 2 diamond platforms you see, smash the wall to the right.
Bottle #65
Location. After you are tele-ported, turn around and follow the path to the bottle.
Bottle #66
Location. After you place a bomb on the pad and shoot the switch behind the fragile wall, use the other path till the mushroom. Use it to get to the ledge above having the bottle.
Bottle #67
Location. After placing the two bombs on spades, head back to the first one and jump up to the higher area to get the bottle.
Chapter 4 – Waste Wing 2
Bottle #68
Location. After entering the door, the path will lead left but you will spot a tunnel to the right side where you can find a bottle.
Bottle #69
Location. After defeating the enemies, near the barred door, look for a tunnel behind the fragile while to grab a bottle.
Chapter 4 – Labyrinthine Revenge
Bottle #70

Location. Move along till you cross invisible platforms. At third platform you need to destroy the wall across to reveal the bottle.
Bottle #71
Location. In the garden maize, head right till you find weak spot on the ground which you should destroy to reveal a tunnel.
Chapter 5 – Fort Resistance
Bottle #72

Location. From the start, move along till you enter a house. The bottle is behind the wall on the lower floor.
Bottle #73
Location. Near the house area, you will find a tunnel in the corner. At the intersection, turn right to leave and then cross the invisible platforms into the house. The bottle can be found in between the two beds.
Bottle #74
Location. When the doll girl appears, don’t run for the door yet. Look for a fragile wall on the green house. The bottle is behind this wall.
Chapter 5 – Frog’s Way
Bottle #75
Location. After passing by two mobile dolls, head to the next house. Use the mushroom to get to the other floor. You will find the bottle placed beside the bed.
Bottle #76
Location. You will find another fragile wall across the invisible platforms (past the pad). Break the wall to grab the bottle.
Bottle #77
Location. You can use the mushroom to get into house 8. Look behind the wall to find a bottle.
Bottle #78
Location. Get through the green door and then destroy the weak floor to reach below. Use the mushroom there to reach the upper floor. You can find a bottle in the room along the book rack.
Chapter 5 – Downtown Cellar
Bottle #79
Location. Enter the room with spikes and follow the path to a weak wall. You need to move down the stairs along with the fragile wall to reveal a tunnel. Get inside to snatch a bottle.
Bottle #80
Location. Head back and after you break the wall, place a bomb on the pad. Use shrink to pass under the spikes and next destroy the weak floor. After you place a bomb on the pad, quickly run to the lever and then under the glass to reach the bottle.
Bottle #81
Location. You need to reach the vent through the spiked platforms and room before the time runs out. Move along and then to the left, cross the invisible platforms. In the hallway, destroy the weak wall you find to the left to get to the bottle.
Bottle #82
Location. From the place where you fought with the Dollgirl and destroyed the barrier. Cross over the spikes. Move right from the lever and enter the tunnel to the lower side. Destroy the weak wall at the end and continue along that path till you reach a split point. You can find the bottle to the left corner of the spiked room.
Bottle #83
Location. From the lit platform, move along the walkway below and then turn right form the end. You can find the bottle beside the snout.
Chapter 5 – Fort Resistance Delivered
Bottle #84
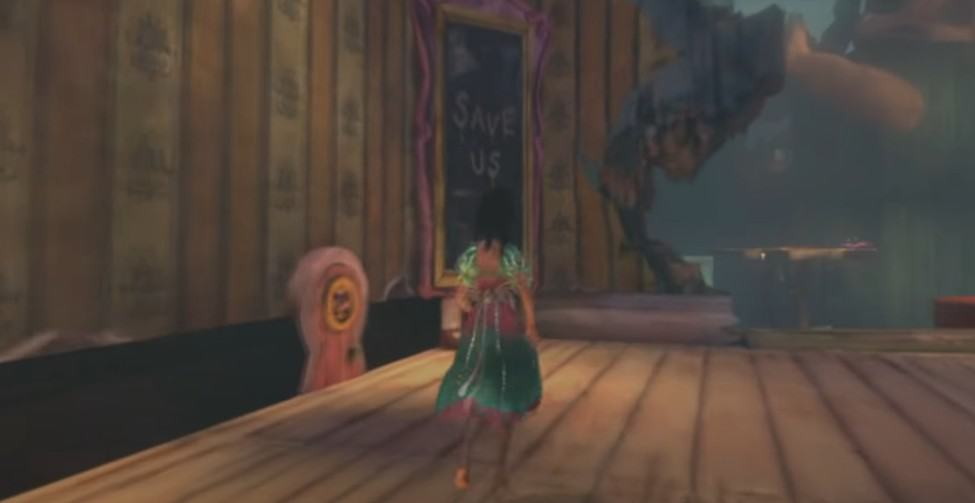
Location. Look for a mirror that says “SAVE US”. You can find a bottle behind the tunnel.
You can check our other Alice Madness Returns collectible guides for memories, snouts, radula rooms, and rose paints.