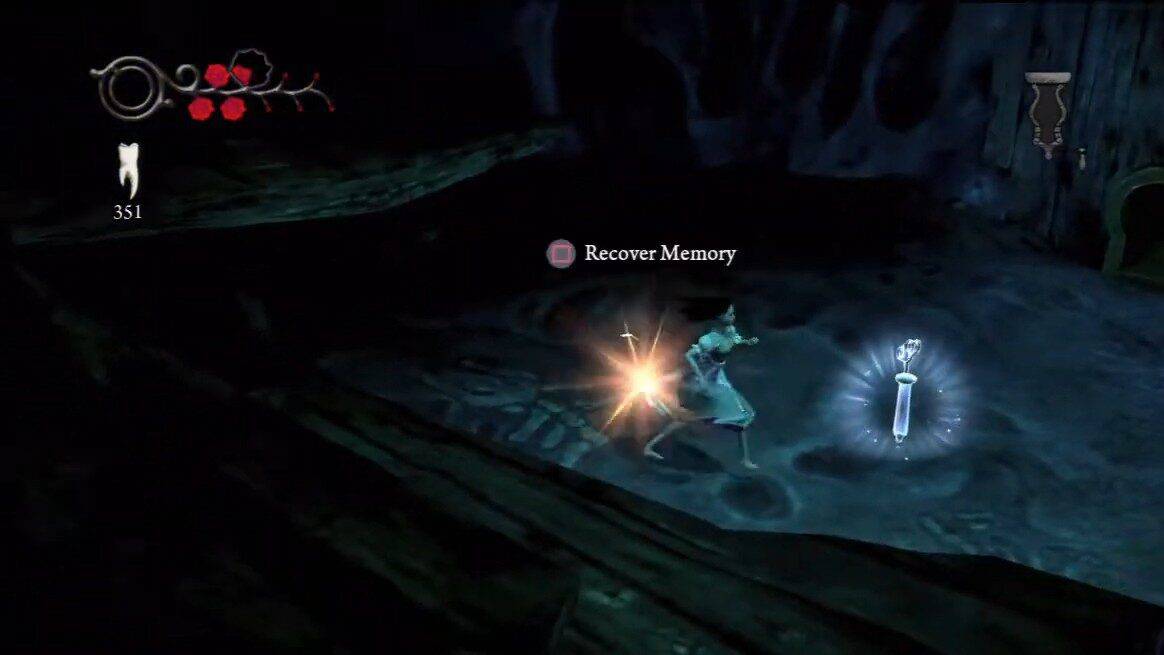
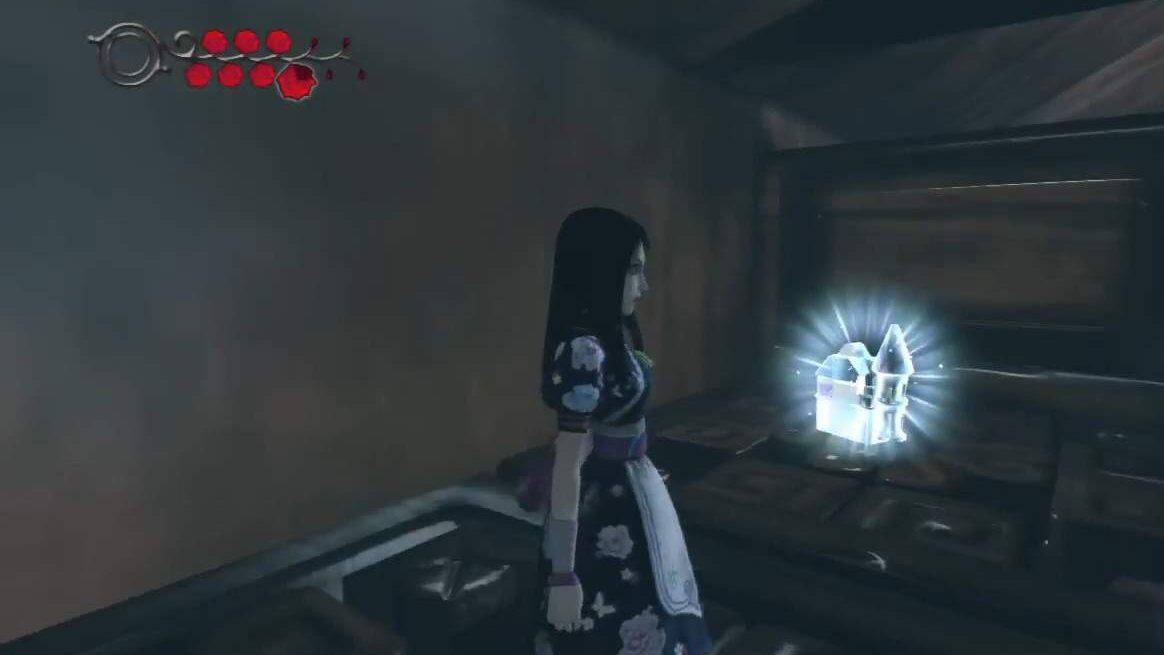
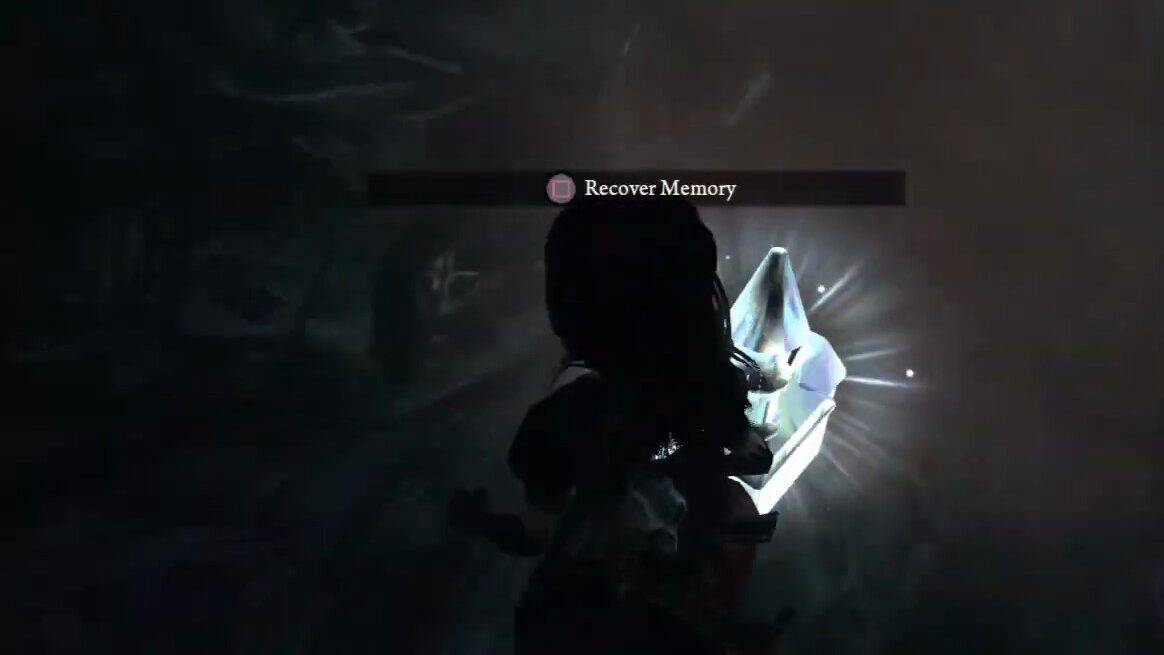
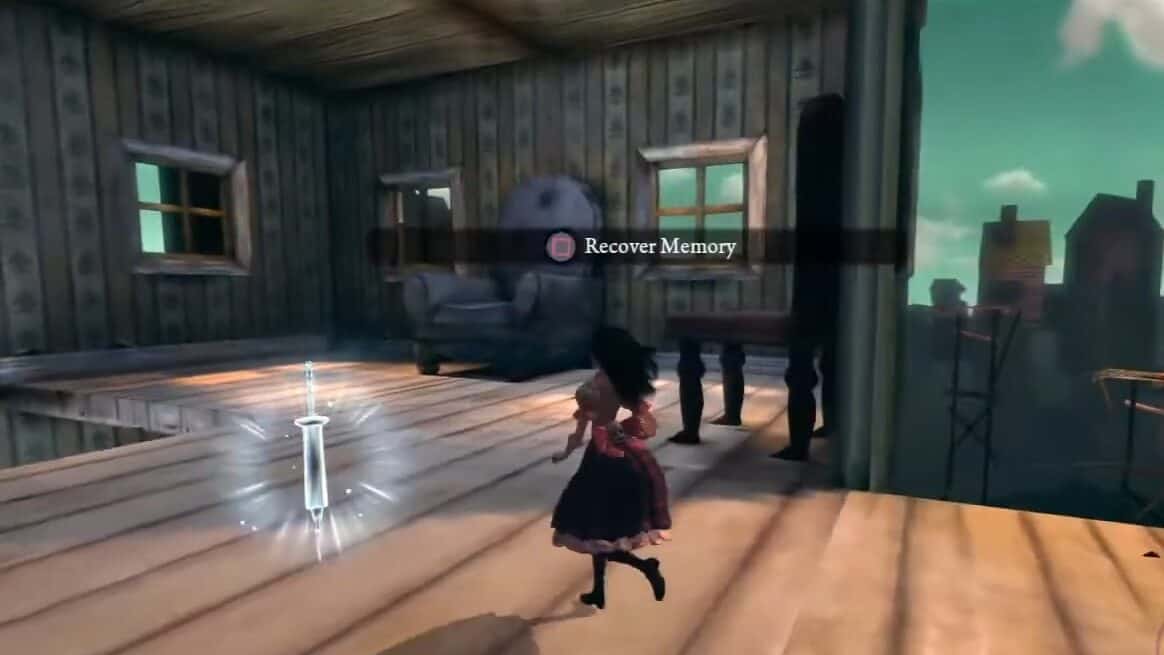
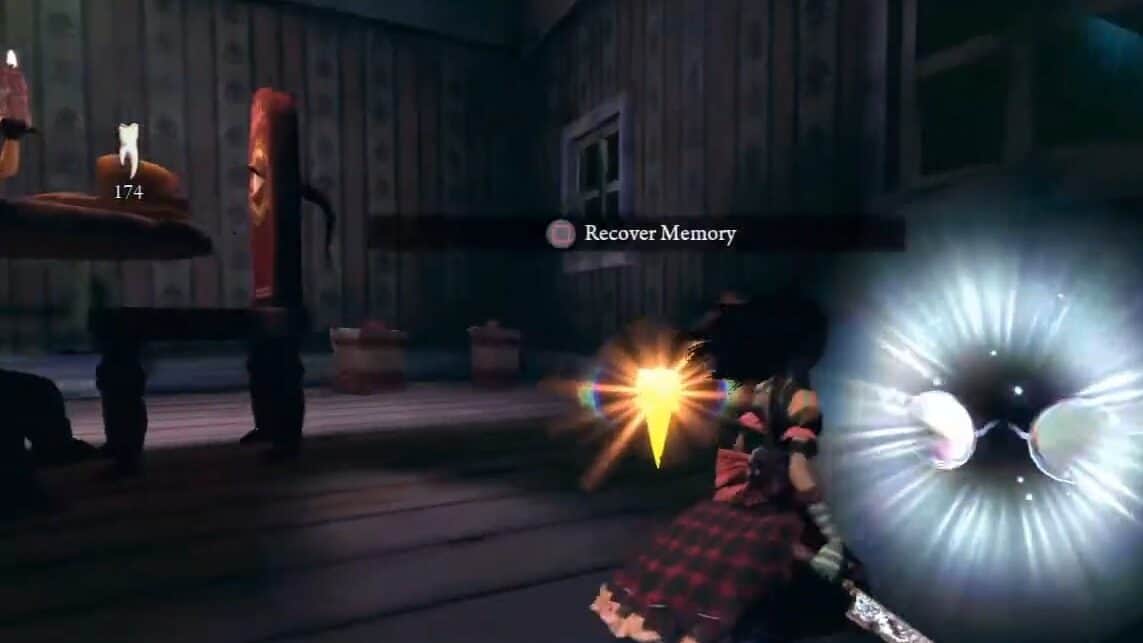
Memories are just one of the many collectibles you can pick up in Alice: Madness Returns, along with Snouts, Redula Rooms, Dresses, and more. Doing so solves the mystery of her family’s demise and what exactly happened on the night of the fire.
Finding the Liddel Memories unlocks the Family Memories Fond and Faded achievement/trophy while finding all memories unlocks the Everything Fit to Remember achievement/trophy. In this guide, we’ll explore the locations of every memory in Alice: Madness Returns.
Chapter 1 – The Vale of Tears
Memory #1 Liddell
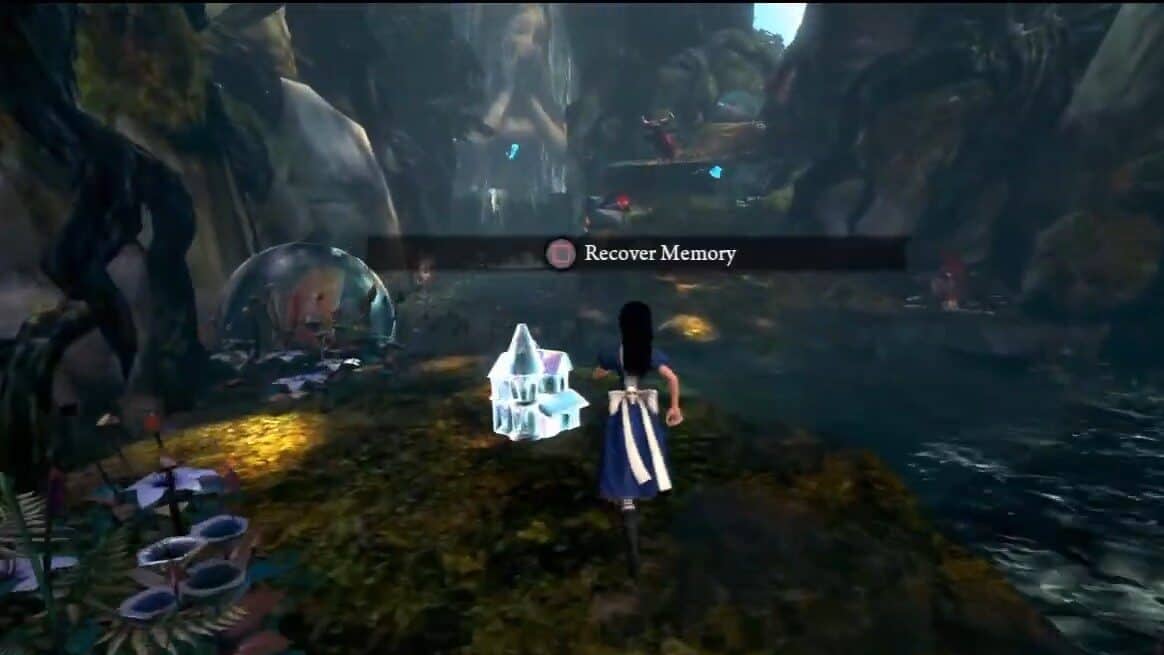
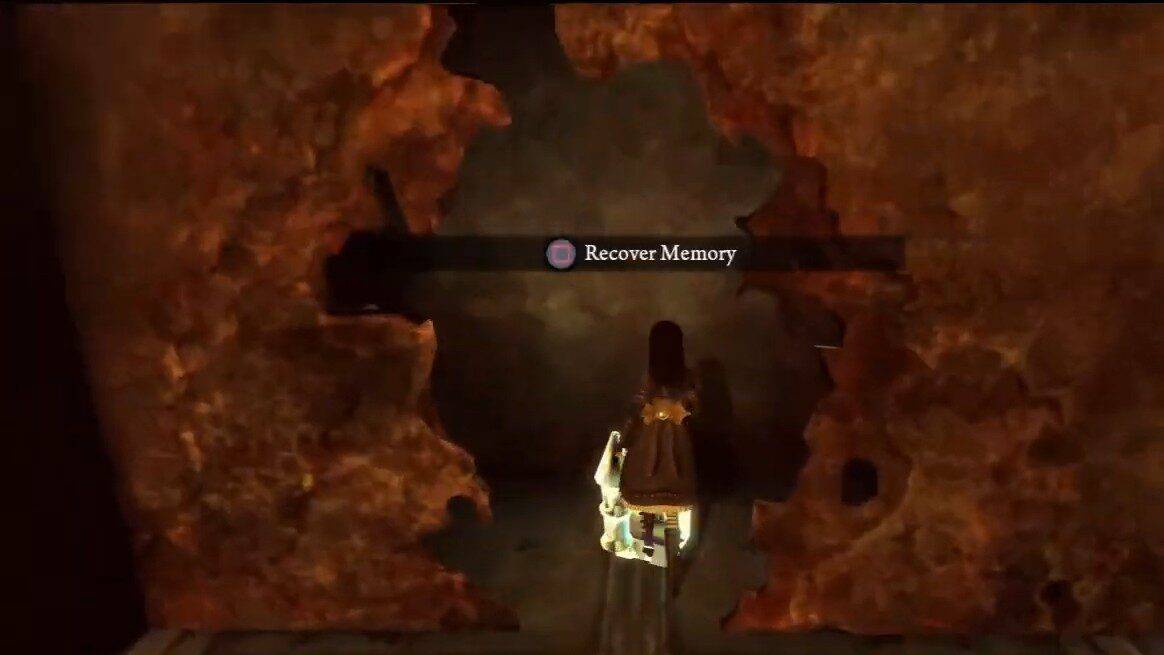
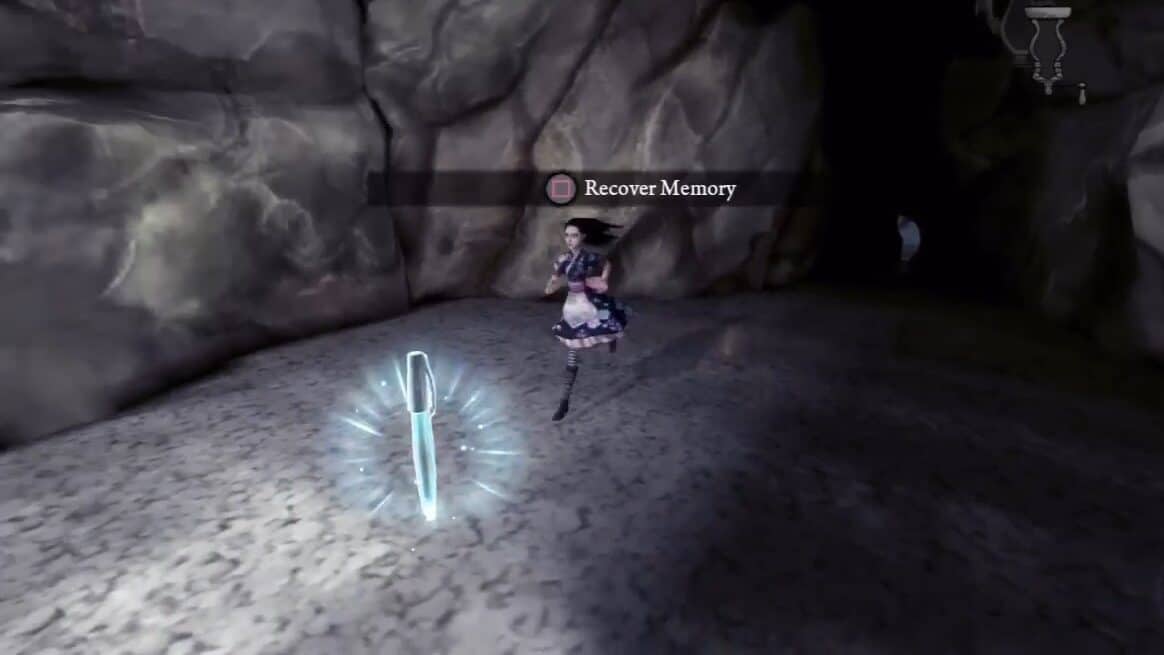
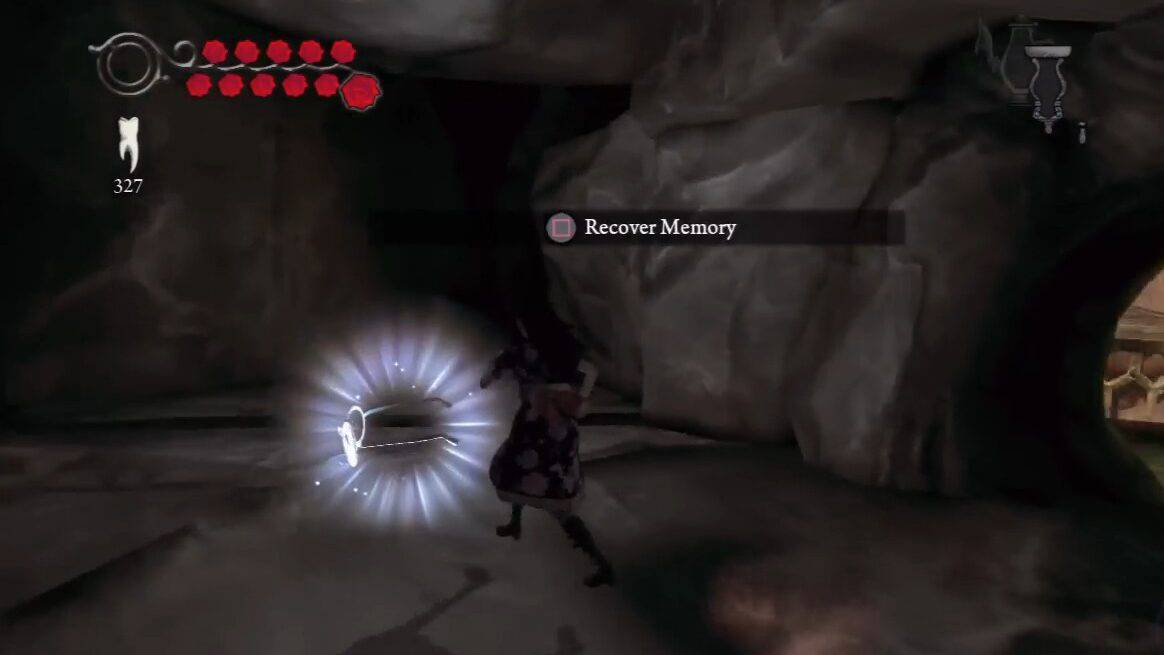
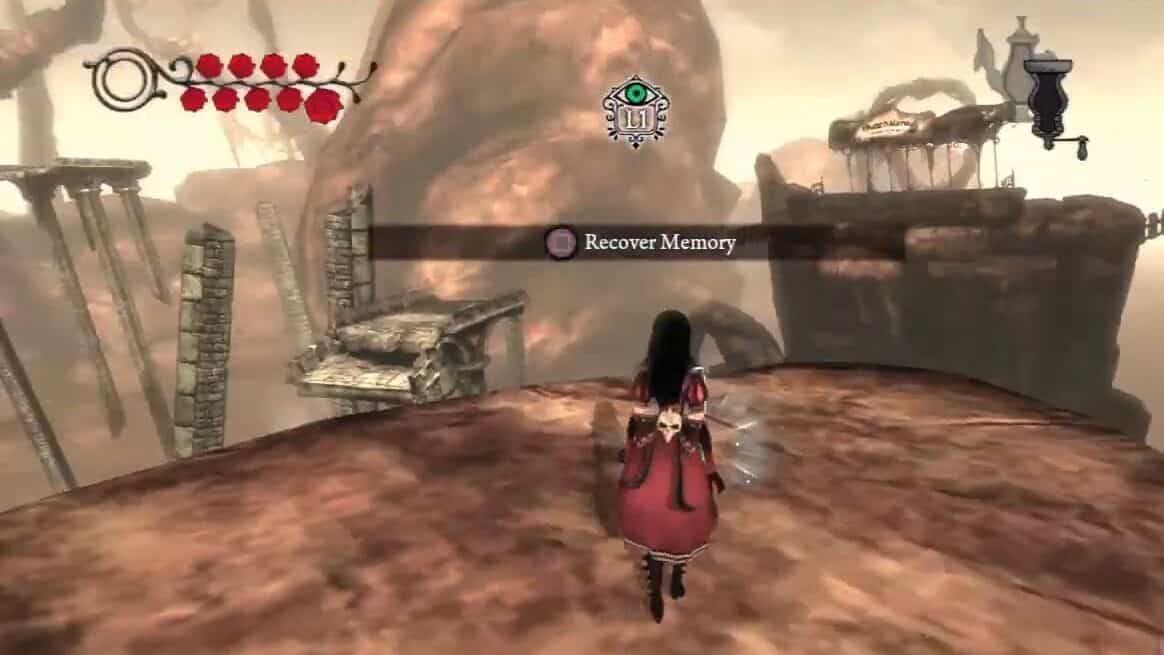
Location. Follow the path you are on after speaking with the cat, and you will find it in front of you.
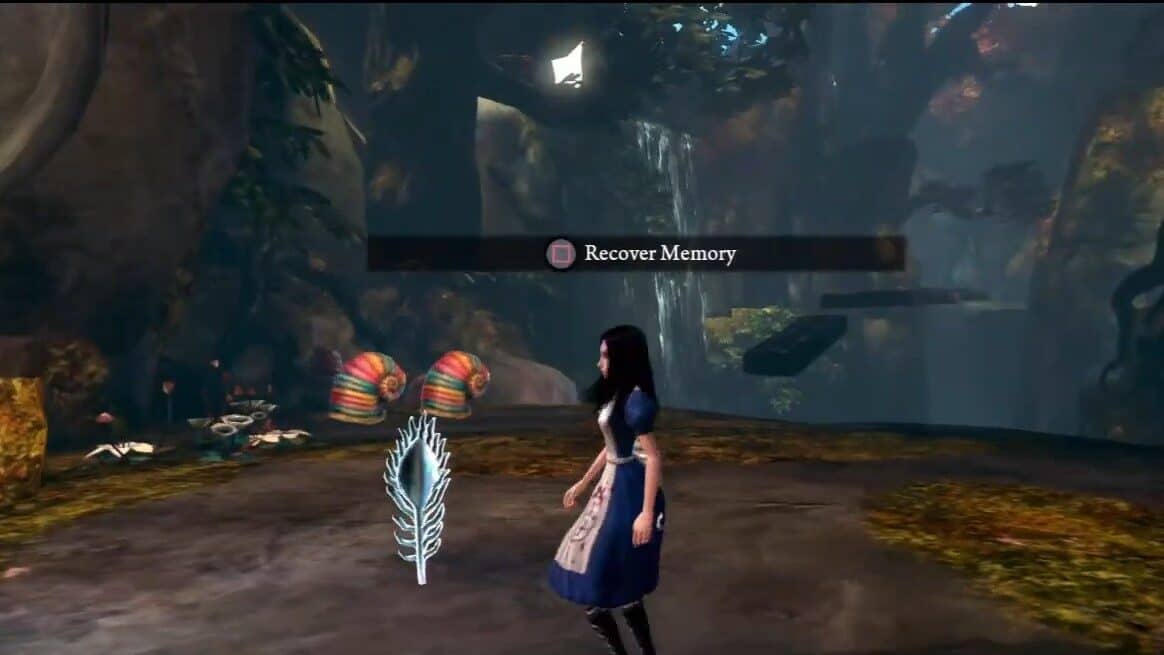
Memory #2 Liddell
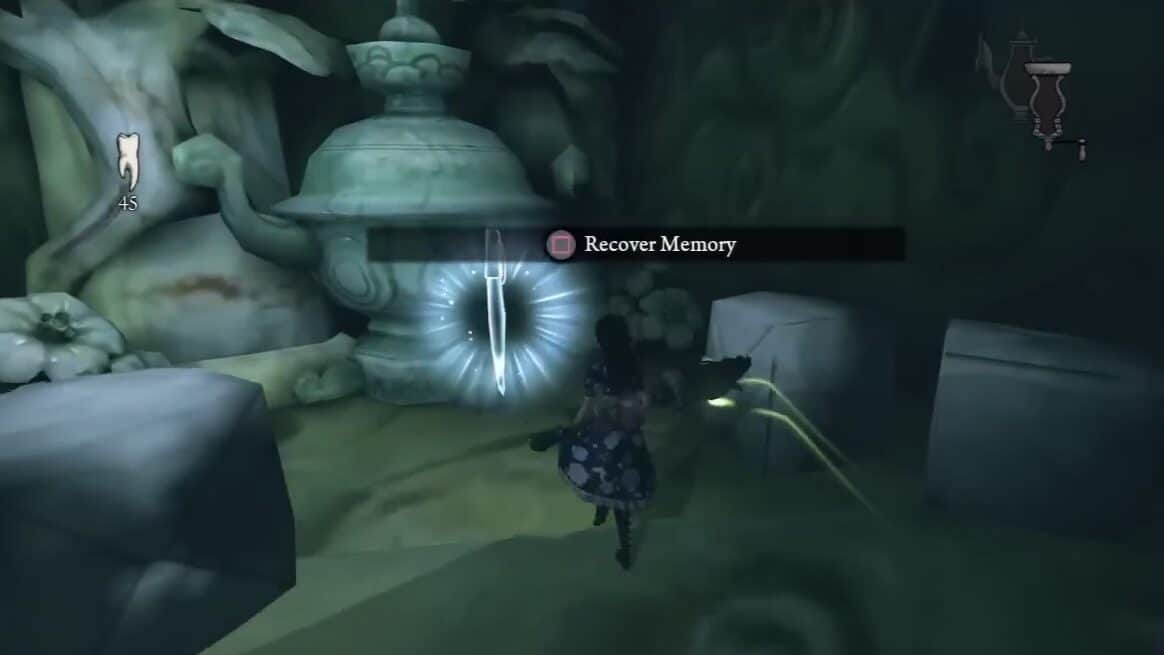
Location. As you jump across the platform and jump on the upper ledge, you will reach that statue of a sad lady near the waterfall. You have to jump across all those wooden stages and then fall down where you are going to find it in front of you.
Memory #3 Liddell
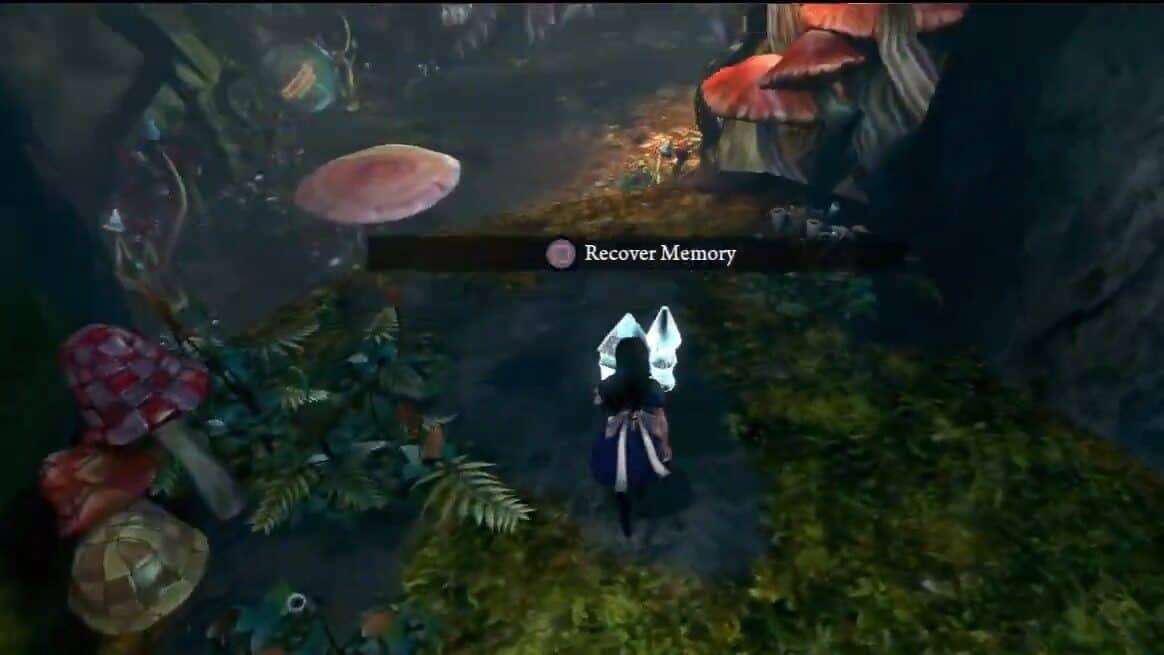
Location. You are going to take a straight pathway and jump over the mushrooms. The mushroom that will send you higher to another platform will have a memory behind another mushroom on that platform.
Memory #4 Dr. Wilson
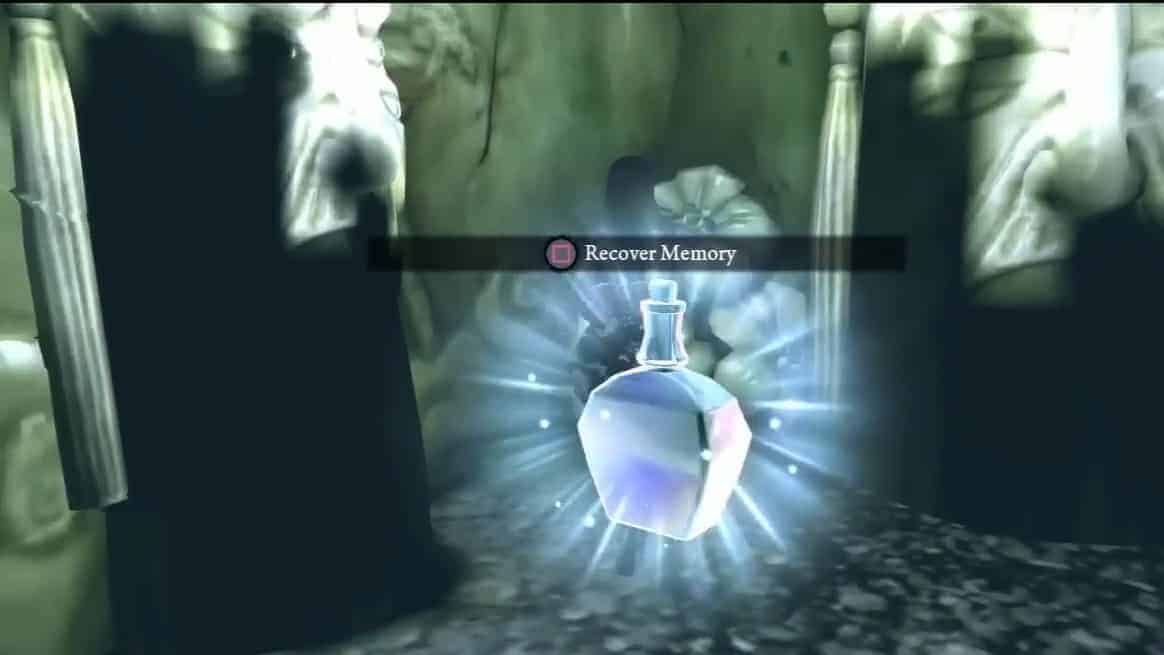
Location. The mushroom near which you found Memory #3 is going to push you higher and you will reach a giant bottle where you are going to find another memory.
Memory #5 Liddell
Location. Follow the path to reach a room after shrinking yourself to go through the two tunnels. Next, locate a blue mushroom at the end of the tunnel. Look towards the left, where you’ll spot a rock. The memory is behind the rock.

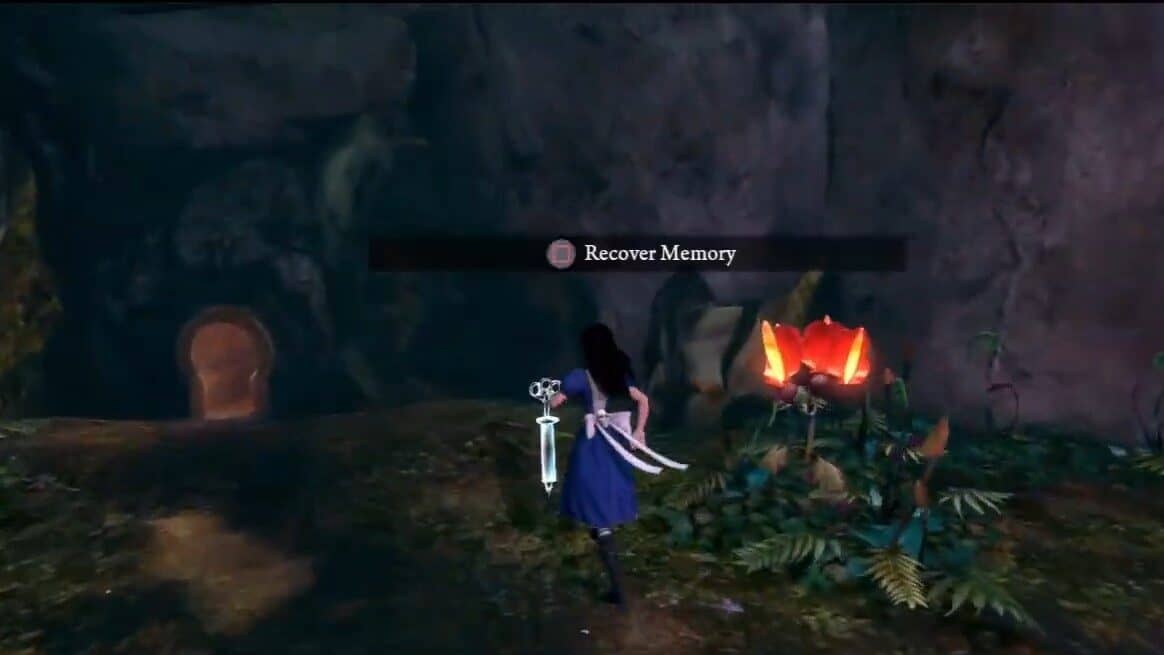
Chapter 1 – The Vorpal Blade
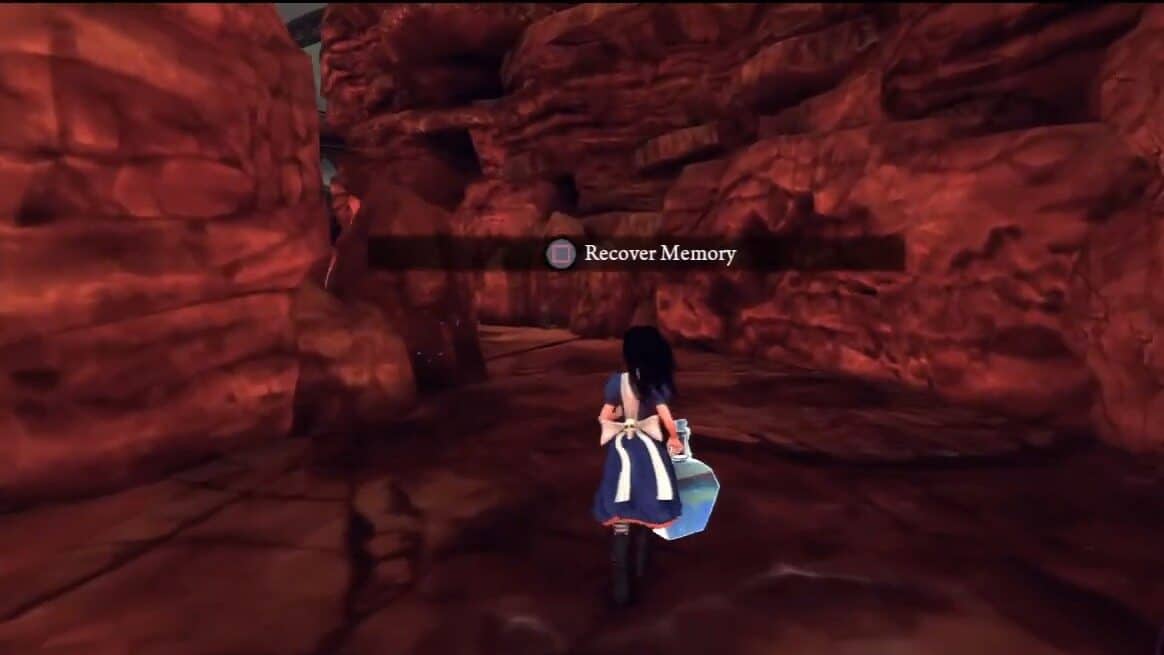
Memory #6 Dr. Wilson
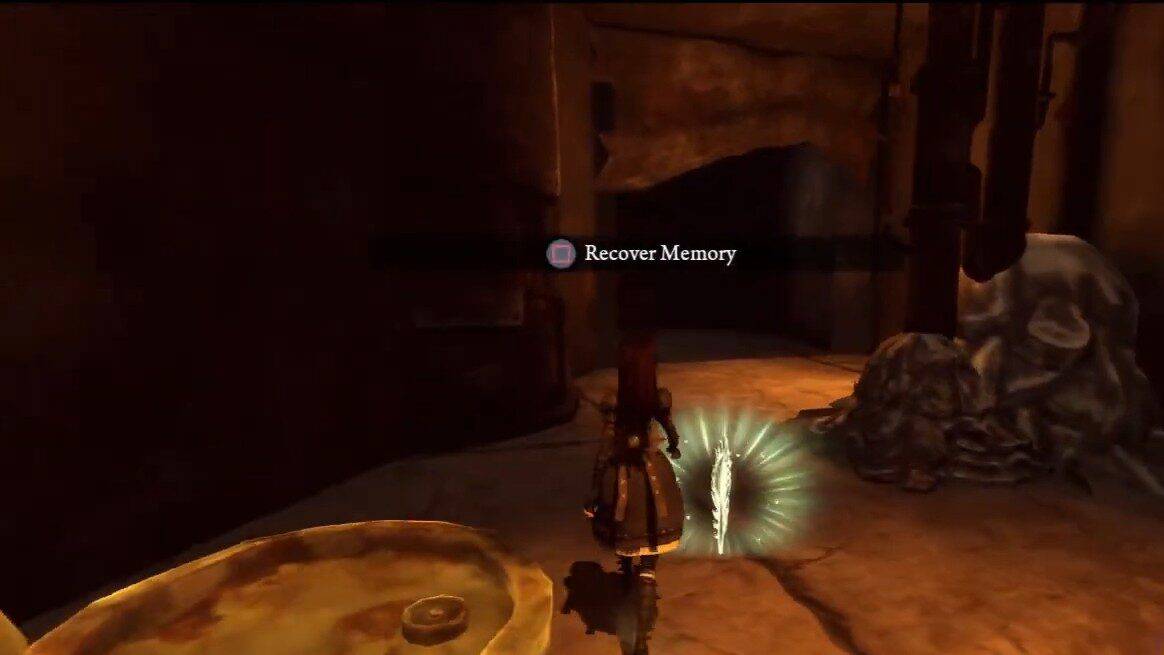
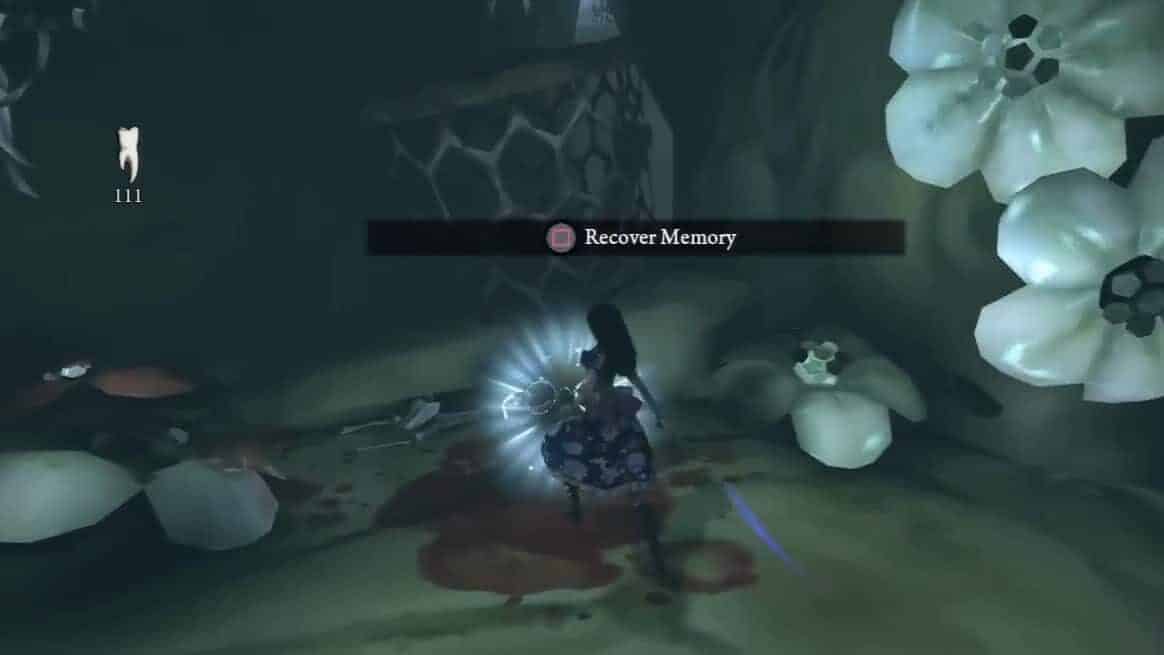
Location. You’ll come upon a couple of bones after you complete the slide section in this chapter. The memory can be found to the left of bones in the river of blood.
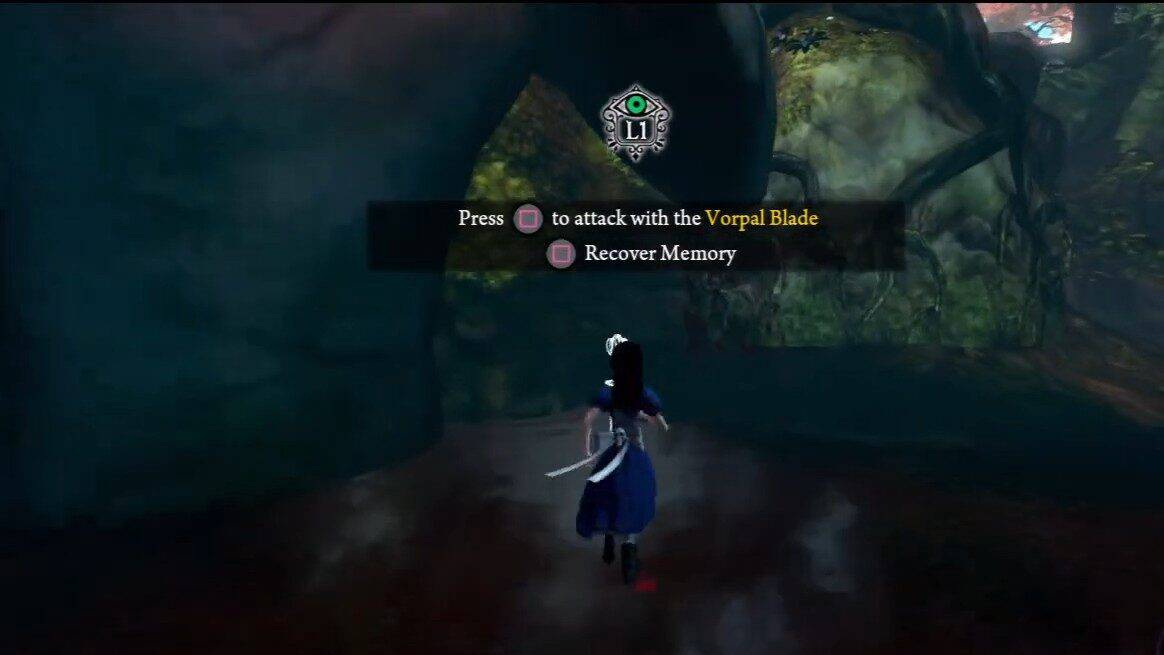
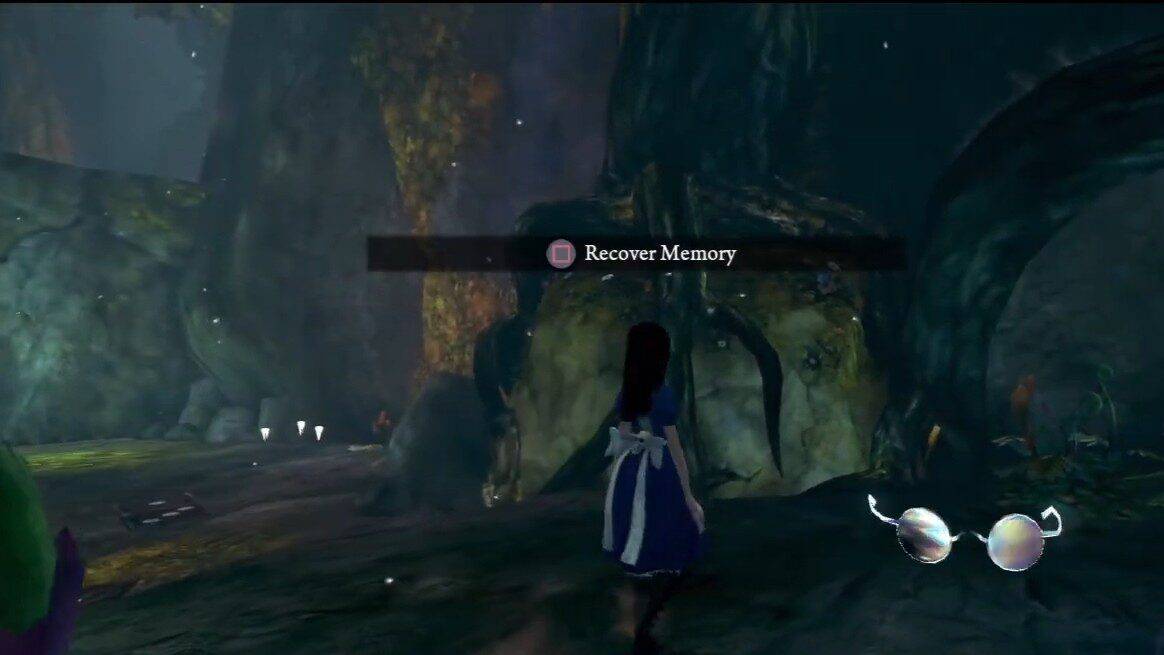
Memory #7 Bumby
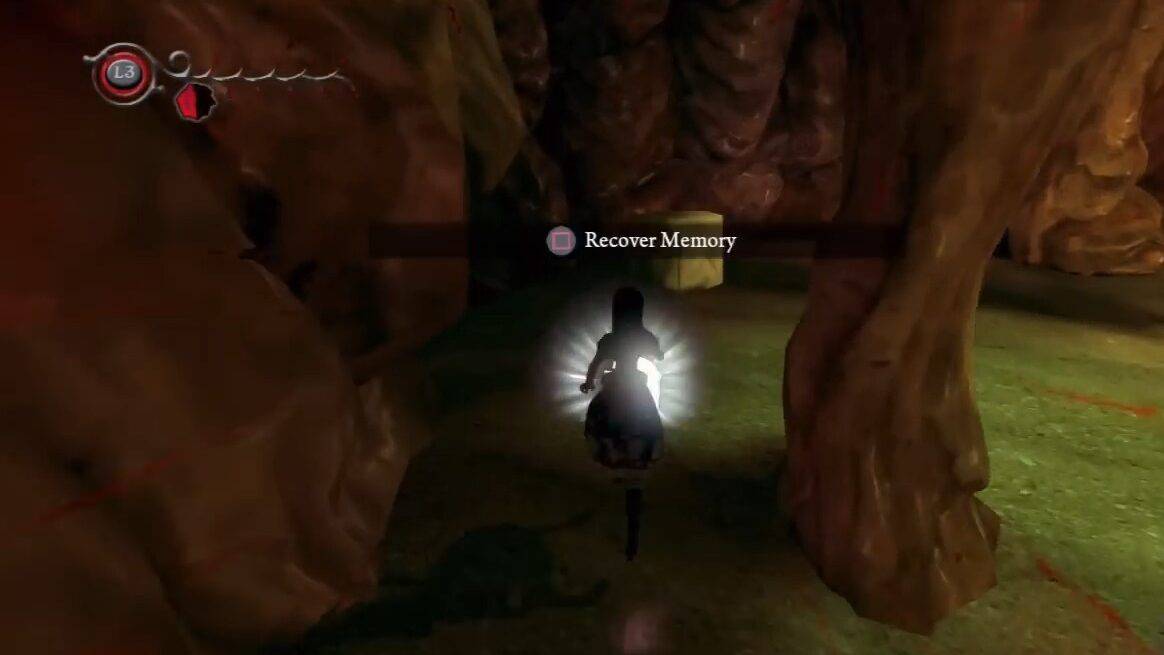
Location. Go through the new path that opens up when you defeat Ruin. Look for this memory on your right as you pass underneath the tree.
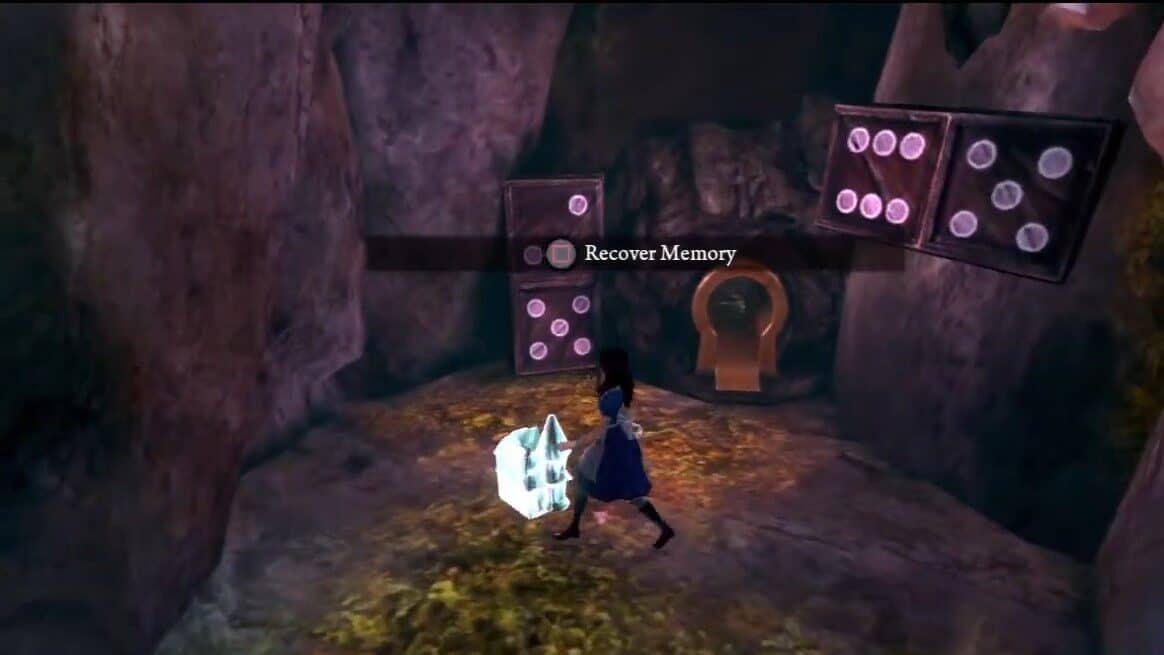
Chapter 1 – Pepper Grinder
Memory #8 Nanny
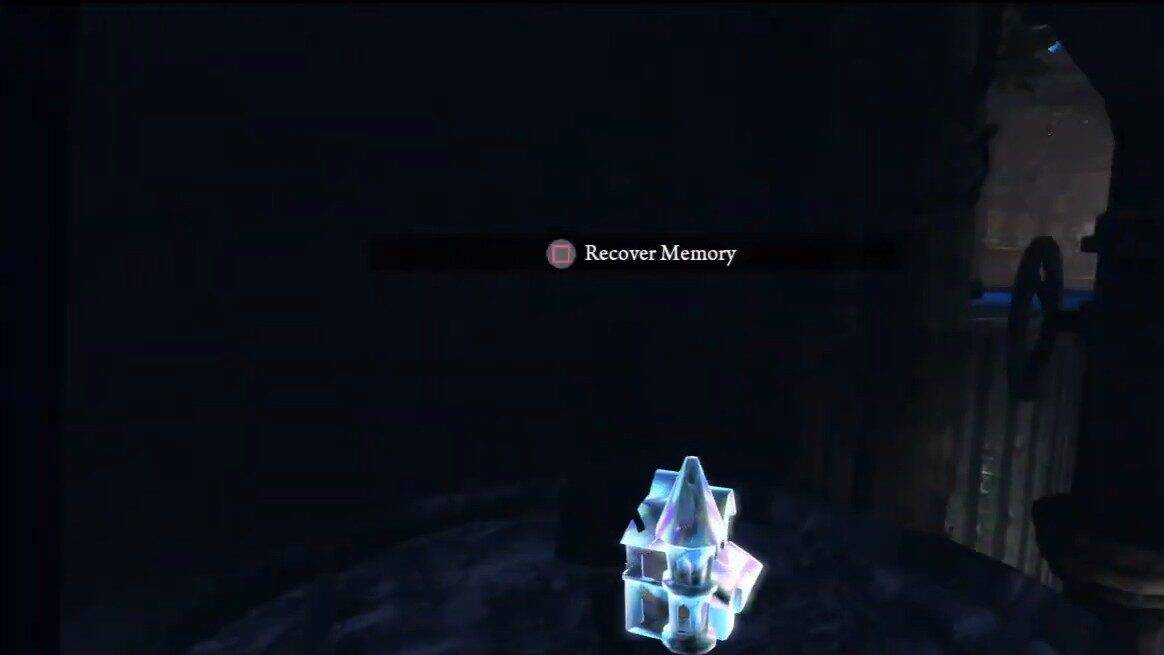
Location. Make your way to the waterfall. Here, you’ll have to shrink yourself to find a hidden path the lower area of the waterfall. Cross the path, and then use a mushroom to make your way back up. Jump across the domino platforms to the next section. Look for the memory on the third platform in front of the snow globe.
Memory #9 Bumby
Location. Come back and continue on the path. Take right after you come across lava dischargers, and jump to the next platform. Look for the memory on the high platform in this section.

Memory #10 Pris
Location. Once you complete the railway tunnel section, you’ll need to locate a walkway as there will be a large gap in front of you. Use your shrink ability and keep to the right until you find a false rock. The walkway will be behind this rock. At the end of the tunnel is a bottle, return and go across the walkway, you will find the 10th memory in front of you as you pass the hidden walkway.
Chapter 1 – Hatter’s Domain
Memory #11 Liddell
Location. Take a left for this memory after using the first steam vent.
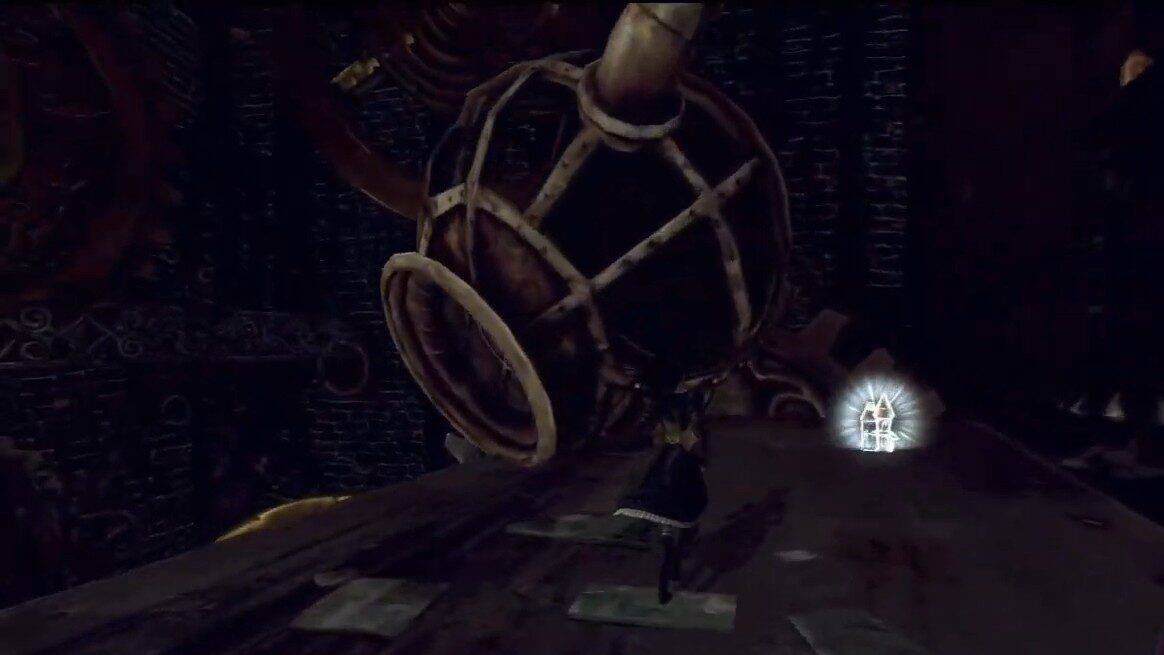
Memory #12 Liddell
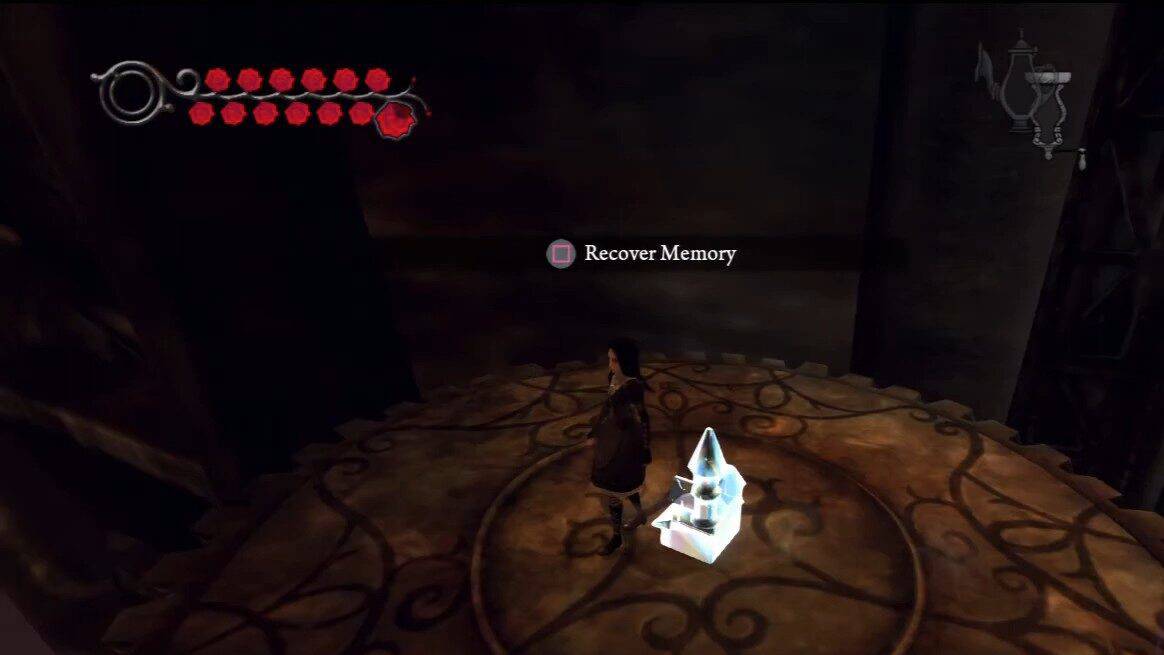
Once you pick up memory #11, make your way to the platform that has a giant gear in front of it. Use your shrink ability then turn back around, here you’ll be able to spit a couple of invisible platforms. Follow the path of the platforms until you reach a hole. The memory is inside.
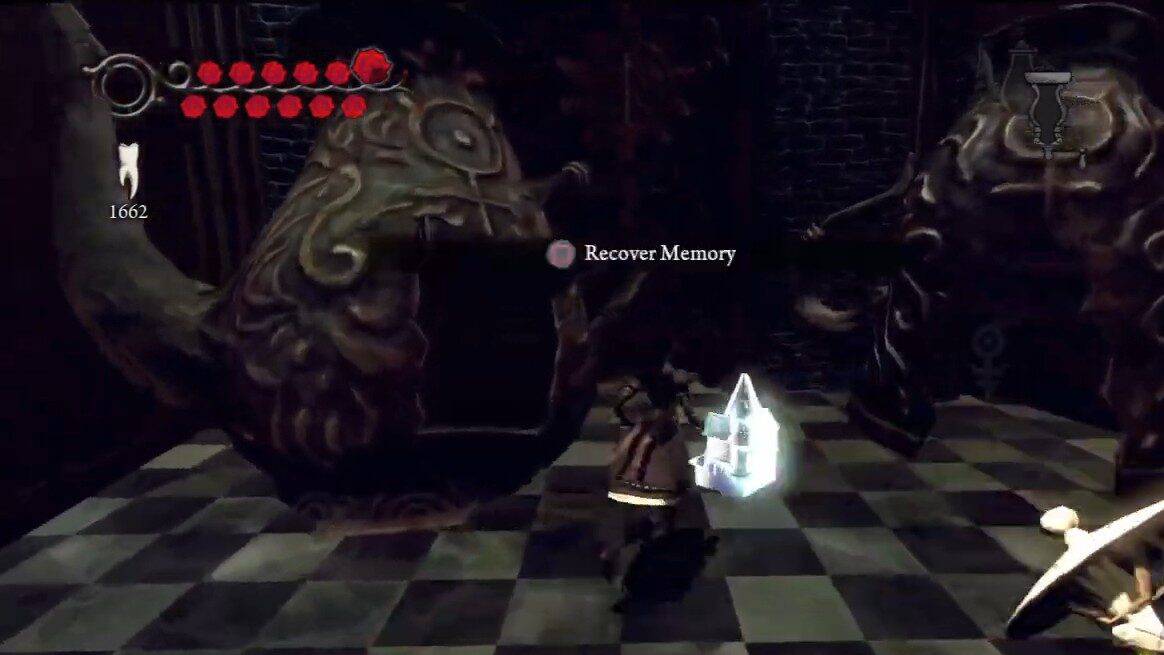
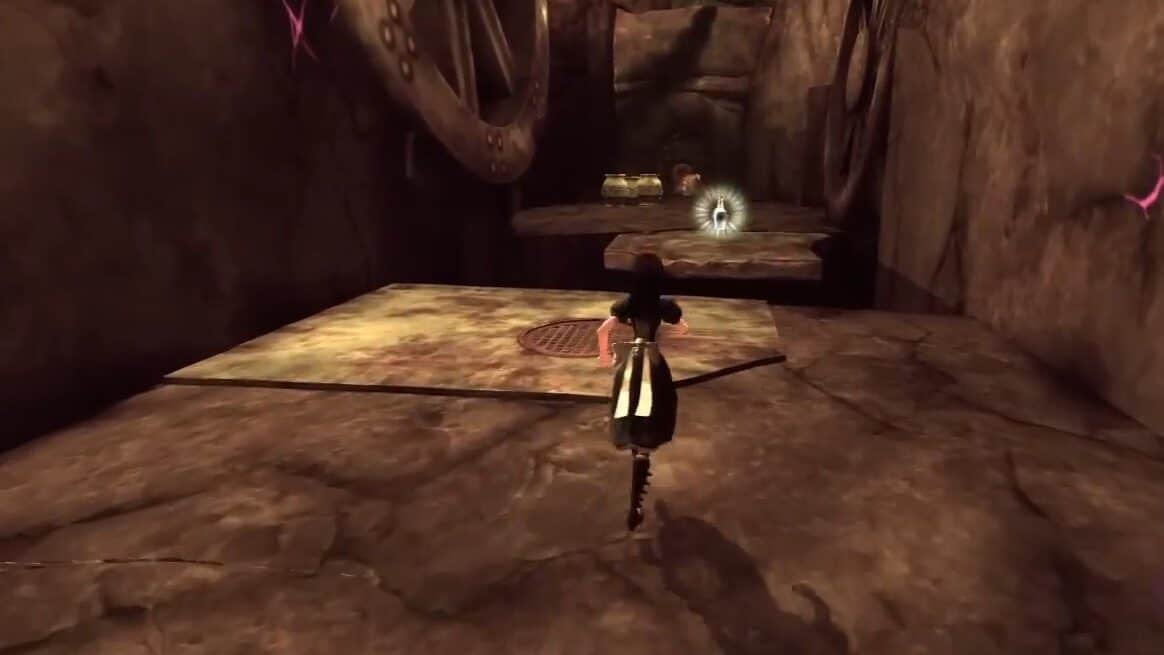
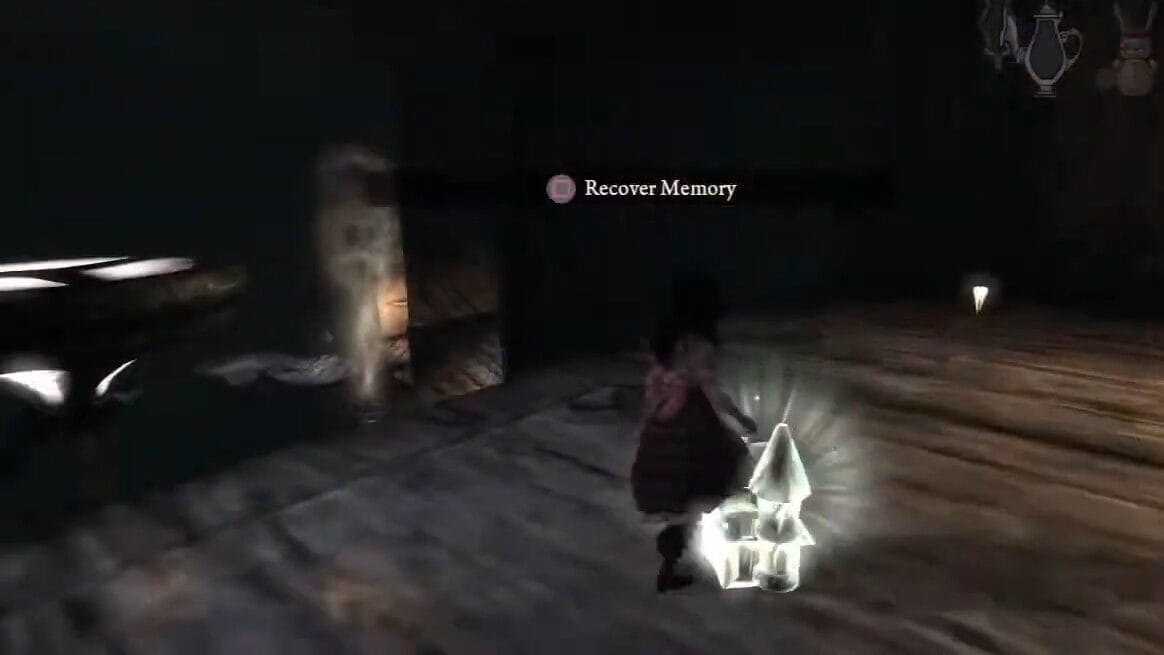
Memory #13 Liddell
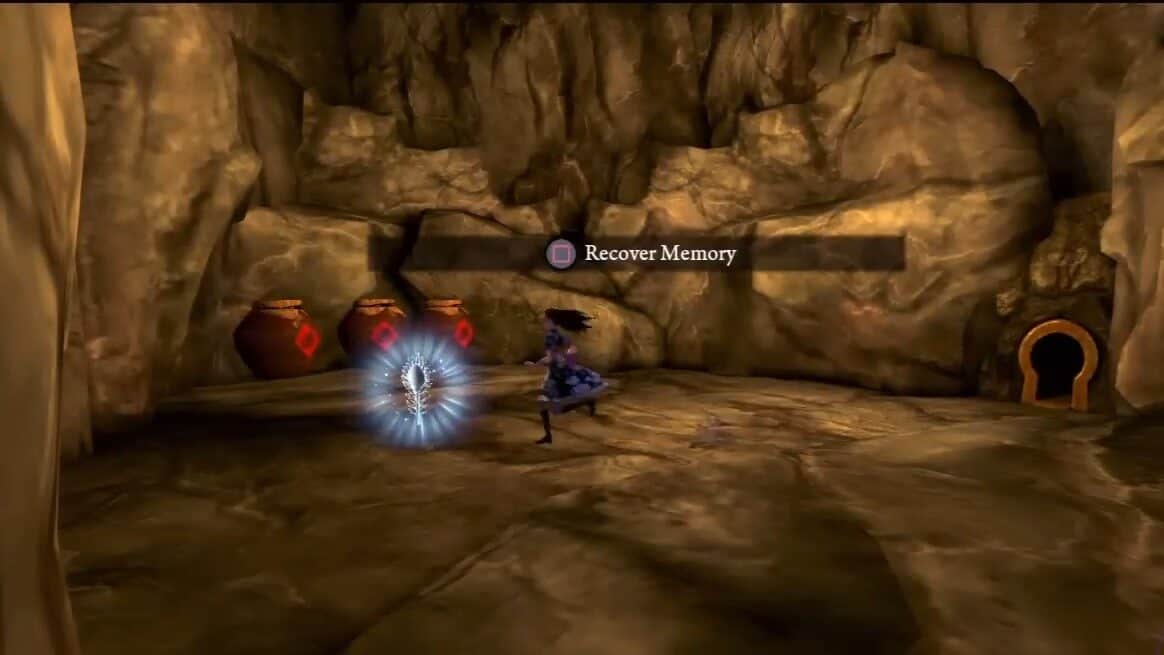
Location. Exit the hole and jump down to the large hole. Follow this room to the end, and you will find the memory at the end of the room between two big tea pots.
Memory #14 Pris
Location. Reach the area on top using the vent after you leave the previous area. Once you’re on top, enter the wall below. There will be another secret pathway here. Memory #14 is at the end of this pathway.
Memory #15 Dr. Wilson
Location. Exit the previous area and then use the vent in front of you to get on top of the highest platform in this section, there will be another tunnel here. The memory can be found at the end of the tunnel.
Chapter 1 – Clockwork Bomb
Memory #16 Liddell
Location. Use the tunnel that is found in the Lost and Found area, the memory is found at the end of it.
Chapter 1 – Umbrella
Memory #17 Alice
Location. Automatically obtained as you pass through the door. Can’t miss.
Memory #18 Dr. Wilson
Jump across the gap from the right side of the platform after defeating Ruin to reach #17 memory.

Chapter 1 – Smelling and Regurgitating
Memory #19 Liddell
Location. Look for the memory on the right platform after you defeat the eyepots.
Memory #20 Nanny
Location. After you’ve defeated the eyepots, make your way to the bottom floor by turning on the valve. Use shrink to find a hidden pathway once you’ve made it onto the second platform. Memory #19 is at the end of this tunnel.
Memory #21 Liddell
Location. Before you leave the area, return to the central room. Make use of the pot to reach the highest pot in the room. The memory will be found here.
Chapter 1 – Cranking Up & Pressing Down
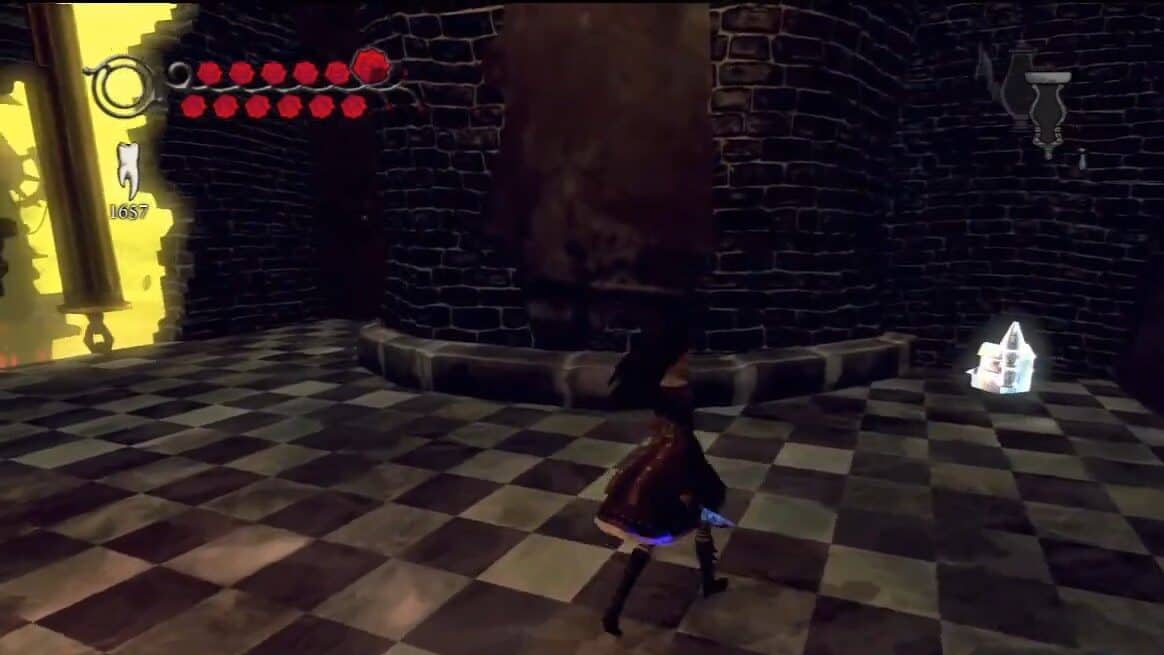
Memory #22 Radcliffe
Location. Use the switch at the top of the path to lower a platform. Cross the platform to enter the next room. When you enter the room, you will notice some crates, shoot them to get this memory.

Memory #23 Bumby
Location. After you defeat the crushing hands, you will notice a new switch appears. Don’t shoot the switch just yet, take the metal gate on the right to find this memory behind it.

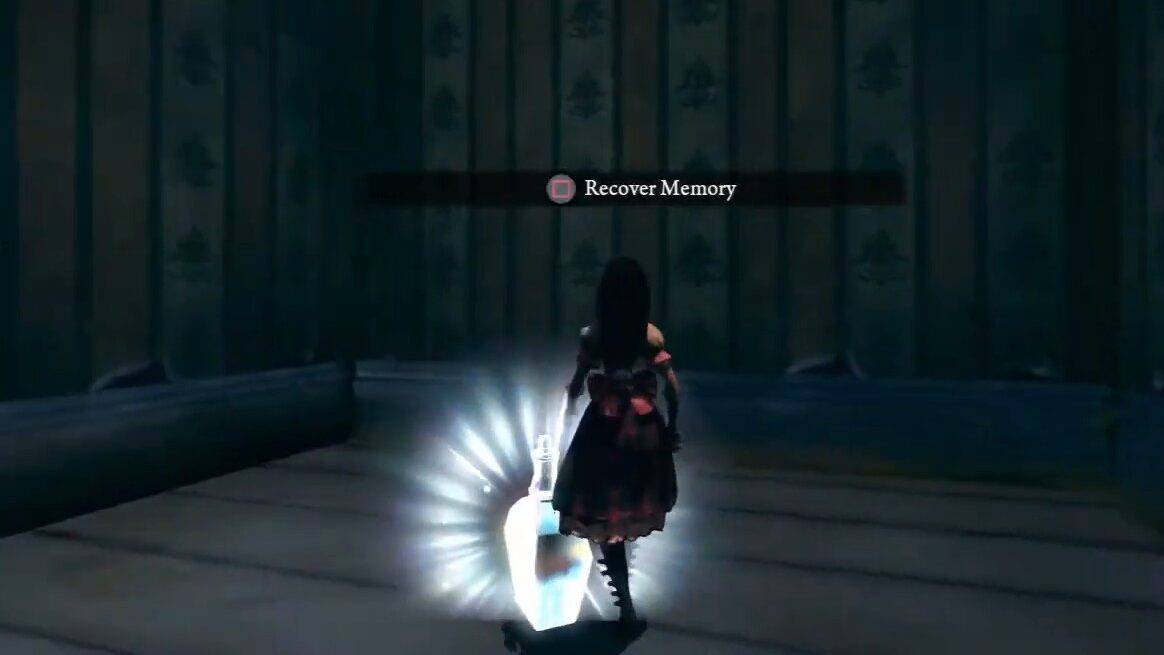
Memory #24 Liddell
Location. Location. You can find this memory in the open cage in the Dodo Miserarium.

Chapter 1 – Assemblage (or Destruction)
Memory #25 Liddell
Location. You can find this memory on the upper gear at the start of the area as you jump between platforms.
Memory #26 Liddell
Location. Enter the inside of the area where you found the last memory. Defeat enemies and go through the next room. On the left wall, there is a tunnel. The memory is found at the end of it.
Chapter 2 – Tundraful
Memory #27 Bumby
Location. After you acquire the Hobby Horse that acts like a hammer. Smash the sharks using it and then jump to the next area and then turn right. Smash the icy structure again with Hobby Horse and jump across the gap. You will find the memory in the fragile ice on the above platform.
Memory #28 Nanny
Location. Get back and use the mushrooms. Get rid of the ice and drop down to deal with some more sharks. You will spot a big frozen fish on your right side. If you use the shrink, you will discover a hidden pathway. You will find the memory at the end of this pathway.
Chapter 2 – Sliding Towards Oblivion
Memory #29 Pris
Location. Memory #29 is found near the ice way section, this is also where you’ll find Snout #4. Once you pepper the snout, a piece of ice will fall down. You can use it to bounce up. Bounce up and then use the mushroom to the highest point then simply follow the passage to pick up the memory.
Chapter 2 – Naval Disaster
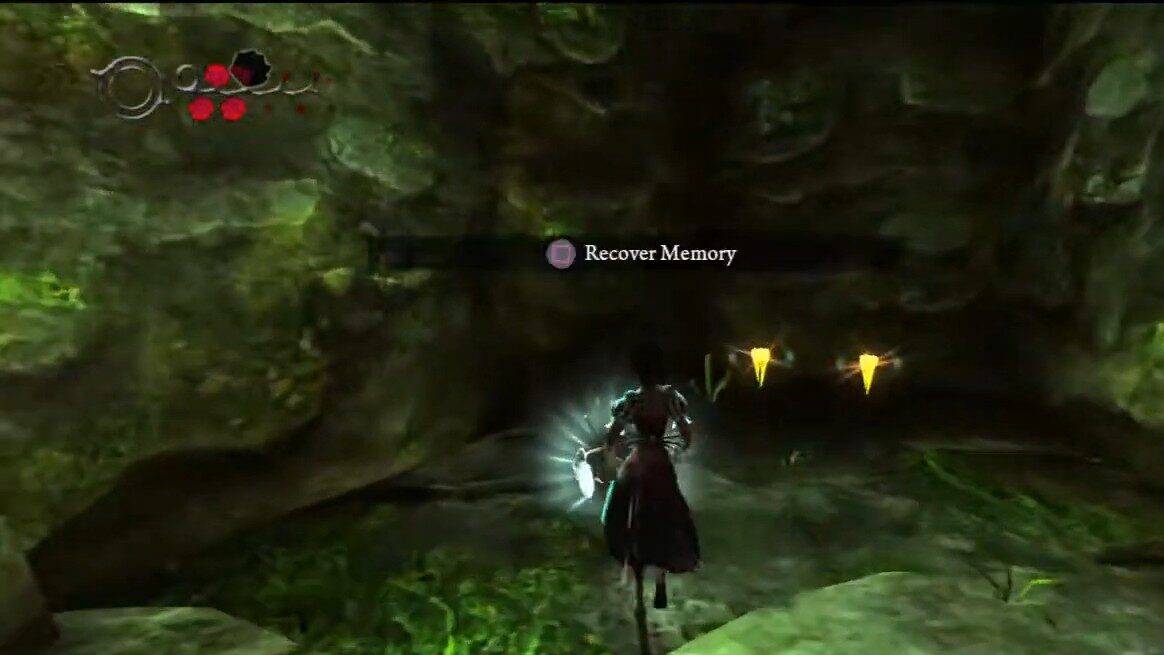
Memory #30 Radcliffe
Location. Turn around and smash the coral at the start. The memory can be found at the end of the tunnel.
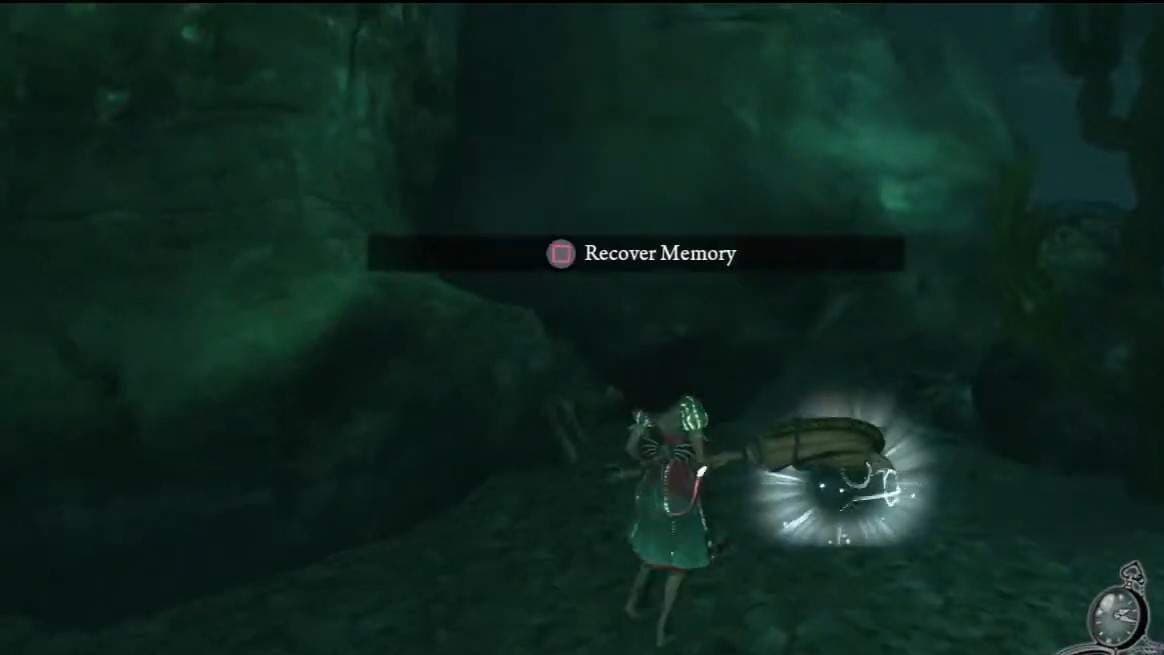
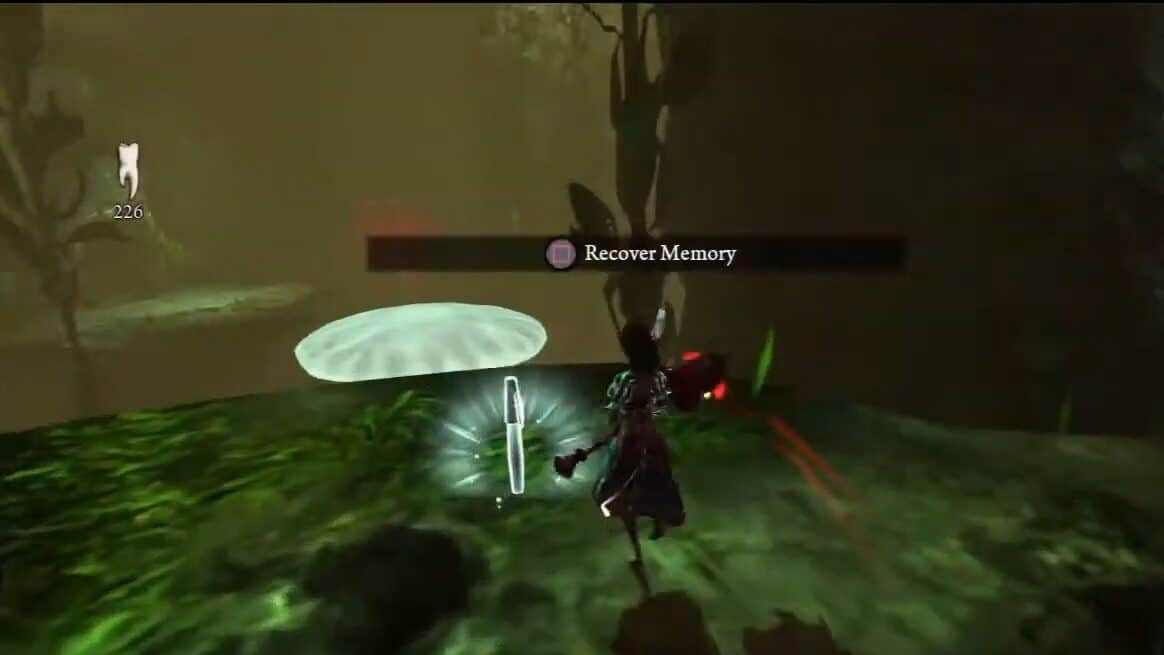
Memory #31 Alice
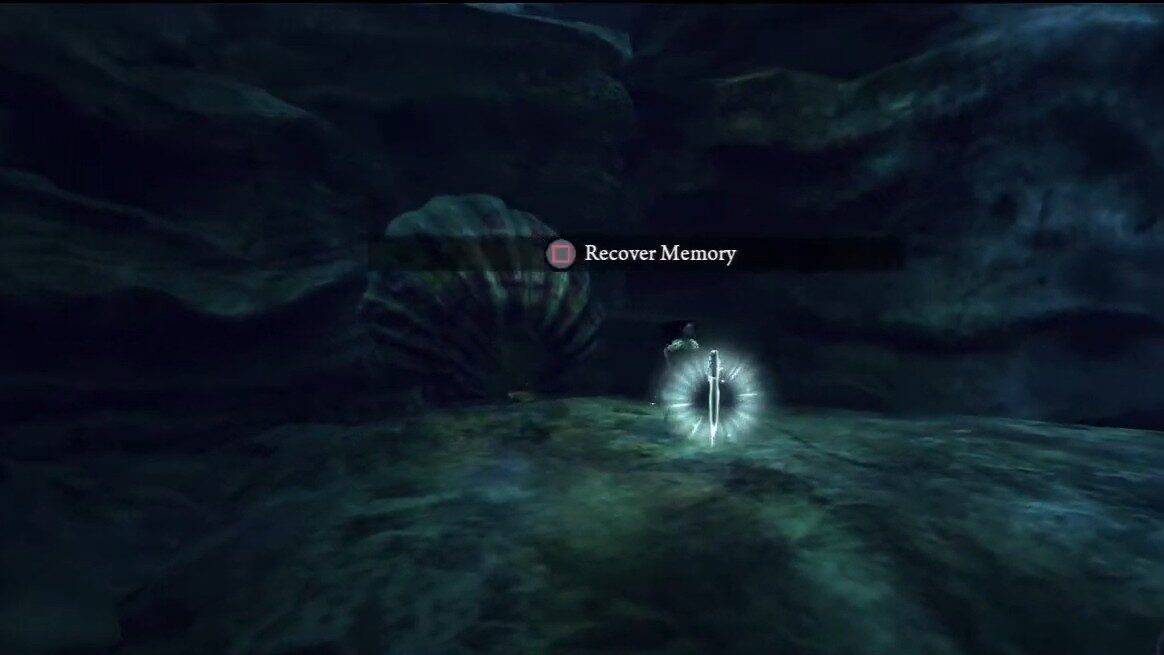
Location. Don’t go across the jellyfish to the right rather jump to the clam ahead of you. After using the geysers as you move across the coral to a door, you will attain a memory.
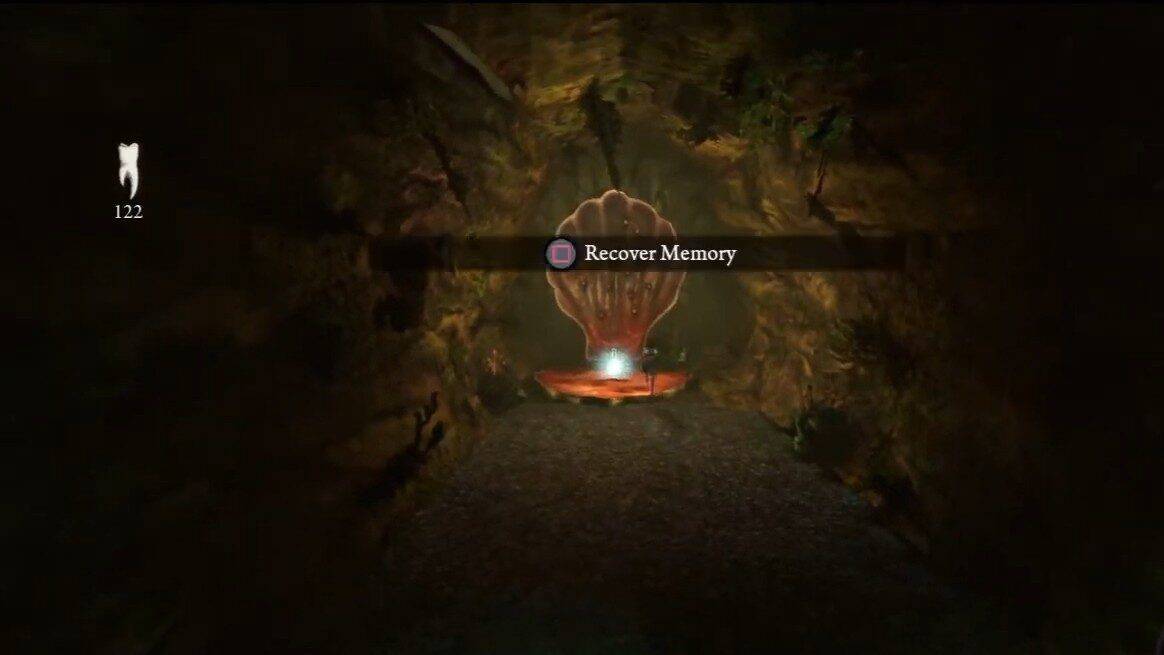
Memory #32 Liddell
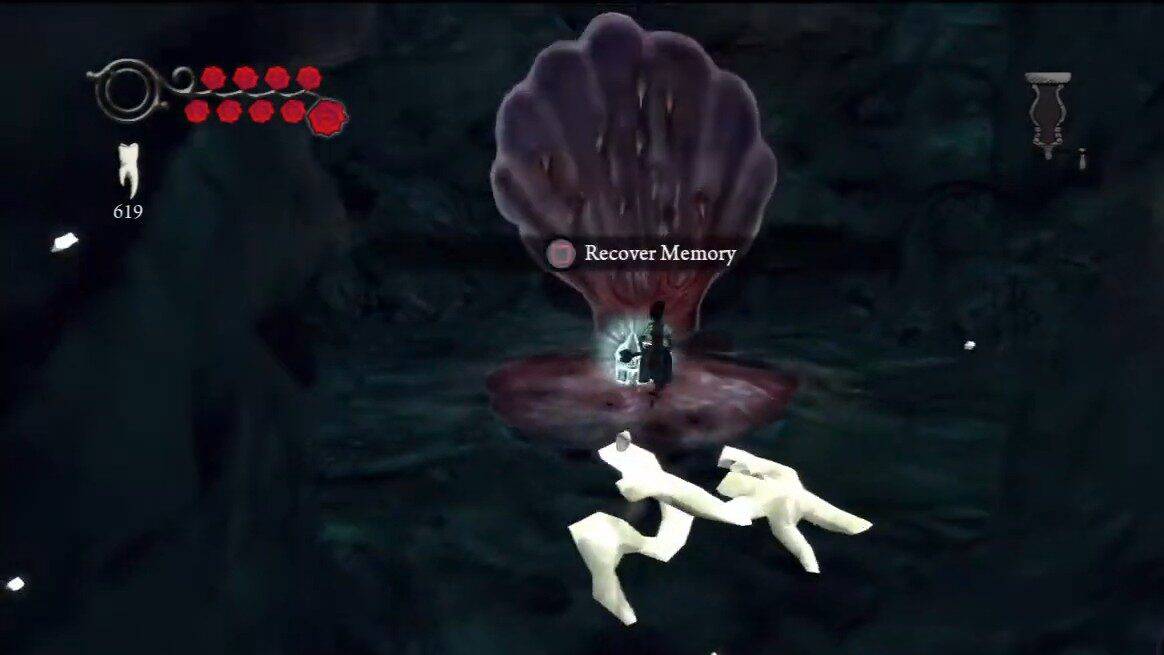
Location. First route the Lost Soul at that point locate the undetectable stages on the left side and head over the hole to another stage. Next, get rid of the coral and you’ll find the memory sitting on a clam.
Chapter 2 – Barrel Bottom
Memory #33 Liddell
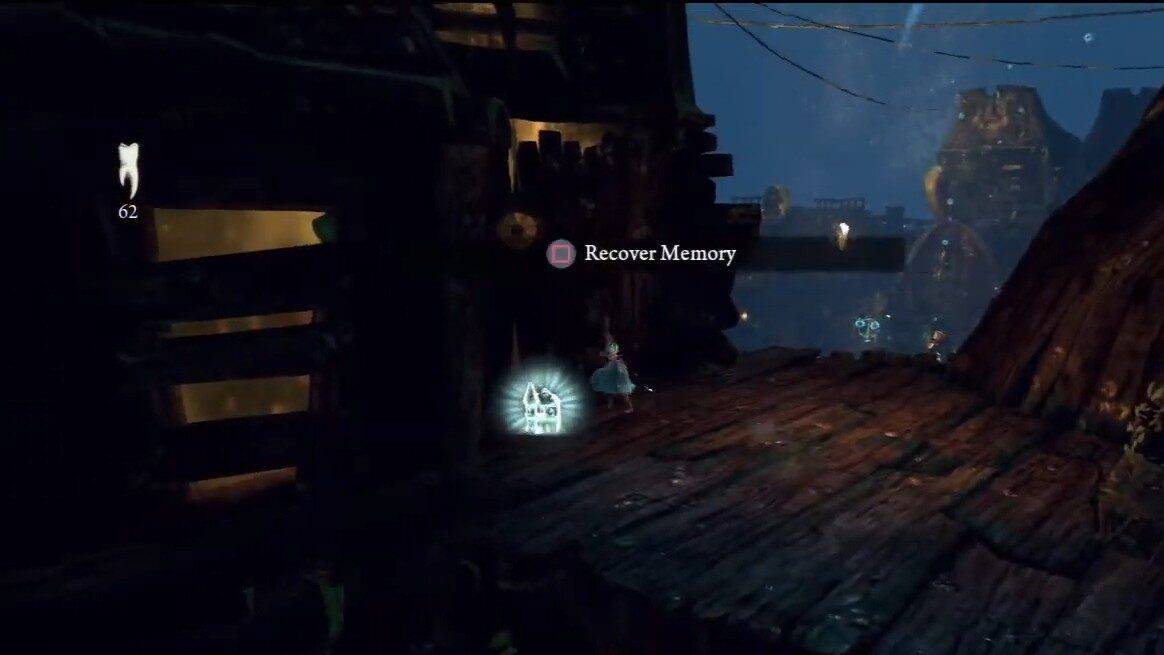
Location. As you move to the left side of the town, you will spot a coral you need to destroy. The passage will lead you to the mushrooms and then ultimately to the memory.
Memory #34 Dr. Wilson
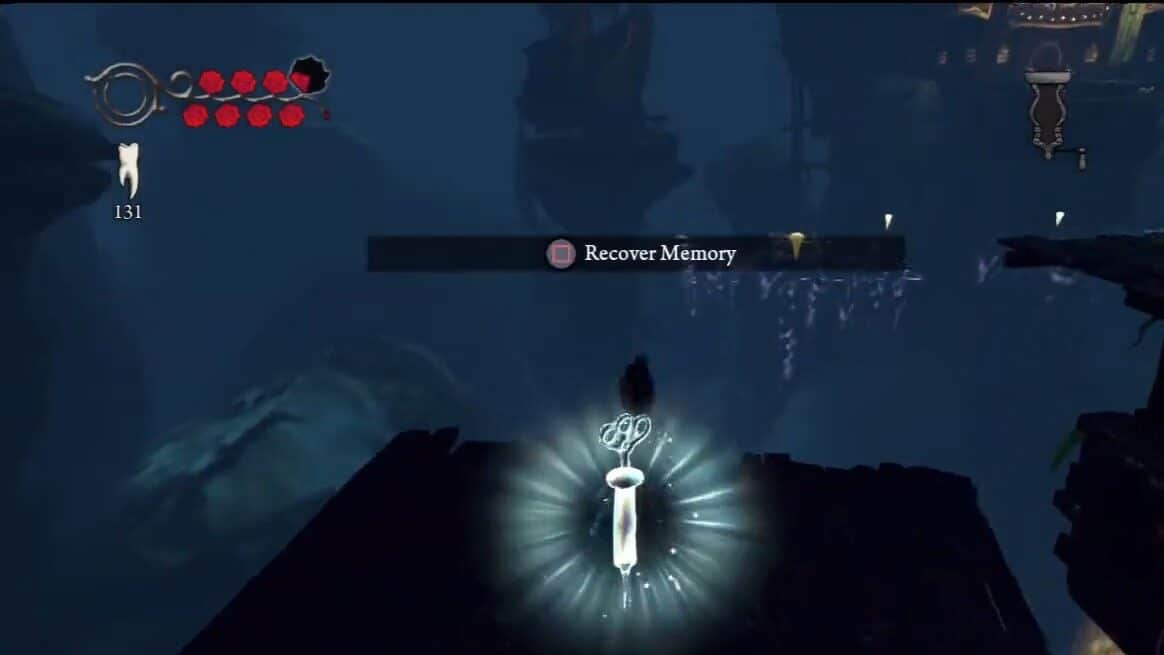
Location. Before you make your way to the auditorium, shrink down and go to the stage right before the exit. Next, get to the area below by contracting. Here you’ll find Snout #9 shoot it and then go down the stage to locate the memory.
Memory #35 Nanny
Location. Use the stairs on the left after making your way to the exit, after picking up memory #34. The stairs will lead you to a tunnel. The memory will be found at the end of the tunnel.

Chapter 2 – Choral Coral
Memory #36 Bumby
Location. After you solve the rhythmic puzzle, when the door opens. Take an immediate right to have this memory.
Chapter 2 – Oyster Garden: Bed Available
Memory #37 Radcliffe
Location. In the first section after destroying 3 crab cannons, jump onto the statue heads to next section. Move on the jelly fish path till you reach one with flower on it. Now you should look to the left side for the invisible platform and a tunnel. This memory is at the end of the tunnel.
Memory #38 Radcliffe
Location. In the second area, after you save the clams, you will solve a puzzle in which you will have to find 4 pieces. At third piece, instead of using Jelly Fish to the right head left and follow the path, break the coral and get the memory.
Memory #39 Bumby
Location. Hidden behind the coral you need to break.
Chapter 2 – Lost Souls Locker
Memory #40 Dr. Wilson
Location. Keep an eye on the left wall after you defeat the enemy as the memory is inside the newly revealed tunnel.
Memory #41 Liddell
Location. After you have freed the souls, move through the first door and then between the stone wall. On the left side, you will find a passage behind a grave stone. The memory is on a stone at the end of this passage.
Chapter 3 – Threadneedle Street
Memory #42 Radcliffe
Location. After getting the final weapon, deal with the enemies. You need to take the upper passage. After using the hookah, get back down the ramp again. You will find the memory inside the ruin wall to the right.
Memory #43 Liddell
Location. After dealing with a wave of enemies, near the invisible platforms, you can find a switch at the far side on a rocky layer. Shoot it and you will make way to the memory.
Memory #44 Pris
Location. Instead of going froward from the second vent, use it get to the platform on your left side. Jump onto the invisible platform and then to the bridge till your reach the ruin. Destroy it and you will find this memory behind the ruin wall.
Chapter 3 – Scotched Earth
Memory #45 Radcliffe
Location. You can use the mushroom and the new tile to get to the honeycomb wall which you need to destroy as the memory lies behind it.
Memory #46 Liddell
Location: You will discover it when you get to the zone with the stairs, rather than continuing up them, head to the extreme ideal for tiles to show up in the water driving you to a secret tunnel. At long last, recoil down and head through this passage to snatch it.

Memory #47 Bumby
Location. Climb up the stairs to the shrine. After reaching the second shrine, you should look for a honeycomb wall along the right side. The memory is behind the honeycomb wall.
Memory #48 Pris
Location. When you come across a series of invisible platforms. If you move right before you proceed further, you will find a memory at the end of the hidden tunnel.
Memory #49 Liddell
Location. Reach the monastery. Locate a honeycomb, towards the left of the area. Destroying it will reveal a pressure plate. Place a bomb on the plate. This will lower an elevator which you can use to go up and find the memory.
Memory #50 Dr. Wilson
Location. This memory is found soon after the cutscene ends right at the end of Chapter 2. It will be toward the part of the arrangement in the middle of bamboo sticks.

Chapter 3 – Scroll for Happy Time
Memory #51 Radcliffe
Location. When you return to the cave, the door is opened. From the ledge, cross the vent and you will find the memory inside the tunnel.
Chapter 3 – Monastery Shelf Valley
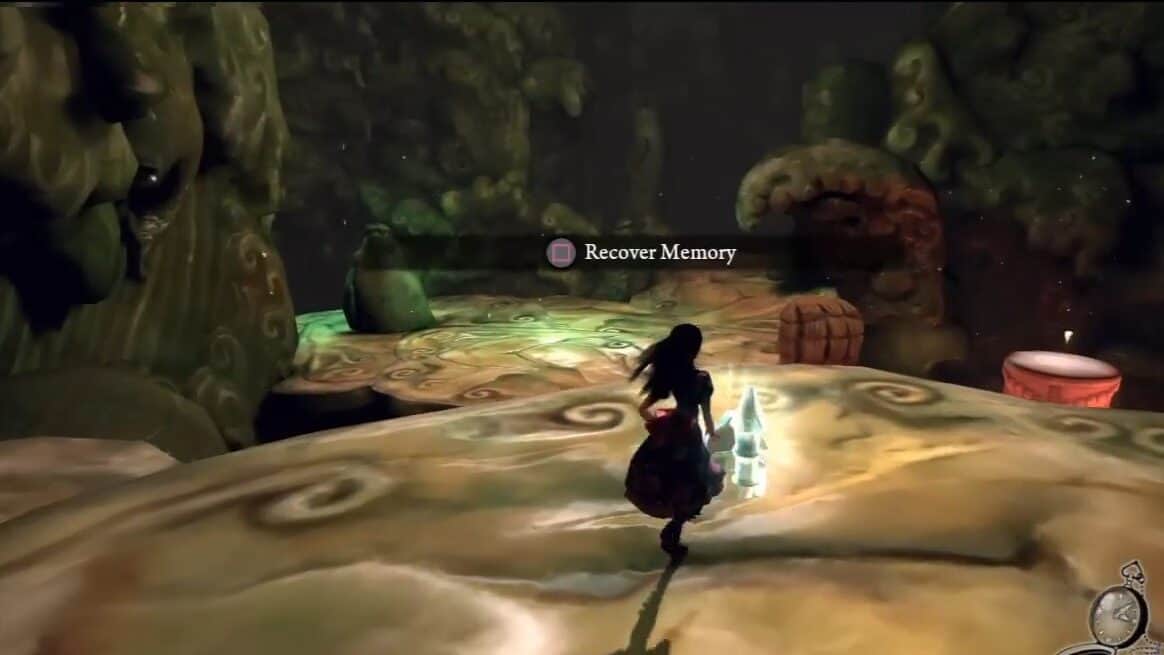
Memory #52 Nanny
Location. After placing bombs on pressure plates and jumping onto the fish chain, a path will lead you to the crying statue. Turn left from here. The memory is inside the tunnel.
Memory #53 Radcliffe
Location. Head back to the statue and this time use the invisible path. After placing a bomb on the pressure plate, use the mushroom to get to the chain. Keep on moving and you will come to an intersection. The right path will lead you to a memory.
Memory #54 Alice
Location. This memory is found behind a door. Go in the opposite direction, where you’ll be able to locate a door towards the right side of the general area. Open the door to get the memory.
Memory #55 Liddell
Location. After defeating the wasps, follow the music sequence. Move through the opened door and then along the right wall, you will come across a honeycomb wall. Destroy it to reveal a memory.
Chapter 3 – Trunk
Memory #56 Bumby
Location. After you pull the chain, you will have to cross three vents to proceed further. At the third vent, if you move right before moving upwards, you will have a memory.
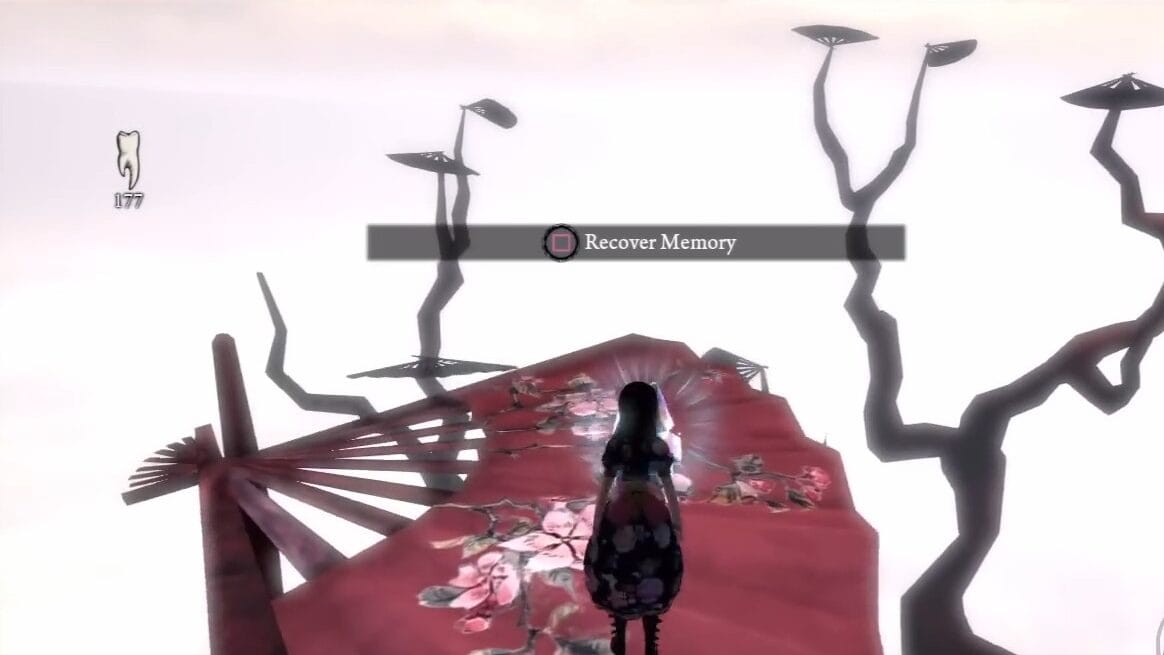
Memory #57 Liddell
Location. Make use of the invisible platforms to get to the red fan. You will find a memory at its end.
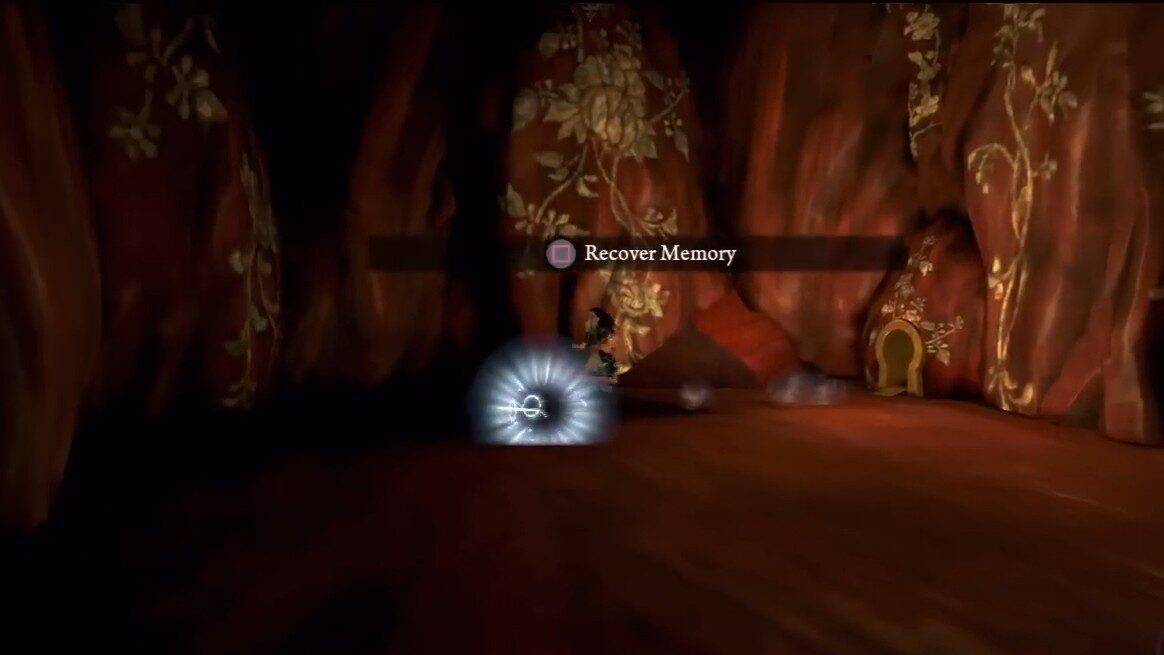
Memory #58 Liddel
Location. Don’t cross the pillars. From the tunnel, follow the path till the end to collect another memory.
Chapter 3 – West Peak Prison Village
Memory #59 Bumby
Location. After you move over the cages, you can find a memory inside a green door to the right side.
Chapter 3 – Hellish Hive
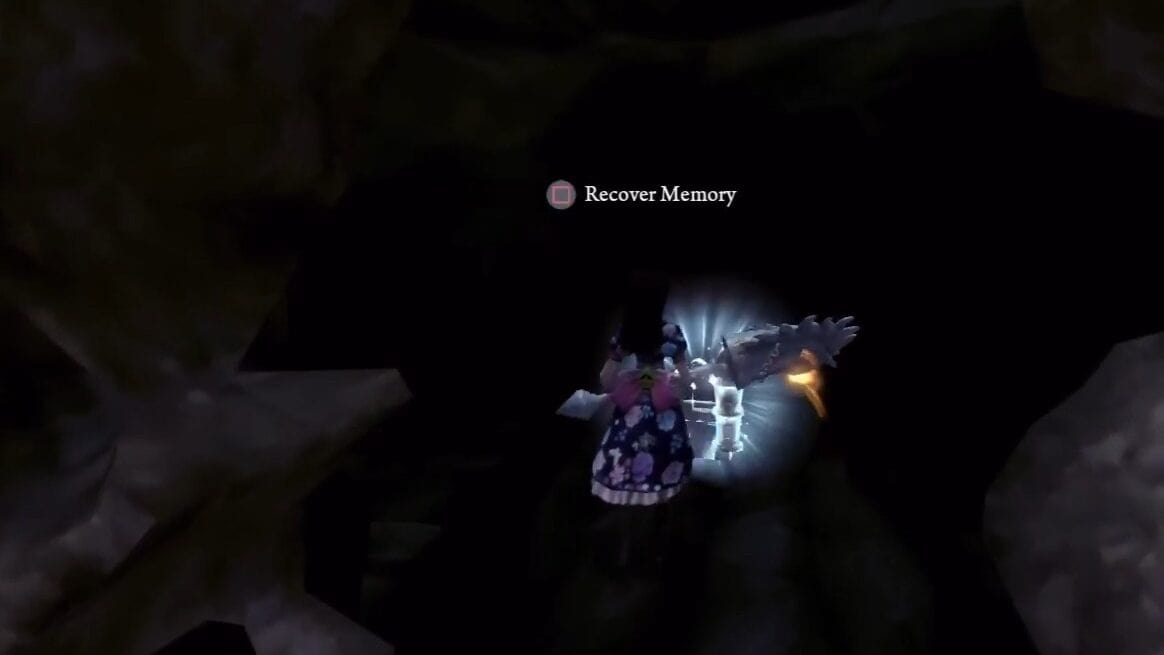
Memory #60 Liddell
Location. Before you move on from the last cage, look above the large pillar. Climb up and follow the path to a statue. You will find one memory on the left side of the statue.
Chapter 4 – Queensland
Memory #61 Liddell
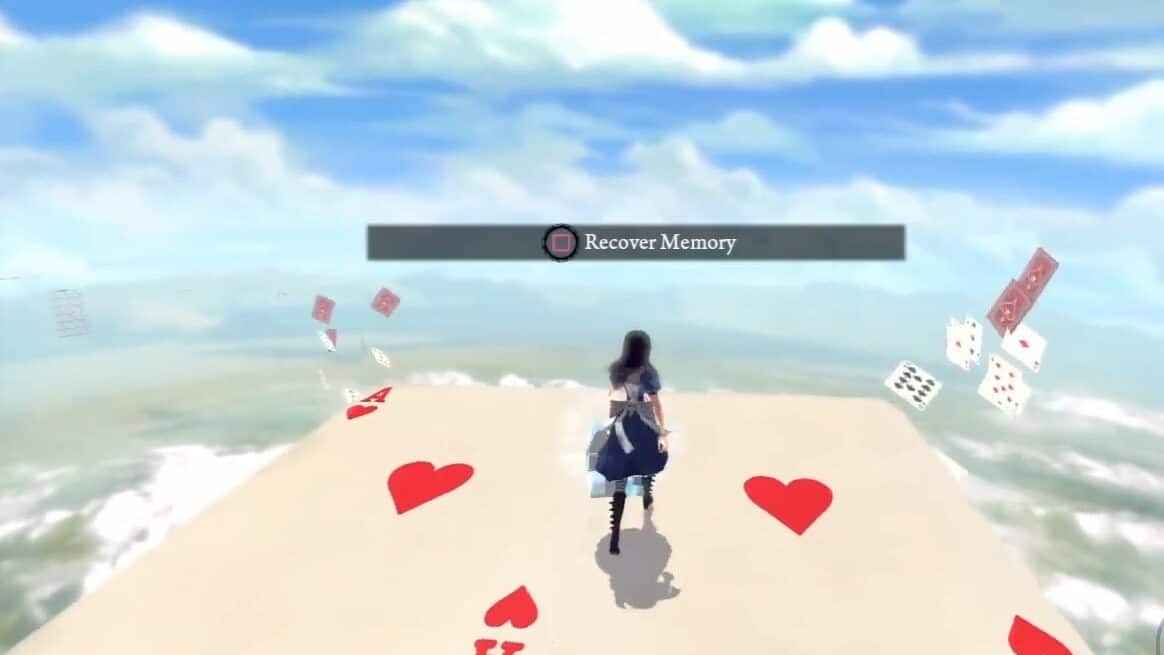
Location. After you’ve been freed from your cell, and find yourself in the dungeon, follow the path until you reach its end. Next, make your way to the playing card platform. Follow the section, and make sure to jump on the Two Ace of Hearts card. Make a right and use shrink. The memory will be found at the end of the path.
Memory #62 Bumby
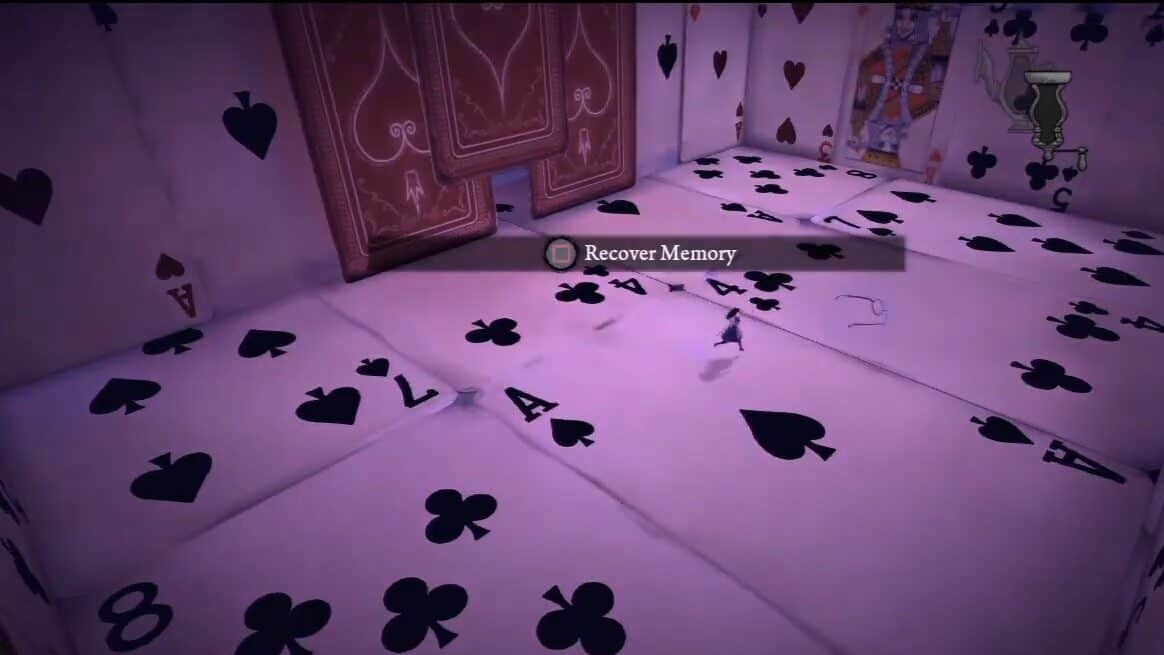
Location. Now follow the path until it turns left and use shrink, to cross the invisible platforms to the end. Go back from where you came, go right and to the house.
Once you enter, follow the path through the doors and use the path to the left. Now follow it around across the gap. You can find this memory inside the room by using shrink through the small hole in the cards.
Chapter4 – Least Wing
Memory #63 Radcliffe
Location. You’ll face another slide in front of you. Jump at the end and land on the stone bridge, then use either of the paths to the stable area and defeat the enemies. Take the vents to reach the upper bridge.
Make your way to the path right before the door on the moving platform by using the mushroom. Now, head left and low, collect the memory by crossing the new vents onto the stone platform.
Memory #64 Dr. Wilson
Location. Cross the vents onto the platform and up to the door. Go right instead of using the door and destroy the weak wall. Enter the shell but first use the mushroom. Get inside through the large heart doors and face a new enemy.
Once you defeat it, locate the invisible platforms to the right and look to the left on the second stone ledge. Destroy the stone statue and then go inside the hallway and look left for a weak wall that you can break. Enter the hole to pick up the memory.
Memory #65 Nanny
Location. Exit the hole and go straight until you come across a door. Enter the door and take the stairs. Head up and look left on the ground below the Queen of Hearts painting to find this memory.
Memory #66 Liddell
Location. Pull the chain, this will allow you to get to the other side. Enter the left tunnel to collect the memory.
Memory# 67 Liddell
Location. Put a bomb on the pressure pad and make your way across the platforms. Go into the next room and pass the breakable objects by following this room and destroy the weak section of the floor to collect this memory.
Memory #68 Bumby
Location. When you’re at the castle wall, locate the platforms. You’ll have to place a bomb on the first club platform. this will raise a platform. use this and the vent to traverse the area until you reach the heart door, with another set of platforms.
Place a bomb on the first platform once again. This will grant you access to a lever, use it to open the door. Enter the room and break the wall towards the left of you. Break it using a bomb and go inside to collect the memory.

Chapter 4 – Waste Wing Part 1
Memory #69 Liddel
Location. You will discover it toward the start of this level, when you pass the main round card vent you should shrink yourself down to locate a Snout. Pepper the Snout for a deck of cards to appear which to drive you to the Memory.

Memory #70 Pris
Location. Get into the open door and follow the path up the stairs to the next hallway. You’ll face the executioner again so sprint to the end and down the slide. Follow the right wall. Use shrink to locate a hidden tunnel after following the right wall. Make your way inside and break the floor to reveal a flight of stairs. The memory is found at the bottom of the stairs.
Memory #71 Radcliffe
Location. You’ll find yourself outside of the castle after you pick up memory #70. To get back inside locate a weak wall. Defeat the enemy and continue down until you come across a couple of platforms. Place a bomb on the first one and then make your way across until you reach the spade platform.
Place a bomb on this platform which will grant you access to a ledge, which you can use to find a hidden tunnel. Now go through the hidden tunnel and find this memory.
Memory #72 Liddell
Location. When you reach the area, look towards to your right where you’ll spot a couple of invisible platforms, just beyond a vent. Collect the memory at the end of the path on the upper landing.
Memory #73 Liddell
Location. Head back to the main landing, take the other path, and follow the lower path in the next building. Use the hidden tunnel along the wall then go left and right to get this memory at the end of the path.
Memory #74 Alice
Location. Follow the path but first use the door and go right instead of left to find a hidden tunnel. Make your way to the shell by using the vents, next follow the path formed by the vents until you find a couple of vents.
Place a bomb on the very first platform, then jump across and take the stairs which will lead you to another room. Take out the enemies and collect the memory by opening the door.
Chapter 4 – Labyrinthine Revenge
Memory #75 Dr. Wilson
Location. Once you’ve picked up the previous memory, exit the room beyond the door and follow the path until you reach a doorway, at which point take an immediate left. At the far side look right and high. Use the path to the end and cross the invisible platforms. When you are on platform#3 destroy the weak wall opposite to your side.
Beat the enemies and follow the path to a stone gazebo. Grab the memory by destroying the barrier.
Chapter 4 – Heart of Darkness
Memory #76 Liddell
Location. After you return to your normal size. Head in the opposite direction of where you began. Destroy the powerless divider to pick up the memory behind it.
Memory #77 Bumby
Location. After you pick up the previous memory use the slide until you reach the end. You’ll find a tunnel towards the left at the end of which is a shell. Enter it and then backtrack through the tunnel until you find a glowing heart. Destroy it and then use the path in the next room.
Jump on the platform and locate the glowing heart once again. Destroy it, then follow the path to the end. Destroy the third heart and then enter the room at the end of the path. The memory is located in a tunnel towards the right of the room.
Chapter 5 – The DollHouse
Memory #78 Dr. Wilson
Location. Once you reach the platform, take a left, hop across the gap, and use the vent to reach the higher platform. Here, you’ll come across a pressure pad. Put a bomb on the pad and use the raised platform quickly. Jump over the house and take the path on the left then use the mushroom. Get the memory from the top level of the house.
Memory #79 Nanny
Location. Reach for the baby doll door, look left to find a hidden tunnel on the greenish wood instead of going through the tunnel. Use the path and break the wall. Find this memory at the end of the path beneath the fort.
Chapter 5 – Frog’s Way
Memory #80 Bumby
Location. Once you’re inside the house, exit it through the left wall. Interact with the lever, once you cross the vent. Follow the new path and make your way across the destroyed house. There will be a hidden tunnel below a clock on one of the walls. Use the tunnel to get into the room at the end of it to collect the memory.
Memory #81 Bumby
Location. Make your way back to the vent near the house. Use it to make your way to the left side. Fall into the gap, where you’ll discover a pressure pad. Place a bomb on it. Now, make your way to the top floor by using the vent, go out of the window where you find a swinging doll, where you’ll find a lever.
Pull the lever and then use the vent to make your way to the next lever. Once you reach it, use the mushroom to go into the house’s attic where you’ll find the memory.
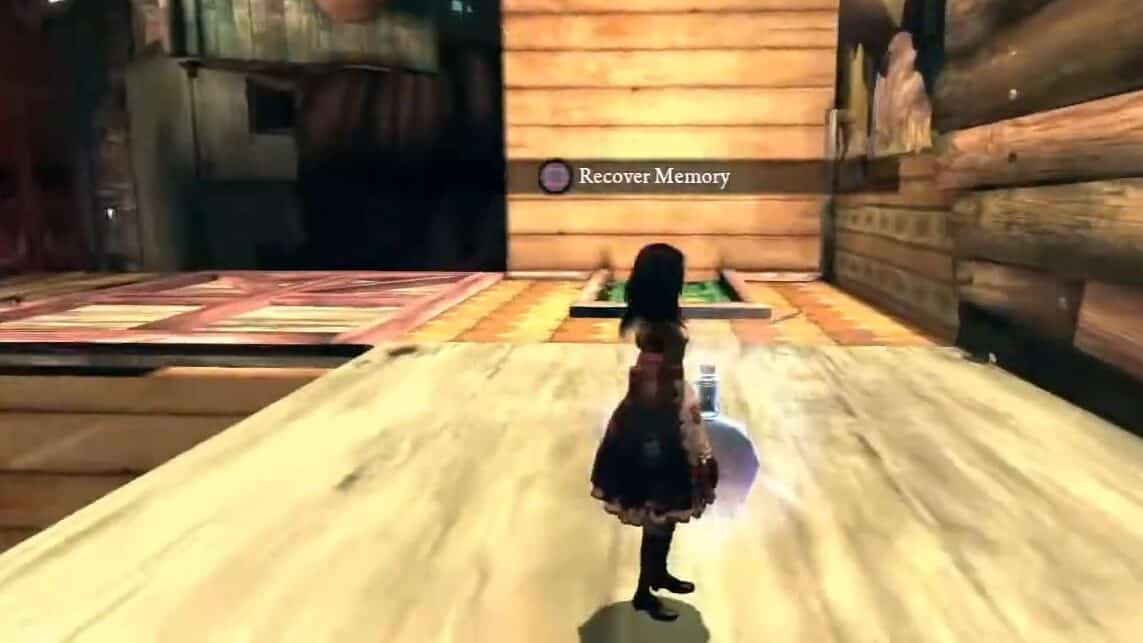
Memory #82 Pris
Location. Grab the snout on the nose of the doll’s face first then use the mushroom and vent to reach the high house. Go inside the tunnel to retrieve the memory.
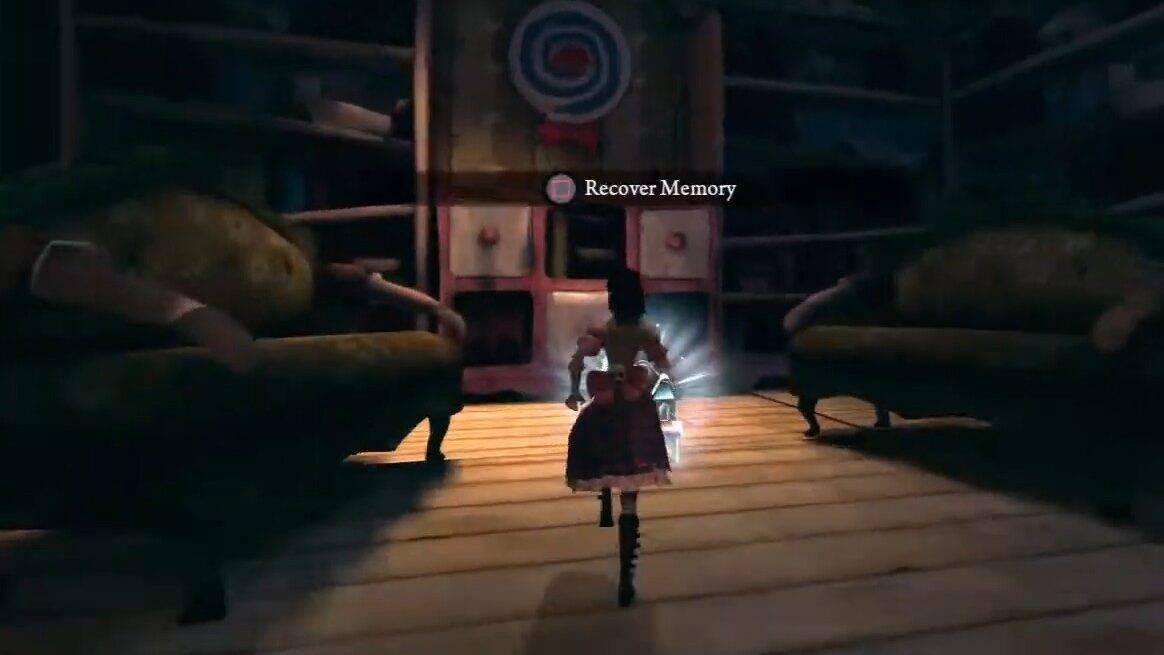
Memory #83 Liddell
Location. Exit the house but don’t jump. Cross the ledge to reach above the large doll head. You will find the memory inside the house between two couches.
Memory #84 Pris
Location. Solve the picture puzzle, and after defeating the bitch babies, use the vent and get to the next platform. Cross into the greenhouse and use the mushroom to reach the top. Turn around, and you will find it opposite the flower at the top.
Chapter 5 – Dolltown Cellar
Memory #85 Radcliffe
Location. You will discover it toward the start of this level on the second floor. You will discover a Snout to shoot behind a glass window that is half-open. At long last, hop on the stage that drops to discover the Memory inside the doll face.

Memory #86 Liddell
Location.Make use of the invisible walkways to reach the platform. once you reach the end, drop the bomb and take the path toward your right. Then simply use the next platform to get on top.
Here, you’ll find another platform. Lower it, and then place a bomb at the bottom. Get back on top to use the platform once again, which will now take you to the next landing. Once the platform gets you where you need to be, make a left. Next cross the gap, until you’re able to see the memory. It will be on a ledge.
Memory #87 Bumby
Location. Make use of the tunnel after you’ve destroyed the ruins. Keep going till the end and you will find this memory.
Memory #88 Radcliffe
Location. Come back to where you found Dollgirl, destroy the ruin, and drop into the room. Cross the spikes and take the right for a lever. Continue past the level to the right and you will find this memory at the end of the path.
Chapter 5 – Dollgirl’s Pursuit
Memory #89 Dr. Wilson
Location. Inside the tunnel down the ramp to the right, after a long hallway, you come across the moving platforms.
Memory #90 Dr. Wilson
Location. Enter the fort, and use the tunnel underneath. You will find this memory inside the tunnel.
Memory #91 Bumby
Location. You will discover it after you have crushed the Doll girl and 2 foes and in the wake of finishing the note arrangement. Rather than heading outside, to one side of the bed is a passage with a feeble divider. After you have demolished this feeble divider, wreck the articles hindering the passage. At long last experience the passage to discover it.
Memory #92 Alice
Location. Can’t miss it.
Chapter 5 – DollMaker’s Workshop
Memory #93 Liddell
Location. Exit through the door and follow the path through the hole in the wall. You should notice this memory towards the left side of the hole.
Memory #94 Liddell
Location. Fall the path to the end from inside the structure. Now, instead of taking the stairs, turn left to hop across them and use the tunnel. The final Liddel memory is inside the tunnel.