The combat and encounters in XCOM: Chimera has been revamped and are now much more intuitive and exciting to play. Instead of wandering around the map until you come across some enemies, there is now an XCOM Chimera Squad Breach Mode that kickstarts a mission and then delve into the turn-based combat.
This new XCOM Breach Mode can be a bit tricky to play as it’s a new mechanic and you won’t know how to strategize with it straight off the bat.
To help you understand Breach Mode and play it properly, we’ve prepared this guide to show you everything you need to know about it.
XCOM Chimera Squad Breach Mode
When you start off a mission, you’ll immediately go into the Breach Mode. A mission can have up to three encounters with each one being started off with the Breach.
During Breach Mode, you designate your agents’ turns with which they burst through the door, and use your items, abilities and turn order on the Timeline.
The agent you put first in the line will burst through the door first, and they’ll be the first one to act on the Timeline. So, this mode allows you to setup your entire turn order before the encounter even begins.
Not only does Breach Mode let you determine how your agents will act, but it also lets you manage the enemies in the Timeline in advance as well.
After you set up your agents and press Breach, your agents will now move into the battlefield. Before your agents get a chance to move, each of them only gets one shot.
After they shoot their shot, only the enemies labeled as ‘Aggressive’ will return fire before your agents run towards cover.
Normally, you’ll only be able to eliminate 1 or 2 aliens, so you have to decide whether to eliminate a single powerful alien, or focus on the aggressive aliens to avoid taking too much damage when they retaliate.
You also have the option to deal equal damage to all the targets and weaken them, so you’ll have an easier time finishing them off after the breach. Since each fight is different, it all comes down to what you think is the best option for you.
One important thing to always keep in mind is that when your agents run to find cover, some of them might not be able to find it.
If an agent does not have a clear shot, use the cover rush ability instead to at least make sure they get their cover.
Breach Points
When you choose a mission and go to the loadout screen, you’ll see the Projected Breach Options in the top left of your screen. These can include, doors, vents and walls.
When you’re trying to go through a door, you’ll sometimes need a gremlin to hack it. Walls usually require a breach charge to be demolished and vents can be used by your viper.
One thing to remember is that you can purchase some equipment that will duplicate the effect of having a specific agent with you.
Even if you don’t have any special items or abilities, there will always be some way for you to bust through; but having these items can be very convenient.
The entry points have some bonuses allocated to them. Before you bust through, take some time to think about which agent of yours would benefit the most with the bonus.
One thing to remember is that when you use multiple entry points, your turn order will be affected.
For example, if you add three agents to one entry point and then add the last one to another entry point, that last agent might become the first one in the turn order. So, keep an on your turn order to make sure it is the way you want it to be.
Breach Ability
Most agents will only have a single Breach Ability. Do note that the Breach Ability can only be chosen at the time you select the agent, and most of the agents’ abilities can only be used once per mission. So, make sure to use the ability in the right encounter.
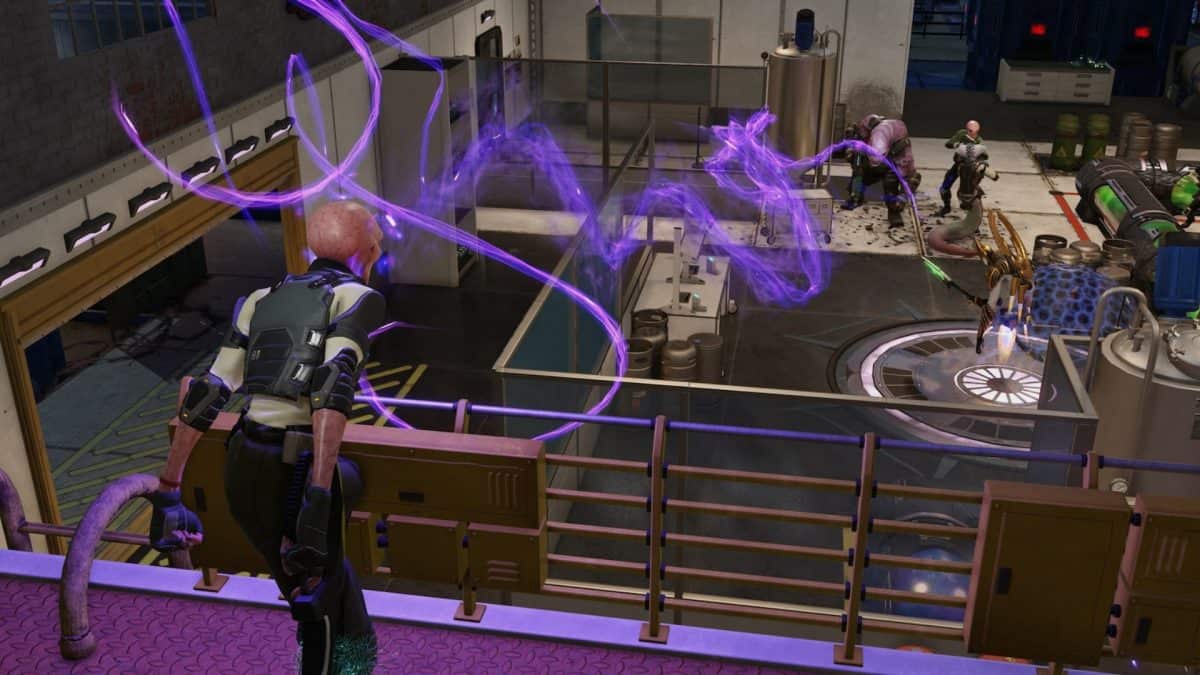
Verge is really good as the front-runner because of his awesome breach ability called ‘Levitation’. Most of the aggressive enemies will be hiding behind some sort of cover.
Verge’s levitation ability lifts them up from behind there so the other agents can tear through him. What makes it even better is that it can be used in all the encounters.
Beach Items
There are several items available in the store for you to purchase and use during the breach. The most important of these are:
- Breaching Charges: Absolutely crucial for any mission which involves a wall.
- Holo Scanner: Holo-targeting all the enemies in the room can help you out tremendously.
- MediPatch: It’s very important for mission with multiple encounters.
Experiment with the other items and choose whichever ones you like to play with the most.
Enemy Selection
Since each encounter is so unique, it’s hard to tell you which enemies you should choose to attack first.
But keep one thing in mind that instead of going after enemies which just deal some raw damage to your agents, attack those who affect their mobility and ability to use special attacks.
For example, some enemies can stun, ignite, or even mind-control your agents.
You should be way more worried about these types of enemies rather than those who deal a hefty amount of damage, as HP can always be healed.