In this Resident Evil Village Castle Dimitrescu Collectibles Guide, we’ll be showing you the location for all items of interest that you can add to your collection during your playthrough of RE8. Once you have gained access to Castle Dimitrescu, this whole area of RE8 Village will be yours to explore in search of these collectibles.
Resident Evil Village Castle Dimitrescu Collectibles
While playing RE8 Village, you’ll be able to unlock trophies by collecting key items spread throughout the game. The difficulty level for acquiring these collectibles varies every now and then; however, acquiring them becomes more manageable with the right strategies.
Following are Resident Evil Village Castle Dimitrescu Collectibles you’ll find during your time in the vampires’ domain.
Guest Book
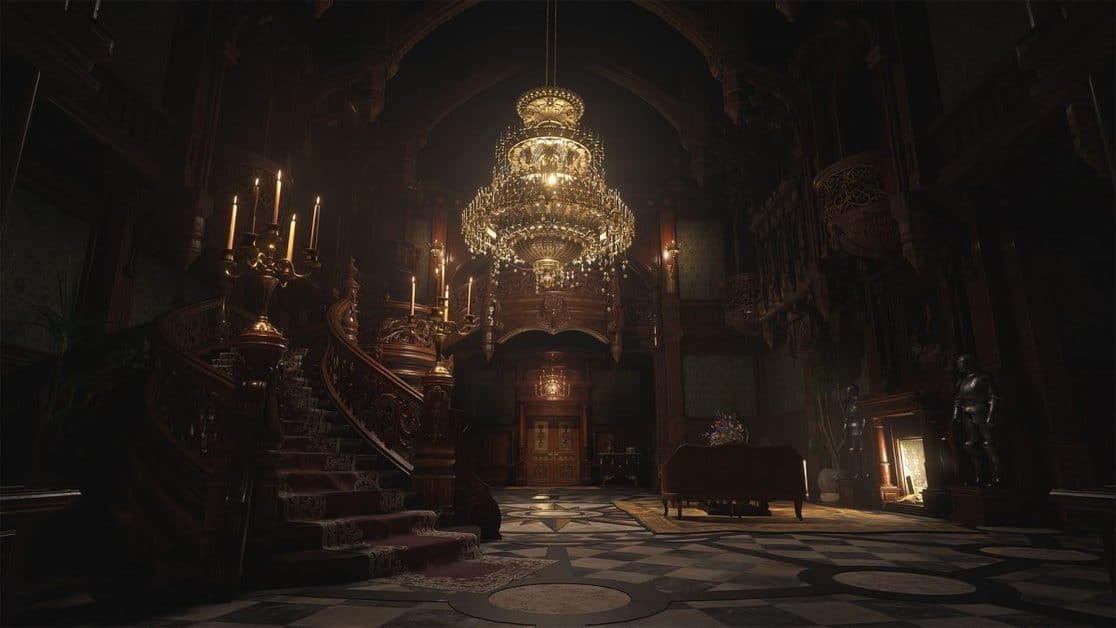
First, to locate the guest book, go to the first floor of Castle Dimitrescu and make it to the entrance hall. As you’re there, you’ll have to head towards the first room. Upon entering the room, go over to the table on the left, where you see a portrait of three women.
The Labyrinths
To locate the Labyrinths, head to the first floor of Castle Dimitrescu. Now go towards the hall of the four and look around for a Merchant’s room nearby. As soon as you find it, go in the room and approach a little table, right beside a little sculpture of the castle.
Maroon Eye Ring and Maroon Eye
As you’ll already have the Maroon Eye Ring. Access it from your inventory and use it to pull out the Maroon Eye. Insert it on the door you’ll find yourself on the second floor.
Winemaking History
You’ll find this collectible on the second floor of the castle in the Wine Room. To go to the second floor, make way to the main hall and use the stairs. As you’re upstairs, you’ll find a door to the wine room. Reaching there, you’ll find a paper on the table to read.
A Maid’s Diary
For the diary, you’ll have to be present in the basement. You’ll be chased and eventually thrown down into the basement of the castle, and here you’ll find the collectible. Just look at the shelf on your right side.
Treatment Candidates
You’ll locate it at the basement of the castle in the Chamber of Solace. You’ll have to walk your way into a gloomy cell until you bump into a torture table covered with blood. Then you’ll find a document on the right side of it to read before the enemies attack.
Observation Report
Also located in the basement of the castle. You’ll find it in the Chamber of Solace. After reading the document from the previous cell, make your way to the Dungeon to your left. You’ll find another document to read before additional hostiles attack.
A Cook’s Diary
To acquire this collectible, head towards the first floor of the castle. Go to the kitchen after you’re done killing Dimitrescu’s sister and look over the shelf on your left to find a file.
Sanguis Virginis
As you’re already present in the kitchen, get the bottle of wine out of the blood-filled tub.
Recoil Compensator
It is located on the first floor of the castle in the hallway past the kitchen. You’ll find a metallic box containing what appears to be part of a weapon.
Courtyard Key
Inside the Wine Room, on the second floor of the castle, use a bottle of wine to find a box with keys to the courtyard. After you find it, take the access to the first floor and go to the dining room.
Castle Map
Go to the Hall of Ablution on the second floor of the castle. Now go to the door at the far end of the courtyard and head upstairs to obtain this map from the hallway.
Goat No. 5
You’ll find this in the basement of the castle as soon as you make your way down using a stepladder. Head to the basement after being done with the statue puzzle.
Alcina Dimitrescu’s Diary
After you’ve had the cut scene where Lady Dimitresu is talking on the phone, go into the same room as she was. As you’re there, look to your left and acquire the file.
Mask of Sorrow
You’ll automatically pick this collectible at the Hall of Sorrow on the second basement of the castle.
Castle Map
The location of this collectible is the stairway of the Opera hall on the first floor of the castle. Go to the courtyard and then through the gold door using the Dimitrescu’s Key. Before entering, you’ll find the Castle map hanging by the door. Collect it and make your way inside.
Grand Chambermaid’s Notice
You’ll find this on the second floor of the castle on the opera hall location. You’ll find a clock in the middle of the two curtains placed on a table. Collect the notice from there.
Further Observations
While still being present on the second floor, the bookshelf will be present at the end of the hallway. Observe the book to get access to the text file.
Flower Swords Ball
From the left of the opera hall on the second floor, you’ll find a small room with a chest next to the little castle statue. This chest will be used in the labyrinth puzzle, which is present in the Merchant’s room. As you complete the puzzle, you’ll be rewarded with the trophy ‘Get the Ball Rolling.’
Insect Observations Journal
The lower floor of the opera hall in the first story of the castle. Head towards a circular table near the piano. You’ll see a book lying there, pick it up and observe it to access the text file.
Iron Insignia Key
While still being near the circular table, start interacting with the piano. You’ll get a key out of the piano. Use it on the second floor to enter the library.
Mask of Joy
After you reach the library and are done fighting, you’ll find the second mask out of a total of four you have to collect in the Hall of Joy.
Goat No. 6
It’ll be found in the Castle’s Attic, on the rooftop. Shoot the five bells and go through Lady Dimitrescu’s portrait to find a ladder into the attic where you can find the goat behind you at the top of the ladder.
Treasure Map
The same place as Goat No. 6, attic on the Castle rooftop. You’ll find a table with a treasure map on it. The map will guide you to a room located behind the Iron Insignia gate located in the Dungeon of the second basement. Descend down the wall with the help of the pipe and light up the torches by using the fire. You’ll find Azure Eye treasure located in the Sarcophagus, combined with a Silver Ring located found in the Hall of Pleasure within a drawer. By doing so, you’ll obtain a Repairer.
Rumors of a Dagger
In the attic at the rooftop of castle, you’ll find it on the table at the end of the attic.
F2 Rifle
As the collectible mentioned above, this too is located in the attic of the castle. As you’re about to leave, you’ll find a chair, and on it will be the F2 rifle.
Mask of Rage
The location for this collectible is the rooftop of the castle at the tower of rage. After you’ve slid down using a rope from the rooftop, you’ll find this item immediately after.
Animal Skull
You can find the Animal Skull in the Armory. To locate said Armory, you have to go through the door unlocked by Dimitrescu’s Key. Finish the fight and use the Animal Skull that is hanging on the wall at the very end. Inspect it and turn it around to get the normal Animal Skull.
Mask of Pleasure
Enter the room located before the Armory on the second floor of the castle. Go there and use the animal skull to open the door and take the mask out. By getting this mask, you’ve got all four masks. Then, make your way down to the first floor. Near the Merchant’s room will be the hall of four. Use all four masks there.