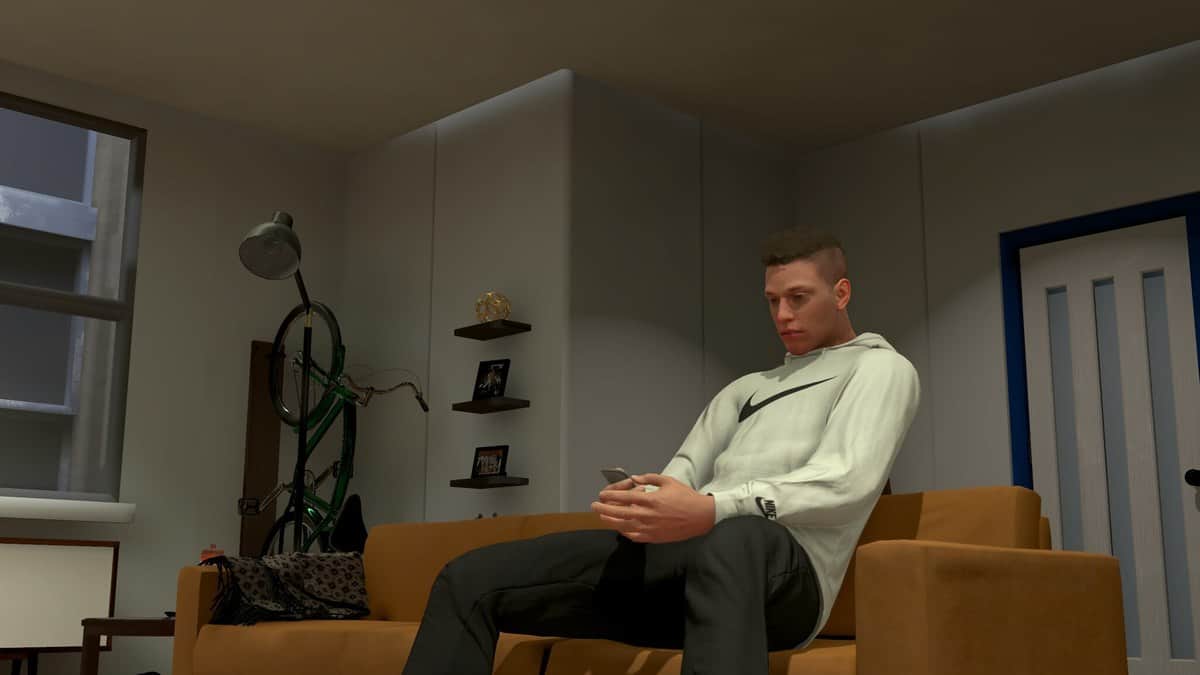
Every year, a new NBA 2K game is released with improved graphics, new mechanics, and an improved playstyle. With the MyPlayer option in NBA 2K22, gamers can construct their own likeness to add to the game. In this NBA 2k22 guide, we will teach you the method to scan your face in real life and use it on your character in NBA 2K22.
How to Scan Your Face in NBA 2K22
First and foremost, you need to create a MyPlayer account on the platform that you are playing the game on and connect it to the game.
Now you can use the online services that are offered by the game. To use your face on the character in NBA 2K22, you need to own an Android or iOS smartphone.
Head over to the Play Store on Android or Apple Store on iOS and search for the MyNBA 2K22 application. Download the application and log in with your MyPlayer account.
Make sure the MyPlayer account is connected to the game. Now, select the Scan My Face option and follow the prompts that appear on the screen.
Stand in a room where there is enough lighting for a clear quality picture and place your face inside the oval on the screen. The application will capture a total of 13 different angles for a complete scan of your face.
Once the scan has been completed, tap on Upload Images to save your face scan for use in 2K22.
When inside NBA 2K22, head to the player creation page and choose the Scan Your Face option. Click on Check for Head Scan Data to download the scan and apply it to your character.
If you get any error, repeat the scanning process from your smartphone and try downloading it again in NBA 2K22.
How to Change Scanned Face in NBA 2K22
To modify the appearance of your My Player’s face or other features, go to the My Player menu and choose “My Player Appearance.”The My Player Appearance item will subsequently be selected from this menu choice.
When you open this, you’ll be able to customize your player’s face, including hair, skull shape, eyebrows, eyes, ears, facial hair, and skin tone
