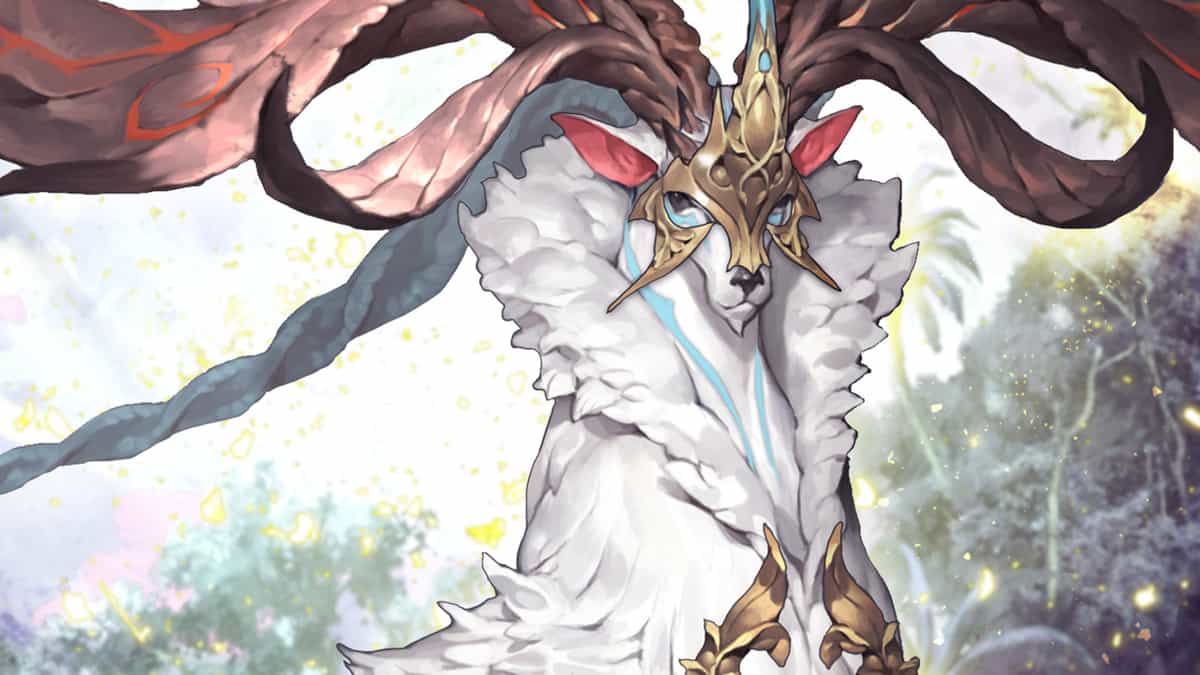
Abyss Raids are new endgame PvE content in Lost Ark. The following Lost Ark Abyss Raid Argos guide will walk players through the entire raid and help in defeating its boss, Argos.
How to Unlock Abyss Raid Argos in Lost Ark
Argos has been unleashed as a tier 3 endgame raid. You’ll be requiring at least one item of level 1370 and a character of Level 50 to participate in the Abyss Raid.
Similar to Guardian Raids; in Abyss Raids, you’ll be sorted into a team of 7 players to defeat Argos. The boss will grow stronger with each progressing phase.
One thing to note here is that each phase has its own requirements that need to be fulfilled in order to participate in that phase.
- Phase 1 – Item level requirement of 1,370
- Phase 2 – Item level requirement of 1,385
- Phase 3 – Item level requirement of 1,400
To unlock the Abyss Raid in Lost Ark first you need to meet the minimum level requirements and then you need to complete the adjacent quest, “Abyss Raid Unlocked”.
Once that is done, you can access raid battles with Argos by locating the Abyss Raid statue across Arkesia’s major cities. As aforementioned you need to have a seven members party to participate.
So, you can team up with heroes or join any specific group. To join a specific group, you can use the “Find Party” button beneath the mini-map.
Lost Ark Abyss Raid Argos Phase 1
The first phase of Abyss Raid Argos doesn’t have full-party wipe mechanics which means that surviving through this phase majorly depends on individual performances. This phase being the first one is less coop heavy compared to the next phases of Argos.
The first phase includes the following mechanics:
Sun & Moon Affix
In the first phase of the battle, your party will be sorted into the Sun or Moon affix at the beginning of the fight. To know which pattern you’re assigned, pay attention to the color of your feet.
If your feet are of golden color, you are assigned the Sun affix. On the other hand, if the color of your feet is purple, you’re assigned the Moon affix.
Safe Spot Mechanic
Before you begin the first phase of the battle, you need to assign spots to your party members. There will be two safe spots in each corner direction, one for the Sun party and the other for the moon party.
The moon party is close to the boss while the sun party is quite far away towards the edge of the map. Here is how to assign spots to your party members
The first member of the party will be assigned north, the second member to the east followed by the third member down south, and finally the fourth member to the west.
You need to be in a safe spot to save yourself from the shock released by Argos otherwise you’ll perish. If you’re a sun party member on a safe spot of moon party, you’re doomed, and vice versa.
Tranquility Phase
After the safe spot mechanics, the Tranquility Phase begins during which a slowly decreasing circular bar appears below the boss.
At the start of this phase, Argos is on the neutral affix. Hitting the boss will move him either to the sun or the moon affix depending upon the players attacking and their assigned affix.
Argos will wipe the opposite affix by the end of this phase. Hence your goal should be to deal damage in such a way that Argo’s affix remains neutral.
To pull this off, balance out the affix by rotating dealing damage as a party. Another simple approach is to not deal damage at all, but this will cause you trouble if your raid lacks damage.
At the end of the Tranquility Phase, the affix of your partly will change. If you were previously a moon affix, you’ll be assigned the sun and vice versa.
Small Pizza Mechanics
Next up is the Small Pizza mechanics, in which Argos will teleport to the center and attack in golden and purple slices forming a sort of a small pizza. Keep a close eye to memorize the sequence of gold and purple slices.
You must follow the slices and remain on the slice that corresponds to your affix or you will take damage. The fifth title is crucial in this case because it can deal significant damage.
You need to stay on the right spot for the fifth tile otherwise you’re a goner. If you have heavy shields, you can easily pull it off. The moon party should go to the bottom right and the sun party to the bottom left.
Stay there and tank the first four hits and by the fifth, you’ll be automatically on the right spot. This will always work because the fifth spot is fixed.
Big Pizza Mechanics
The big pizza mechanics are somewhat similar to the small pizza mechanics. You need to stay on the right tile corresponding to your affix otherwise you’ll take insane damage.
Here the tile patterns are random so you don’t need to remember them. Look for the flash and move to the tile of your affix to get through this mechanic.
Sun & Moon Circles
Argos will summon huge circles that will deal damage to the opposite affix.
So as long as you’re in the right circles corresponding to your affix you can keep dealing damage to Argos since the explosions won’t affect you.
However, if you’re of the opposite affix look for a bar below your Hp. If it fills you’ll take damage. To keep it from reaching its limits move out of the circle and it’ll drop.
Here are the attacks that Argos will rely on during phase 1 of the Abyss Raid.
Blink
Argos will blink you a second and then reappear and charge in towards you to deal damage. Simply move out of its way to stay safe and avoid damage.
Swirl
Argos will jump and rotate in a circle to unleash a wave to deal damage in mid-range. To avoid the damage either move close to Argos or run far away.
Floating Orbs
In this attack, Argos summons four floating sun or moon orbs that rotate on a fixed path. They disappear to summon a huge circle, which explodes after a short delay.
To prevent this from happening players with the same affix need to consume the orb. Each player can consume a single orb. If the same player touches the second orb, he’ll take damage and will be stunned.
Double Shockwave
Argos will release a double Shockwave either to the right, left, or to the front, back. Multiples shockwaves will appear from that line after a short while.
This attack has a slow animation so you’ll see it coming. Simply move out of the way to avoid the damage.
Lost Ark Abyss Raid Argos Phase 2 Mechanics
In the second phase of Abyss Raid, the survival of one party depends on the communication and action of the other.
A few of the mechanics of Phase 1 also apply to phase 2 of the Abyss Raid so they won’t be covered here. Other than those there are quite a lot of new mechanics that need to be looked into for the second phase. Read on to learn all about them.
This phase is divided into five sub-phases. During the first sub-phase, both parties will face off Argos. If you deal decent damage, it will trigger the second sub-phase.
At the beginning of the second sub-phase, the sun party will be teleported to a different area to face a mini-boss. Once the sun mini-boss is dealt with, the sun party will reunite with the moon party.
This marks the beginning of the third sub-phase. Here again, both parties will come hand to hand with Argos. Once enough damage is done the fourth sub-phase will follow.
This time around in the fourth sub-phase, the moon party will be teleported to fight against a different mini-boss. Once the moon mini-boss is out of the way, the last sub-phase will trigger.
The last phase will begin if you got most of the party members to survive with about a time of three minutes or more remaining.
Sun & Moon Affix
It is important to note that in Phase 2 of the Abyss Raid, the first party will always be the sun party, and the second one will always be the moon party and it won’t change throughout the phase.
The first party, the sun party will always take the destruction damage. The second party however needs to take impairment bombs, which means that they need to have a heavy impairment-focused team. Based on these you need to sort your team in the affix.
Sub-Phase 1, 3, and 5
As far as the sub-phases 1, 3, and 5 are concerned, there is nothing new. All you need is to stick to the basics discussed earlier and fight Argos.
Sub-Phase 2
In sub-phase 2, the moon party will face off Argos while the sun party will take on the mini-boss.
The Mini-Boss Fight
The arena where the sun party will battle the mini-boss has unique green flies around and you’ll have to look out for them. If they flash green, you need to move away from them otherwise you’ll take AoE damage and might fall asleep as a result.
Now talking about the mini-boss there is nothing special to be worried about. All you need is to look after its charge attack. It can charge twice to deal heavy damage.
All you need is to not lose sight of the boss and you’ll be just fine. Another thing is that you need to deal decent damage to the boss provided in a certain time frame.
If you’re able to do this, the boss will be in a stunned state and you’ll see a crosshair in one of its three body parts. Use destruction bombs on this crosshair to deal damage and destroy the body part.
This will delay the boss’ enrage mode. If you miss the opportunity the boss will be enraged and start dealing serious damage. Keep this up and destroy all body parts of the boss.
Communication
During this sub-phase, the communication between the sun and the moon party is of importance and for that, you need to have a spotter in the sun party.
It is because Argos will shoot a laser into the sky that only the moon party can see. One member of the moon party needs to short-call the laser. You’ll see server messages on the screen, which are the signals for the spotter.
Once you receive the signal, you need to move to the right edge of the mini-boss arena. You’ll see a different bluish pattern on the right side.
Depending upon the pattern you need to react to avoid a wipe. The spotter on the sun party needs to tell the direction of the signal to the moon party and the moon party needs to move in that direction to avoid the wipe.
The time frame is limited and denoted by the white dial below the Argos. Once the dial vanishes you’ll be wiped out.
If it is a yellow glowing signal, the moon party needs to do nothing but the sun party needs to move towards the center of the arena.
The third pattern is the orb collecting pattern. If you see this pattern you need to communicate to the moon party to collect the orbs that will spawn around Argos Arena.
The fourth pattern is the stack collection pattern. In this, a sun circle will spawn in the Argos main arena. The moon party arena needs to spread out and keep an eye on all four circles.
Every time the circle changes colors one player needs to step in and collect the stack. Once you have ten stacks you need to hit Argos with your skills and prevent the wipe.
The fifth and sixth spots are quite similar, you’ll see a big circle in the center. Here the moon party needs to fight at the edge of the arena. However, if you see a circle highlighting the edge of the arena move to the center of the arena.
After fifteen seconds of the spotter seeing the signal and the team doesn’t move away, Argos will wipe everyone in the arena.
Forth Sub-Phase
In the fourth sub-phase moon party will face the mini-boss and the sun party will phase Argos. The moon party facing the mini-boss is a fight against time.
You’ll have one and a half minutes to deal at least 30% damage to the mini-boss. If you failed to do so, after a short interval of 20 seconds a message will pop up and one of the teams will be wiped out.
It is recommended to save your awakenings for this sub-phase if you belong to the moon party. Once you deal enough damage, the mini-boss will disappear and summon the Tabor’s Rift.
To take him down, you need to deplete his impairment. Once his impairment depletes he’ll die in quick succession and the mini-boss will reappear in the downed stage.
Use this opportunity to deal with as much damage as you can. During this fight, you’ll have a speed debuff applied to you. If you have a Soulmaster or Holy Knight you can cleanse the debuff with their help by eliminating the totem.
Stone Fall Mechanic
In this sub-phase, four safe spots will appear in the arena. Each player needs to step into one of those within a few seconds. If someone reacts slowly, the entire team will take massive damage.