To help you out with completing Hyrule Warriors Age of Calamity The Yiga Clan Attacks mission, we’ve prepared this guide where we’ll walk you through this level, step by step.
Hyrule Warriors Age of Calamity The Yiga Clan Attacks
Level 5 of the second chapter of Hyrule Warriors: Age of Calamity is titled ‘The Yiga Clan Attacks!’. This will be the final level of the chapter, which will lead into Chapter 3.
Yiga Clan Ambush
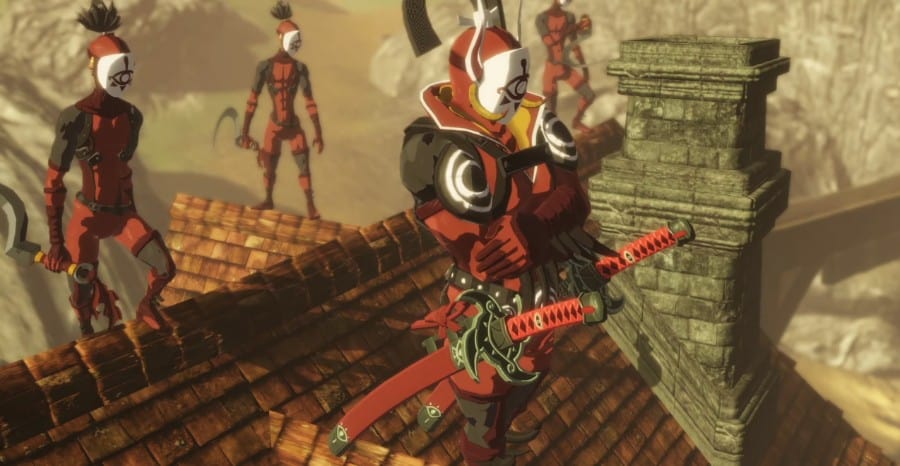
At the start of this level, the Hyrule Outpost will get raided by the Yiga Clan. Defend the outpost by eliminating all the incoming Yiga enemies.
Eventually, a pair of Blademasters will spawn. You’ve fought them before in the mission before this one, so eliminate them in the same way you did previously.
After the Blademasters, a pair of Moblins will spawn. They’ll be split up, so there will be one Mobil on each side of the map. Travel towards the Moblin on the left. You’ll find a town in your path.
In this town, enter the grassy area to the south and find a shiny light on the left to find a Korok Seed.
Now, go back to the town and head towards the west.
You’ll eventually arrive in another town. From there, head towards the north until you find the Korok Balloon. In this area, you’ll find three Korok Seeds.
One in the area from which you can see the Temple of Time; one near a Korok flower adjacent to three benches; and one near a Korok pinwheel adjacent to picnic tables.
Once you have all the Korok Seeds, return to your path towards the Moblin on the left.
Take out this Moblin by yourself while your other character travels towards the second one.
After you defeat this Moblin, quickly switch over to the other one and take that one out too.
In this area, there will be two more Korok Seeds. One is beneath a tree in the grassy area to the east, where you see a closed bridge.
The other one is towards the east from the outpost. Look for a tree stump behind the building to find it.
Yiga Outposts
After you kill both the Moblins, you’ll see a new waypoint pop up in the middle of the map, over the Temple of Time replica.
When you arrive at this waypoint, you’ll be attacked by two Blue Moblins.
They’ll be split up once again, so you shouldn’t have much trouble taking them out.
Three more waypoints will appear after you kill these Moblins. Make your ally go to the waypoint farthest away from you while you travel towards the other two.
Two more waypoints will pop up. These will again be on separate sides of the map.
Travel towards the waypoint that’s nearest (the one to your east) while your ally makes their way over to the one that’s far away.
At this waypoint, you’ll find a Yiga Outpost. Eliminate all the Yiga Blademaster lurking there and take over this outpost.
Before switching over to the other waypoint, travel to the path on the north-east corner of the map, which takes you to a dead end. You’ll find a Korok Flower here.
You can then switch over to your ally that’s waiting near the other waypoint.
There will be a wooden enemy outpost near this waypoint. You can either just run past it or blow it up using a stasis induced explosive barrel.
Once at the waypoint, take care of the enemies and then travel towards northern path.
From there, take the path that takes you to the other side of the bridge. Here, you’ll find a Korok inside a tree stump.
After finding the Korok, head into the Enemy Stronghold to the south.
Hinox Boss Fight
Hinox’ special move is a body slam, which has a very large attack radius. To counter this attack of his, use a Stasis attack.
Target his weak gauge when performing the attack to deal maximum damage.
During the fight, Hinox will try to grab you and pull you towards him, so when you see him pulling back, remember to back away from him to avoid getting grabbed.
Sooga Boss Fight
After you defeat Hinox, Sooga, the final boss of this level, will arrive. You’ll be forced to use Link during this fight.
When you’re in control of Link, you’ll see Sooga already fighting Zelda. Quickly make your way to him and start fighting.
Sooga’s moveset is pretty much the same as that of the Yiga enemies.
The most important attack of his that you need to watch out for is when he makes an X shape with his swords and then creates an illusion that looks like a red hexagon.
When you see him do this, get as far back away from him as you can. This attack will knock you back into the other enemies if you get it, so it can be very dangerous.
Other than that attack, Sooga should be very easy to deal with.
After you defeat Sooga, a cutscene will play and then this level, and chapter 2, will end.