The early-access survival genre had become unreasonably saturated until as of recent. Valheim recently entered early access and gave players the opportunity to build and survive on their own in this Viking realm. The game is best experienced alongside friends and in this guide, we’ll show you How to Set up a Dedicated Server in Valheim.
Setting up a Dedicated Server in Valheim
Experiencing Valheim with your friends requires you to go online with a dedicated server and/or join someone else’s already existing game.
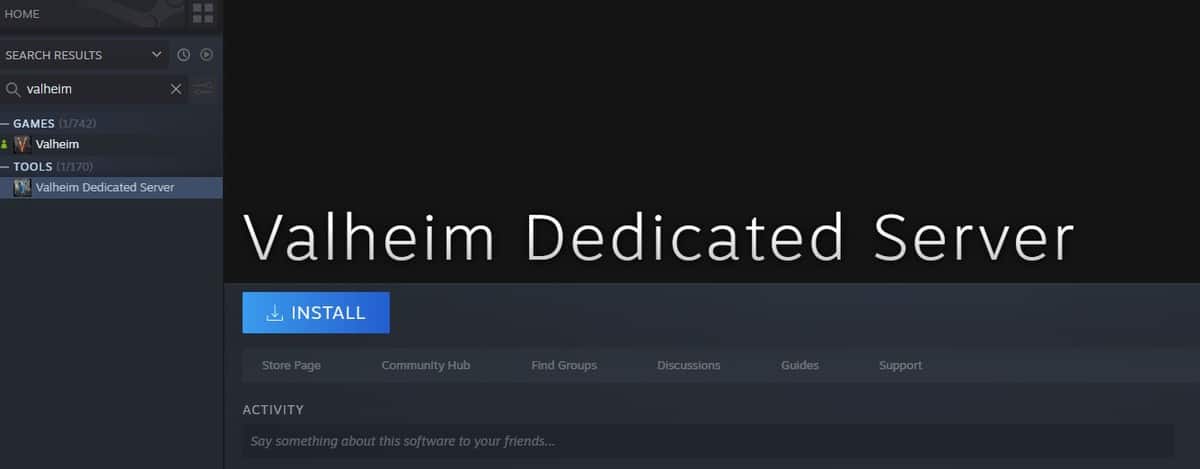
Once you’ve bought Valheim, you’ll automatically gain access to a new tool labeled as ‘Valheim Dedicated Server.’ Simply navigate from your Steam into your library and search to find the said tool.
- Download and install the Valheim Dedicated Server tool.
- Go to the install directory and open up the startup script file. The default folder for the server should be: C:\Program Files (x86)\Steam\steamapps\common\Valheim Dedicated Server.
- Edit the file named “star_headless_server”. Here, you’ll see “start valheim_server -nographics -batchmode -name XYZ -port 2456 -world XYZ -password XYZ -public 1”.
- Set the server name, world name and password (Make sure that your server name and world name are not the same).
- Should you not want the server to show up in the community servers list, set the public value to 0.
- Make a copy of the start_headless_server file because it will often be reset when the game updates.
- The game will now require you to forward your ports in order to allow other players to connect to your server.
- Head to your router page and open the following ports: 2456-2458 TCP/UDP and 2456 Host Port. Make sure to allow the ports from the firewall as well.
After you’ve followed all of the above steps, you’ll be able to jump right into the dense world of Valheim with your friends. Good luck surviving!
