Rampages in Grand Theft Auto 3 require you to kill the enemies or destroy vehicles, so it is one of the more challenging tasks to complete. Let’s begin with our GTA 3 Rampages Locations guide right away to help you to all the locations and suitable strategies on how to get them easily.
GTA 3 Rampage Locations
Rampages are the icons that are represented by a white skull set in a blue circle on the map in Grand Theft Auto Three.
There are 6 Rampages in Portland, 7 in Staunton Island, and 7 in Shoreside Value, so this means there are a total of 20 Rampages that you can complete in GTA III.
Players can find each Rampage at two different locations in GTA 3, so do not worry if you miss them at first. Here is detailed information for all the Rampages and their locations in GTA 3 Definitive Edition.
Portland Rampages
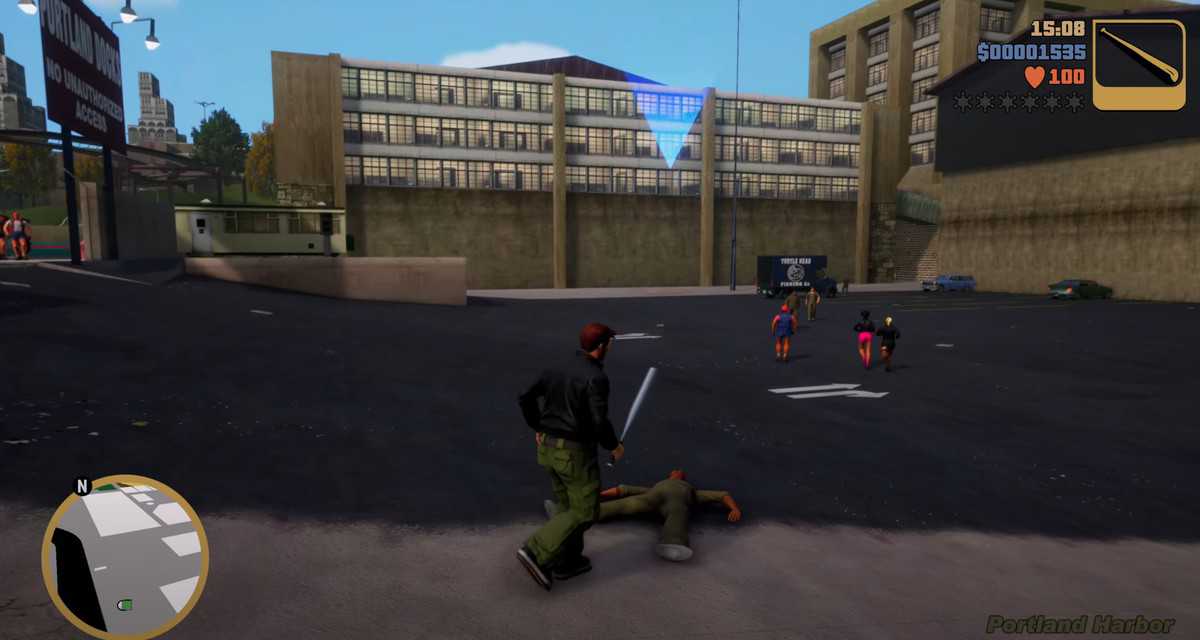
Rampage #1
To complete the first Rampage in GTA III, you need to kill 20 mafia members using an AK-47 in a time span of two minutes.
- First Location – Between two garages in Saint Mark’s, south of Salvatore’s Gentlemen’s Club
- Second Location – Alley one block south of Toni’s restaurant.
You can grab a health pickup just to the south of the first location of the Rampage, resting on a ledge. If you have completed the Sayonara Salvator, then this task can become a bit more difficult than usual.
Also, the Leone family will make use of Shotgun if you go for it after Sayonara Salvatore. Try to kill the enemies by staying close to the location from where you picked the Rampage. Moreover, try to keep a distance from the enemies while targeting and shooting them.
Rampage #2
Kill 20 Triad members in two minutes using a shotgun for completing this Rampage.
- First Location – In an alleyway near bitchin’ dog food factory in Trenton
- Second Location – Near a ledge behind the hospital by going up to the police station.
First, getting access to a Wanted Level can help you to reduce the hostility of the triads. Also, covering points with walls and cliffs like a parking lot at the police station can help you a lot.
Grabbing the health pickups can also be useful at the early stages, especially when you begin from the second location.
Rampage #3
You are required to kill 25 Triad members in two minutes using Uzi.
- First Location – Chinatown
- Second Location – Supa Save parking lot.
Get inside a vehicle and perform drive-by-shootings to make this Rampage easier. The bulletproof Patriot awarded by Marked Man can make this a lot easier for you guys.
Rampage #4
The players must murder 30 Diablo members in two minutes using M-16
- First Location – In an alleyway in Red Light District near a set of stairs.
- Second Location – Behind the Old School Hall.
If you have completed Uzi Rider, then this Rampage can be easier to complete. You just need to jump around to keep a safe distance and attack by going fully automatic with the weapon.
Rampage #5
You are required to destroy 10 vehicles in two minutes using Grenades.
- First Location – Close to El station by the hospital in Portland View.
- Second Location – At the El station near Joey’s garage.
The players should park the vehicle and blow it up to destroy other vehicles. If the Wanted Level is increased, then more police vehicles can be brought close to your vehicle. This will help you to achieve the required number of vehicles easily.
Rampage #6
Destroy 13 vehicles in two minutes using a Rocket launcher.
- First Location – Alleyway of the building on the Chinatown/Trenton border, across the road east of Old School Hall.
- Second Location – Behind a wall, one building east from Greasy Joe’s Cafe.
As done in the previous Rampage, you need to park a vehicle in the parking lot near the bridge. If you attain an increased Wanted Level, then you can get the attention of more police vehicles. To kill the enemies approaching by foot, you can make use of rockets.
Staunton Island Rampages
Rampage #1
The players need to touch 16 Yakuza members in two minutes using Molotov Cocktails.
- First Location – Newport Fort Staunton Expressway, near the doorway of the house on the east side of the highway.
- Second Location – In the corner of the alley at the 8-ball Autos’s and Pay ‘n’ Spray, next to a multi-level parking garage in Newport.
There is a lot of Yakuza that appear during the game, so this will be a bit easier task than the other ones. Make sure to take a vehicle with you guys as well.
Moreover, launch the cocktails underneath where you picked up an icon to take out Yakuza. Now, jump over them to complete the task.
Rampage #2
Destroy 8 vehicles in two minutes using a shotgun.
- First Location – The icon is located at the southwest corner of Belleville Park.
- Second Location – The icon is located at the northeast corner of Belleville Park.
Stop the vehicle right at the middle of the junction. Now, empty the cars by pulling the drivers out of the car. Next, start shooting with a shotgun to destroy the cars. You can also increase the Wanted Level to have more police cars.
Rampage #3
Burn 25 Yakuza members in two minutes using a Flamethrower.
- First Location – In the alley opposite Donald Love’s hideout.
- Second Location – South of church in Bedford point.
The range of flamethrowers is quite large, so you should try to hit the Yakuza members from a distance. Also, they will attack you in groups, so you need to be careful.
Rampage #4
Explode 25 Yardies in two minutes using Grenades.
- First Location – you can find the icon in the alley behind the Fire Station in Belleville Park.
- Second Location – On the south side of the block, located south of the campus area.
Run to the Yardies and tap the attack button to drop a Grenade on them. The players should run away right after attacking the Yardies as well. Also, luring the Yardies together is an effective way to complete the task.
Rampage #5
Blow 17 Yardies heads up in two minutes using a Sniper Rifle.
- First Location – AMco building at the border between Torrington and Bedford point.
- Second Location – At Kenji’s Casino’s entry, go up the walkways.
Try to kill them while keeping them on the ground and not on the rooftop. The players should complete the Kingdom Come and intentionally fail the Rampage for the first time, so it appears at the casino a second time.
Next, jump off the balcony and begin sniping them to the ground.
Rampage #6
Destroy 30 Yardies in two minutes using a Rocket Launcher.
- First Location – At the left of the church in the alley in Bedford Point.
- Second Location – Entrance of the Kingdom Come parking lot. You will find the icon behind the right stairs of the building in the bushes.
The players should gain a Wanted Level to reduce the hostility of Yardies. If the Yardies or policemen get too close, they prefer to hit behind them rather than at them. Also, try to hit them from a distance.
Rampage #7
Destroy 15 vehicles in two minutes using M-16.
- First Location – At the south of the southernmost building in the campus area.
- Second Location – In the northeastern corner of the construction site.
The players should cause a traffic jam before starting with this Rampage. Next, get close to them to destroy them with the M-16.
Shoreside Vale Rampages
Rampage #1
Splash at the 20 Cartel members in two minutes using a car.
- First Location – Behind the billboard in front of the airport’s main terminal.
- Second Location – Take the tunnel to the airport or bridge from Staunton Island and turn right to reach a crossing. From here, turn left to continue climbing up the hill. Now, turn left when you see a factory building to find the icon behind the hill.
A bulletproof Patriot is the best option to go with. Another option is to run over the Cartel. If the players have completed ‘The Exchange, then they should hijack a car or two.
Rampage #2
Behead 20 Southside Hoods in two minutes using M-16.
- First Location – Turn left from the hideout, moving down the hill, and turn left again behind the orange Squid billboard up the hills.
- Second Location – Behind the Gasoline Billboard near the hideout in one of the S-curves from the apartment area.
Just be careful of the surroundings to keep yourself safe from the attacks of the enemies. This is a simple task if you do not get ambushed.
Rampage #3
Splash at the 20 Southside Hoods in two minutes using a Shotgun.
- First Location – Turn left from the hideout and then jump over the edge to your left at the top of the garage to find the icon.
- Second Location – Come across from the bridge from Staunton Island. You will find the icon behind the SUMO billboard.
The players should start shooting all the nearby enemies right from the beginning. The players should use the low wall along the pavement for cover and shoot Southside Hoods as they come across you guys. A health pick up can also be found nearby.
Rampage #4
Destroy 7 vehicles in two minutes by Dive-by.
- First Location – Follow the same path as you did for Rampage #1 to reach the crossing. Now, you will see the Punk Noodles factory on the other side of the crossing at Pike Creek. Here, the icon is behind the raised gate.
- Second Location – Reach the boulders area in a circular area, the lowest part of the dam. The icon is behind the left boulder.
At the Car parking at Francis Internation Airport, you will find a lot of vehicles. Pull out the drivers and start destroying the cars.
Rampage #5
Destroy 15 vehicles using a Rocket Launcher in a time span of two minutes.
- First Location – At the same crossing you reached for Rampage #4, you will find the Turtle Head Fishing. Enter the gate to reach the top of the roof by climbing the stairs. Here, you will find the icon.
- Second Locations – Coming from the bridge from Staunton Island, keep moving past the airport entrance. Here, you will find the Badfellas billboard. The icon is behind this billboard.
The players can only go for a traffic jam to have more vehicles, so park the vehicle at the crossroads, to begin with, the Rampage.
Rampage #6
Remove 15 Columbian heads in two minutes using a Sniper Rifle.
- First Location – Follow the same path as you did for Rampage #1 to reach the crossing. Now, keep moving on the road until you see a wall opening to the right of the road. Dive through it to reach the ramp, and you will see another ramp by standing in front of this ramp. The icon is behind the big box at the base of this ramp where the mission Bait takes place.
- Second Location – Pike Creek LCPD compound. The players should climb up the first location to reach the roof of the garage.
Try moving Claude away from the ledge to have more Cartel. Complete ‘The Exchange’ and jump down to the street, and hit the Cartel. Don’t try to get close to the cliff, so they cannot spot you guys.
Rampage #7
Fry 20 Cartel members in two minutes using a Flamethrower.
- First Location – The icon is behind the garage of the big purple house found at the top S-curves while going from the apartment area.
- Second Location – The icon is located in the corner behind the wall to the right of the Import/Export Garage.
Simply run o the road and burn any Cartel you see on the road before completing ‘The Exchange’. Get the Wanted Level to reduce their hostility or run to the back of the mansion. Now, head to the camera overhead.