Mohgwyn Palace is not a main region of Elden and not an easy place to find. In this Elden Ring Mohgwyn Palace walkthrough, we will tell you each and everything related to Mohgwyn Palace in Elden Ring including its location and the enemies that you will encounter and how to defeat them. Without any further ado, let’s get into it.
How to Get to Mohgwyn Palace in Elden Ring
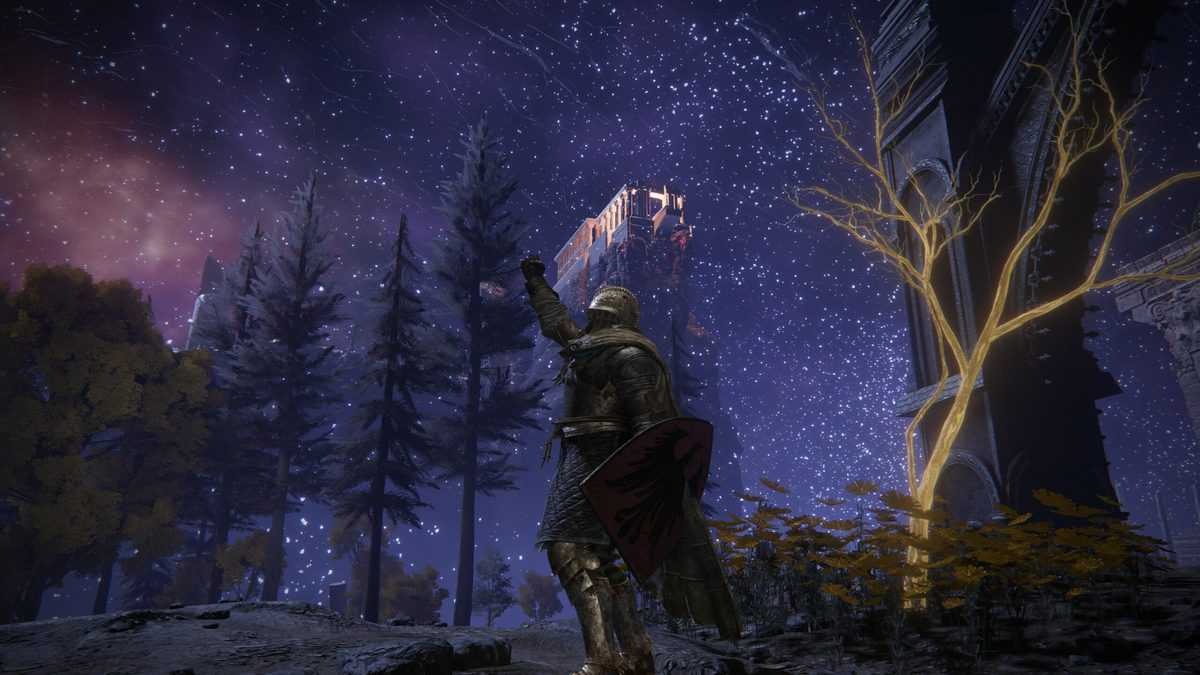
The Mohgwyn Palace region of Elden Ring is an optional region located under Caelid, in the Siofra River region of the underground.
You may need Mohgwyn Palace map if you want to reach Mohgwyn somewhat easily. You can find this map on a corpse in the palace stairwell, past several Albinaurics who summon huge skeletons.
There are two ways to reach Mohgwyn Palace.
First Way to reach Mohgwyn Palace
There is an NPC named White-Faced Varré in Elden Ring that can easily be overlooked but he can give you a very important item that can help you in your quest of finding Mohgwyn Palace. All you have to do is complete his questline and he will give you Pureblood Knight’s Medal as a reward for completing his questline. This Pureblood Knight’s Medal can be used to teleport yourself to the Mohgwyn Palace.
Second Way to reach Mohgwyn Palace
The second way to go to Mohgwyn Palace is to seek the Consecrated Snowfields for a secret doorway. In the Consecrated Snowfield, northwest of the Yelough Anix Ruins, is the Waygate Teleporter to Mohgwyn Palace. Until you kill the Sanguine Noble NPC that invades nearby, the Waygate is inactive.
To get to the cliff’s edge, teleport to the Inner Consecrated Snowfield Site of Grace and then ride west. Search the area for an Albinauric and a bleeding teleporter. After passing through the teleporter, you will be transported to a pitch-black cave. Exit the cave by walking forward and you’ll find yourself on a cliff overlooking Mohgwyn Palace.
Elden Ring Mohgwyn Palace Walkthrough
This is the final part of Siofra river that had not yet been discovered so once you get here and once you get the map you will now have the entire Siofra River area covered on your map and the name will finally appear on the banner.
Once you are outside the cave, go down the path and pick up a Golden Rune (11) on a corpse. It will be on a hill that you can access from the ground. After that, go towards the Place Approach Ledge-Road Site of Grace and rest if you want. This will be on the ground level.
In the northwest of Grace site, you will see a slope with a bunch of Albinaurics. Go there and pick up a Smithing Stone (6), a Golden Rune (11), and five Bloodrose by killing the Albinaurics on your way.
The White Flesh Albinaurics are not violent, but the red flesh Albinaurics may roll towards you with a high-speed Kartwheel and shoot spikes into the space surrounding them, causing significant damage. If you notice a Kartwheeling toward you, the best thing you can do is dodge into them and they’ll roll right through. If you can, aggro them one at a time because you don’t want lots of these Albinaurics rolling about at the same time.
Continue north or northwest until you reach an area where three hunting horn-wielding Albinaurics with the ability to conjure huge ghostly skeletons may be found. Once you’ve gotten through them, travel west to a ruin, where you’ll discover the Map on a lone corpse in the center. Quickly grasp the Dynasty Mausoleum Entrance Site of Grace by ascending the steps.
There are stairs on right side of the Site of Grace, head upstairs and go past the Zombies. Pick up the Smithing Stone (7) on the tombstone on your right and keep moving forward until you get attacked by a Red Flesh Albinauric. You will find a Numen’s Rune on your left near the edge.
Keep moving forward until you see a huge slime enemy blocking your way. You can either kill it and get Stanching Boluses x3 or you can go past it. This slime has huge health and not so deathly attacks.
Once past it, keep moving forward until you see a huge entrance. On the left side near the edge, you will find x8 Bloodrose. Go inside the entrance and equip a torch as it is pitch black inside.
Go along the path on your left until you see a Blood Mage appear out of ground on your left. You can either go past the Blood Mage by killing it to find a merchant or you can go right.
Go left only if you need to buy Stonesword Key and Rune Arc. Otherwise, go right and you will find a Lord’s Rune ahead. From there, head north, northeast to find a Great Ghost Glovewort. After picking it up, go up and from there, go south, southwest to find x3 Smithing Stone (8) on a corpse.
Find stairs in the north direction and head upstairs. From there, go east to find a Ghost Glovewort on a corpse. After that, head east, northeast until you get out of the cave and see a Dynasty Mausoleum Midpoint Site of Grace. Pick up x6 Festering Bloody Finger on your way.
From the Site of Grace, head upstairs and you will see a bunch of red Albinaurics and a Blood Mage. Eliminate all of them to get your hands on the Somber Ancient Smithing Stone found inside a chest.
From the chest, head west towards a lift. Go up through the lift and head west to enter the fighting arena where you will fight Mohg, Lord of Blood.
How to Defeat Mohg, Lord of Blood
Before you start the fight, ensure that you have mixed your wondrous Physick Flask with the Purifying Crystal Tear that you got from Yura’s questline. You may want to get Mohg’s Shackle from Subterranean Shunning Grounds. Once you’re ready, proceed through the fog.
There are two phases of this fight with Mohg.
Phase 1
Phase one is pretty hectic but with more practice you should be able to get through this somewhat unscathed. You want to make sure that you have as many flasks as possible for phase two because phase two gets extremely difficult.
The first ability that you should know of is a Blood Flame Claw. The boss can do that in two ways; he can either do it with a backhand or a forehand. The backhand is quicker and when you roll through it, the boss is going to do one of two attacks. He’s either going to do a Trident Charge which you need to roll almost immediately or with the forehand attack, he can do a swing. If you start attacking with a regular long sword before he starts that swing, you can actually get underneath him.
You need to do a really good job studying that ability specifically because in phase two, that can one shot you if you’re not careful. The boss will put Blood Curse marks on you through very obvious telegraphs.
When you get to a second one, that’s when you want to use Mog Shackle. The first time, however, you want to be very careful. Do not drop the boss below 50 HP or get him even close to it with the first shackle. The reason being because you want to drop him below 50 HP and then during the transition, drink your flask right away and then just start laying into him.
You want to do as much damage as possible to him as he’s refilling his health. This way you enter phase two with the boss at less than 75 health and you’re off to a much better start than you would be otherwise.
Phase 2
Once the music has changed, that means that phase two is happening. So, you need to drink that flask as long as it has the proper mix. That will negate basically all the damage except for some small explosion damage.
You want to stay behind the boss during the transition the reason being is because he does a big sweep attack with the trident but if you’re behind him it doesn’t hit you so just stay behind the boss during the transition.
During phase 2, the boss can do basically every ability he has and will spread blood flame as well. You have to be very careful because some of his moves are extended. You want to pay very close attention to the boss’s hand that is holding the trident because when the hand moves that’s when the attack is coming.
He has very long sweeping strikes and it’s very important that you don’t roll too early at the start of phase two. You want to use a Rune Arc and activate your Great Rune to get more stats. This is very important when the boss stabs his trident down into the ground even if you are not struck by it.
In phase one, you can just roll behind him, start dealing damage but in phase two, it becomes somewhat of like a Volcano Geyser. So, you need to get away from the boss. You can roll through that explosion but it’s difficult and it’s not worth it for this phase. You just want to take it very easy.
Occasionally, when the boss does his overhead slam of the trident, if you’re near the sides and any Grave Markers are still around, the Boss can get stuck, being a little bit of a lucky sort of thing and that allows you to get a lot more damage in phase two.
You really want to get good at rolling through the Blood Flame Claw. The reason for that is because as phase two goes on, if you are far away from the boss, he will spread a lot of Blood Flame on the ground that you will have to walk through.
Blood Flame ticks your health very quickly and you do not want to have to deal with it. So, you want to stay close to the boss as often as possible. When the boss flies up and throws the Blood Flame, you want to roll through it and then walk towards the boss and roll through the boss as he flies overhead.
You want to let him land on the other side of you because then you will be able to roll through in case of another Blood Flame attack and you can proceed to attack the boss again.
Every single piece of Blood Flame that the boss is putting down on the ground can be managed. However, if you feel like it’s getting a little out of control, you can just back up to the other half of the arena where it’s all clean. The Blood Flame can go a long way but where it’s clean, you can start the pattern up again.
The boss can do a scoop that spreads Blood Flame and then he will sort of land on his feet, exposed to some attacks. You have to be very careful when the boss lands because he has about a 50/50 shot of digging the Trident into the ground.
If that happens, it’s going to be a Volcano Geyser. You need to get away by rolling through. Do not go too far into the boss and don’t overextend yourself when your stamina is running low.
You regenerate Stamina faster when your shield is lowered. So, if you have some space and the boss isn’t doing anything, lower your shield and let your stamina regenerate faster even if it means you’re going to pick it up a second later.
That can be the difference between running out of stamina, getting Guard broken and getting killed versus just getting one more roll in surviving and being able to reset.
That is Mohg, Lord of Blood. You will get Mohg’s Great Rune and Remembrance of the Blood Lord as a reward for defeating Mohg.