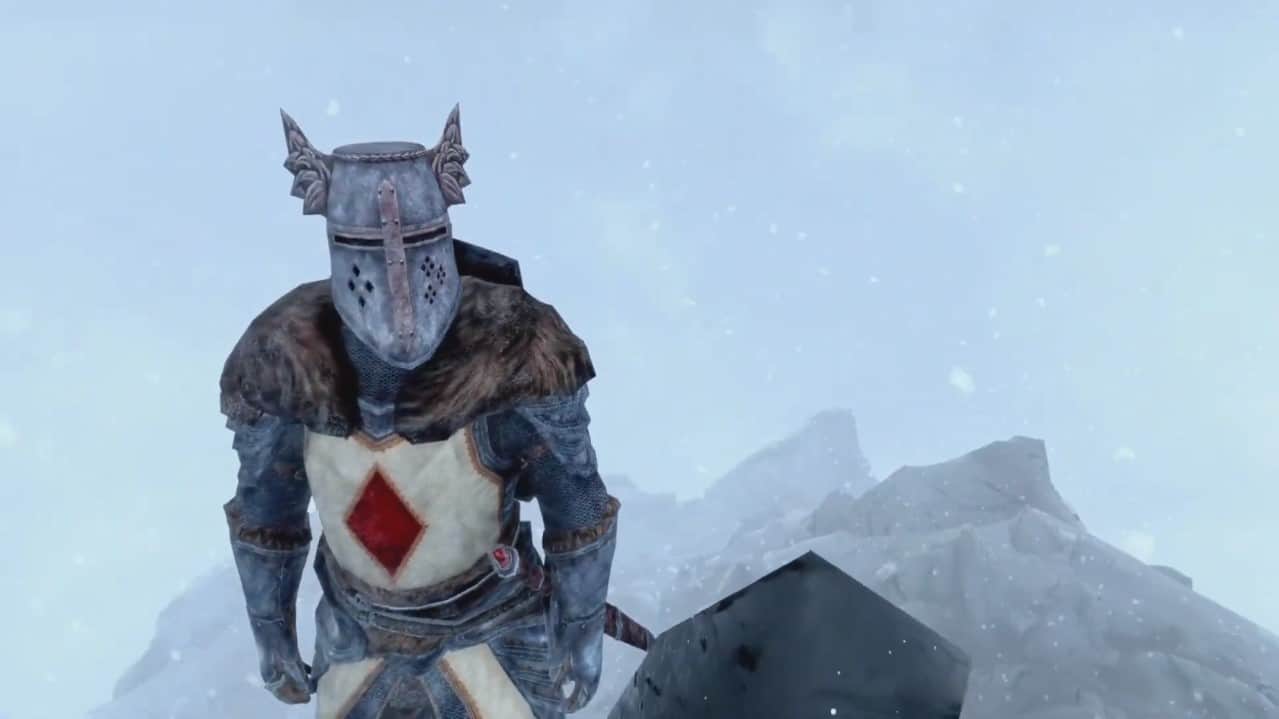
Perhaps becoming the holy knight is what you seek in the land of Skyrim. It is a throwback to one of the Knights, “Pelinal Whitestrake” of the Knights of the Nine from Elder Scrolls IV: Oblivion DLC. The Divine Armor Crusader sets are inspired by the medieval Knights of the Templar order from the Crusades. The armor sets keep the role-play in check as well to see if you’re worthy enough to wear it or not.
If you make a mistake, you will not be able to continue wearing it as it is for the purest of hearts. You need to act on a spectrum of lawful good to keep yourself worthy to continue wearing this armor. There are also two sets of Divine Crusader Armor available, thanks to Aniversary Edition’s Creators club and in this guide, we will discuss how you can acquire Divine Crusader Armor Set in Skyrim and complete the associated quest.
Divine Crusader Armor Set Location
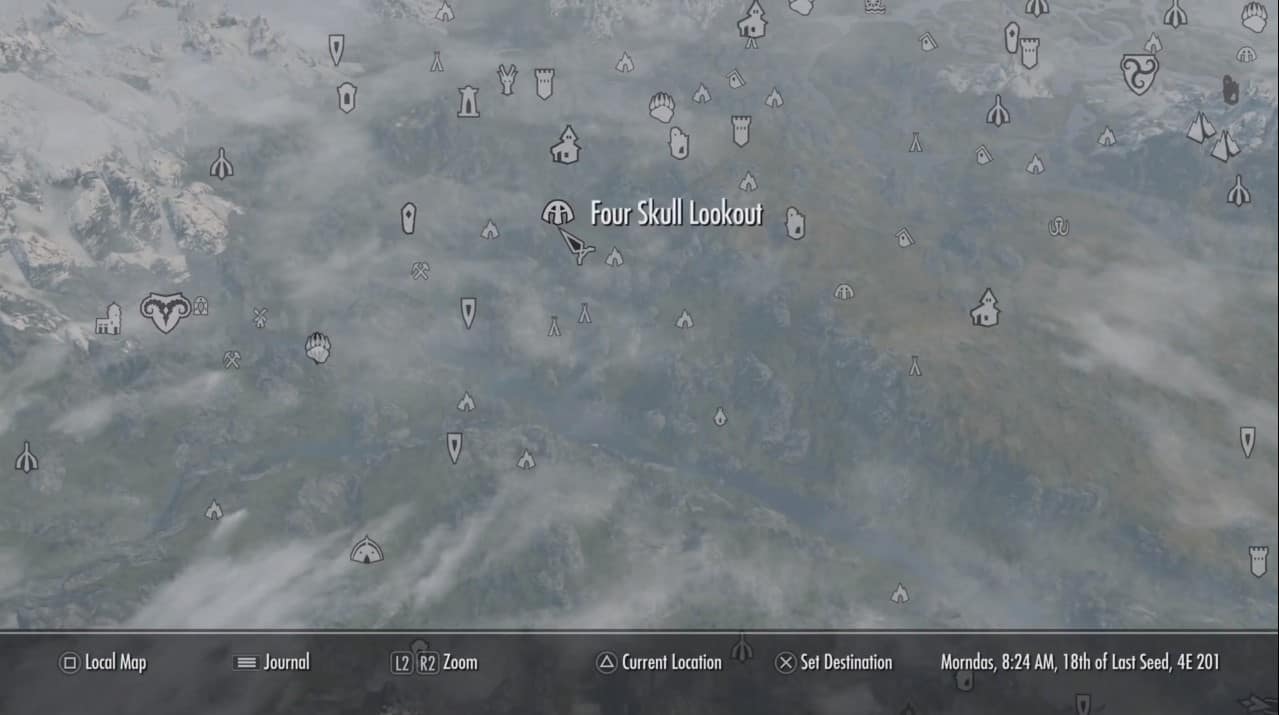
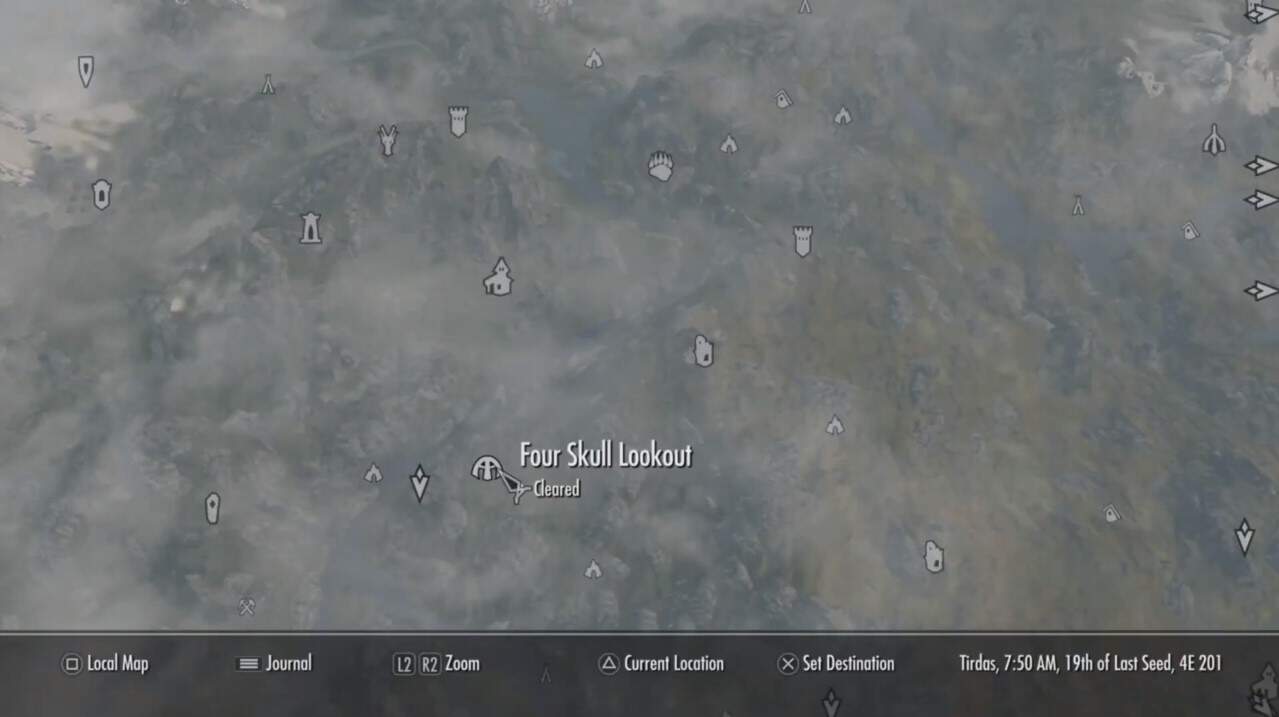
According to the description, the Divine Crusader armor set’s location is Northeast of Markarth. To be precise, the location happens to be the Four Skull Lookout, as shown in the map below.
This area happens to be riddled with bandits, or five of them at least. Defeating them, however, will not be difficult. Head inside the building and you’ll find two dead bodies – Oren and Igorn.
Looting Oren would give you the Standard Crusader Armor set with the Mace of the Crusader while looting Igorn would give you the Reforged Crusader Armor Set and the Sword of Crusader.
Divine Crusader Armor Quest – Pilgrim’s Path
Whenever you equip any item of any crusader armor set, you will initiate Divine Crusader Quests as the “Pilgrim’s Path.” This is because you’ve committed a crime that makes you unworthy of the armor. Following the “Pilgrim’s Path” quest takes you on a pilgrimage to cleanse you of your sins and make you worthy of wearing the Holy Armor. Trying to use the armor without cleansing would lead it to become heavier and unresponsive. If your infamy is higher than 15, your stamina will get a penalty, and your carry weight will be reduced by 100. To gain full potential, completing this quest is necessary.
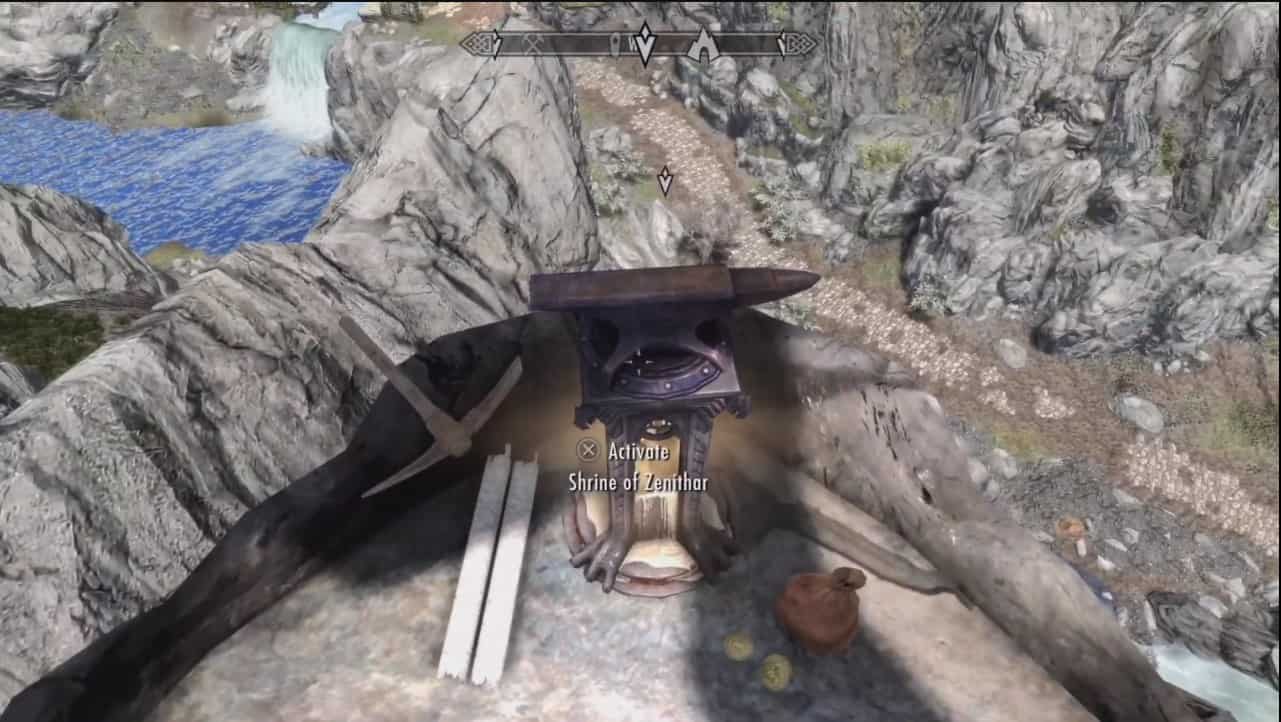
Shrine of Zenithar
You are required to visit nine shrines to complete this quest. The first location is right near the place where you found the armor – at the Four Skull Lookout. From there, just go west, and you’ll find the Shrine of Zenithar.
Shrine of Dibella
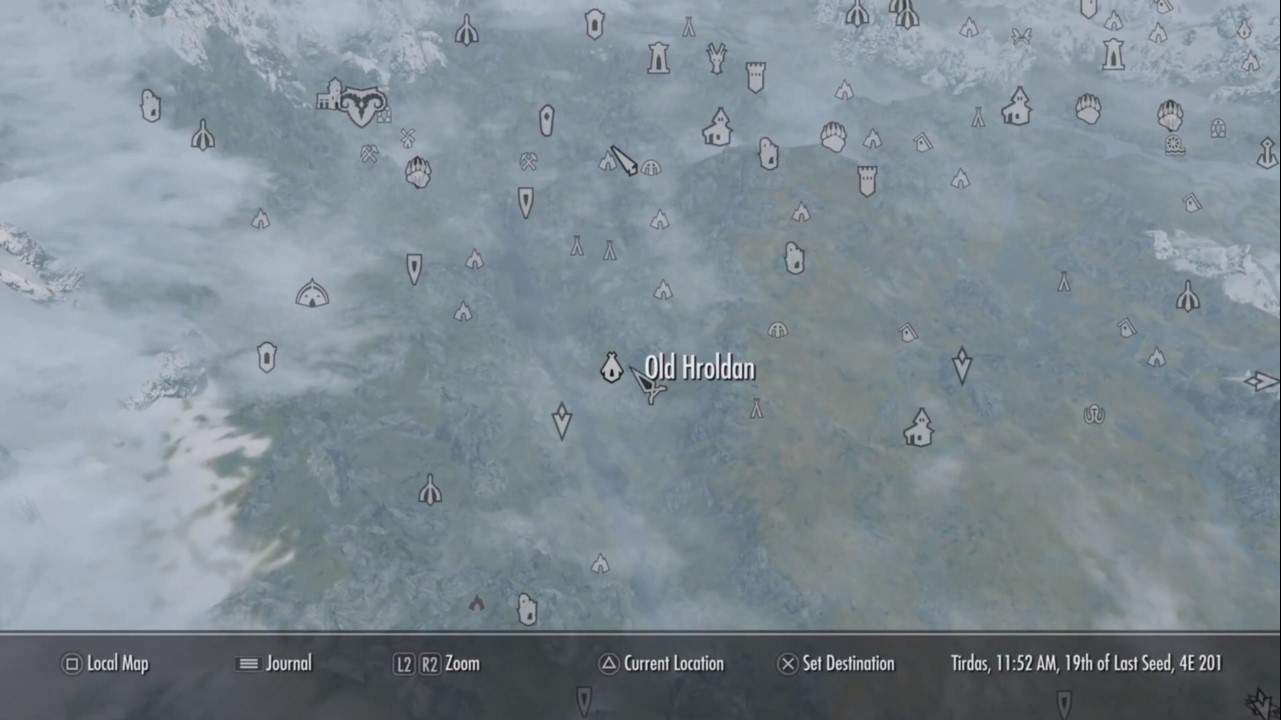
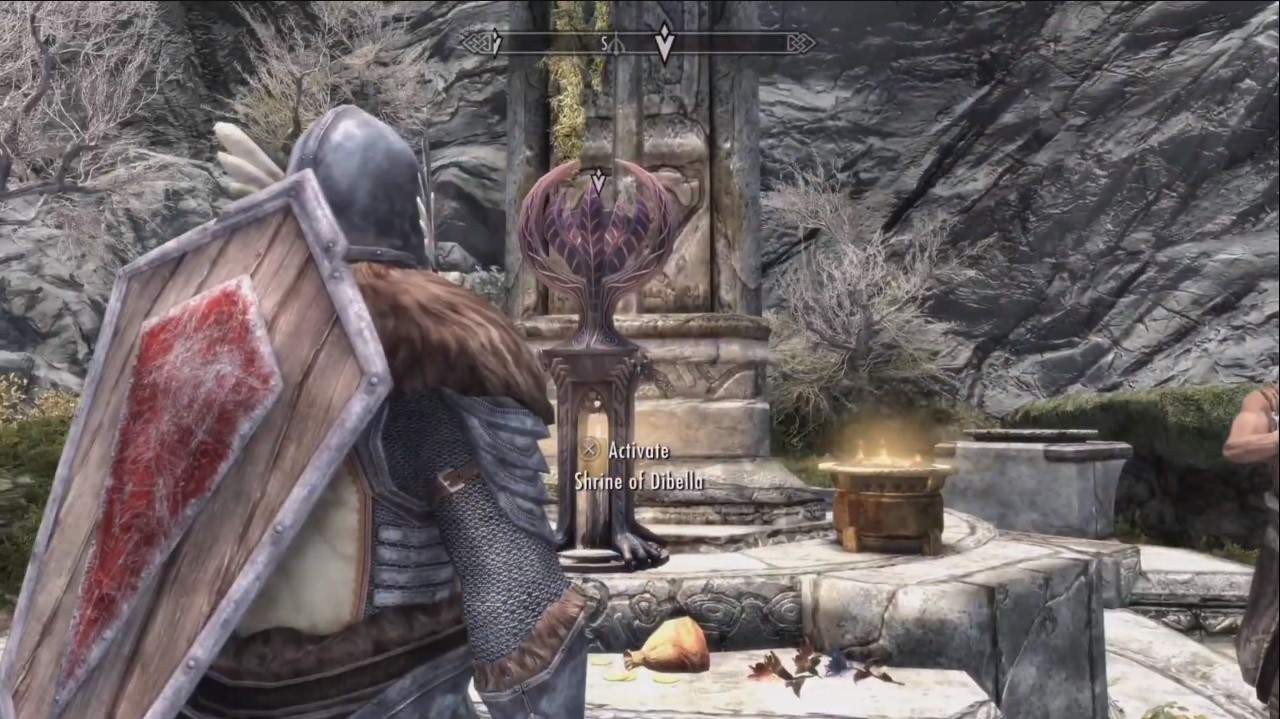
The second shrine is available if you head southwest, crossing the river using a Bridge from Old Hroldon. Continue moving, and you’ll come across the Shrine of Dibella, surrounded by a few NPCs who’re also there for prayers.
Shrine of Akatosh
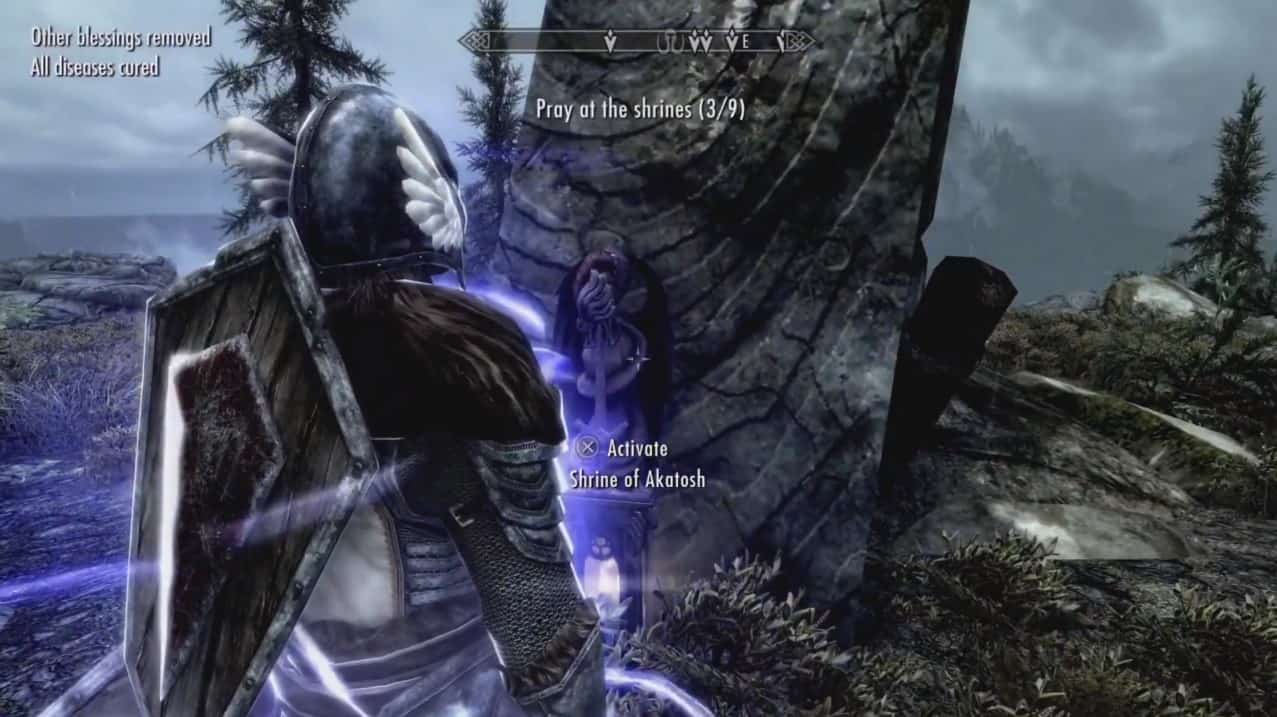
This shrine is exactly East of Lund’s Hut. It is called the Shrine of Akatosh. After teleporting, they head East by dropping on the stone path through the gate and take a quick left. Go around and head up on the mountain, and you’ll reach the shrine.

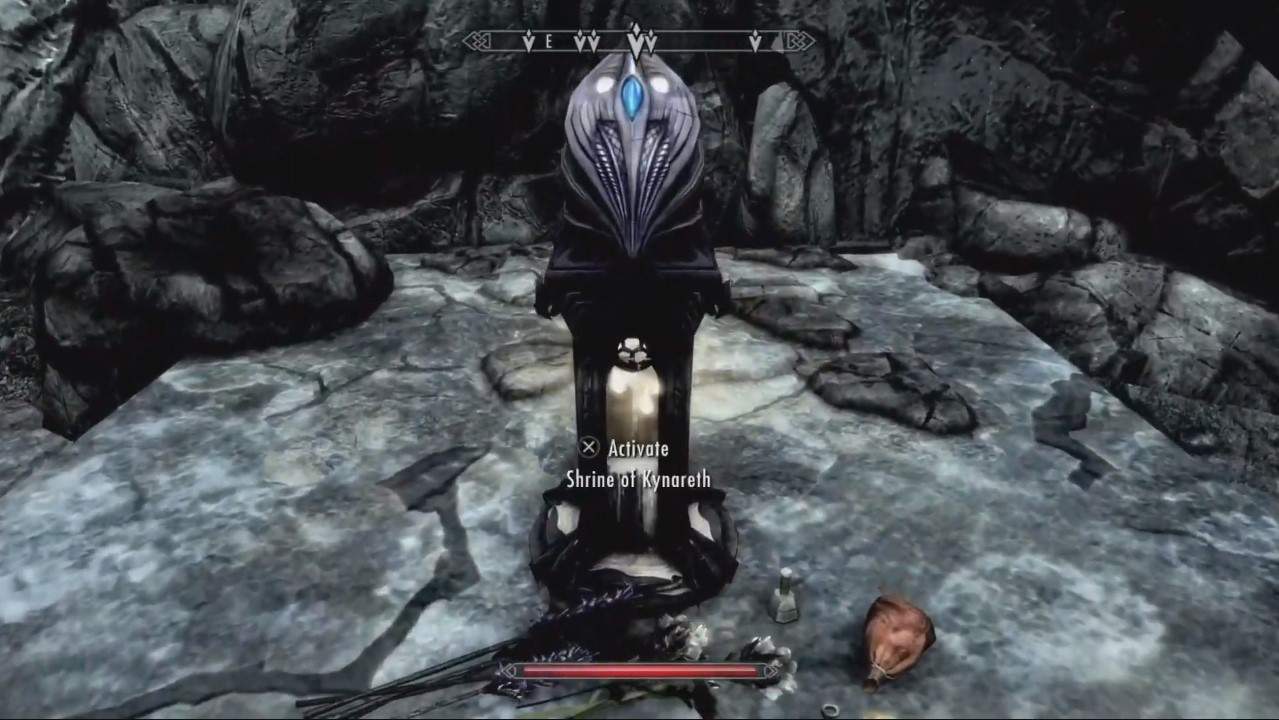
Shrine of Kynareth
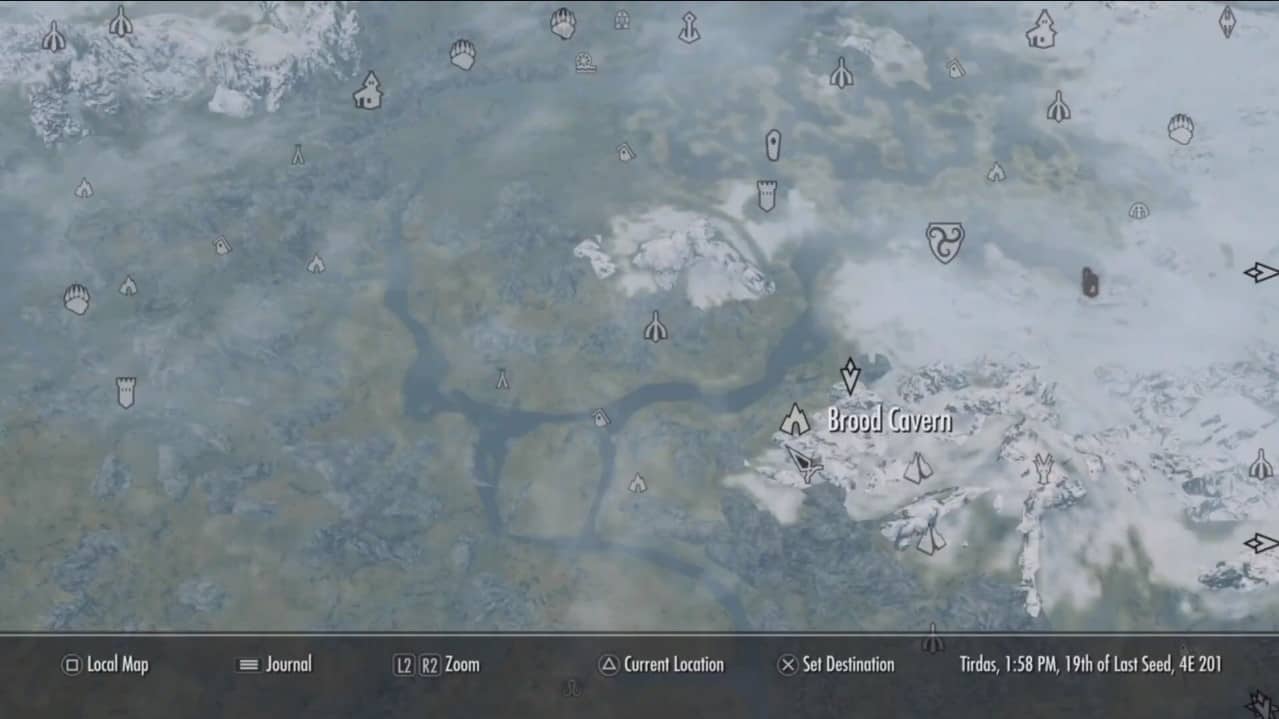
For this shrine, spawn at Brood Cavern and head Northeast. The path to the shrine is straight, you simply have to continue moving in a straight line at the Mountain’s base, and you will reach the Shrine of Kynareth.
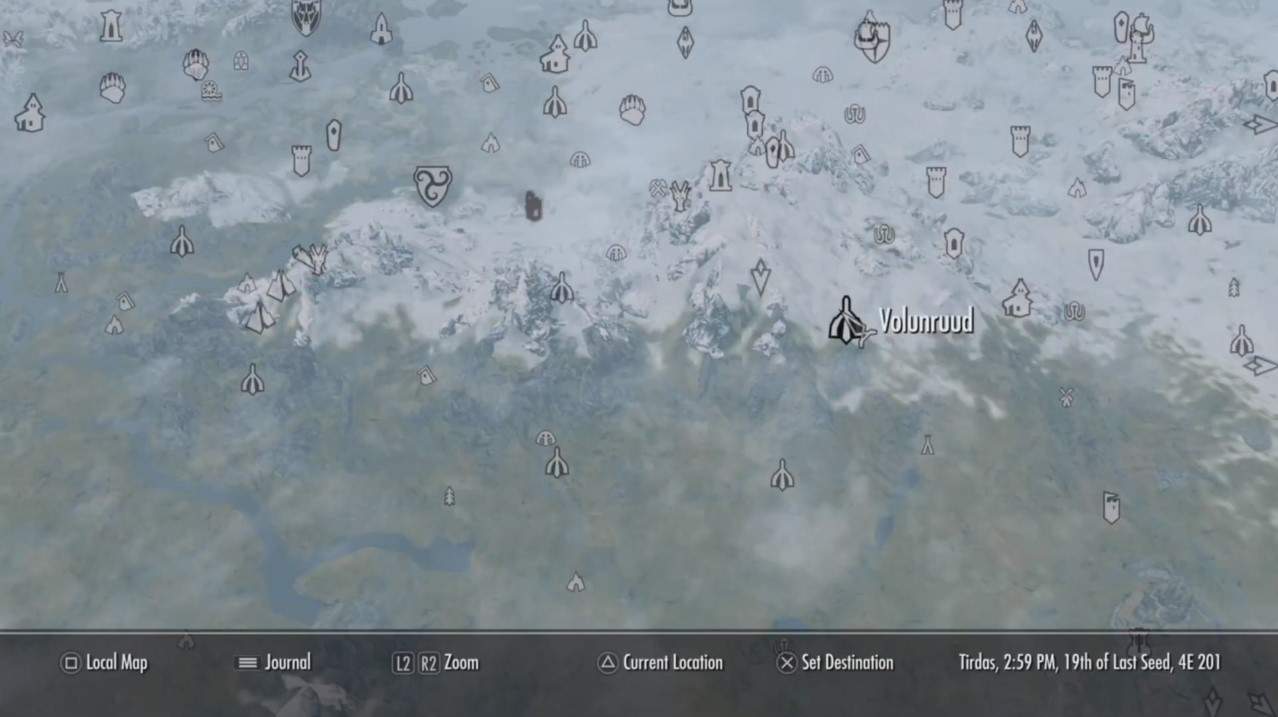
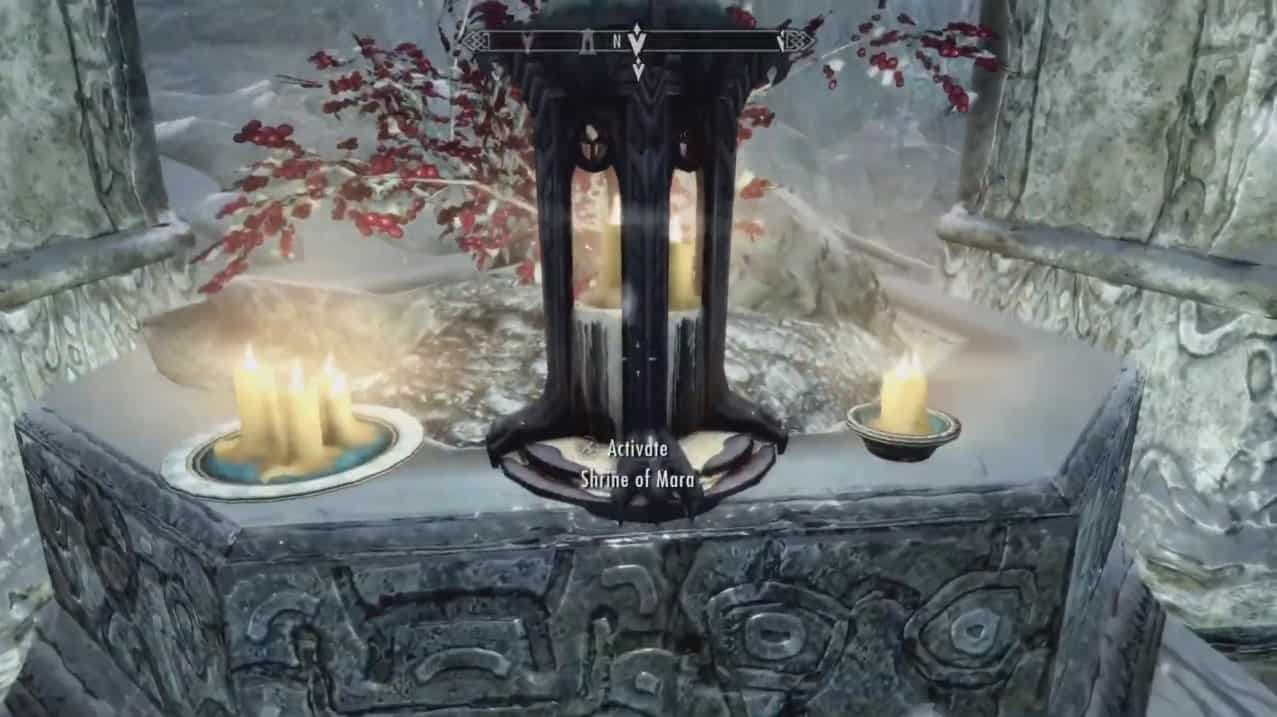
Shrine of Mara
Begin by spawning at Volunruud and head straight NorthWest. You’ll have to continue straight through the snow; however, you will reach the structure with the Shrine of Mara in it.
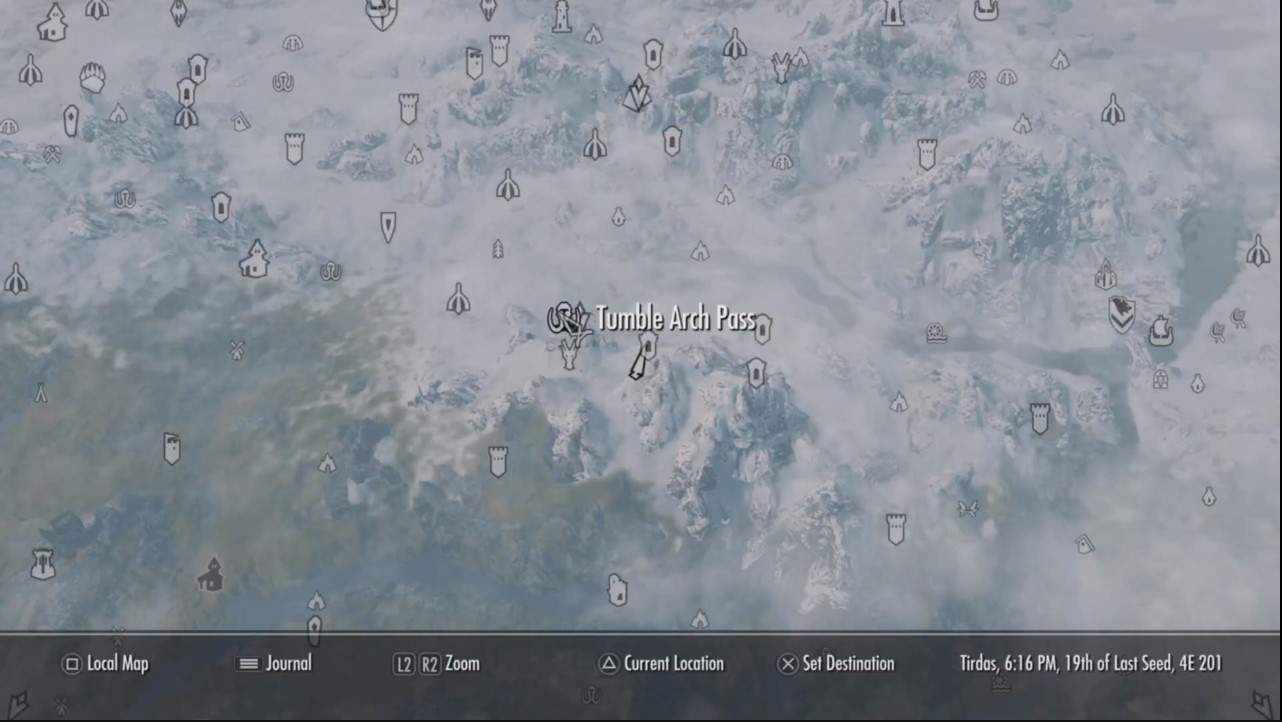
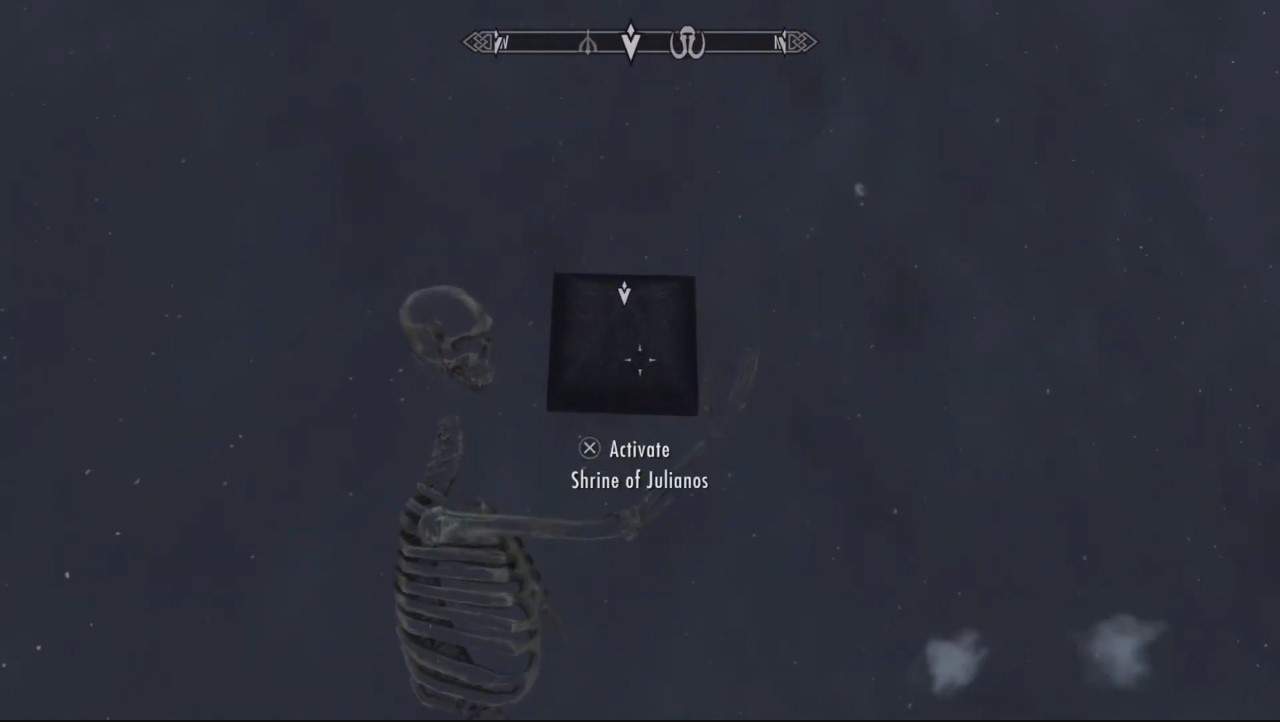
Shrine of Julianos
Begin by spawning at the Tumble Arch Pass. With the bonfire right in front of you, head directly towards the left and climb up the mountain. You’ll have to jump several platforms in order to do it since the climb is a bit steep. Head Northwest and you’ll find a Skeleton with what may seem like a book but it is actually a Shrine of Julianos buried in the snow.
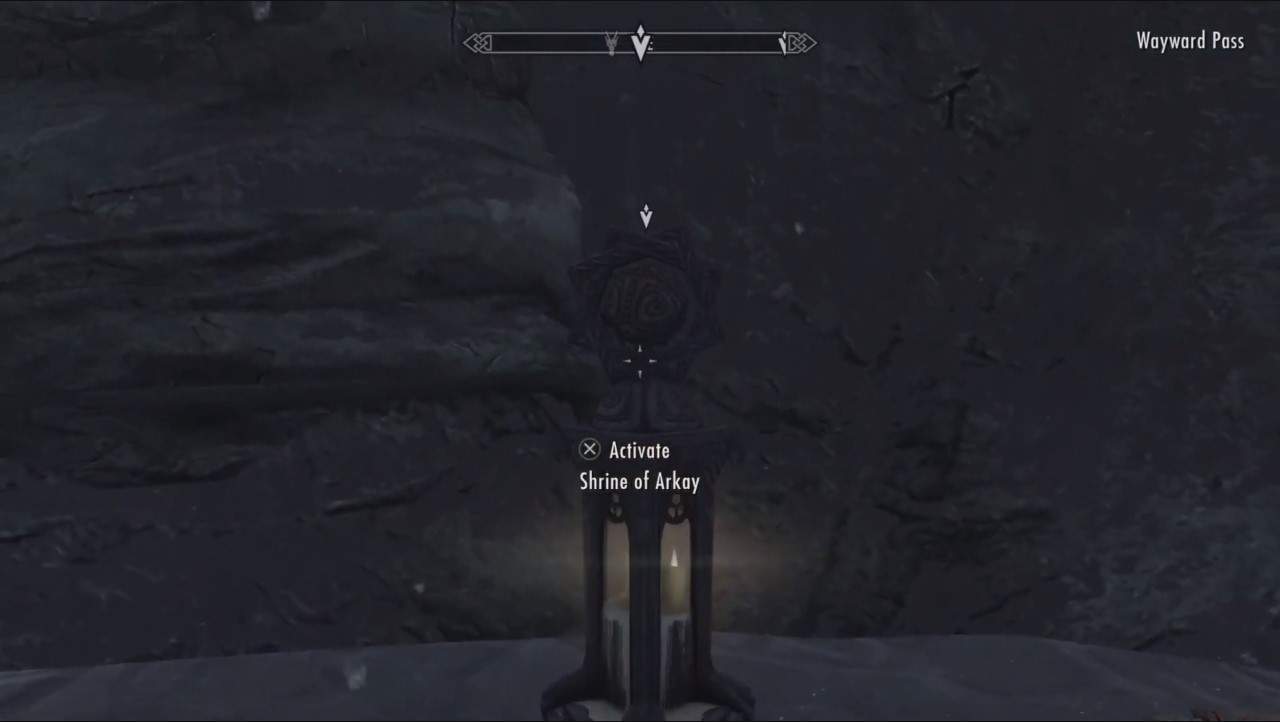
Shrine of Arkay
This Shrine can be found at the Wayward Pass. Head north after spawning through the pass and you’ll find a skeleton being offered up with its sword to the Shrine of Arkay right next to it.

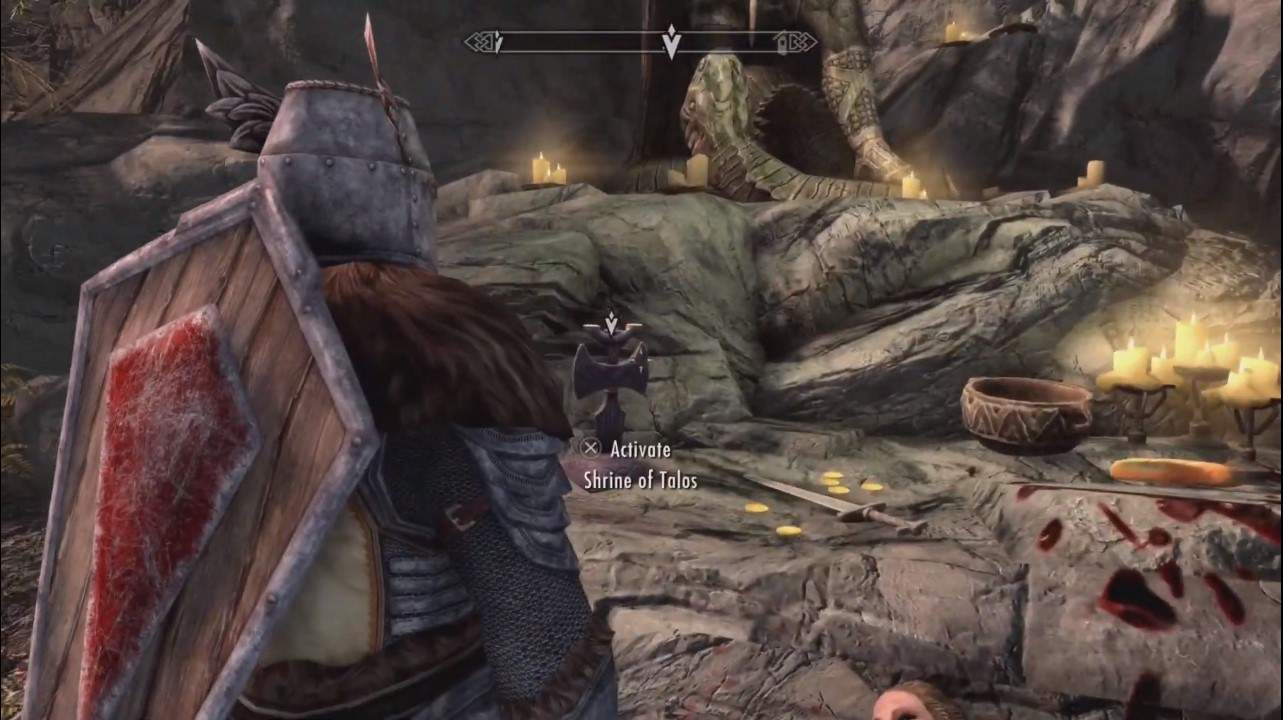
Shrine of Talos
From Lakeview Manor, head East but you’ll have to climb some of the mountain for it. Go around and you’ll find a path that takes you directly towards the Shrine of Talos. You’ll also find some dead bodies of the pilgrims who were there.

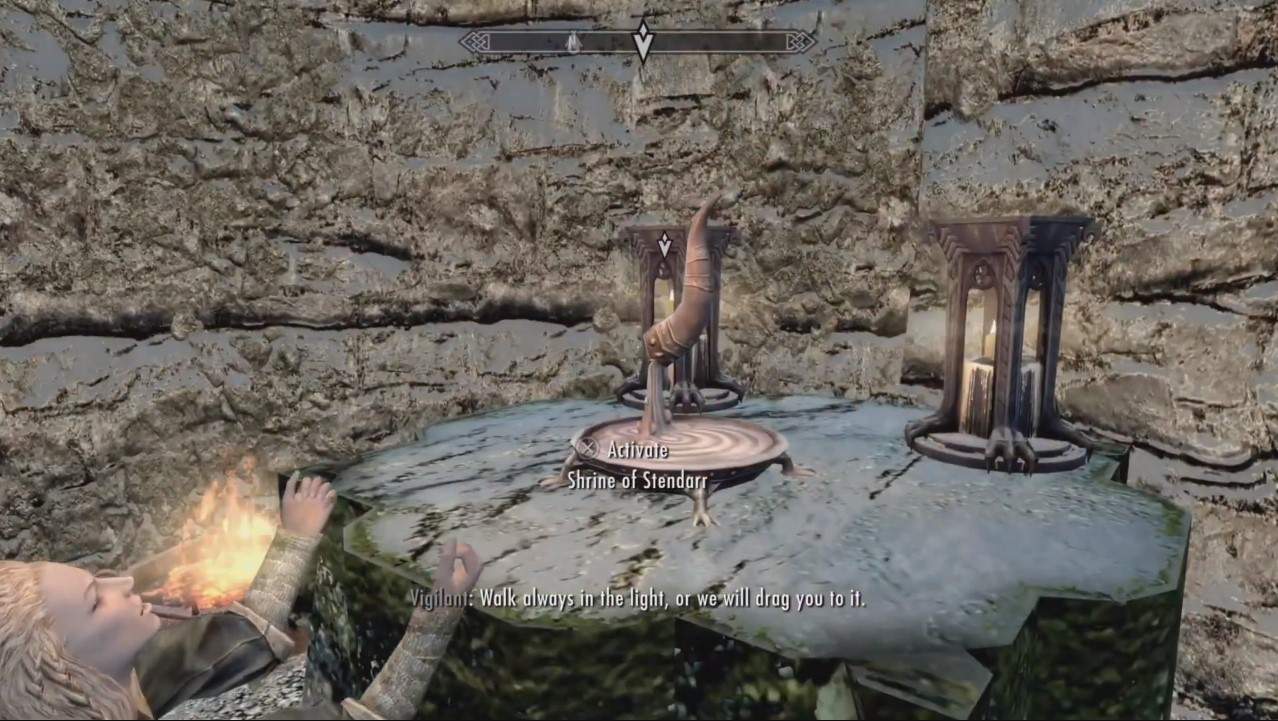
Shrine of Stendarr
The final shrine can be found at the bottom right of the map called “Stendarr’s Beacon.” Just head inside the beacon, and you’ll find the Shrine of Stendarr. Pray there.

Once you’ve prayed at all nine shrines, your pilgrimage will be completed, and you will have proven yourself worthy of wearing the armor.
It is recommended that you complete the quest in one go, as if your infamy increases during the quest, the progress will reset.