To complete Deathloop’s Afternoon Delight quest, you must find four pictograms in Fia’s Fortress at Fristad Rock. In this guide, we’ll be showing you where to find all Deathloop Pictogram Locations.
Deathloop Pictogram Locations
If you get caught in Fia’s Fortress, the guards will be alerted, so don’t make a mistake. Nonetheless, if you are caught, Fia will start the reactor. In 60 seconds, it will demolish the entire Fristad Rock zone.
To avoid this, we recommend eliminating Fia before moving on to the pictograms. This guide will show you all of the pictogram locations required to complete the quest.
Afternoon Delight Quest
Fia’s Fortress at Fristad Rock holds 14 pictograms in total, but the quest only requires you to find 4 of them.
You will be given four out of fourteen pictograms to find at random. The game provides hints to help you determine which four correspond to your playthrough.
This guide contains all fourteen Deathloop Pictogram Locations as well as their corresponding hints to assist you in figuring out which one relates to your playthrough.
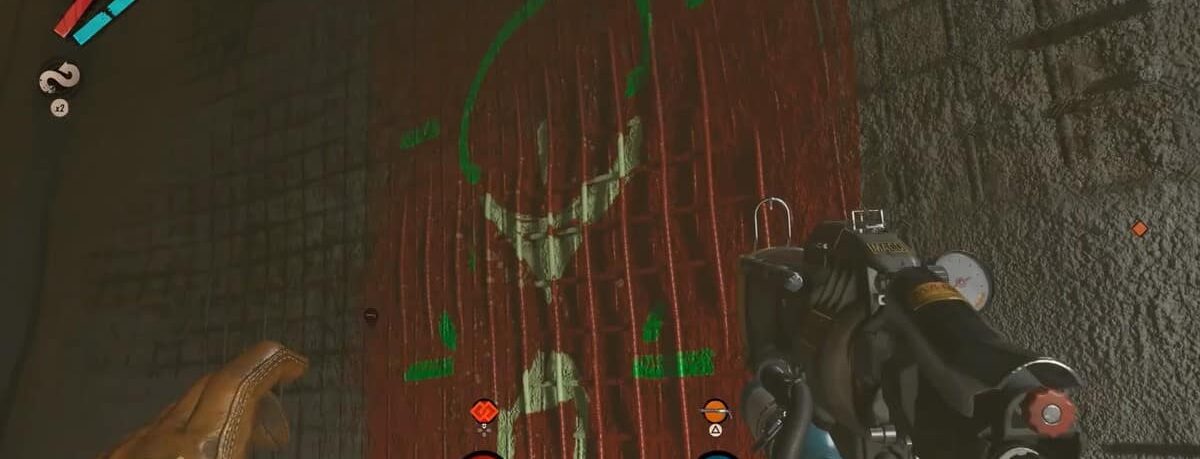
Pictogram Location #1 – Wants for Power
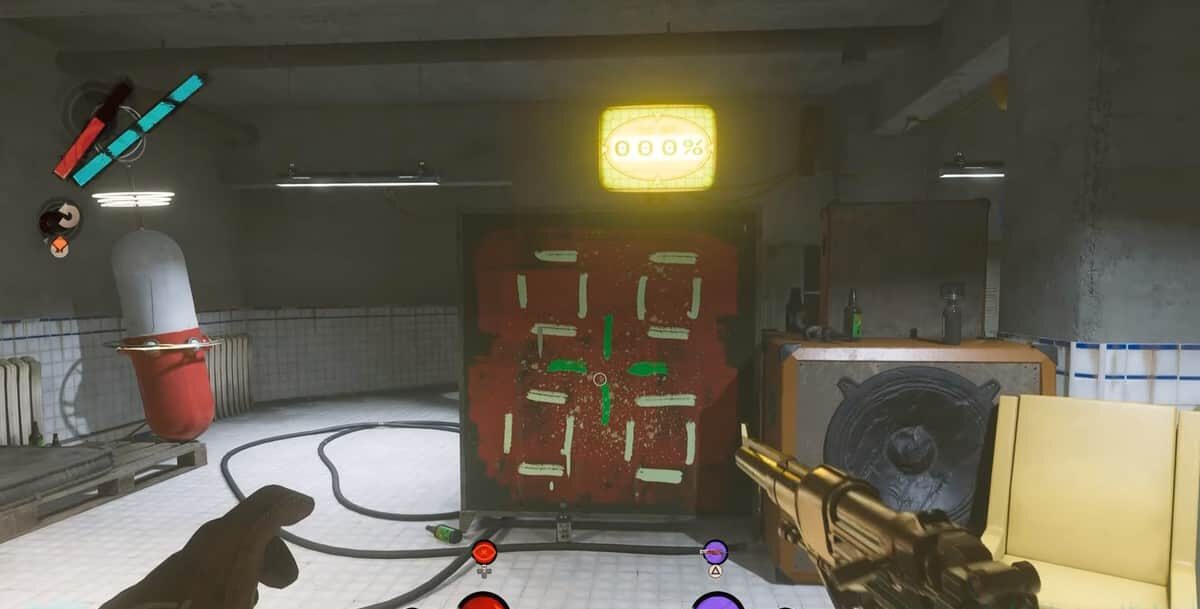
Enter Fia’s bunker via the bunker door through the top of the cliff. As soon as you walk through the door, turn to your right and jump down the elevator shafts.
You’ll notice a room in front of you is blocked with some wooden logs. Break into the room. Jump through the window and look for a battery pack. It should be on the table to the right.
If you proceed further inside the room you will find a charger for the batteries. Charge the batteries and take them with you.
Return to the elevator shafts right side. A closed-door will be visible, with a red button above it. You’ll notice a spot to insert the batteries just below the button.
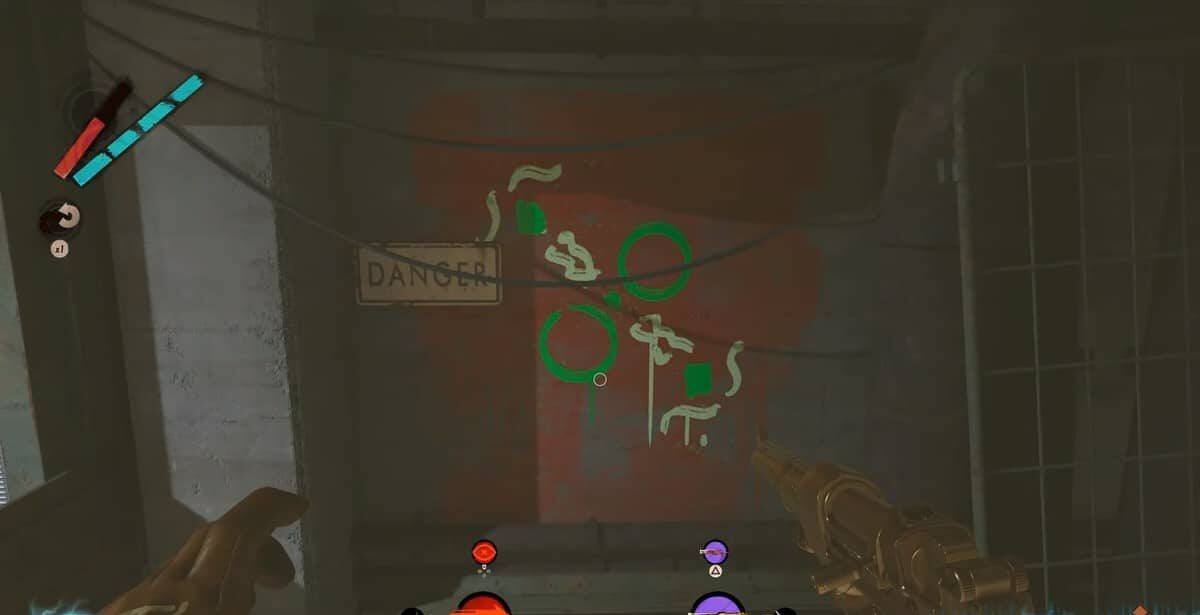
To open the door, insert the batteries and press the red button. The first pictogram is located on the wall inside this room.
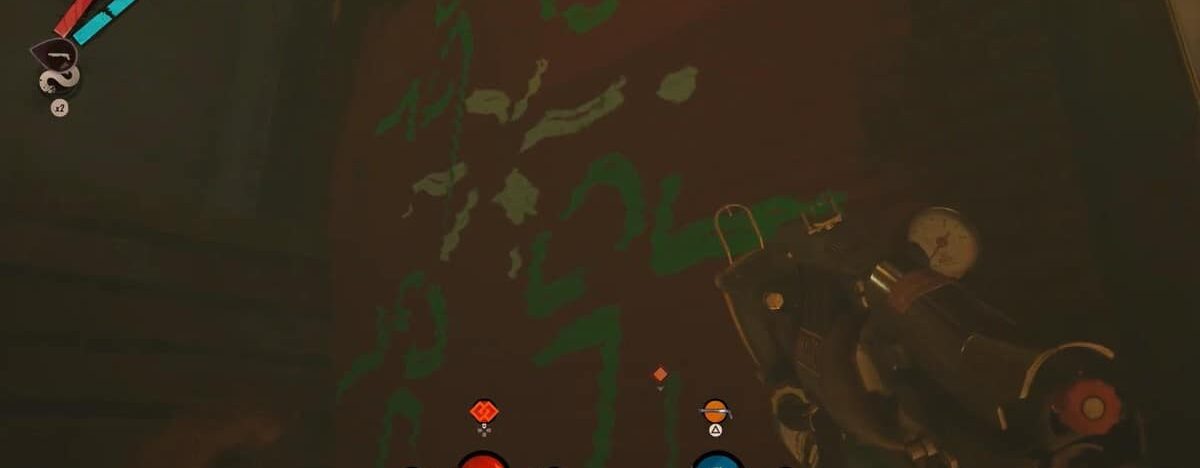
Pictogram Location #2 – Adds Colors to Tools and Schema
The second pictogram is right next to the first. Return through the window to the room with the batteries. The second pictogram can be found to the right, behind the tables and crates on the wall.
Pictogram Location #3 – Tends the Main Hall
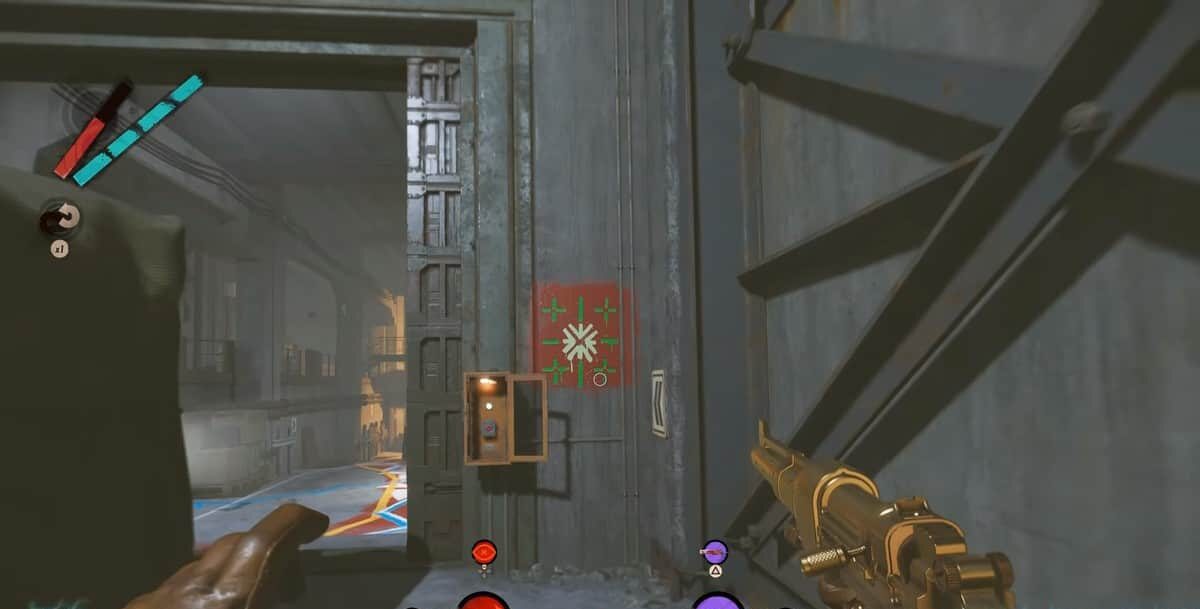
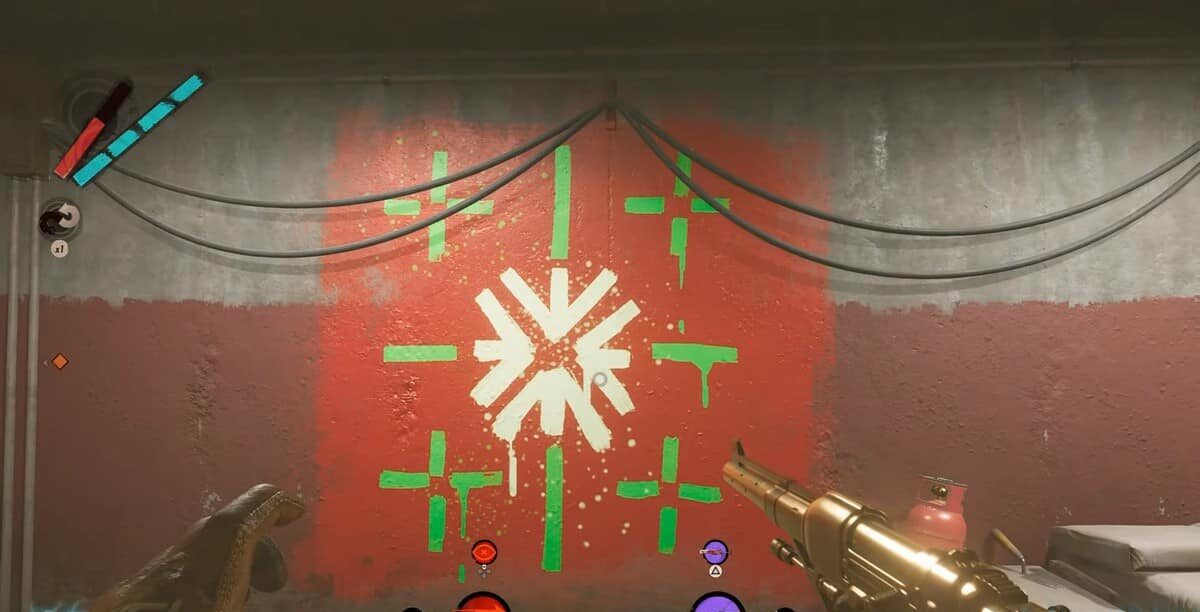
Next, proceed through the door to the right of the Pictogram Location #2. There down the hallway on the wall to the right, you’ll see the third pictogram.
Pictogram Location #4 – Marks Fia’s Stage Exit
Follow the path on the left behind a vehicle from the third pictogram. It takes you to a room. Turn around as you enter the room and look at the wall on the right-side. You’ll notice the fourth pictogram.
Pictogram Location #5 – Lubricates the Shaft
This pictogram is on the wall halfway down the elevator shaft as you enter Fia’s bunker through the bunker door at the top of the cliff.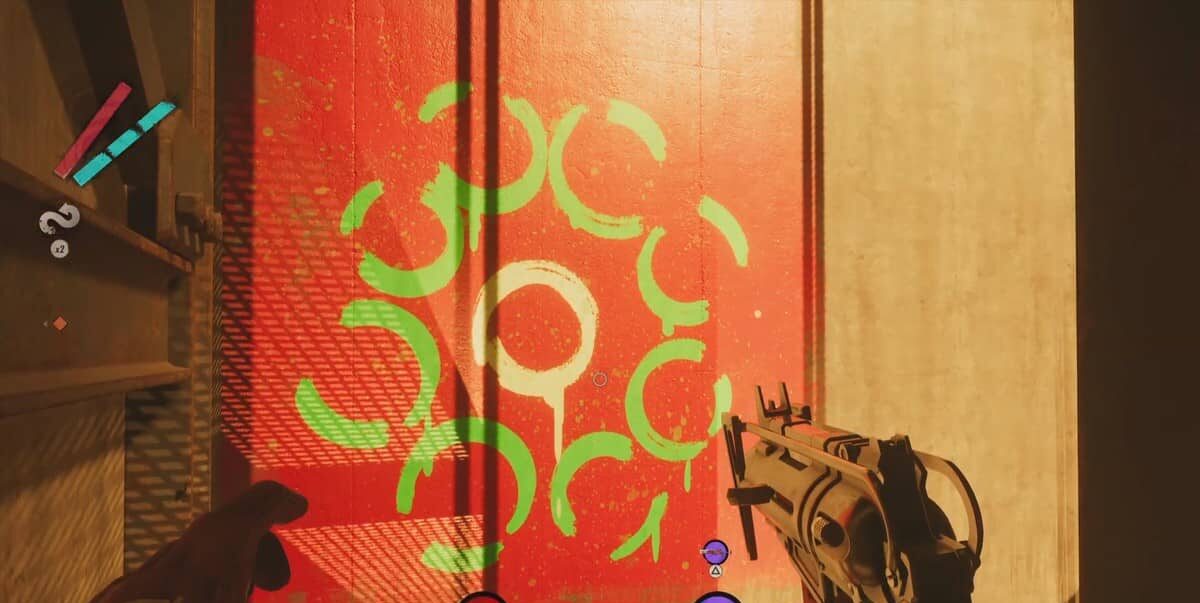
Pictogram Location #6 – Beneath the Wheeled Behemoth
From the Pictogram Location #1, as you exit the room look to the right. You’ll see a wrecked tank. There is a path leading under the tank. At the bottom of the tank, a pictogram lies.
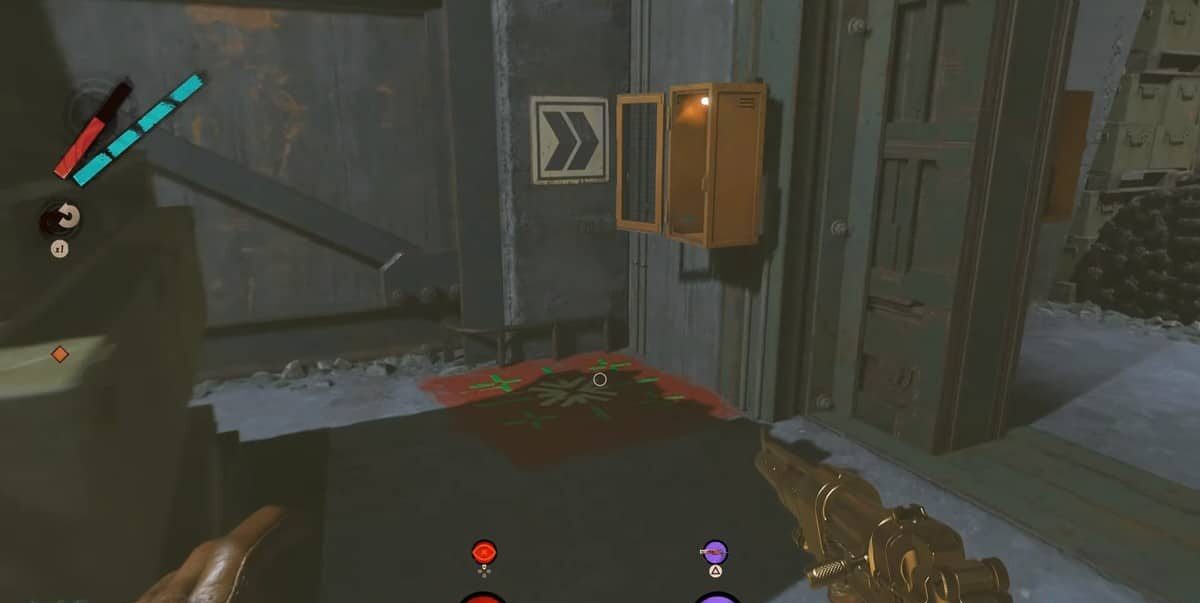
Pictogram Location #7 – Enlivens the Lockers
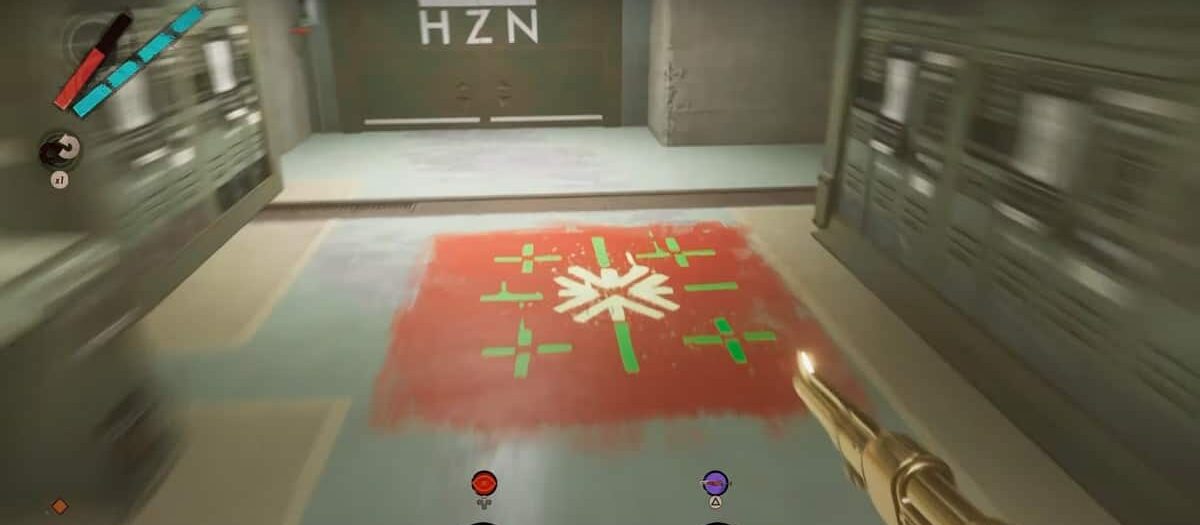
To locate this pictogram, you need to head to the second floor of the nuclear reactor area. There if you look around you’ll find a bathroom. There is a pictogram inside the bathroom.
Pictogram Location #8
To find this pictogram, move to the right of Pictogram Location #3. When you enter a room along the path, look behind the door. You’ll see a pictogram.
Pictogram Location #9
Simply move up-floor opposite to Pictogram Location #3 for this pictogram. As you land, you’ll notice a door in front of you. Open the door and leap through the second window. On the floor, there will be a pictogram.
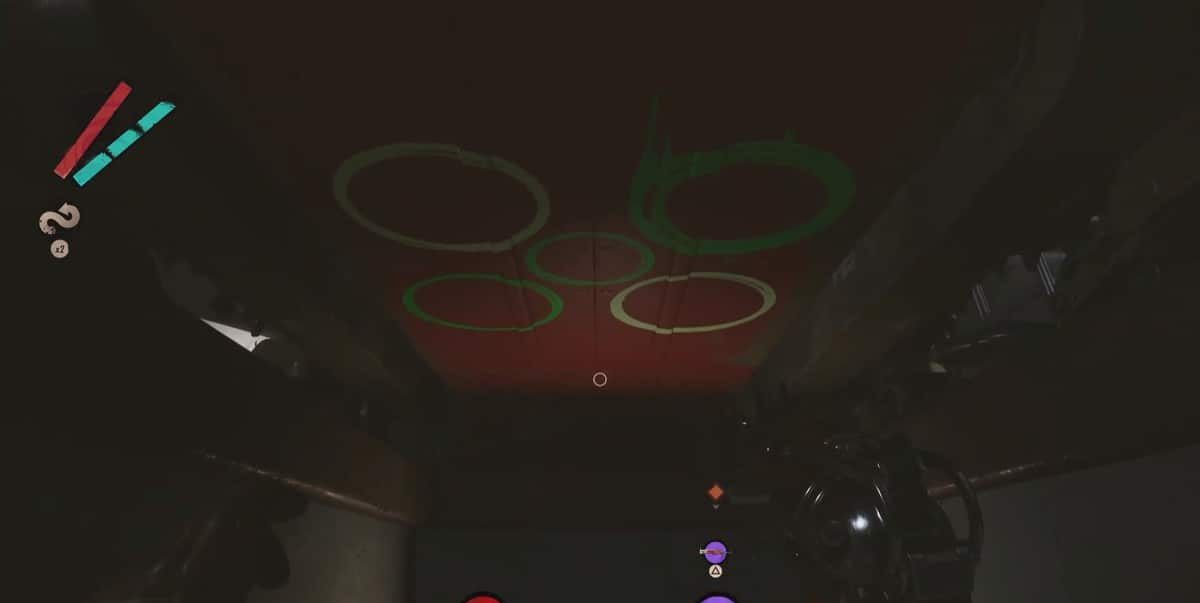
Pictogram Location #10
Turn around from Pictogram Location #9 while being inside the same room. On the wall slightly to the left lies a pictogram.

Pictogram Location #11 – Ogles the Rear Entrance
When you enter Fia’s bunker through the bunker door at the top of the cliff, look to the left side wall for this pictogram.
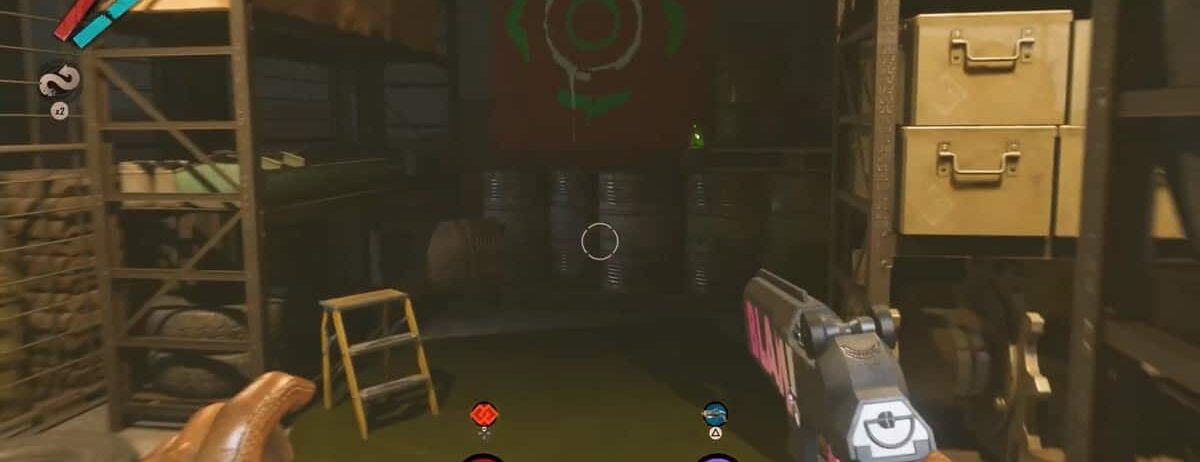
Pictogram Location #12 – Fia’s Shimmering Masterpiece
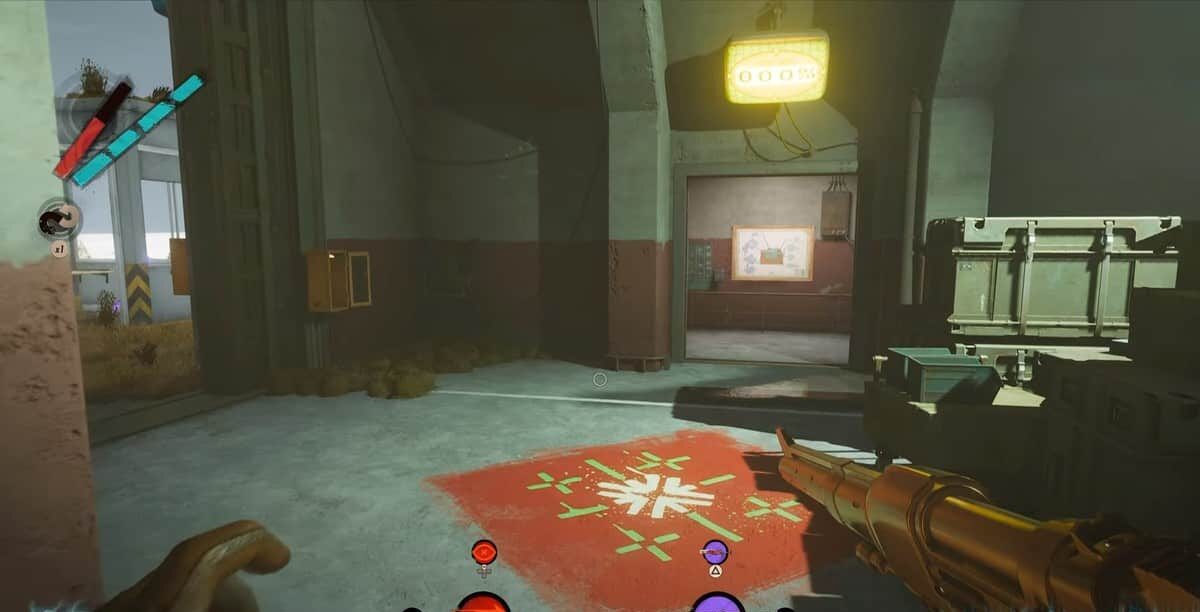
In the middle of the reactor room, just behind the reactor, you can find this pictogram.
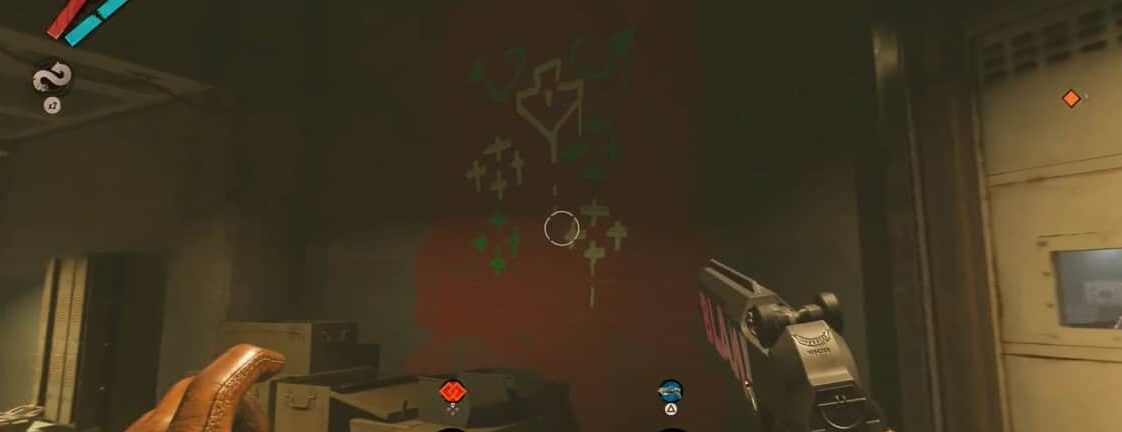
Pictogram Location #13
This pictogram can be found on the floor in the room to the left corner inside of the area of the nuclear reactor.
Pictogram Location #14
Move up from Pictogram Location #6 and enter the room slightly to the right. Turn around as you enter the room and look down the left side. A pictogram is located just behind the door.
As you move up, there are two rooms, but you must enter the one with the open doors.