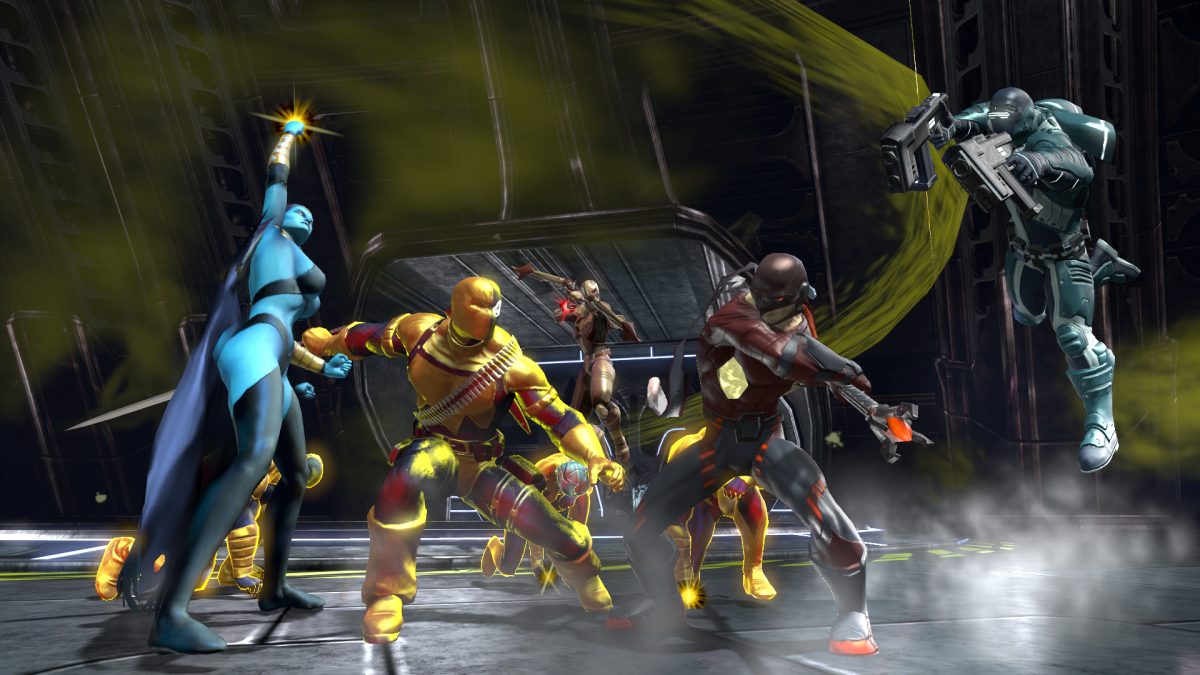
DC Universe Online is a massively multiplayer online game in which you take the role of your favorite hero from the DC Universe and fight the evil or the good for the objectives assigned to you by your mentor. If you are new to MMO but like DC Universe and want to try out the online version, refer to the beginner’s guide extract for all the references to get you started with the game.
DC Universe Online Beginner’s Guide
World Selection
After you have created your character you will be prompted to choose the World you want to play in. Check the status of the World ‘Server’ and join the one you like or one which has max players. On your PS3 you can navigate the menu with D-pad or left control stick. While on PC, use directional keys and press Enter to join the server.
Character Creation
You can choose from variety of options available to you to create your favorite character. You can customize the appearance, and then choose the type of character you want. Inspired By provides the basic options and gameplay settings similar to the comic character you like.
That you can choose morality, Hero or Villain. Good guy or the Bad Guy, whatever floats your boat. You can choose your personality, powers, and your mentor who will essentially train you with your powers.
You can choose your movement style between Flight, Acrobatics, and Super Speed. Finally choose your favorite Weapon, and you have successfully created your DC Universe Online Character.
Note. You can find more info about Powers in DC Universe Powers Guide, and about weapons in DC Universe Weapons Guide.
Character Customization
Character customization screens give you a vast array of options to customize the costume, look and feel of your character. Make it look your fantasy hero/villain.
However, it is important to note that once you have selected a particular character custom and started the game, you won’t be able to change that afterwards. So, make sure you’re making a decision you can stick with and won’t regret it later on in the game.
Character Roles
Your character will assume certain roles in combat and in the game overall depending upon the naturistic element that you choose to associate your character with. These can be one of; Ice, Fire, Nature, Light, Gadget, Mental and Sorcery.
The roles and their corresponding elements are as follows;
Healing – Nature & Sorcery: This is a supportive role and you will be charged with healing the supporting characters.
Tank – Fire & Ice: This is a more aggressive role as your character will be able to take the most damage allowing other team members to execute their attacks safely.
Controller – Sorcery, Gadget & Light: This is also a supportive role. You will be charged with weakening enemies while keeping safe, buffing your allies and restoring their mana.
Note: All characters can play as damage dealers (DPS). So, play it your own way. It is also advisable to play as DPS in the start of the game through the leveling up phase if you are alone.
Character Selection
Once you have created your first character in DC Universe Online, Character Selection screen is the first window you will see when you launch the game. Left Panel of character screens shows the characters you have created in the game, and the right panel shows the information about the character you have selected. You can make your selection by pressing Enter on keyboard and ‘X’ on your PS3.
Login Queue
If the server is busy you will be thrown in queue to be in line with the people entering the server and will enter the server on first come first serve basis.
Quick Menu
You can press up on D-pad to open the Quick Menu on PS3. You can press the hotkeys F1-F4 to open the quick menu. Each key will open a different quick menu (Actions, Canned Chat, Current Effects, Emotes). Press ESC to close the quick menu bar, on PS3 the Circle button.
Actions (F1)
Actions quick menu consists of all the actions you are capable of doing at the time you open this quick menu. Further divided into four sections, you can navigate through the menu using the directional keys.
Stance
Toggle PVP
Current Combos
Current Abilities
Stance: Toggle stance by highlighting this option and pressing Enter ‘X on PS3’. You will see an icon appearing above your head indicating your current stance. Your default stance is damage stance, which allows you to inflict maximum damage per second (DPS). Your alternate stance is your role which is primarily used in Raids, like a Healer (responsible for healing group), Tank (responsible for keeping enemy’s attention) and Controller (responsible for enemy crowd control).
Toggle PVP: You can toggle Player vs Player on and off by highlighting this option and pressing Enter ‘X on PS3’. This determines whether you can attacked in the open world by an enemy. There is a 10min delay for this setting to take effect. You can’t toggle PVP in PVP matches, you can only do it in open World PVP servers.
Current Combos: Current Combos quick menu displays the list of the available combos your character is capable of. Beneath their names are the key sequences you need to do in order to perform that specific combo. Combos will be dependent on your stance, the skills you have purchased and the transformation you have taken.
Current Abilities: Current Abilities quick menu displays the list of the current abilities your character is capable of. Highlight an ability, and press Enter ‘X on PS3’ to see the relative information about it. This list is also dependent on the powers you purchase, stance you are in and the form you have taken (Temporary Transformation).
Canned Chat (F2)
Bunch of chat presets you can save and select later opting not to type the usual PWND!. You can browse them with Arrow Keys ‘Left Control Stick’, select them by pressing Enter ‘X on PS3’ and categorize them.
Current Effects (F3)
Current Effects will include current Buffs and Debuffs that are on your character. Or the effects that are currently to your character to be used. Press Enter ‘X on PS3’ on the title of the effect to get the description about it.
Emotes (F4)
Emotes are the animations you can make your character to perform in the game. Like dance, wave etc divided into categories.
HUD
Player Unit Frame
It shows the name of the character. Role icon that appears next to your name. Health bar is the green bar indicates your character’s current health. Power bar is the blue bar under the green bar indicating character’s current power. Most abilities require certain amount of power. Power regenerates over time and by eating consumables.
Super Charge Meter is the meter at the bottom of the screen that fills up as you perform basic attacks must like rage, and then you can use it to perform your heavy hitter abilities. Your character’s current level is displayed in front of the health and power bar. Movement Mode Indicator is the small wing indicator that extends from the left of the screen indicating you are in movement mode.
PVP Indicator is the small skull icon that extends from the right of the screen when you are flagged for PVP. Effects indicator is the panel that extends below the frame when you have active stats effects like buffs or debuffs. Green icon means you have a net positive effect, a red icon means you have a net negative effect and a flashing red icon means you have several negative effects for that stat.
Enemy Unit Frame
It is similar to player unit frame.
Minimap
Minimap will show you important information about your surrounding and help you navigate the World around you. Though, keep in mind these points while navigating through the World.
- Blue Cone: Indicates the direction your camera is facing.
- Yellow Arrow: Directs you towards your current mission.
- Orange X: Indicates a destination of your current mission.
- Orange Overlay: Indicates the region of the map in which your current mission objectives can be found.
- Green Arrow/Green X: Directs you towards your player-created waypoint.
- White Round Pips: Objects with which the player can interact.
- Red Round Pips: Enemy NPCs.
- Green Round Pips: Friendly NPCs.
- Chevron Up or Down: Indicates that the entity is above or below you respectively.
- Diamond Shaped Pips: Indicate other players (as opposed to NPCs).
- Red: Attackable enemy players.
- Purple: Unattackable enemy players.
- Green: Friendly players.
- Blue: Group members.
Quest Tracker
Shows the active quests and steps to complete the quests on the right side of the screen.
Group
This tray will indicate information about group members – their names, level, role, health, and power.
Chat Window
You can press Enter on keyboard and ‘Select on PS3’ to enter quick chat mode. The chat window essentially displays world chat and recent messages, and system information from time to time. You can type text in the chat window or enter commands. You can use F1 to switch to social window and scroll through the chat. Press ESC ‘Circle on PS3’ to exit from the chat window.
Ability Tray
8 slots, 6 to host your abilities, 7 hosts your currently equipped consumable item and 8th slot hosts your current trinket. All abilities have cool downs ranging from few seconds to minutes in the later stages of the game.
You will adding dropping several abilities in the ability tray as you level up. The ability countdown is shown by the red count down overlay applied to the ability icon. When you are out of power to execute an ability its icon is faded. When you have enough power to execute a super charge ability, it has a special ring meter around its icon.
PDA
Inventory
All the items you carry show up in inventory. It also shows the info about each of the item you are carrying. You can access the inventory by pressing “I”. There are three tabs in the inventory namely, Items, Stats, and Currency. On PS3, you can navigate the menu by left control stick, open the inventory by selecting the utility belt icon in the PDA, and exit it by pressing the Circle button.
Items shows information about all the items you are carrying, stats shows your character’s statistics, and currency shows the amount of money you have. Currency tab will also display if any of the badges you have collected during your PVP battles; badges are required to buy high level gear from vendors.
Style
Style section of your PDA provides all the customization option to change the look and feel of what you are currently equipped. You can open the Style panel by selecting the mask icon in your PDA. Once open you can experiment with look and feel of your character.
Journal
The Journal panel in your PDA provides the information about all your current missions.
Traits
Traits menu is where you purchase your skills and powers to enhance your character. Opening up the Traits menu will show three options, Powers, Skills and Loadouts. Among these skills and loadouts are bit complex.
Skills have two sub categories – Weapons, and Movements. Power and Skills trees guide you to mold your character’s abilities and strengths. As you level up, you earn points that you can spend in your skill tree to unlock certain abilities or enhance any ability or power.
Loadouts are like macros, you set different set of skills and powers under different stances and roles. Each stance you have, each form you take comes with a unique loadout. You can add or drop the abilities from your custom loadout as you see fit by dragging and dropping these with help of the mouse.
Deeds
Under Deeds menu in your PDA you can check how Renown are you with a particular faction, and Headlines show the latest task you completed and you can re-watch the cutscenes. Feats show the challenges you have completed. You earn feat points for completing the feats aka challenges. Feat points can then be spent on the traits,
Investigations, Player Briefs, and Collections
Investigations, Player Briefs, and Collections are the Green, Blue, and Gold glowing spheres scattered throughout the game.
Investigations (Green) provide information in bits and pieces related to the plot of the gameplay. Player Briefs (Blue) are briefing you had been given by the important characters in DC Universe. Collections include the items you found in DC Universe that are related to the lore.
Each one of these is a part of a specific group of items that when completed will yield a reward.
Map
The map provides the directions and overview of the World you are in. You can press M to access the map or by selecting the globe icon in PDA, and exit it by pressing ESC. You can set the way point by clicking at any location specified on map and than use the map as guideline to reach the spot.
Selecting Warp Rally will warp your character to the last rally point but it has 5 minute cool down. Selecting Warp HQ will warp your character to Watchtower or Hall of Doom subject to whether you are Hero or Villain.
On Duty
This section of your PDA is used to access instances of Arenas, Alerts, Raids, Duos and Vaults. You can queue up for any instance available in this menu and there will be more options available as you level up.
Social
This section of your PDA handles the social interaction between players in DC Universe. You can add friends, chat, create league etc.
Inspect and Trade
You can right click on any player and choose inspect to check the items he or she has equipped. You can check all sorts of information about the items equipped.
Moreover you can right click and choose trade in the options to buy and sell tradable items collected throughout the game.
Marketplace
This is where you redeem all your purchases and promotional codes to get in-game items.
Vendors
Vendors allow you to buy, sell, or repair items.
Mailboxes
Mailboxes can be found in each Safehouse, as well as in the Watchtower and Hall of Doom. You can send and receive messages from other player through mailboxes. You may also get messages from the Iconic DC Universe characters from time to time.
Bank
The Bank, located in the Watchtower and Hall of Doom, allows you to store items for use later, thereby freeing up Inventory slots.
Group Loot Window
When you do raids or instances in group, the loot will be distributed among the members of the group. If you have a group loot that needs to be handled an icon will appear on your HUD indicating loot window. You can access it by Pressing “L” and are set to either be Master Looter, or Need before Greed roll.
In Need Before Greed mode, you will see a list of the current items on which rolls are needed. If you are the Master Looter for your group, you will see the current item up for distribution in the left side panel, and a list of players eligible to receive the item in the right-side panel.
Races and Quests
Races and Quests are one of the quickest and best ways of earning XP and obtaining unique items. These are spread across the map and are marked all over it.
For instance, just outside the DCUO base, you will be able to see purple circles glowing, these are the races. They are pretty easy, at least the first few are, but they yield a good amount of XP and a fair share of items.
When you enter a Racing area, hold E, a race breakdown will appear. Complete the race to earn the specified reward. It is advisable to do them over and over to multiply the number of rewards obtained from it.
Quests are basically boss battles and iconic character confrontations. Battling these characters in the quests awards you rare and epic items. These are color-coded blue and purple respectively.
Same as races, you should do these over and over to increase item yield and have a greater chance at getting epic items as well