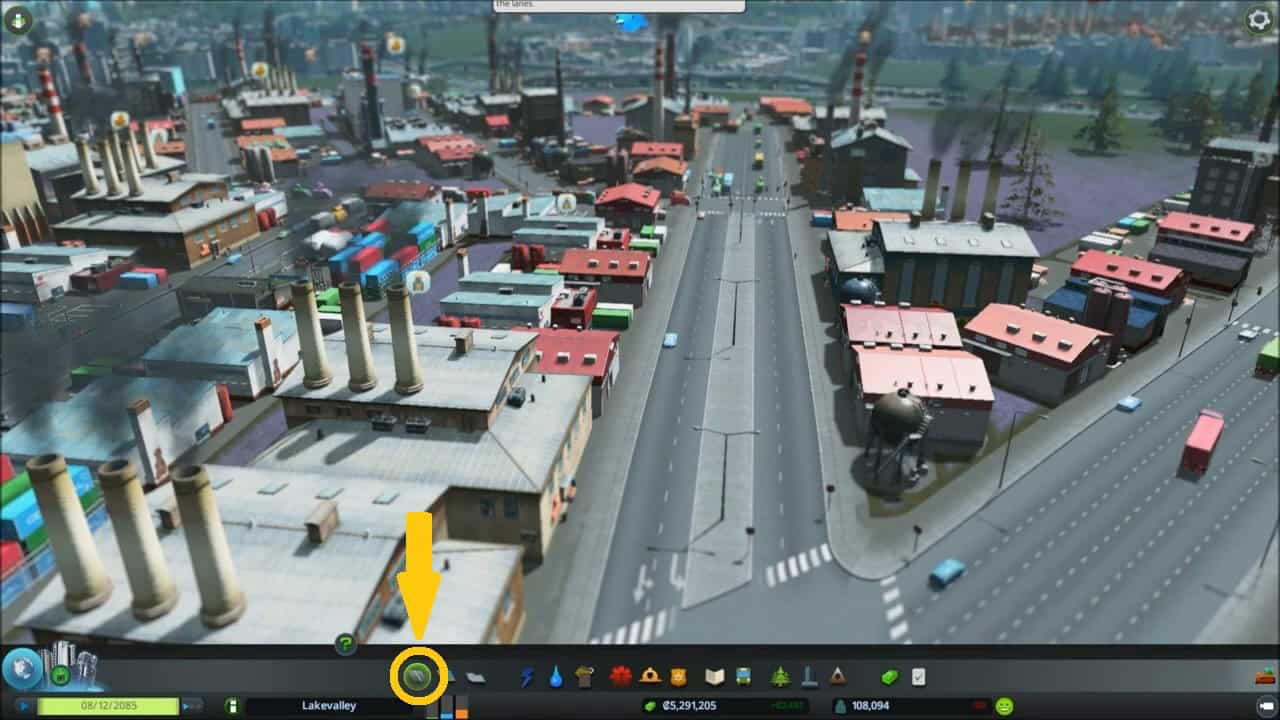
Roads are the most basic yet important tools for building your city in Cities: Skylines. Roads help you regulate traffic flow, allow your citizens to go where they need to, and increase the number of vehicles that can travel on the road.
In this guide, we’ll review how to upgrade roads in Cities: Skylines. While the process seems fairly straightforward, not knowing the zoning mechanics can result in your buildings being destroyed.
1. Click On The Upgrade Icon

To upgrade roads in Cities: Skylines, click on the icon at the leftmost end of the in-game HUD. When you do, a couple of road options will pop up on your screen, showing all the available roads you can build. Doing so will also open a couple of icons further left. The icon at the right end is the upgrade tool.
2. Select The Road You Want To Upgrade And Confirm

Now all you have to do is select the upgrade option, followed by the type of road you want to upgrade the existing road to. Next, move your cursor to the on-screen roads and build away.
Upgrades work in both directions, meaning, if you want you can choose to downgrade your roads, from say, a six-lane to a two-lane. It is important to note that upgrading roads isn’t free and depending on the difference between your current road and the upgraded road, you will be charged.
How to upgrade roads without destroying buildings?
When you upgrade a narrow road to a wider one, any buildings surrounding the original roads will get destroyed and/or moved. This can be a nuisance if you’ve intricately placed many city blocks next to each other.
While there isn’t a direct way to prevent your buildings from being destroyed as your road designs become more ambitious, you can preempt this by planning zoning around wider roads from the get-go. The other option is to stick to roads with similar widths.
Another option is to use mods. The Network Anarchy mod allows you to freely upgrade roads without having to worry about zoning restrictions, allowing you to build any type of road wherever you please.
