Jee Noh Shrine in Zelda Breath of the Wild is one of the twelve shrines in Gerudo Wasteland. This shrine uses the stasis rune ability, and the On the Move trial must be attempted before completing the Jee Noh shrine. Once you are good at using the Stasis and ready to face the trial, you can start this shrine. This guide will help you quickly find and complete the Jee Noh shrine in Zelda BOTW.
Jee Noh Shrine location
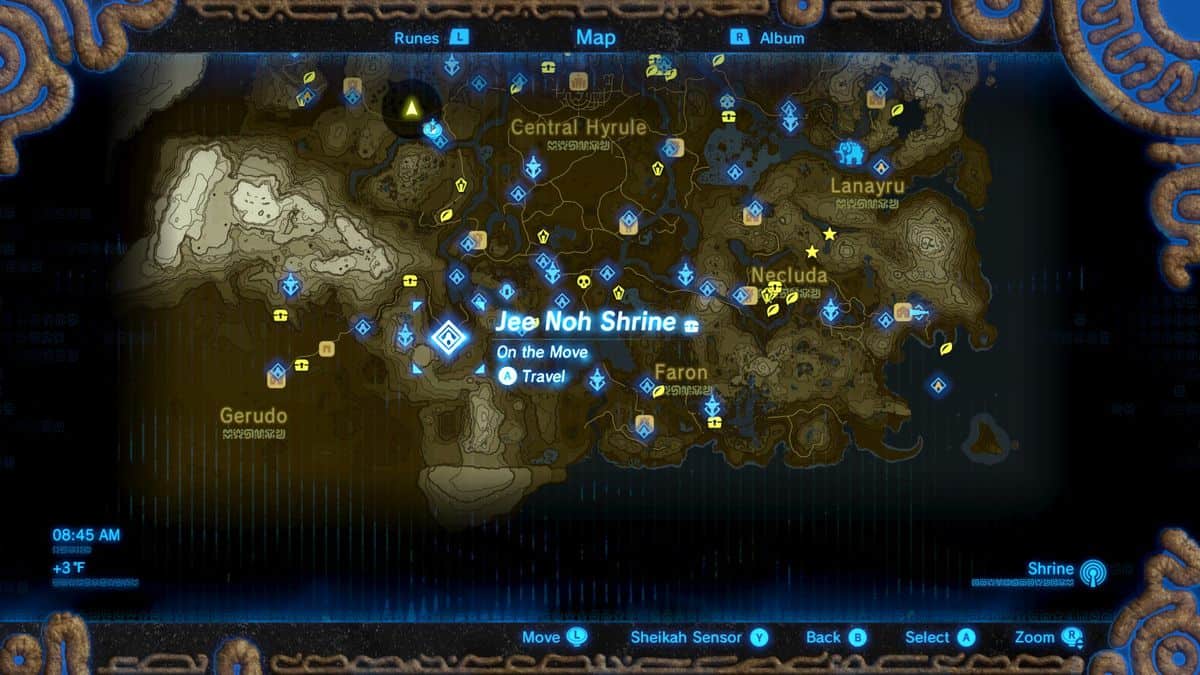
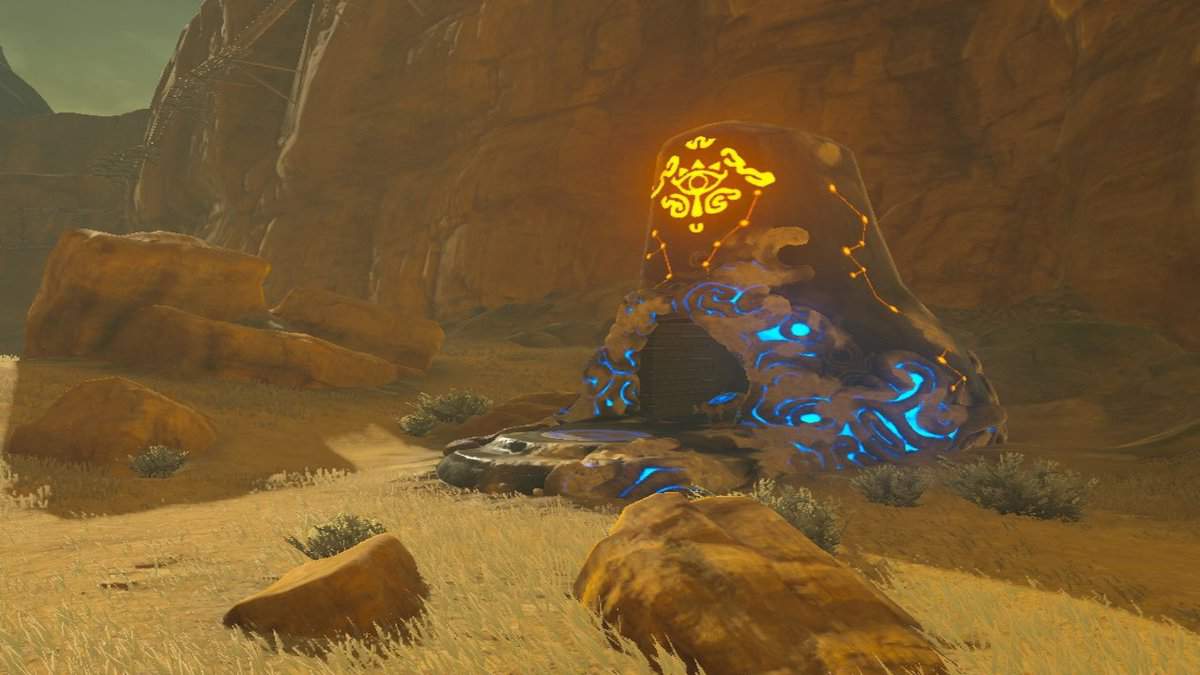
Finding the Jee Noh shrine is BOTW is a simple job. All you have to do is get to the location on the map above, and you will find the shrine. The location is right at the start of the Gerudo Desert. You will find the shrine when you enter the Gerudo Canyon Pass.
Zelda Breath of the Wild Jee Noh Shrine walkthrough
As soon as you enter the Jee Noh shrine in Zelda BOTW, you will face a conveyor belt with a rotating spherical ball on top of it. On the other side, there is a platform where the ball is supposed to be dropped off.
What you have to do is use Stasis to stop one shrine conveyor belt from rolling. After that, shoot the arrow at the ball to stop it. Keep shooting more of the arrows until the ball falls into the container platform in case you fail initially.
Doing this will open the gates in the Zelda BOTW shrine on your right and behind. Pass through the new pathway until you reach another railing series of conveyors. There will be a mini-guardian, then another after it, whom you need to defeat.
Shoot the ancient orb on the belt with an arrow to drop it in the repository. The path on your left opens after this, allowing you to enter the next section. Things will get spicy in this part of the Zelda Breath of the Wild shrine.
On your immediate right, look for a glowing orb and place it near the conveyor with lasers on both sides (as it will be useful shortly). Before stepping onto the conveyor railing, use magnesis to pull the treasure chest from a distance and open it to get an Opal mineral.
Now, it is time to walk carefully on the moving straps, as the laser beams are more than lethal. Remember the orb we just carried at the start? It will be useful now.
The last thing is to put the spherical orb in the container at the other end. Carry the sphere through the conveyor straps, and put it in the final repository after reaching there. Make sure to apply Stasis on your side of the laser emitter in Zelda Breath of the Wild, as you cannot block this one any other way.
Alternatively, put the ball on the platform’s edge (closest to the hole), Stasis it, and hit it with a spear until it’s maxed out. The ball will fly to the other side, and you just have to make your way across, pick it up, and drop it in.
After placing the ball in its container, enter the newly opened path, interact with the Jee Noh shrine monk in Zelda BOTW, and get a Spirit Orb.